As a seasoned DIY enthusiast, I’ve encountered my fair share of household maintenance tasks. One issue that often arises is a leaking toilet, which can be not only an annoyance but also a potential source of damage.
In this comprehensive guide, I’ll walk you through the steps to reseal your toilet, ensuring a watertight seal and preventing any further leaks. With the right tools and a little know-how, you’ll be able to tackle this project with ease.
Let’s get started!
Key Takeaways
- Shutting off the water supply is the first and crucial step in resealing a toilet to prevent water flow and potential mess or accidents.
- Removing the old wax ring and cleaning the toilet base thoroughly are important for ensuring a tight seal and preventing any debris or residue from interfering with the resealing process.
- Installing a new wax ring and properly aligning the toilet bowl with the flange are essential for creating a tight seal and avoiding any wobbling or gap issues.
- Tightening the bolts on the toilet base evenly, without overtightening, helps secure the toilet in place and ensures proper functioning of the fixture.
Top picks for "reseal toilet"
Open Amazon search results for this keyword.
As an affiliate, we earn on qualifying purchases.
Tools and Materials Needed
To reseal a toilet, you’ll need a few tools and materials.
The first thing you’ll need is a putty knife or scraper to remove the old wax ring and any residue. A wrench or pliers will come in handy to disconnect the water supply line and secure the bolts holding the toilet in place.
Don’t forget to have a new wax ring and toilet flange on hand for the resealing process. It’s also important to have gloves, a bucket, and some rags for cleaning up any mess.
When it comes to toilet resealing techniques, make sure to follow the manufacturer’s instructions and apply an even layer of silicone caulk around the base of the toilet.
Common mistakes to avoid in toilet resealing include over-tightening the bolts, using too much caulk, and not properly aligning the toilet to the flange.
Step 1: Shutting off the Water Supply
First, make sure you’ve turned off the water supply before proceeding. Shutting off the water supply is an important first step in resealing a toilet. This ensures that no water will be flowing into the toilet while you work, preventing any potential mess or accidents. Regular toilet maintenance is crucial to keep your bathroom in good condition. It helps prevent leaks, water damage, and costly repairs. Signs of a faulty wax ring in a toilet may include water leakage around the base of the toilet, a persistent foul odor, or a wobbly toilet. These issues can lead to further damage if not addressed promptly. By regularly inspecting and maintaining your toilet, you can prevent these problems and ensure the proper functioning of your bathroom fixtures.
| Importance of Regular Toilet Maintenance | Common Signs of a Faulty Wax Ring in a Toilet |
|---|---|
| Prevents leaks and water damage | Water leakage around the base of the toilet |
| Avoids costly repairs | Persistent foul odor |
| Ensures proper functioning of fixtures | Wobbly toilet |
Step 2: Removing the Old Wax Ring
Before you begin removing the old wax ring, make sure the water supply is turned off. It’s essential to take this precaution to avoid any water leakage or damage.
Now, let’s move on to the next step in resealing your toilet: removing the old wax ring. Follow these steps:
- Gather the necessary tools: a wrench, a putty knife, and gloves.
- Disconnect the water supply line and remove the nuts securing the toilet to the floor.
- Carefully lift the toilet off the flange and set it aside.
- Use the putty knife to scrape off the old wax ring residue from both the flange and the toilet base.
Removing the toilet can be a messy task, but it is a crucial step in ensuring a proper seal. Once the old wax ring is removed, we can move on to step 3: cleaning and preparing the toilet base.
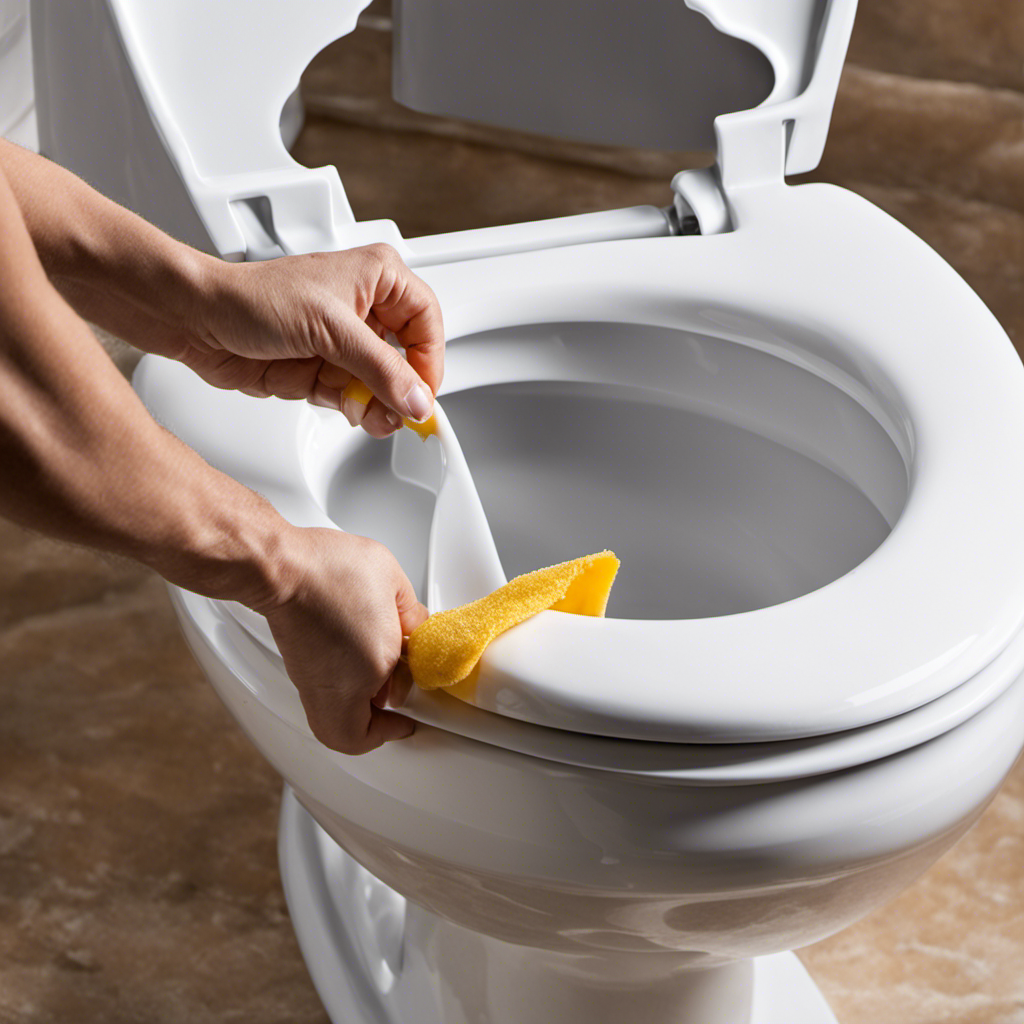
Step 3: Cleaning and Preparing the Toilet Base
Once the old wax ring is out of the way, it’s time to clean and prepare the toilet base for the next step.
Cleaning the toilet base is an essential part of resealing the toilet to ensure a proper seal. To clean the base, start by using toilet cleaning products specifically designed to remove dirt, grime, and stains. Apply the cleaner to the base and scrub gently with a toilet brush, paying extra attention to any areas that may have buildup or discoloration.
Rinse thoroughly with water and dry the base using a clean cloth or paper towels. This step is crucial as any remaining debris or residue can prevent a tight seal.
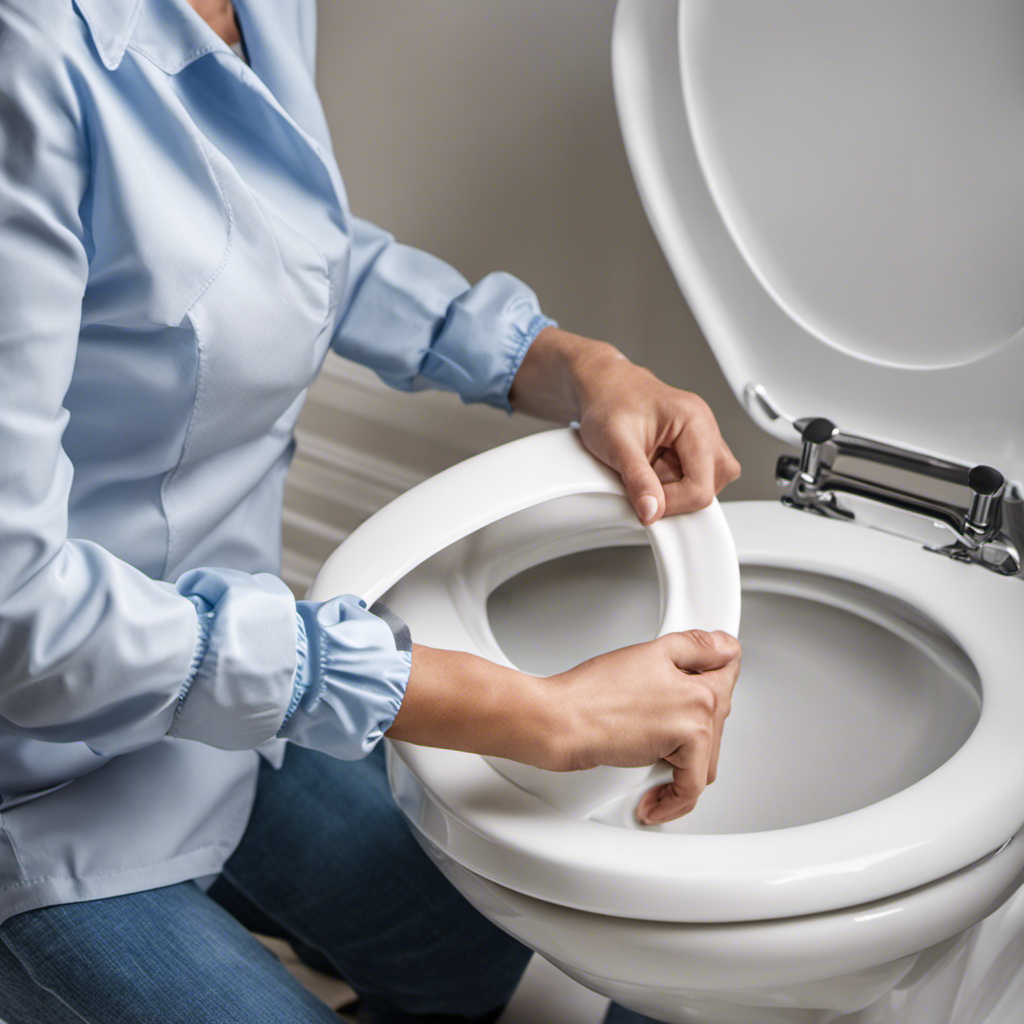
Step 4: Installing the New Wax Ring and Resealing the Toilet
Now that you have cleaned the toilet base, it’s time to install the new wax ring and ensure a proper seal. This step is crucial to prevent any leaks or unpleasant odors in your bathroom. Follow these simple steps to successfully reseal your toilet:
-
Step 1: Installing a new flange: Place the new flange over the drain pipe and secure it tightly using screws. Ensure that it is level and properly aligned with the floor.
-
Step 2: Securing the toilet base: Carefully lower the toilet bowl onto the new wax ring, making sure it aligns with the flange. Apply downward pressure to create a tight seal.
-
Step 3: Troubleshooting common issues: If the toilet wobbles, use shims to stabilize it. If there is a gap between the toilet base and the floor, you may need to add an extra wax ring or use a wax-free seal.
-
Step 4: Ensuring a proper seal: Tighten the bolts on the toilet base evenly, alternating between each side. Do not overtighten, as it may crack the toilet.
Frequently Asked Questions
How Do I Know if My Toilet Needs to Be Resealed?
If my toilet needs to be resealed, I would look for signs of a leaking toilet such as water pooling around the base or a musty odor. Regular toilet maintenance is important to prevent further damage.
Can I Use a Different Type of Sealant Instead of a Wax Ring?
Sure, you can try using a different sealant for resealing your toilet, but keep in mind the pros and cons. It’s important to consider alternative options and their effectiveness before making a decision.
How Often Should I Reseal My Toilet?
I reseal my toilet as needed, but the frequency may vary depending on the type of toilet. Residential toilets typically require resealing every few years, while commercial toilets may need it more frequently. Signs of a damaged seal include water leakage and odors.
Are There Any Safety Precautions I Should Take When Resealing a Toilet?
When resealing a toilet, it’s important to take safety precautions. Make sure to wear gloves and eye protection. Also, use the proper toilet resealing tools and carefully dispose of the old wax ring.
Can I Reseal a Toilet Without Shutting off the Water Supply?
No, it is not recommended to reseal a toilet without shutting off the water supply. This precaution ensures that water doesn’t flow during the process, preventing any potential mess or damage.
Conclusion
After following these steps, I successfully resealed my toilet and restored its functionality.
It was a satisfying and rewarding experience, knowing that I was able to fix the issue on my own.
The process may seem daunting at first, but with the right tools and materials, anyone can do it.
Remember to shut off the water supply, remove the old wax ring, clean and prepare the toilet base, and install the new wax ring.
With a little patience and effort, you can have a properly sealed toilet in no time.