I’ve been there – the frustration of a leaking toilet that just won’t stop. But fear not, because I’m here to guide you through the process of sealing your toilet step-by-step.
In this article, I’ll show you the tools and materials you’ll need, how to prepare the toilet, remove the old wax ring, install the new one, and test for leaks.
Together, we’ll have your toilet sealed and leak-free in no time. Let’s get started!
Key Takeaways
- Turn off the water supply valve and flush the toilet to remove water.
- Use gloves and a putty knife to remove the old wax ring and clean the flange.
- Install the new wax ring by placing it on top of the flange and pressing down gently to create a seal.
- Test for leaks by flushing the toilet and checking for water escaping from the base or around the wax ring.
Tools and Materials Needed
You’ll need a wax ring, an adjustable wrench, a putty knife, and a bucket to seal your toilet.
When it comes to toilet sealant options, there are a few different choices available.
One popular option is using a wax ring, which is a common choice due to its effectiveness and affordability.
To apply the wax ring, start by removing the old wax ring and cleaning the area thoroughly with a putty knife.
Next, place the new wax ring on the flange and press it down firmly to create a tight seal.
Another option is using a rubber gasket, which provides a watertight seal and is easier to install.
Simply place the gasket on the flange and insert the bolts through the holes.
Tighten the nuts with an adjustable wrench to secure the toilet in place.
Preparing the Toilet
First, make sure all the water is completely drained from the bowl. This is an important step in preparing the toilet for maintenance or cleaning. To do this, turn off the water supply valve located behind the toilet and flush the toilet to remove as much water as possible. Next, use a sponge or towel to soak up any remaining water in the bowl and tank. Once the water is drained, you can proceed with your toilet cleaning or maintenance tasks.
Here is a helpful table that provides an overview of the steps to prepare your toilet:
| Steps to Prepare the Toilet |
|---|
| 1. Turn off the water supply valve |
| 2. Flush the toilet to remove water |
| 3. Soak up any remaining water with a sponge or towel |
Removing the Old Wax Ring
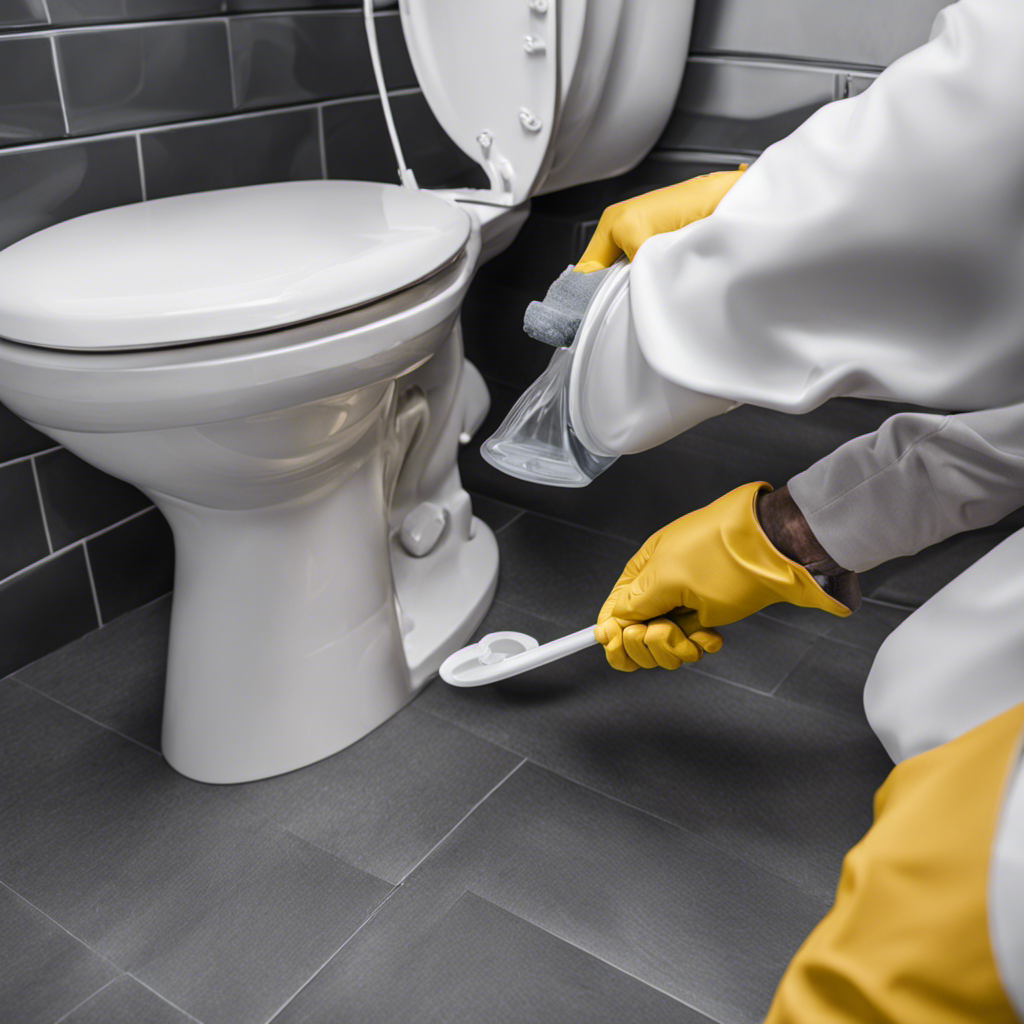
After the water is drained from the toilet bowl, you can begin removing the old wax ring. Here are the steps to follow:
- Put on a pair of gloves to protect your hands from any debris or bacteria.
- Use a putty knife or scraper to gently pry up the old wax ring. Be careful not to damage the toilet or the flange.
Once the wax ring is removed, clean the flange thoroughly with a disinfectant cleaner to remove any residue.
- Inspect the flange for any cracks or damage. If necessary, repair or replace the flange before proceeding with the installation.
- Dispose of the old wax ring and any other debris properly.
It’s important to note that while wax rings are the most common sealing method, there are alternative sealing methods available, such as rubber gaskets. However, it’s crucial to choose the right size and type of seal for your toilet.
Now that the old wax ring has been removed, let’s move on to installing the new wax ring.
Installing the New Wax Ring
Now that you have disposed of the old wax ring and cleaned the flange, it’s time to prepare for installing the new wax ring. Before you begin, make sure you have a new wax ring, a pair of gloves, and a wrench handy. Troubleshooting common issues during installation can save you time and frustration later on.
To ensure proper alignment and positioning, follow these step-by-step instructions:
- Place the new wax ring on top of the flange, making sure the tapered end is facing up.
- Gently press down on the wax ring to create a seal between the toilet and the flange.
- Align the bolt holes on the toilet base with the bolts on the flange.
- Carefully lower the toilet onto the wax ring, making sure it sits evenly on the floor.
Testing for Leaks
To check for any leaks, simply flush the toilet and observe if water is escaping from the base or around the wax ring. If you notice water damage or a loose toilet seat, address these issues promptly to prevent further damage or accidents.
Here’s how to fix a loose toilet seat:
-
Start by removing the seat cover and inspecting the bolts underneath. If they’re loose, tighten them with a wrench.
-
If the bolts are stripped or damaged, replace them with new ones. Choose bolts compatible with your toilet model.
-
Once the bolts are secure, test the seat by sitting on it and moving around. If it still feels loose, you may need to replace the seat altogether.
Frequently Asked Questions
How Often Should I Replace the Wax Ring on My Toilet?
I replace the wax ring on my toilet every few years. Signs of a worn wax ring include water leakage around the base of the toilet or a foul odor. There are alternative toilet sealants available as well.
Can I Use a Different Type of Sealant Instead of a Wax Ring?
I can use a different sealant instead of a wax ring when sealing a toilet. However, it’s important to consider the pros and cons of each option. Let’s explore the alternatives and discuss the advantages and disadvantages of using a wax ring.
Is It Necessary to Remove the Toilet Completely When Replacing the Wax Ring?
When replacing the wax ring, it is necessary to remove the toilet completely. This allows for proper inspection and troubleshooting of any leaks. Here are some toilet installation tips to help you with the process.
What Should I Do if the Toilet Still Leaks After Installing a New Wax Ring?
If the toilet still leaks after installing a new wax ring, you can try using a toilet sealant alternative. Start by troubleshooting the leaking toilet to identify the source of the problem.
Are There Any Specific Techniques or Tips for Aligning the Toilet Properly During Installation?
Toilet alignment techniques are crucial for a successful installation. Troubleshooting toilet installation can be frustrating, but with proper alignment, it will prevent leaks and ensure stability. Here’s how to do it right.
Conclusion
And that’s a wrap!
With just a few simple steps, a little bit of elbow grease, and a new wax ring, you can have your toilet sealed up tight, ready to take on whatever you throw its way.
So go ahead and give yourself a pat on the back, because you’ve just become a toilet sealing pro!
Now you can rest easy knowing that your bathroom is leak-free and your throne is fit for a king.
Happy sealing!


