Hello there!
Have you ever dealt with a frustratingly leaky toilet base? Well, worry no more! In this article, I will guide you through the step-by-step process of sealing your toilet base like a pro.
By properly sealing the base, you can ensure a watertight and secure connection, preventing any unwanted leaks or damages.
So, let’s grab our tools and materials and get ready to tackle this task head-on!
Key Takeaways
- A properly sealed toilet base is important to prevent water leakage and costly water damage.
- Mold growth can occur as a result of water leakage from an improperly sealed toilet base.
- The use of the right tools and materials, such as a wax ring and adjustable wrench, is necessary for a secure and leak-free installation.
- Regular maintenance, including visual inspections and water tests, should be done to ensure the sealant is intact and any leaks or gaps are promptly addressed.
Understanding the Importance of a Properly Sealed Toilet Base
You need to understand why it’s important to have a properly sealed toilet base.
The importance of a properly sealed toilet base cannot be overstated. A secure seal prevents water leakage, which can lead to costly water damage and mold growth.
Troubleshooting common issues with toilet base sealing is crucial to maintain a functional bathroom. One common issue is a loose or deteriorated wax seal, which can cause water to seep through the base. Another issue is an uneven or improperly installed toilet, which can result in an ineffective seal.
It is essential to address these issues promptly to avoid potential damage. By ensuring a proper seal, you can prevent water leaks and maintain a clean and functional bathroom.
Now that you understand the importance of a properly sealed toilet base, let’s move on to gathering the necessary tools and materials.
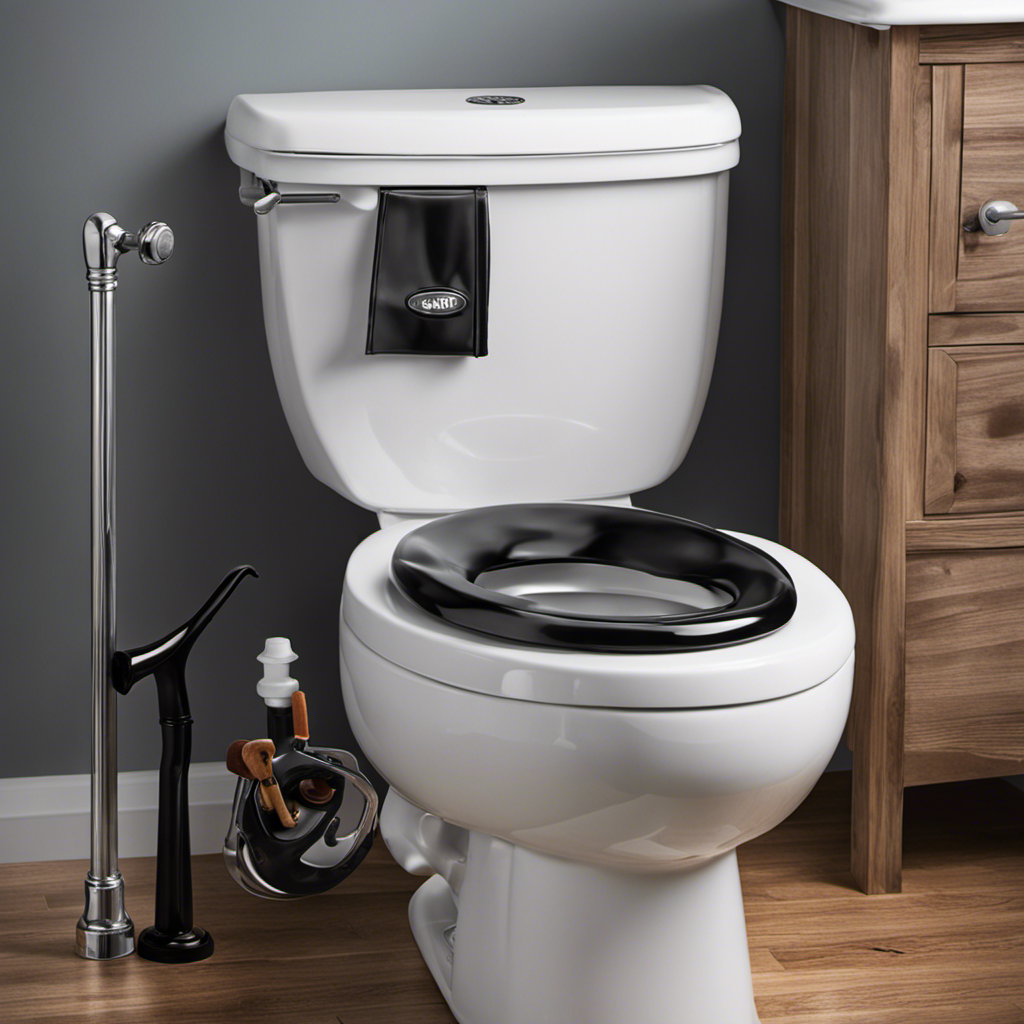
Gathering the Necessary Tools and Materials
To gather the necessary tools and materials, start by checking if you have a wax ring, an adjustable wrench, and a putty knife. These toilet base tools are essential for properly sealing the toilet and preventing any leaks.
The wax ring serves as a seal between the toilet base and the floor drain, ensuring a watertight connection. The adjustable wrench is needed to loosen and tighten the bolts that hold the toilet in place. Finally, the putty knife is used to remove any old wax or debris from the flange before installing the new wax ring.
With these tools in hand, you can proceed to the next step of preparing the toilet base for sealing, ensuring a secure and leak-free installation.
Preparing the Toilet Base for Sealing
Once you’ve gathered all the necessary tools and materials, it’s time to start preparing the toilet base for sealing.
First, ensure the toilet base is stable and secure. Any wobbling or movement can compromise the sealant’s effectiveness. Tighten the bolts at the base of the toilet to secure it firmly to the floor.
Next, clean the area around the base thoroughly, removing any debris or old sealant. Use a scraper or putty knife to scrape off any remnants. It’s crucial to have a clean and dry surface for the sealant to adhere properly.
Finally, inspect the base for any cracks or damage that could affect the sealing process. Address any issues before proceeding.
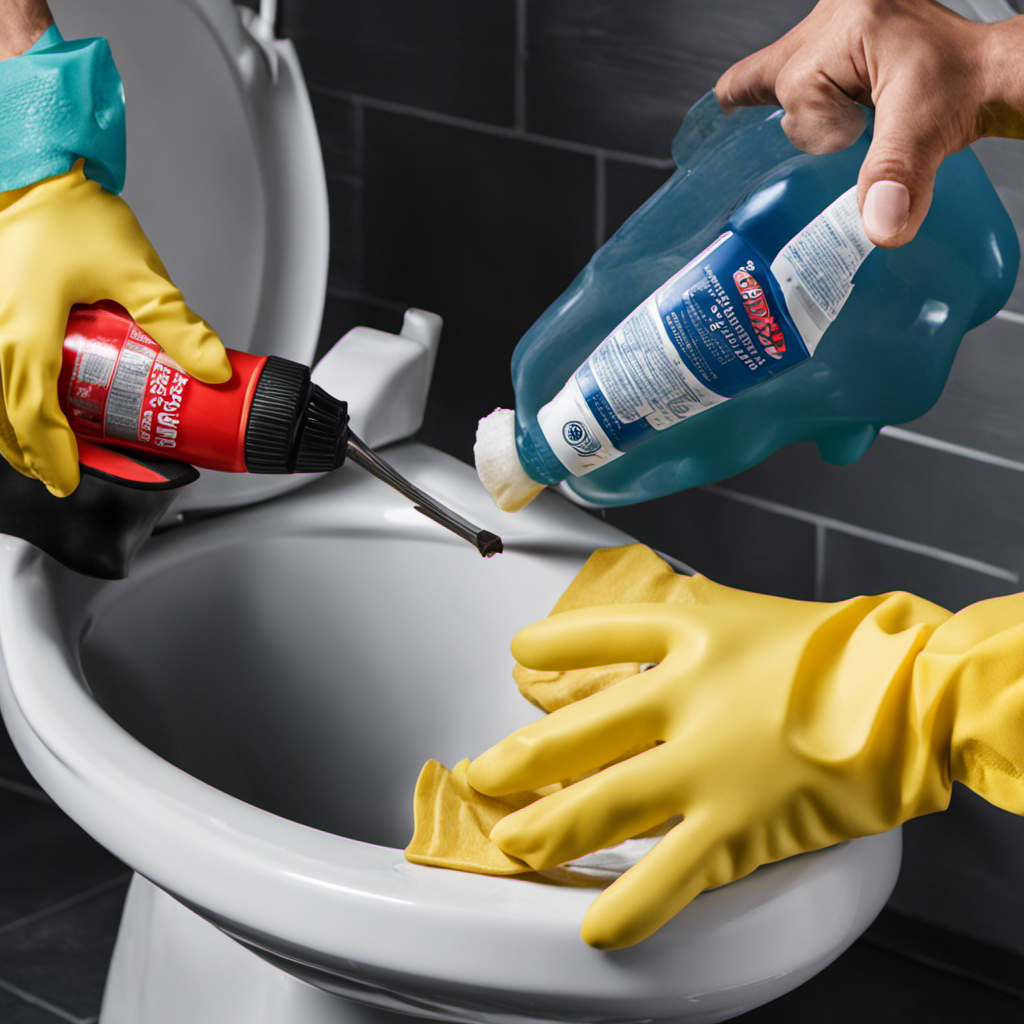
Applying the Sealant to the Toilet Base
After gathering all the necessary tools and materials, it’s time to apply the sealant to the toilet base. Before starting, ensure that the toilet is securely in place and the floor is clean and dry.
Begin by squeezing a thin, even line of sealant around the base of the toilet. Use a caulking gun for precision and control.
Next, use a caulk smoothing tool or your finger to smooth out the sealant, ensuring a watertight seal. Pay close attention to the corners and edges to prevent any gaps. If any excess sealant oozes out, simply wipe it away with a damp cloth.
Allow the sealant to dry completely before using the toilet.
Troubleshooting common issues includes checking for any leaks or gaps after the sealant has dried, and reapplying the sealant if necessary.
Testing and Maintaining the Sealed Toilet Base
Make sure you regularly check for any leaks or gaps in the sealant to ensure that it remains watertight. Proper testing techniques can help identify any issues with the sealed toilet base. Here are some troubleshooting steps you can follow:
-
Visual Inspection: Examine the sealant for any visible cracks or gaps. Look for signs of water damage or discoloration around the base.
-
Water Test: Pour a small amount of water around the base of the toilet and observe for any leaks. If water seeps through, there might be a problem with the sealant.
-
Reapply Sealant: If you notice any leaks or gaps, remove the old sealant and apply a new layer. Make sure to clean the area thoroughly before resealing.
-
Tighten Bolts: Check the toilet bolts for any looseness. Tighten them if necessary to ensure a secure fit.
-
Regular Maintenance: It is recommended to check the sealant every few months and address any issues promptly to prevent further damage.
Frequently Asked Questions
How Often Should I Check the Seal on My Toilet Base?
I check the seal on my toilet base regularly to ensure proper maintenance. Signs of a faulty seal include water leakage or a wobbly toilet. Checking the seal can prevent further damage.
Can I Use Any Type of Sealant for Sealing the Toilet Base?
Yes, you can use different types of sealants for sealing the toilet base. However, it is important to choose the right sealant that is specifically designed for this purpose to ensure a proper and long-lasting seal.
Is It Necessary to Replace the Wax Ring When Sealing the Toilet Base?
It is necessary to replace the wax ring when sealing the toilet base. Using alternative sealants may not provide a proper seal and can lead to leaks. Follow these steps to ensure a secure and watertight seal.
What Should I Do if There Is a Leak After Sealing the Toilet Base?
If there’s a leak after sealing the toilet base, first check the wax ring for any damage or misalignment. Tighten the bolts and ensure proper sealing. If the issue persists, consider replacing the wax ring and applying additional sealant.
Can I Seal the Toilet Base Without Removing the Toilet From the Floor?
Yes, you can seal the toilet base without removing it from the floor. There are alternative sealing methods available for toilet base installation that do not require lifting the toilet.
Conclusion
In conclusion, ensuring a properly sealed toilet base is crucial for maintaining a leak-free bathroom.
By following these step-by-step instructions and using the right tools and materials, you can successfully seal your toilet base and prevent any potential water damage.
Remember to test the sealant and regularly maintain it to ensure its effectiveness.
Don’t let a small leak turn into a big headache – take the necessary steps to seal your toilet base and enjoy a worry-free bathroom experience.

Liam’s journey with us started as a consumer. Having faced challenges while setting up his own modern bathroom, he delved deep into research.
Recognizing his knack for simplifying complex information and his authentic writing style, we were thrilled to welcome him aboard. Liam’s articles often merge practicality with style, ensuring readers find the perfect fit for their homes. Liam is an avid hiker off-duty and often jokes about finding the best “natural toilets” Mother Earth has to offer.