Securing a toilet to the floor is like anchoring a ship in a stormy sea – it’s crucial for stability and peace of mind.
In this step-by-step guide, I’ll show you how to properly secure your toilet, ensuring it stays firmly in place.
With the right tools and materials, you can easily tackle this task.
From removing the toilet to cleaning the flange and floor surface, we’ll cover each detail to ensure a secure and long-lasting installation.
Let’s get started!
Key Takeaways
- Use a wax ring to create a seal between the toilet and the floor to prevent leaks.
- Ensure the toilet flange is clean and free from obstructions before installation.
- Properly install the wax ring to ensure a watertight connection and prevent future leaks.
- Securely bolt the toilet to the floor using new bolts and a wrench, making sure not to overtighten and crack the toilet.
Step 1: Gather the Necessary Tools and Materials
First, make sure you’ve got all the tools and materials you’ll need for toilet installation as part of your bathroom renovations.
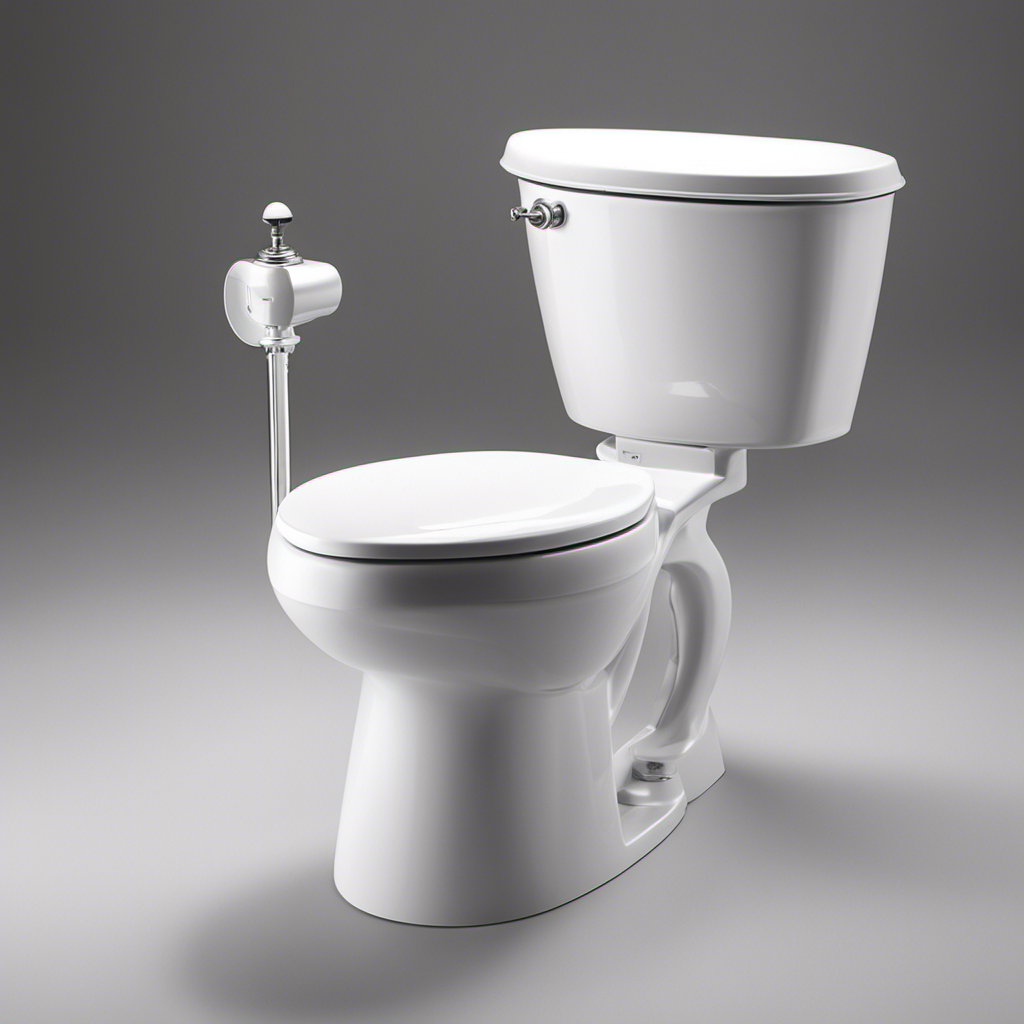
To secure a toilet to the floor, you’ll need a few essential items. Firstly, you’ll need a wax ring, which acts as a seal between the toilet and the floor. This prevents any leaks from occurring.
Next, you’ll need a toilet flange, which connects the toilet to the drain pipe. It provides stability and ensures a proper fit.
Additionally, you’ll need a wrench to tighten the bolts that secure the toilet to the floor.
Finally, don’t forget to have a level handy to ensure that the toilet is properly aligned.
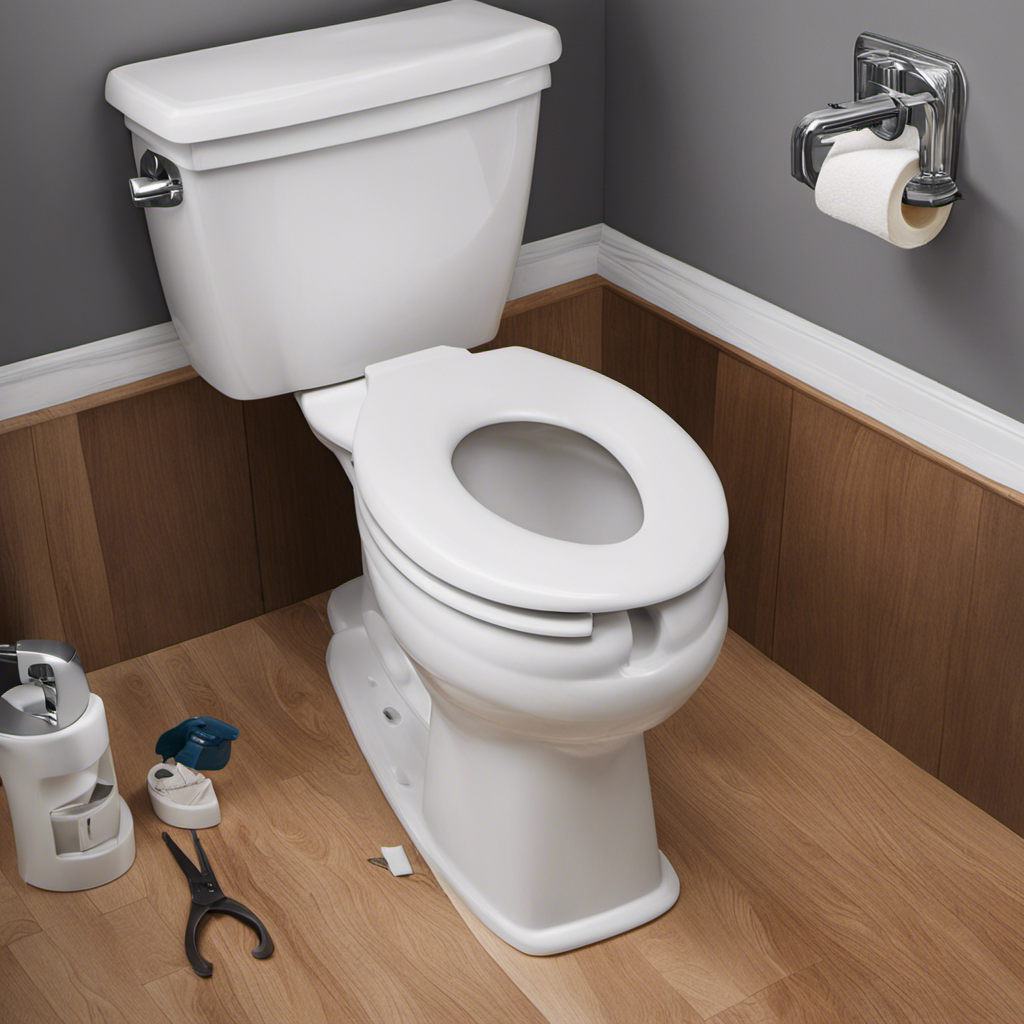
Step 2: Remove the Toilet From the Floor
Next, you’ll need to detach the toilet from the floor. Toilet removal requires proper lifting techniques to ensure a safe and efficient process.
Firstly, locate the water shut-off valve and turn it clockwise to stop the water flow. Flush the toilet to drain the remaining water in the tank and bowl. Use a wrench to disconnect the water supply line from the bottom of the tank.
Now, remove the tank by unscrewing the bolts that secure it to the bowl. With caution, lift the tank off and set it aside.
Next, remove the caps covering the bolts attaching the toilet bowl to the floor. Loosen and remove these bolts using a wrench.
Step 3: Clean the Toilet Flange and Floor Surface
To ensure a proper seal, make sure you clean the toilet flange and the surface of the floor. Cleaning these areas is essential for a secure and hygienic installation of your toilet. Here are some cleaning techniques to follow and common mistakes to avoid:
-
Use a damp cloth or sponge to remove any dirt, debris, or old wax from the toilet flange. Ensure that the flange is free from any obstructions that may prevent a tight seal.
-
Clean the surface of the floor around the flange. Remove any dust, grime, or adhesive residue that may interfere with the toilet’s stability. A mild detergent solution can be used for stubborn stains.
-
Avoid using abrasive cleaners or tools that may damage the flange or floor surface. Additionally, be cautious not to scratch or chip the porcelain during the cleaning process.
Step 4: Install a New Wax Ring
Now, you’ll want to apply a new wax ring to ensure a proper seal between the toilet flange and the base of the toilet. This step is crucial in replacing the old wax ring and maintaining the integrity of the toilet installation.
The wax ring acts as a barrier, preventing water leaks and potential damage to the floor and surrounding areas. To install the new wax ring, first, remove the old wax residue from the flange and the bottom of the toilet. Then, carefully place the new wax ring onto the flange, making sure it is centered.
Gently lower the toilet onto the wax ring, applying even pressure to create a secure seal. Remember, proper installation of the wax ring is essential to prevent future leaks and ensure a watertight connection.
With the wax ring in place, we can now move on to step 5: securely bolting the toilet back to the floor.
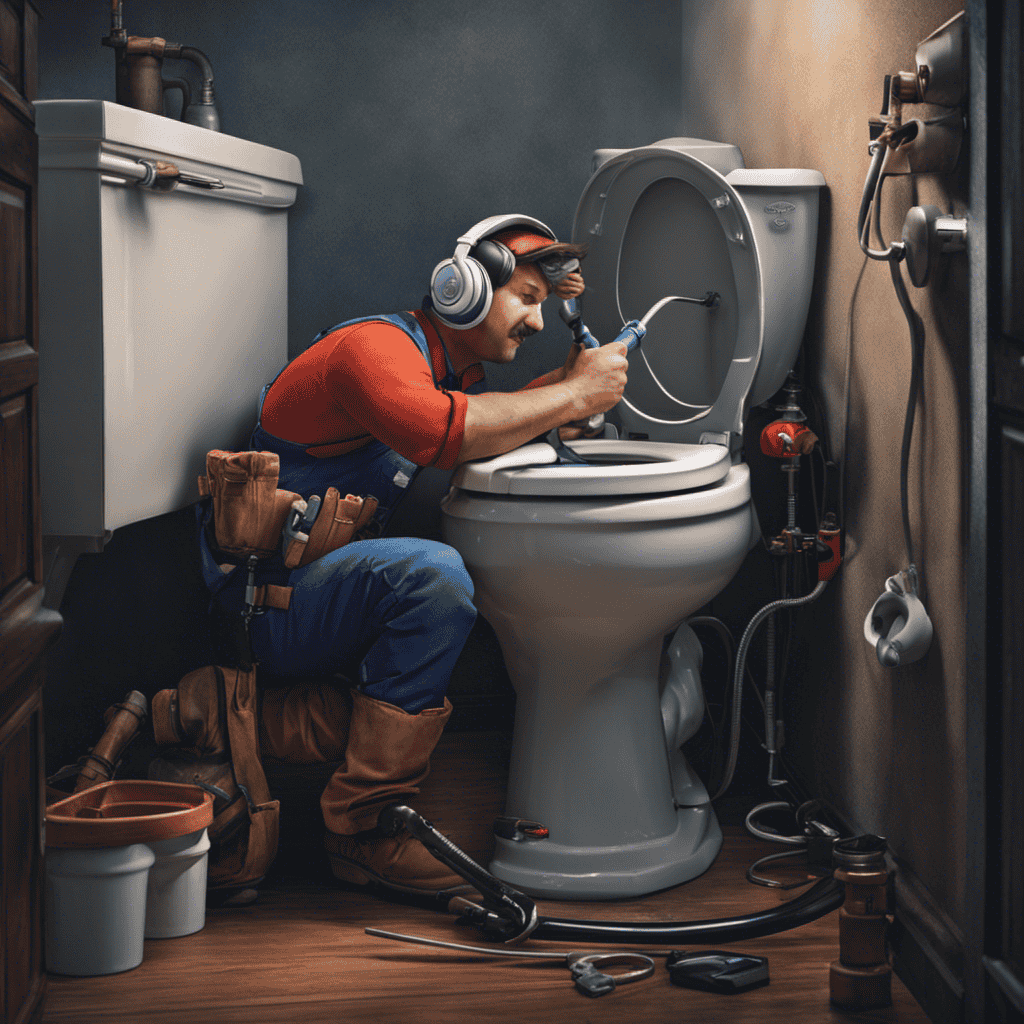
Step 5: Securely Bolt the Toilet Back to the Floor
Once the wax ring is in place, you can proceed by firmly fastening the toilet to the floor using bolts. This step is crucial to ensure that the toilet remains stable and properly sealed.
Here’s how you can securely bolt the toilet back to the floor:
-
Replace old bolts: Start by removing the old bolts that were used to secure the toilet. These bolts may have become rusted or worn out over time, so it’s important to replace them with new ones for a secure installation.
-
Use a leveling tool: Before securing the toilet, use a leveling tool to ensure that it is perfectly level. This will prevent any wobbling or uneven pressure on the wax ring, which could lead to leaks or damage.
-
Fasten the bolts: Place the new bolts into the flange on the floor and align them with the holes on the toilet base. Use a wrench to tighten the nuts securely, but be careful not to overtighten and crack the toilet.
Conclusion
After following these steps to secure my toilet to the floor, I felt a sense of relief. It was just like a captain securing their ship to a sturdy dock.
The tools and materials became my trusted crew, working together to ensure stability and prevent any future mishaps.
As I tightened the bolts, it was as if I was fastening the final knot of a lifeline. I knew that my toilet was now secure and ready for any turbulence that may come its way.
With this knowledge and technical expertise, I can rest easy. Knowing that my toilet is anchored firmly in place.

With an impeccable eye for detail and a passion for bathroom-related, Ava leads our editorial team gracefully and precisely.
Under her guidance, Best Modern Toilet has flourished as the go-to resource for modern bathroom enthusiasts. In her free time, you might find Ava exploring antique shops and looking for vintage bathroom fixtures to add to her collection.