Did you know that a staggering 25% of toilets in households require shimming to maintain stability? If you find yourself dealing with a wobbly toilet, don’t panic!
In this article, I will guide you through the step-by-step process of shimming a toilet, ensuring that it stays securely in place. With the right tools and proper techniques, you can easily tackle this common household issue and enjoy a stable and reliable bathroom fixture.
Let’s get started!
Key Takeaways
- Shimming a toilet prevents wobbling or rocking and maintains stability.
- Proper tool selection is important, including choosing shims of appropriate thickness and material.
- Shims should be placed evenly and securely under the toilet base for stability.
- Creating a watertight seal with a wax ring is crucial for preventing leaks and potential damage.
Reasons to Shim a Toilet
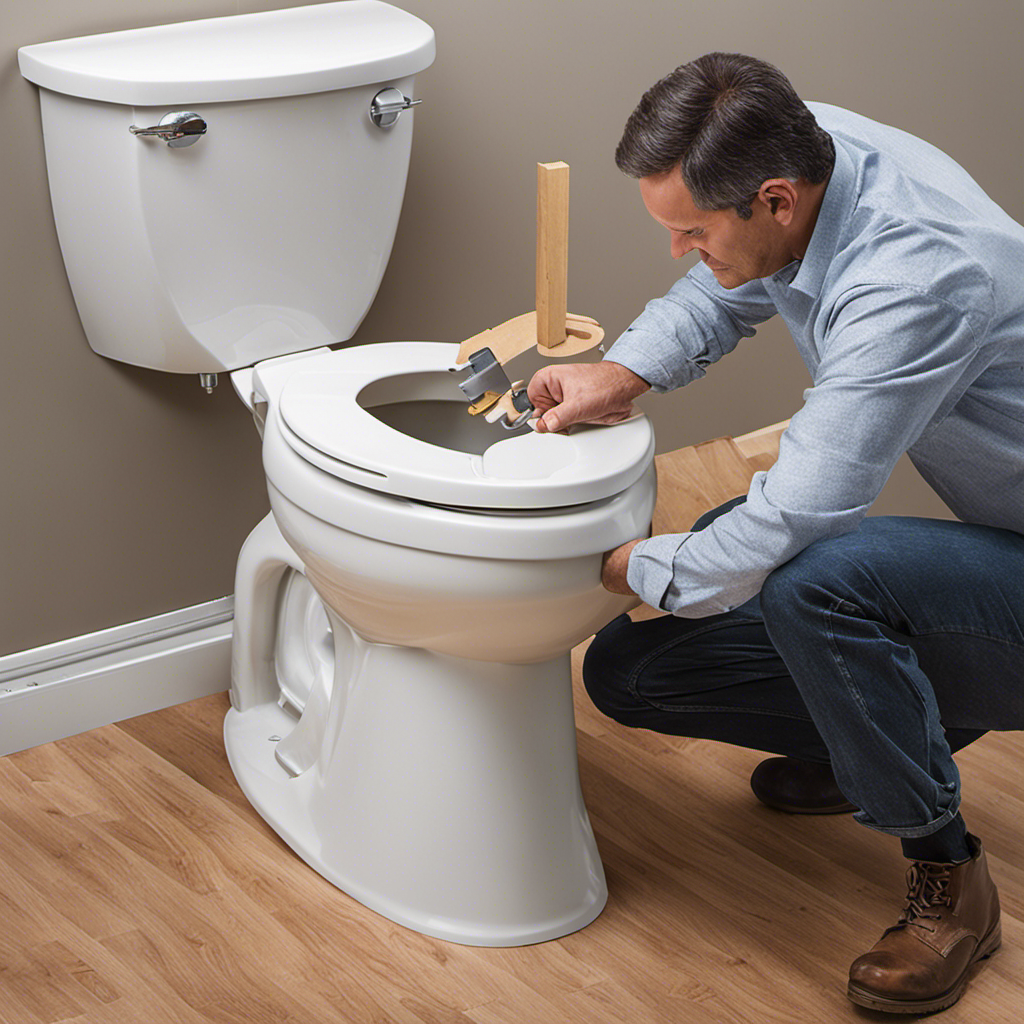
If your toilet wobbles or rocks, you’ll need to shim it to ensure stability. Shimming a toilet involves using small wedges, or shims, to level out the base and prevent movement.
There are several techniques for shimming a toilet, depending on the specific situation. One common method is to place shims under the toilet base, adjusting the amount as needed to achieve a level surface. Another technique involves using a combination of shims and silicone caulk to secure the toilet firmly in place.
The benefits of using shims to stabilize a toilet are numerous. They provide stability, preventing the toilet from rocking or shifting when in use. This helps to prevent leaks and potential damage to the flooring or surrounding pipes. Shimming also ensures a comfortable and safe experience for users, as an unstable toilet can be a hazard.
Tools Needed for Shimming a Toilet
When it comes to shimming a toilet, having the right tools is essential for a successful job. The key points to consider are the essential shimming tools and proper tool selection.
In order to ensure stability and prevent leaks, it is important to choose the right tools that will provide a secure and level foundation for your toilet installation.
Essential Shimming Tools
To properly shim your toilet, you’ll need a few essential tools. Here are the top 5 items you’ll need:
-
Toilet shims: These small wedges are specifically designed to stabilize and level your toilet. They are available in various thicknesses to accommodate different toilet models and flooring types.
-
Adjustable wrench: This tool will come in handy for loosening and tightening the bolts that secure your toilet to the floor.
-
Caulk gun: A caulk gun is necessary for applying a bead of caulk around the base of the toilet after shimming, ensuring a watertight seal.
-
Level: A level is crucial for determining if your toilet is properly aligned and balanced.
-
Rubber gloves: It’s always a good idea to wear gloves when working with toilets to protect yourself from bacteria and other contaminants.
When choosing toilet shims, consider the toilet shim thickness and material that will best suit your needs.
Proper Tool Selection
It’s important to consider the thickness and material of the toilet shims that will best suit your needs when selecting the proper tools. Toilet shims come in various types and materials, each designed for specific purposes.
The most common types include plastic, rubber, and composite shims. Plastic shims are durable and can withstand heavy loads, while rubber shims are flexible and provide excellent grip. Composite shims, on the other hand, offer the best of both worlds, combining the strength of plastic with the flexibility of rubber.
When it comes to installation techniques, it’s crucial to ensure that the shims are placed evenly and securely under the toilet base. This will help level the toilet and prevent any wobbling or leaking. It’s also essential to use the correct number of shims to provide adequate support.
Following these guidelines will ensure a stable and properly installed toilet.
Step-by-Step Guide to Shimming a Toilet
When it comes to properly leveling a toilet, there are a few key points to keep in mind.
First, it’s crucial to ensure that the toilet is level from front to back and side to side to prevent any wobbling or rocking.
Additionally, common shimming mistakes should be avoided, such as using improper materials or not placing the shims correctly.
Proper Toilet Leveling
Start by checking if your toilet is level by placing a level on top of the tank. This is an important step in ensuring toilet stability and preventing any future issues. If your toilet is not level, it can lead to leaks, wobbling, and potential damage to the floor.
To properly level your toilet during installation, consider the following steps:
-
Use shims: Shims are small wedges that can be placed under the toilet base to help level it. They are typically made of plastic or rubber and can be easily adjusted to achieve the desired level.
-
Check the flange: The flange is the part of the toilet that connects it to the drain pipe. Ensure that the flange is securely attached and level with the floor.
-
Tighten the bolts: Make sure the toilet bolts are tightened evenly to provide stability.
-
Use a wax ring: A wax ring creates a watertight seal between the toilet and the flange, preventing leaks.
-
Test for stability: After installing the toilet and shimming it, sit on it and gently rock back and forth to check for any movement or instability. Adjust the shims if necessary.
Common Shimming Mistakes
To avoid common shimming mistakes, make sure to carefully place the wedges under the base of your bathroom fixture for proper stability. When it comes to toilet shim installation, precision is key. One wrong move can lead to an unstable toilet that wobbles and leaks. To help you visualize the correct process, here is a table that illustrates the proper placement of shims:
| Front | Middle | Back |
|---|---|---|
| Shim | Shim | |
| Shim | Shim | |
| Shim | Shim | |
| Shim | Shim | |
| Shim | Shim |
Common Mistakes to Avoid When Shimming a Toilet
Make sure you avoid these common mistakes when shimming a toilet. Shimming a toilet may seem like a simple task, but there are some common errors that can lead to troubleshooting issues down the line. Here are five mistakes to watch out for:
-
Using the wrong type of shims: It’s important to use plastic or rubber shims specifically designed for toilets. Using wooden shims can cause damage to the toilet or lead to leaks.
-
Over-shimming: Adding too many shims can put unnecessary pressure on the toilet and lead to rocking or instability.
-
Uneven shimming: Make sure the shims are evenly placed around the base of the toilet to ensure stability.
-
Not checking for leaks: After shimming, it’s crucial to check for any leaks around the base of the toilet. Ignoring this step can result in water damage and costly repairs.
-
Not tightening the toilet bolts: Ensure that the toilet bolts are properly tightened after shimming to prevent any movement or wobbling.
Tips for Properly Shimming a Toilet
Ensure you have the right type of shims and evenly place them around the base for a stable and leak-free toilet installation. When it comes to toilet shim types, there are various options available, including plastic and rubber shims.
Plastic shims are durable and can withstand the weight of the toilet, while rubber shims are flexible and provide a cushioning effect. To properly install the shims, start by identifying the areas where the toilet wobbles or rocks. Carefully slide the shims under the toilet until it is level and secure.
It’s important to remember to not over-tighten the bolts, as this can cause damage to the toilet and the shims. Once the toilet is properly shimmed, you can proceed with connecting the water supply and testing for any leaks.
By following these toilet shim installation tips, you can ensure a secure and stable toilet installation.
However, in some cases, issues may arise even after shimming the toilet correctly. Troubleshooting common issues with shimming a toilet will help you identify and resolve any problems that may occur during or after the installation process.
Troubleshooting Common Issues With Shimming a Toilet
If your toilet continues to wobble or rock even after properly shimming it, you might want to check the tightness of the bolts. Loose bolts can cause the toilet to become unstable, even if it has been shimmed correctly. Here are some troubleshooting steps to help you address common issues with shimmed toilets:
-
Check the bolt tightness: Ensure that the bolts securing the toilet to the floor are tightened properly.
-
Inspect the shims: Examine the shims to make sure they are in the correct position and not damaged or worn.
-
Re-shim if necessary: If the shims are not providing enough stability, try adding additional shims to properly level the toilet.
-
Consider using a different type of shim: If the current shims are not working, try using a different type, such as plastic or rubber shims.
-
Seek professional help: If you have tried troubleshooting but the toilet continues to wobble, it may be best to seek assistance from a professional plumber.
Maintenance and Care for a Shimmed Toilet
To maintain the stability of your shimmed toilet, you should regularly check the tightness of the bolts securing it to the floor. Over time, these bolts can loosen, causing the toilet to become wobbly and unstable. By simply tightening the bolts with a wrench, you can ensure that your shimmed toilet remains securely in place.
Additionally, it is important to be aware of the signs of a poorly shimmed toilet. These signs may include a rocking or shifting toilet, water leaks around the base, or a foul odor coming from the bathroom. If you notice any of these signs, it may be necessary to readjust or replace the shims.
While shims are commonly used for toilet installation, there are alternatives available such as plastic wedges or rubber shims. These alternatives can provide a more stable and long-lasting solution for supporting your toilet.
Conclusion
In conclusion, shimming a toilet is a simple yet important task that can help solve various issues such as wobbling or leaking. By following the step-by-step guide and avoiding common mistakes, you can ensure a stable and secure toilet installation.
Remember to regularly check and maintain the shims to prevent any future problems. With the right tools and techniques, you can confidently tackle this DIY project and enjoy a properly functioning toilet.
Coincidentally, a shimmed toilet can also improve the overall aesthetic of your bathroom, adding a touch of professionalism to your space.


