Hey there, folks!
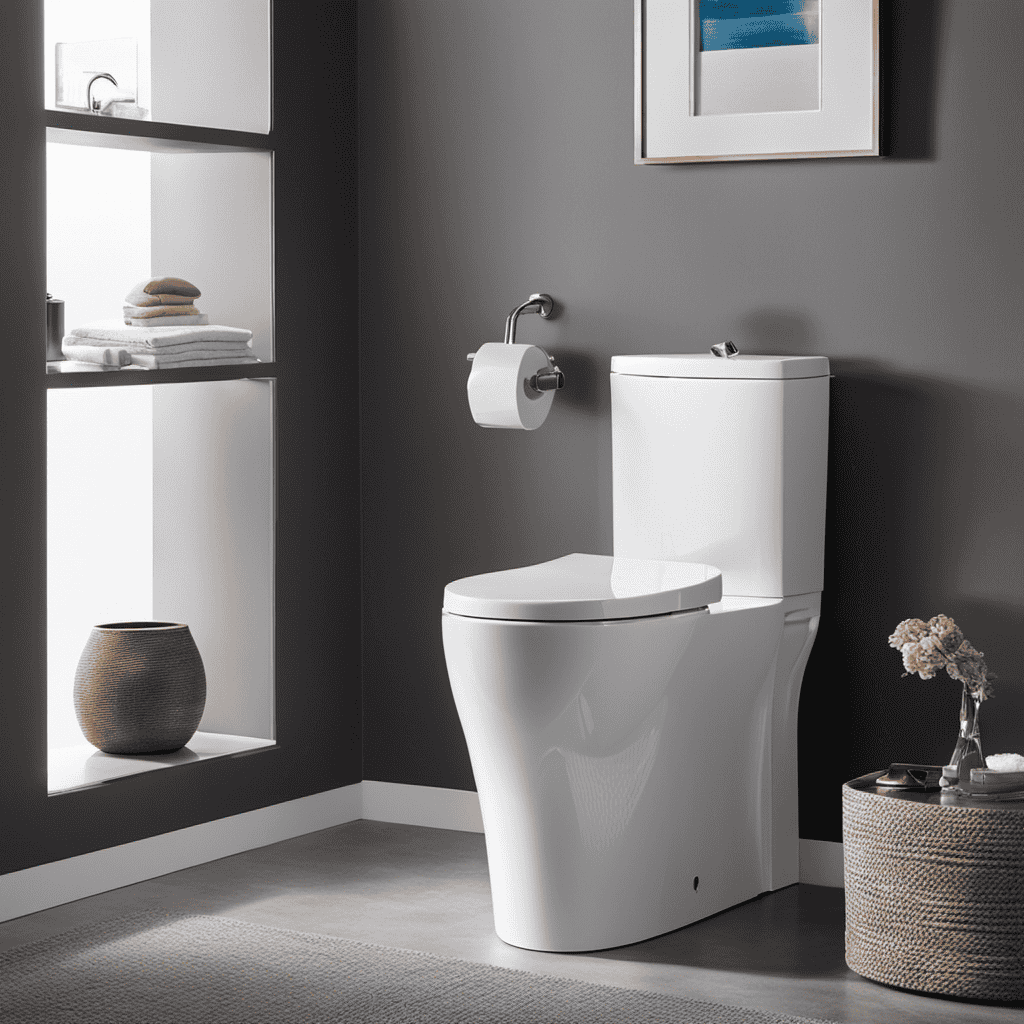
Have you ever woken up in the middle of the night to the sound of a dripping toilet? It’s not the most pleasant way to start your day, that’s for sure. But fear not, because I’ve got just the solution for you.
In this article, I’ll walk you through the step-by-step process of stopping a leaking toilet. From identifying the leak to testing for leaks, we’ll cover it all.
So let’s roll up our sleeves and get that toilet fixed in no time!
Key Takeaways
- Check for visible signs of water pooling or dripping to identify and locate the leak.
- Shut off the water supply by turning the valve clockwise to prevent further damage.
- Replace faulty parts such as the wax ring, bolts, or tank connections to prevent leaks.
- Apply sealant along the base of the toilet to ensure a proper seal and prevent leakage.

Hibbent Extra Thick Toilet Wax Ring Replacement Kit, Universal Toilet Seal Ring with Brass Toilet Floor Bolts and Retainer Washers, PE Flange Fits 3 Inch and 4 Inch Drain Pipes
Universal Toilet Wax Ring: The Hibbent toilet flange is compatible with 3-inch and 4-inch waste lines, suitable for…
As an affiliate, we earn on qualifying purchases.
As an affiliate, we earn on qualifying purchases.
Identifying the Leak
The first step in stopping a leaking toilet is identifying where the leak is coming from. This is crucial in order to apply the appropriate repair techniques.
To find the source of the leak, start by checking the water supply line and the connections to the tank. Look for any visible signs of water pooling or dripping.
If the issue is not immediately apparent, you may need to remove the tank lid and observe the flushing mechanism while the toilet is flushed. Check for any water escaping or dripping from the tank or the base of the toilet.
Once you have identified the source of the leak, you can proceed with the necessary repair techniques to fix the problem and prevent any further damage.

Fluidmaster 400H-002 Performax Universal Toilet Fill Valve High Performance Tank and Bowl Water Control, 1-Pack, Multicolor
Fix noisy, or slow filling fill valves with the quietest, most powerful toilet fill valve available
As an affiliate, we earn on qualifying purchases.
As an affiliate, we earn on qualifying purchases.
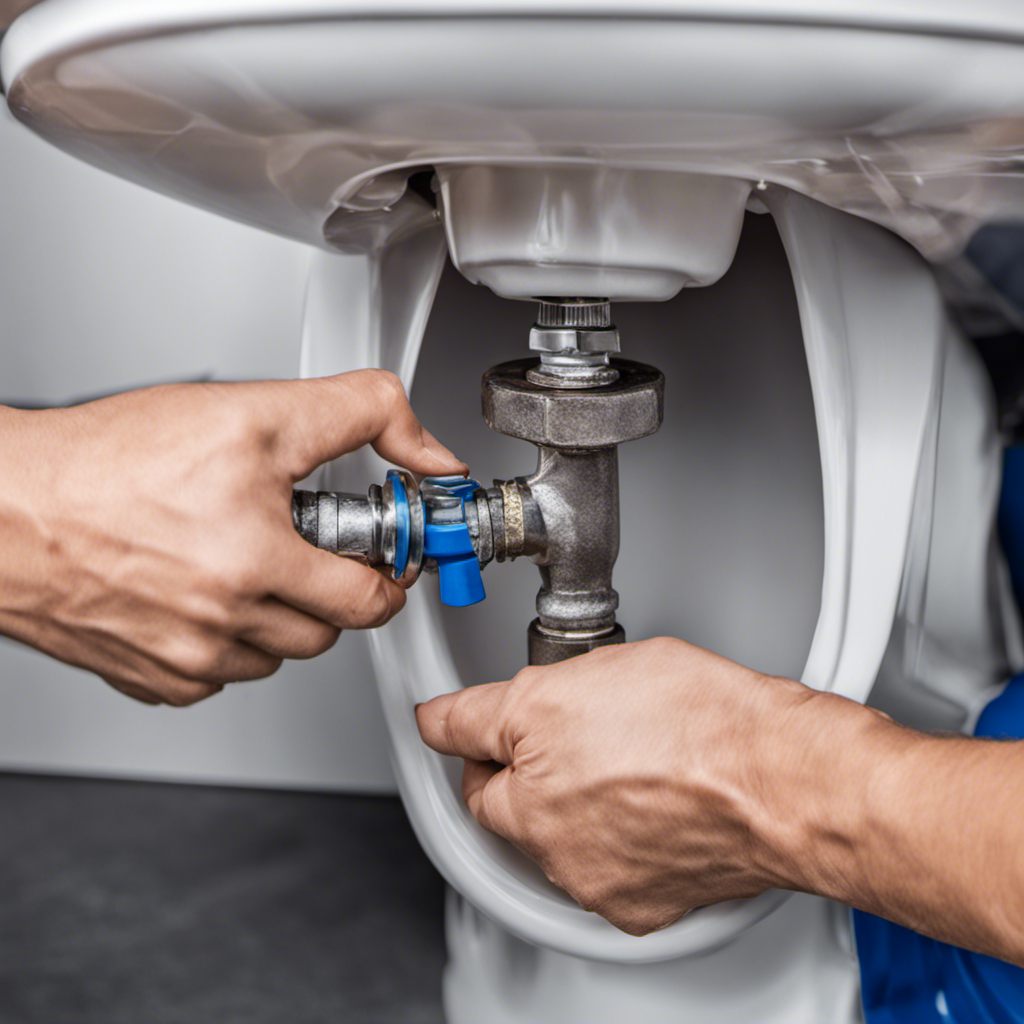
Shutting off the Water Supply
When dealing with a water leak, it’s crucial to know how to shut off the water supply to prevent further damage.
In this discussion, I will guide you through the steps of locating and shutting off the emergency valve to quickly stop the flow of water.
Water Supply Shut-Off
To stop a leaking toilet, you’ll need to locate and turn off the water supply valve. This is an essential step in preventing further water damage and potential flooding. Here’s a step-by-step guide on how to shut off the water supply to your toilet:
-
Locate the water supply valve. It is usually located on the wall behind the toilet or near the floor. It may be a round valve or a lever-type valve.
-
Once you’ve found the valve, turn it clockwise to shut off the water supply. This will stop the flow of water to the toilet.
-
To ensure that the valve is fully closed, flush the toilet and check if the water stops filling the tank.
Remember, if you’re unsure about shutting off the water supply or if the leak persists even after shutting off the valve, it’s best to seek the assistance of an emergency plumber. However, shutting off the water supply is a simple DIY repair that can help prevent further damage.
| Step | Instructions |
|---|---|
| 1 | Locate the water supply valve. |
| 2 | Turn the valve clockwise to shut off the water supply. |
| 3 | Flush the toilet to check if the water stops filling the tank. |
Prevent Further Damage
Once you’ve shut off the water supply valve, it’s important to address the leak and prevent any further damage. Here are three effective leak prevention strategies:
-
Inspect the toilet components: Check the wax ring, bolts, and tank connections for any signs of damage or wear. Replace any faulty parts to ensure a proper seal and prevent future leaks.
-
Use a leak detection tablet: Drop a dye tablet or food coloring into the toilet tank. If the water in the bowl turns color without flushing, it indicates a leak. This simple test helps identify hidden leaks and allows you to take immediate action.
-
Install a water alarm: Place a water alarm near the toilet base or on the floor. These devices sound an alert when they detect water, helping you catch leaks early and prevent extensive water damage.
Emergency Valve Location
Make sure you know where the emergency water shut-off valve is located in your home. It’s important to be prepared in case of a sudden toilet leak or any other plumbing emergency.
The emergency valve is usually located near the toilet or in the basement. To ensure it is functioning properly, conduct regular maintenance by turning the valve on and off a few times to prevent it from seizing up. If you notice any leaks or issues with the valve, it may need to be replaced or repaired.
Troubleshooting toilet leaks can be a frustrating task, but knowing the location and proper maintenance of the emergency valve can help you quickly stop the water flow and prevent further damage.
Now, let’s move on to inspecting and tightening connections to fix the leaking toilet.

TOUSEA Professional Waterproof Caulk Strip – Self Adhesive White Sealing Tape for Toilet, Tub, Peel and Stick Backsplash Finisher – Renter Friendly, Easy Install
Color & Size Specification: 1.5IN/38mm(With), 10.5FT/3.2m(Length), 0.047IN/1.2mm(Thickness) Color: White This waterproof sealant caulk tape strip with a crease…
As an affiliate, we earn on qualifying purchases.
As an affiliate, we earn on qualifying purchases.
Inspecting and Tightening Connections
When it comes to fixing leaks, it’s important to identify the most common sources.
In this discussion, I will guide you through the key points of common leak sources and proper sealant application.
Common Leak Sources
To identify common leak sources in your toilet, check the flapper, supply line, and fill valve for any signs of damage or wear. These three components are often the culprits when it comes to toilet leaks.
Here’s what you need to know:
-
Flapper: Inspect the flapper for cracks or warping. A damaged flapper can prevent a proper seal, leading to water leakage. Replace it if necessary.
-
Supply line: Check the supply line for any leaks or loose connections. Tighten any loose fittings and replace the supply line if there are signs of damage, such as cracks or corrosion.
-
Fill valve: Ensure the fill valve is functioning properly. If it is worn out or malfunctioning, it may not shut off the water flow when the tank is full, causing continuous leakage. Consider replacing the fill valve if needed.
While these repairs can often be done with basic toilet repair tools, if you’re unsure or uncomfortable with DIY repairs, it’s always best to seek professional help to prevent further damage or potential accidents.
Proper Sealant Application
Applying sealant correctly is essential for preventing any future leaks in your toilet. To ensure a proper application, follow these step-by-step techniques:
-
Clean and dry the surface: Use a mild cleaner to remove any dirt or residue. Make sure the surface is completely dry before applying the sealant.
-
Cut the nozzle: Cut the nozzle of the sealant tube at a 45-degree angle to create a small opening.
-
Apply the sealant: Squeeze a thin, even bead of sealant along the base of the toilet, focusing on the areas prone to leaks, such as the floor bolts and the wax ring.
-
Smooth the sealant: Use a caulk smoothing tool or your finger to smooth and shape the sealant, ensuring it fills any gaps or cracks.
-
Allow drying time: Check the sealant’s drying time on the product label. Typically, it takes around 24 hours for the sealant to fully cure.

Stop Valves, 1/2" × 3/8" Angle Stop Valve, 1/2" FIP Angle Input, 3/8" OD Compression Output, 1/4 Turn, Chrome Plated Brass for Kitchen, Faucet, Toilet Valves
【FIP Angle Stop Valve】- Package includes 1 pack 1/2" FIP × 3/8" OD compression angle stop valve with…
As an affiliate, we earn on qualifying purchases.
As an affiliate, we earn on qualifying purchases.
Replacing Faulty Seals and Gaskets
You’ll need to check the seals and gaskets to stop the toilet from leaking. Here’s how to do it:
-
Start by turning off the water supply to the toilet. Locate the shut-off valve, usually located near the base of the toilet, and turn it clockwise to shut off the water flow.
-
Next, remove the tank lid and inspect the flapper. If you notice any damage or wear, it’s time to replace it. Simply disconnect the chain and remove the old flapper, then install the new one in its place.
-
After replacing the flapper, it’s important to check the water pressure. High water pressure can cause leaks. You can use a pressure gauge to measure the pressure, and if it’s too high, consider installing a pressure-reducing valve.
By following these steps, you can effectively replace a damaged flapper and check the water pressure, helping to prevent any leaks.
Now, let’s move on to fixing a cracked toilet bowl.
Fixing a Cracked Toilet Bowl
Now, if your toilet bowl has a crack, it’s important to address the issue before it gets worse. A cracked toilet bowl can lead to leaks and water damage, so it’s crucial to take action.
The first step is to turn off the water supply to the toilet by shutting off the valve located behind the bowl. Next, flush the toilet to drain any remaining water.
To replace the cracked toilet bowl, it’s best to seek professional plumbing assistance. A professional plumber will have the necessary tools and expertise to remove the old bowl and install a new one correctly. Attempting to replace the toilet bowl yourself can lead to further damage and potential leaks.
Repairing a Damaged Flush Valve
After addressing a cracked toilet bowl, it’s important to check the flush valve for any damage. A damaged flush valve can cause water to continuously leak from the tank into the bowl, leading to wasted water and higher water bills.
To repair a damaged flush valve, follow these steps:
- Turn off the water supply to the toilet by shutting off the valve located behind the toilet.
- Flush the toilet to drain the water from the tank.
- Remove the flush valve by unscrewing it from the bottom of the tank.
- Install a new flush valve by screwing it into place.
- Turn the water supply back on and test the toilet for any leaks.
Testing and Checking for Leaks
To ensure there are no leaks, it’s important to test and check the newly installed flush valve. There are several testing techniques you can use to determine if your flush valve is working properly. Here are some DIY repair options you can try:
| Testing Technique | Steps |
|---|---|
| Visual Inspection | 1. Look for any visible signs of water around the flush valve. |
| Dye Test | 1. Add a few drops of food coloring into the toilet tank. 2. Wait for about 15 minutes without flushing. 3. If the water in the bowl changes color, there may be a leak. |
| Paper Test | 1. Place a sheet of toilet paper on the back of the bowl. 2. Flush the toilet. 3. If the paper stays dry, there is no leak. |
Conclusion
So there you have it, a step-by-step guide on how to stop a leaking toilet. By following these simple instructions, you can save yourself from the frustration of dealing with a constantly running toilet and the potential damage that a leak can cause.
Remember, it’s important to act quickly when you notice a leak to prevent further issues. Don’t let a leaking toilet disrupt your peace of mind any longer.
Take control of the situation and fix it yourself. You’ll be amazed at how satisfying it is to solve the problem and enjoy a leak-free toilet once again.
Don’t wait any longer, get started now and put an end to that pesky leak.