Hey there!
Ever had that annoying experience of sitting on a toilet seat that just won’t stay put? Well, fear not, because I’m here to share some handy tips on how to stop your toilet seat from sliding.
With a little know-how and the right tools, you’ll be able to fix this problem in no time. So, let’s dive into the world of toilet seat stability and discover how to keep it firmly in place.
Key Takeaways
- Measure toilet bowl dimensions and compare with seat size
- Consider alternative materials for better grip and stability
- Tighten hinge screws evenly on both sides
- Installing anti-slip pads can help prevent sliding.
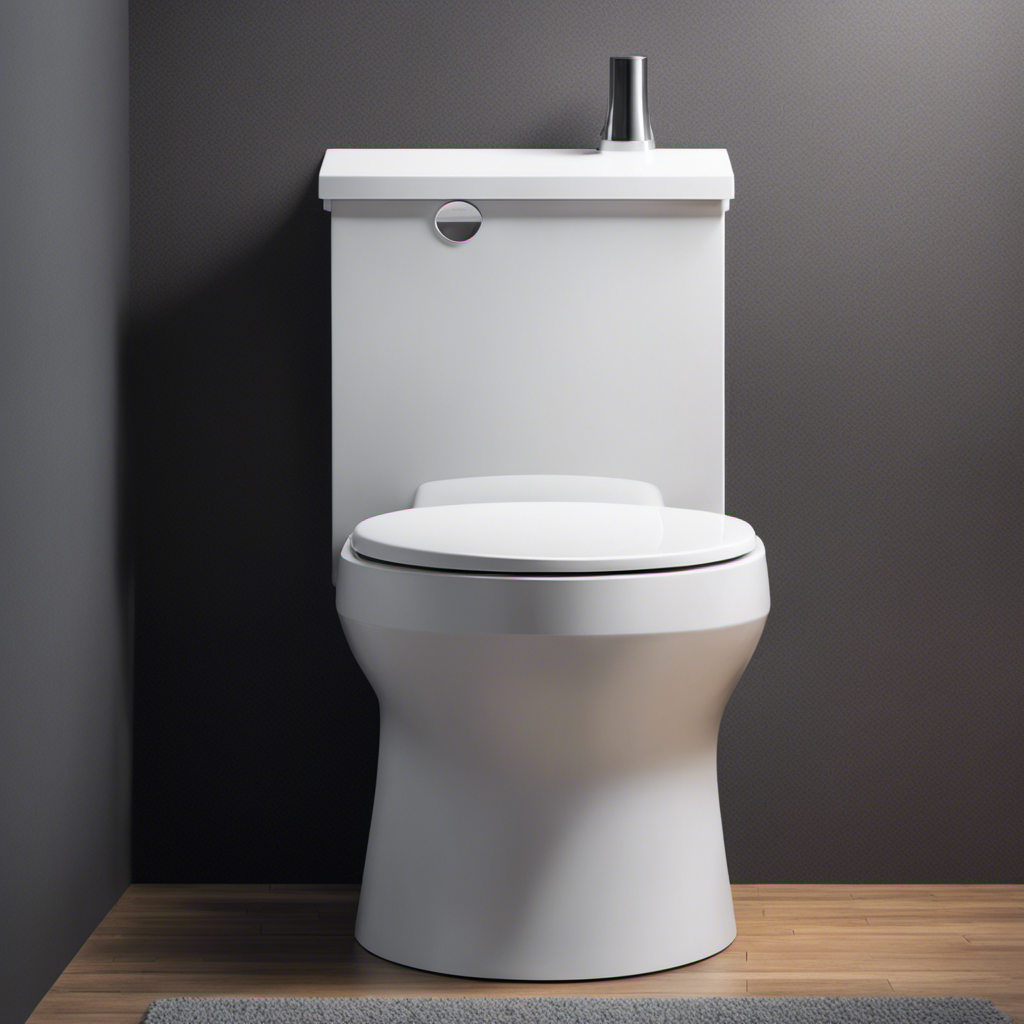
Assessing the Problem
First, you need to determine why your toilet seat is sliding. To do this, it’s crucial to ensure proper toilet seat measurements. Measure the dimensions of your toilet bowl and compare them with the seat you currently have. If the seat is too small or too big, it may not fit properly, causing it to slide.
If the measurements are correct, it’s worth exploring alternative toilet seat materials. Traditional seats are usually made of plastic or wood, but there are also options like cushioned seats or seats made of materials like bamboo or resin. These alternative materials can provide better grip and stability, reducing the chances of your toilet seat sliding.
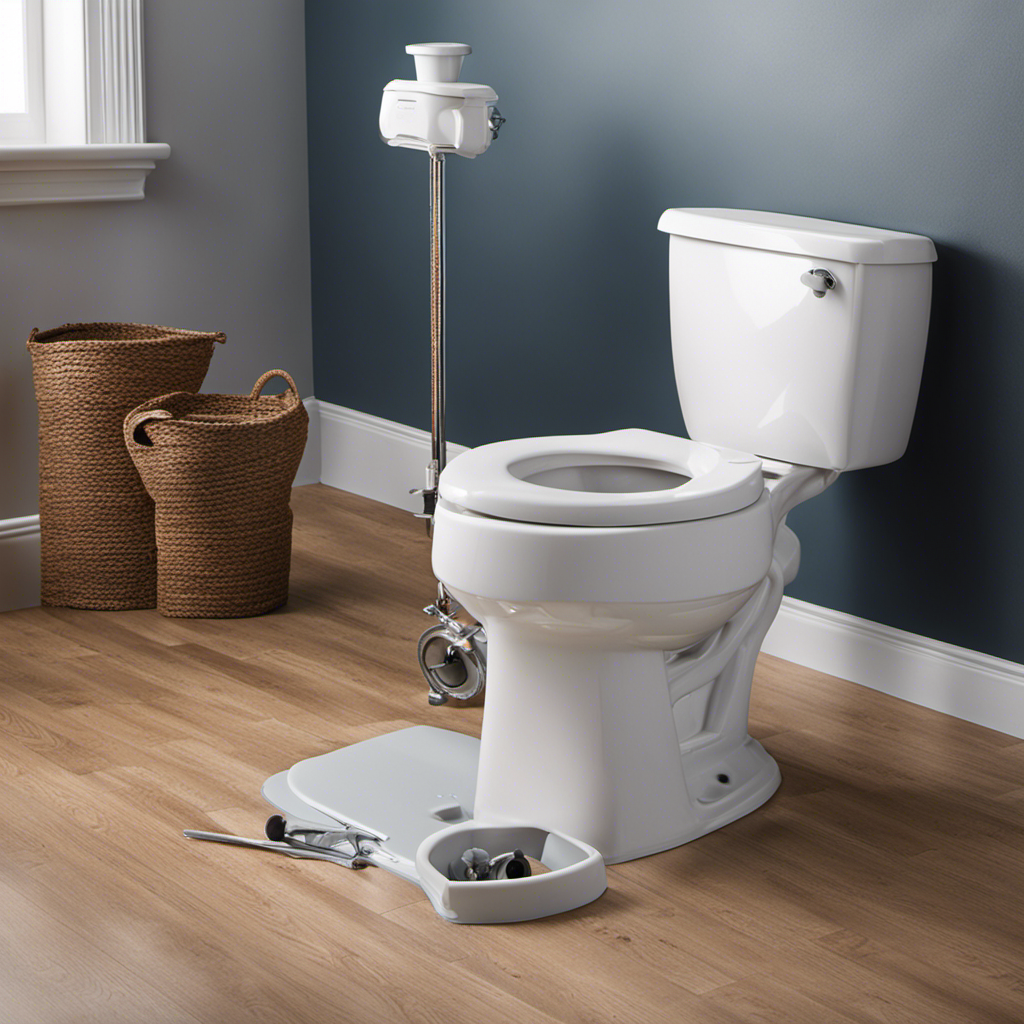
Identifying the Cause
Next, try checking the hinges to see if they’re loose. Loose hinges are a common cause of a sliding toilet seat. When the hinges are not secured properly, it allows for movement, compromising the stability of the seat.
To prevent this movement and secure stability, tighten the hinge screws using a screwdriver. Make sure to tighten them evenly on both sides to maintain balance. If the screws are stripped or damaged, replace them with new ones.
Additionally, check the plastic mounting bolts that secure the seat to the bowl. If they are worn or broken, replace them as well.
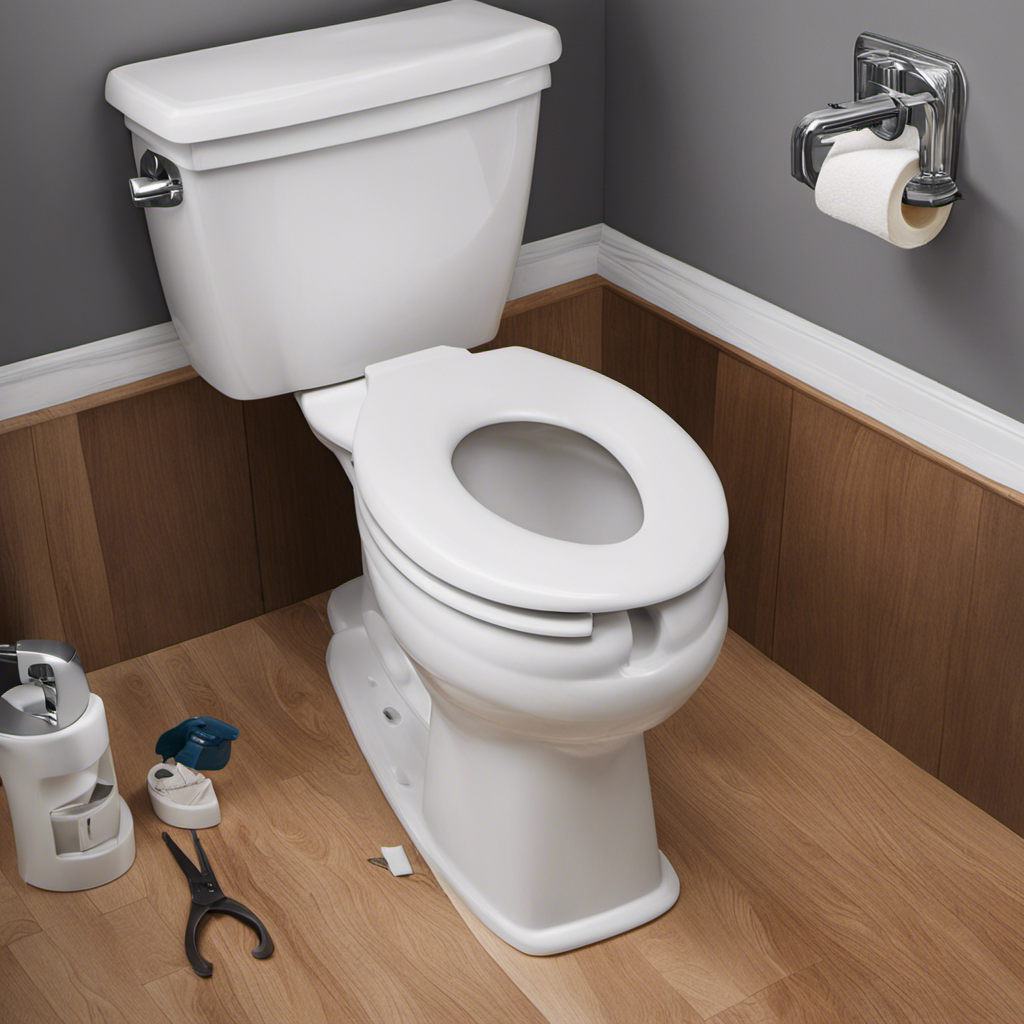
Choosing the Right Tools
When you’re choosing the right tools, it’s important to consider the specific needs of your project. When it comes to preventing movement and securing stability for a toilet seat, there are a few key tools that can help. Here is a table outlining the tools and their functions:
| Tool | Function |
|---|---|
| Rubber washers | Provide grip and prevent sliding |
| Adjustable wrench | Tighten bolts securely |
| Screwdriver | Tighten screws or adjust hinges |
| Hex key | Securely fasten hex screws |
Rubber washers are essential for preventing movement as they provide grip and prevent sliding. An adjustable wrench is necessary to tighten bolts securely, ensuring stability. A screwdriver is useful for tightening screws or adjusting hinges that may be causing the seat to move. Lastly, a hex key is required to securely fasten hex screws. By choosing the right tools, you can effectively prevent movement and secure stability for your toilet seat.
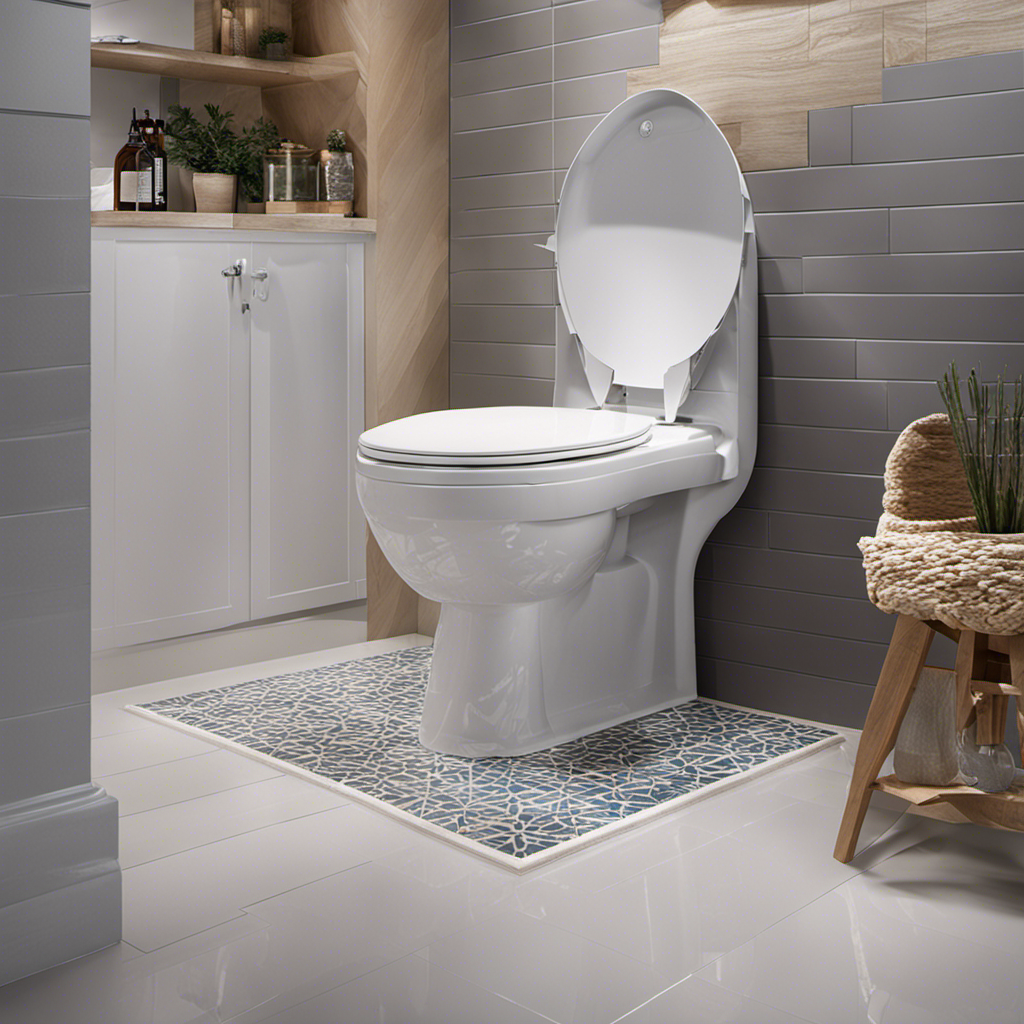
Installing Anti-Slip Pads
To install anti-slip pads, you’ll need to remove the toilet seat and clean the surface thoroughly. This will ensure maximum adhesion and prevent movement when using the toilet. Here’s a step-by-step guide to help you secure stability:
-
Remove the toilet seat: Locate the screws or bolts that hold the seat in place and use a screwdriver or wrench to loosen them. Lift the seat and set it aside.
-
Clean the surface: Use a mild detergent or bathroom cleaner to thoroughly clean the toilet bowl rim and seat mounting area. Remove any dirt, grime, or residue that may hinder the adhesion of the anti-slip pads.
-
Position the pads: Peel off the backing from the anti-slip pads and carefully place them on the cleaned surface. Ensure they are evenly spaced and cover the entire seat mounting area.
-
Reinstall the seat: Align the screw holes of the toilet seat with the mounting holes on the toilet bowl rim. Tighten the screws or bolts firmly to secure the seat in place.
Tightening the Seat Hinges
Proper hinge installation and adjusting hinge tightness are crucial steps in ensuring the stability and functionality of a toilet seat.
When it comes to hinge installation, it’s important to follow the manufacturer’s instructions carefully to ensure a secure and durable attachment.
Once the hinges are properly installed, adjusting the hinge tightness allows for customization. This ensures the seat is neither too loose nor too tight, providing optimal comfort and preventing any unwanted movement.
Proper Hinge Installation
Make sure you’ve installed the hinges correctly to prevent the toilet seat from sliding. Proper hinge installation is crucial in ensuring the stability and longevity of your toilet seat. Here are four key steps to follow:
-
Align the hinges: Position the hinges in line with the holes on the toilet bowl. This ensures a secure fit and prevents any unnecessary movement.
-
Secure the screws: Use a screwdriver to tighten the screws that hold the hinges in place. Be careful not to overtighten, as this can damage the hinges.
-
Apply lubrication: Regular hinge maintenance is essential for preventing hinge corrosion. Apply a small amount of lubricant to the hinge mechanism to keep it functioning smoothly.
-
Test the stability: Once the hinges are installed, give the toilet seat a gentle shake to ensure it remains firmly in place. If there is any movement, double-check the alignment and tighten the screws if necessary.
With the hinges properly installed, we can move on to adjusting the hinge tightness for optimal comfort and stability.
Adjusting Hinge Tightness
Ensure that you’ve adjusted the hinge tightness to your desired level for maximum comfort and stability.
Loose hinges can be a common issue that causes a toilet seat to slide, making it uncomfortable and potentially unsafe to use. To address this problem, it is crucial to properly adjust the hinge tightness.
Begin by locating the hinge screws on the underside of the toilet seat. Using a screwdriver, tighten the screws until the hinges are securely fastened to the toilet bowl. Ensure that the seat is aligned properly and does not wobble.
If the hinges are still loose or become stiff over time, consider lubricating them with a silicone-based lubricant. Apply a small amount of lubricant to the hinges and move them back and forth to distribute it evenly. This will provide smooth movement and prevent the seat from sliding.
Seeking Professional Help
If you’re struggling to fix the sliding toilet seat, you might want to consider calling a professional for assistance. While there are alternative solutions that you can try on your own, seeking professional advice can ensure a long-term fix and prevent further damage.
Here are four reasons why seeking professional help is beneficial:
-
Expertise: A professional has the knowledge and experience to accurately diagnose the issue and provide the most effective solution.
-
Safety: Handling plumbing fixtures without proper training can be risky. A professional can ensure the job is done safely, minimizing the risk of injury or further damage.
-
Time-saving: Professionals have the necessary tools and resources to quickly fix the problem, saving you time and hassle.
-
Long-term solution: A professional can provide a permanent fix, ensuring that your toilet seat stays in place for years to come.
When it comes to fixing a sliding toilet seat, it’s best to trust the expertise of a professional for a reliable and lasting solution.
Frequently Asked Questions
How Long Does It Take to Install Anti-Slip Pads on a Toilet Seat?
Installing anti-slip pads on a toilet seat is a quick and easy process. It typically takes just a few minutes to attach the pads securely, providing the benefits of a stable seat and preventing sliding. Alternative methods to prevent toilet seat sliding include using adhesive strips or a toilet seat stabilizer.
Can I Use Any Type of Adhesive to Attach the Anti-Slip Pads to the Toilet Seat?
I found that using a strong adhesive like epoxy or silicone caulk works best for attaching anti-slip pads to a toilet seat. It provides a secure hold and prevents the seat from sliding, ensuring safety and stability.
Are There Any Specific Measurements or Guidelines to Follow When Tightening Seat Hinges?
When tightening seat hinges, it is important to follow proper measuring techniques to ensure a secure fit. By using the correct measurements and applying the appropriate tightening techniques, you can prevent your toilet seat from sliding.
What Are Some Signs That Indicate I Should Seek Professional Help for My Sliding Toilet Seat?
If you notice signs of damage such as wobbling or sliding, it’s important to seek professional help. Regular maintenance is crucial to prevent further issues and ensure the longevity of your toilet seat.
How Often Should I Check and Tighten the Seat Hinges to Prevent the Toilet Seat From Sliding?
I check and tighten my seat hinges every few months to prevent sliding. It’s important to keep them in good condition. If the hinges are worn, replacing them or using adhesive pads can provide alternative solutions.
Conclusion
In conclusion, preventing a toilet seat from sliding is a simple task that can be easily accomplished with the right tools and techniques. By assessing the problem, identifying the cause, and using anti-slip pads or tightening the seat hinges, you can ensure a stable and secure toilet seat.
However, in some cases where the issue persists or the cause is more complex, seeking professional help may be necessary. For example, in a recent case study, a homeowner successfully used anti-slip pads to prevent their toilet seat from sliding, resulting in enhanced safety and comfort.

With an impeccable eye for detail and a passion for bathroom-related, Ava leads our editorial team gracefully and precisely.
Under her guidance, Best Modern Toilet has flourished as the go-to resource for modern bathroom enthusiasts. In her free time, you might find Ava exploring antique shops and looking for vintage bathroom fixtures to add to her collection.