Hey there!
Ever had that frustrating moment when you hear the incessant sound of running water in your toilet? It’s like a never-ending stream, driving you crazy.
Well, fear not, because I’ve got the ultimate solution for you. In this article, I’ll guide you step by step on how to stop that water from running in your toilet.
Trust me, with a little bit of know-how and some simple adjustments, you’ll be able to silence that annoying sound once and for all.
Let’s get started, shall we?
Key Takeaways
- Check the flapper valve and fill valve to identify the cause of the constant running water.
- Adjust the flapper valve by cleaning it or adjusting the chain length to ensure it closes properly.
- Adjust the water level in the toilet tank using the water level adjustment screw or valve on the fill valve.
- If the problem persists, seek professional help to avoid further complications and ensure a proper repair.
Identifying the Cause of the Constant Running Water
To identify the cause of the constant running water, you’ll need to check the flapper valve and the fill valve.
Troubleshooting common toilet problems can be a simple process if you know where to look.
The flapper valve is located at the bottom of the tank and is responsible for sealing the water inside. If it is worn out or has a buildup of mineral deposits, it may not be closing properly, causing water to constantly flow into the bowl.
The fill valve, on the other hand, regulates the water level in the tank. If it is not adjusted correctly or is faulty, it can cause the water to continuously run.
Checking and Adjusting the Flapper Valve
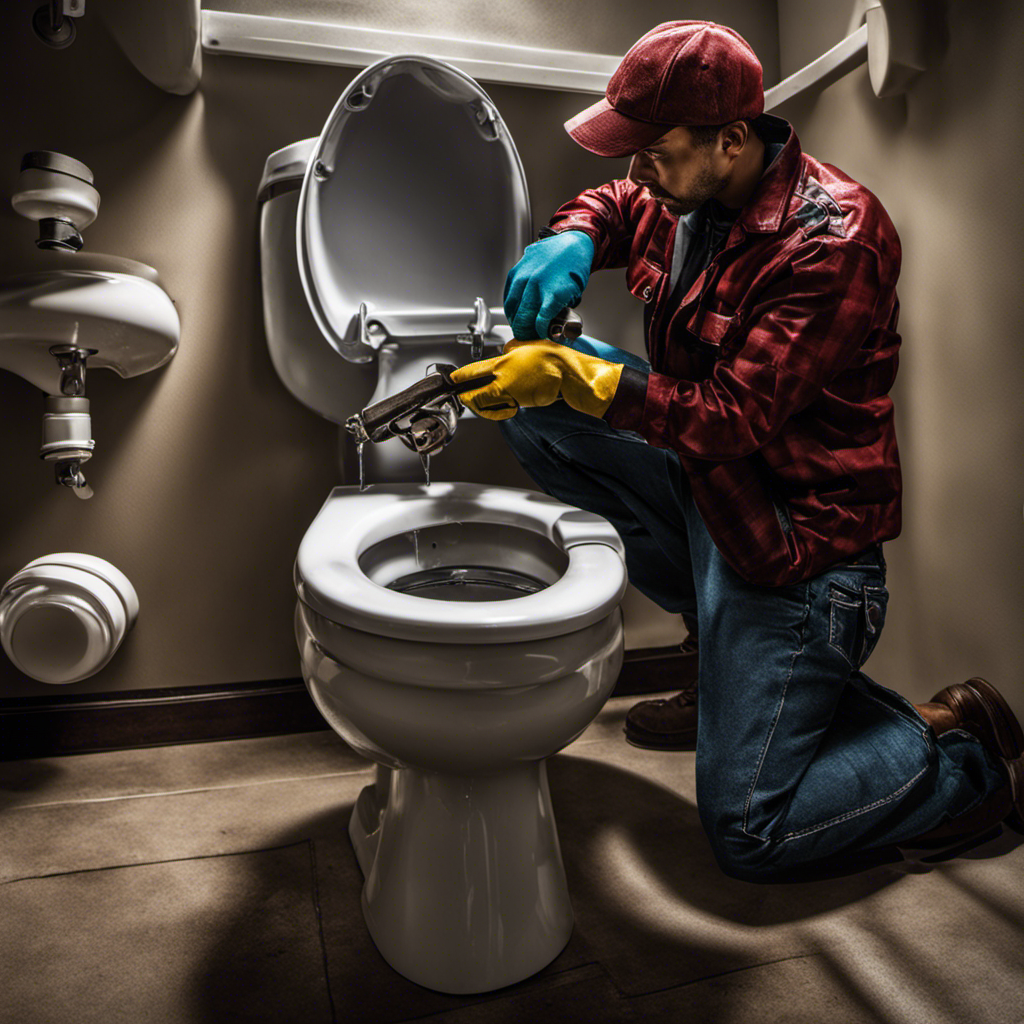
You can check and adjust the flapper valve to fix the issue with the toilet. The flapper valve is a small rubber or plastic piece that controls the flow of water from the tank to the bowl. Over time, it can become worn or misaligned, causing water to continuously run. To check the flapper valve, remove the tank lid and flush the toilet. Observe if the flapper closes completely after the flush. If it doesn’t, you may need to adjust the chain length or clean the valve. A simple way to troubleshoot toilet leaks is by conducting a dye test. Drop a few drops of food coloring into the tank and wait for 15 minutes. If the color appears in the bowl without flushing, it indicates a flapper valve problem. Refer to the table below for common flapper maintenance techniques:
| Flapper Maintenance |
|---|
| Adjusting the chain length |
| Cleaning the valve |
| Replacing the flapper |
Adjusting the Water Level in the Toilet Tank
Adjusting the water level in the toilet tank can help resolve issues with the flushing mechanism. It is a common problem that many of us face with our toilets. Luckily, there are simple DIY solutions that can save us from calling a plumber.
Here are some tips to adjust the water level in your toilet tank:
- Locate the water level adjustment screw or valve on the fill valve.
- Turn the screw or valve clockwise to lower the water level and counterclockwise to raise it.
- Flush the toilet and observe the water level after it refills.
- Adjust the water level until it is around 1 inch below the top of the overflow tube.
By following these steps, you can easily fix the water level in your toilet tank and resolve common flushing issues.
DIY toilet repairs like this can save you time and money, and keep your bathroom running smoothly.
Inspecting and Replacing the Fill Valve
When inspecting and replacing the fill valve in your toilet tank, it is important to turn off the water supply before beginning any work.
Upgrading the toilet and installing a water-saving device can help conserve water and reduce your utility bills.
To inspect and replace the fill valve, start by shutting off the water supply valve located behind the toilet. Flush the toilet to drain the water from the tank.
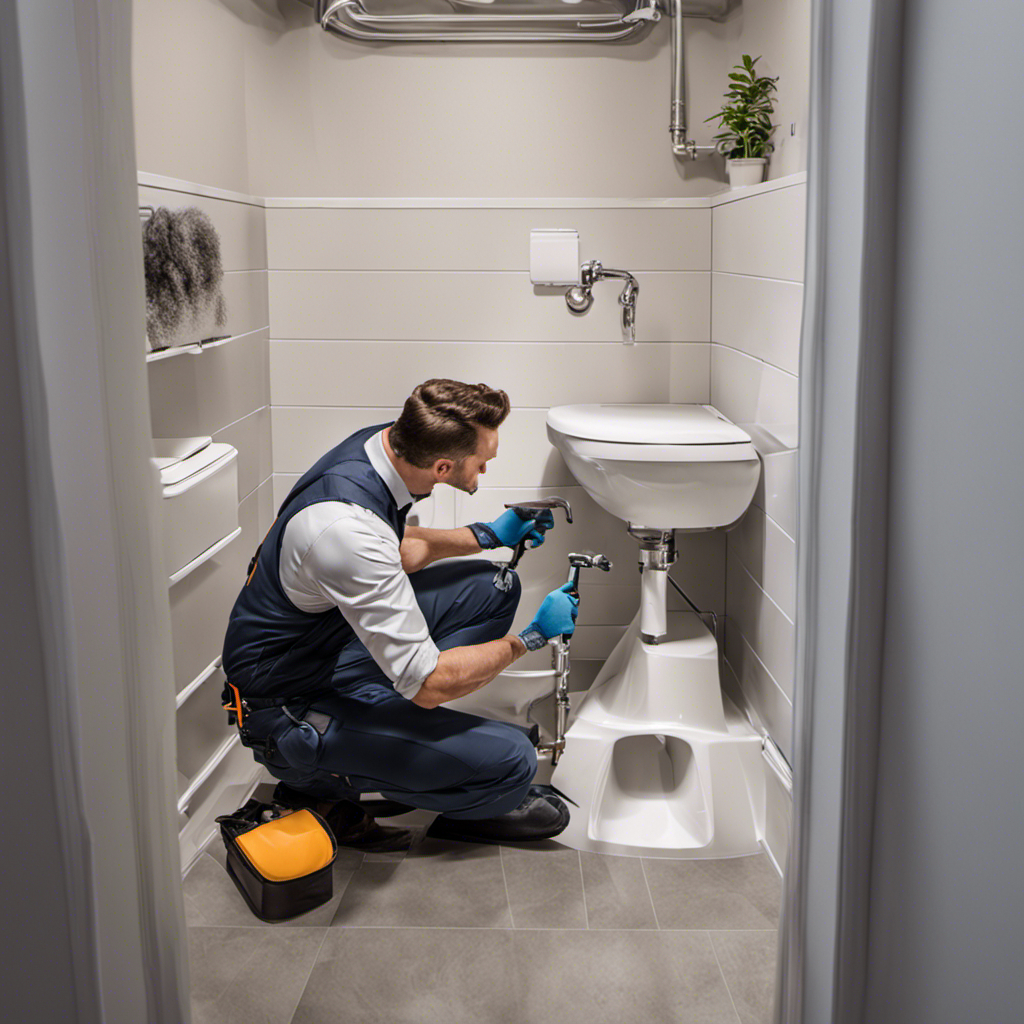
Next, disconnect the water supply line from the bottom of the tank and remove the old fill valve. Install the new fill valve and reconnect the water supply line.
Turn on the water supply and check for any leaks. If the problem persists, it is recommended to seek professional help to ensure a proper repair.
Seeking Professional Help if the Problem Persists
If the issue continues, it’s best to seek professional assistance for a proper repair.
While there are potential DIY solutions for stopping water running in a toilet, it’s important to understand that some problems may require the expertise of a professional plumber.
Here are a few common mistakes that can worsen the problem of a running toilet:
-
Ignoring the issue: Neglecting a running toilet can lead to wasted water and higher utility bills, so it’s crucial to address the problem promptly.
-
Incorrect adjustments: Making incorrect adjustments to the fill valve or flapper can exacerbate the issue, causing more water to leak and the toilet to continue running.
-
Using incorrect parts: Using incorrect or incompatible parts during a DIY repair can further damage the toilet and lead to more serious problems.
Conclusion
In conclusion, I have shared some practical steps to stop water running in a toilet.
By identifying the cause of the constant running water and checking and adjusting the flapper valve, one can effectively resolve the issue.
Adjusting the water level in the toilet tank and inspecting or replacing the fill valve are also important steps to consider.
However, if the problem persists despite these efforts, it may be necessary to seek professional help.
Investigating the truth of a theory can add a level of sophistication to our understanding of toilet maintenance.


