As I stand before the porcelain throne, a daunting task lies ahead – removing the toilet seat. Fear not, for I shall guide you through this process with precision and expertise.
In this step-by-step guide, I will show you the tools you’ll need and the exact method to detach the seat from its hinges and remove it from the toilet bowl.
So, let us embark on this journey of cleanliness and restoration, as we conquer the challenge of taking a toilet seat off.
Key Takeaways
- The tools needed to remove a toilet seat include a screwdriver, pliers, and a crescent wrench.
- To remove the seat cover, lift it to expose the hinges and screws, remove the hinge caps, and unscrew the seat.
- To detach the seat from the hinges, lift the hinge caps, unscrew the seat counterclockwise, hold the seat to prevent it from falling, and lift it off the hinges.
- To remove the seat from the toilet bowl, lift it up and away from the bowl, clean the bowl thoroughly, inspect the hinges, and properly dispose of the old seat.

LemonBest Toilet Seat Fitting Tool – Universal Toilet seat Installation Key, Toilet Seat Repair Wrench, 10/13/17mm Professional Universal Plastic High-Strength Installation Key (1 Pack)
- Universal Rotation Design: Convenient for hard-to-reach areas
- Multiple Interface Sizes: Fits 10mm, 13mm, and 17mm screws
- Anti-slip Handle: Ensures a secure grip during use
As an affiliate, we earn on qualifying purchases.
As an affiliate, we earn on qualifying purchases.
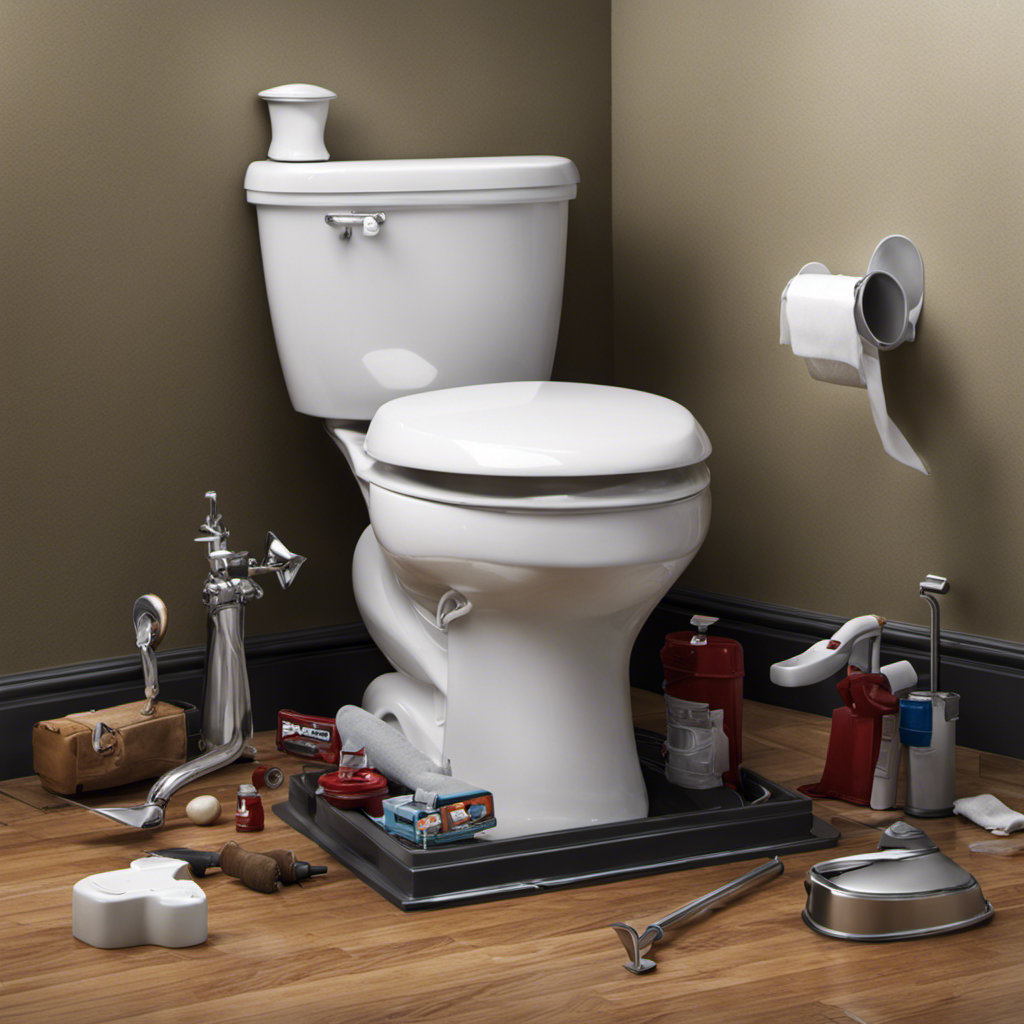
Tools You’ll Need
You’ll need a screwdriver to remove the screws holding the toilet seat in place. This is an essential tool for toilet seat removal.
The type of screwdriver you will need depends on the type of screws used to secure the seat. Most toilet seats are attached with either flathead or Phillips head screws. It’s important to have the correct screwdriver to avoid damaging the screws or the seat.
Additionally, having a pair of pliers may be helpful in case the screws are stuck or difficult to remove. A crescent wrench can also come in handy if the screws are particularly tight.
These tools will ensure a smooth and successful removal of the toilet seat.
Step 1: Removing the Seat Cover
First, make sure the cover isn’t attached.
To properly maintain your toilet seat and ensure proper installation, follow these steps:
-
Lift the seat cover: Gently raise the seat cover to expose the hinges and screws. This will allow you to access the necessary components for removal.
-
Locate the hinge caps: Look for small plastic covers on the back of the toilet seat near the hinges. These caps conceal the screws that secure the seat to the bowl.
-
Remove the hinge caps: Use your fingers or a flathead screwdriver to pry off the hinge caps. Set them aside in a safe place for reinstallation later.
-
Unscrew the seat: Using a screwdriver, loosen and remove the screws that hold the seat to the toilet bowl. Keep the screws and any accompanying hardware together for easy reassembly.
Step 2: Detaching the Seat From the Hinges
To detach the seat from the hinges, gently lift the hinge caps and unscrew the seat using a screwdriver. This step is crucial for proper toilet seat maintenance and allows for a smooth and easy removal process.
Start by locating the hinge caps on the underside of the seat. These caps cover the screws that hold the seat in place. With a careful and gentle motion, lift the hinge caps using your fingers or a small tool.
Once the caps are lifted, you will see the screws underneath. Take a screwdriver and turn it counterclockwise to unscrew the screws. As you unscrew, make sure to hold the seat to prevent it from falling.
With the screws removed, you can now lift the seat off the hinges, completing the task of detaching the seat from the hinges. Remember that proper toilet seat installation requires careful attention to detail and following the correct steps.
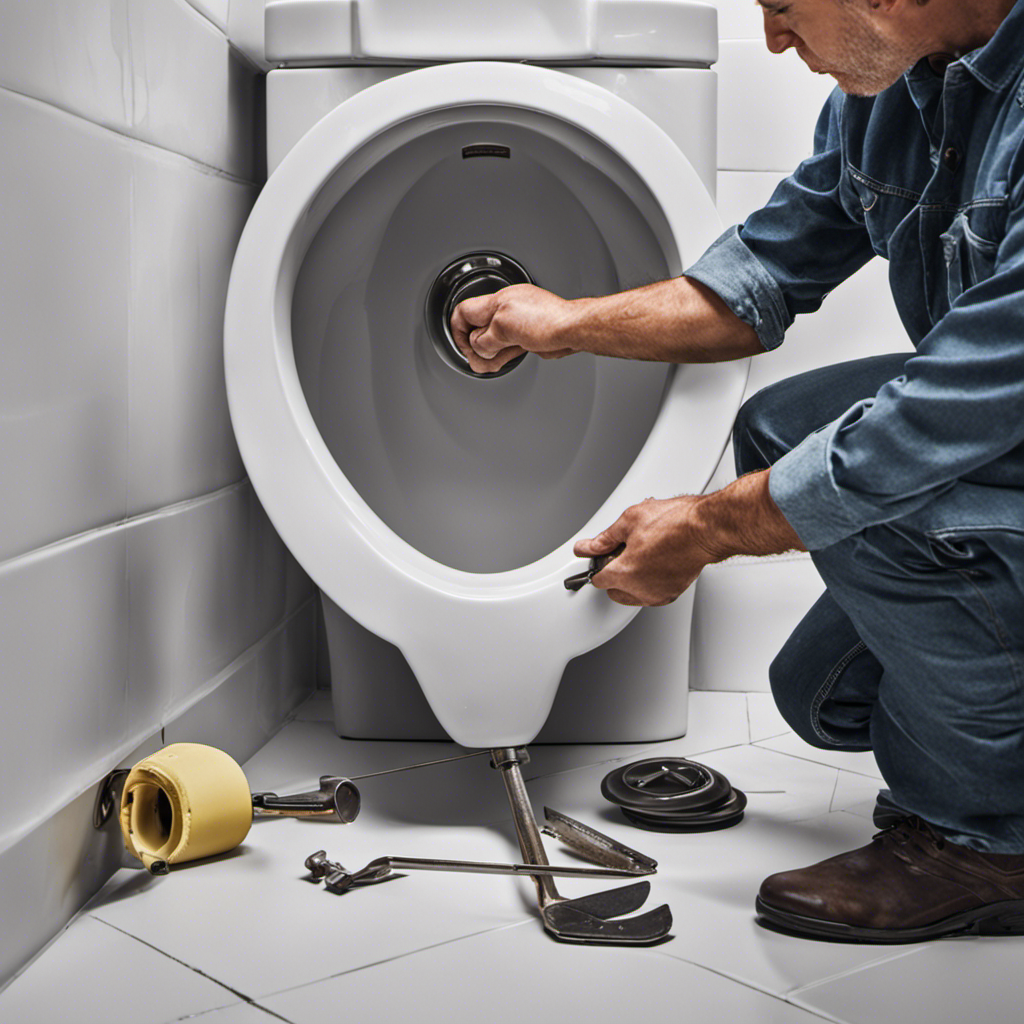
Step 3: Removing the Seat From the Toilet Bowl
Once you have unscrewed the seat from the hinges, gently lift it up and away from the toilet bowl. Now that the seat is detached, it’s time to remove it completely.
Follow these steps to safely remove the seat from the toilet bowl:
-
Clean the toilet bowl: Before installing a new seat, take the opportunity to clean the toilet bowl thoroughly using appropriate cleaning products. This will ensure a hygienic environment.
-
Inspect the hinges: While holding the toilet seat, inspect the hinges for any signs of damage or wear. If necessary, replace the hinges before installing a new seat to ensure stability and longevity.
-
Dispose of the old seat: Properly dispose of the old seat by placing it in a trash bag or recycling bin, depending on the material. This step helps maintain cleanliness and prevent any accidents.
-
Prepare for installation: Before installing the new seat, clean the toilet bowl once again to ensure a fresh and clean surface. This step will help prevent any residue or dirt from affecting the installation process.
Following these steps will ensure a smooth and hygienic transition from the old toilet seat to the new one.
Step 4: Cleaning and Reattaching the Seat
After disposing of the old seat, it’s time to clean and reattach the new one. Toilet seat maintenance is essential for keeping your bathroom clean and hygienic.
To properly clean the seat, start by using a mild cleaning solution and a soft cloth or sponge. Avoid using harsh chemicals or abrasive materials that could damage the seat’s surface. Gently scrub the seat, making sure to reach all the nooks and crannies. Rinse thoroughly with water and dry with a clean towel.
Once the seat is clean, it’s time to reattach it. Align the seat with the holes on the toilet bowl and insert the bolts. Tighten the nuts underneath until the seat is securely in place.
Regularly cleaning and maintaining your toilet seat will help prolong its lifespan and keep your bathroom fresh and sanitary.
Frequently Asked Questions
How Often Should I Replace My Toilet Seat?
I replace my toilet seat every 5-7 years. The longest-lasting material is typically solid wood or plastic. Signs it’s time to replace include cracks, discoloration, loose hinges, and an overall worn-out appearance.
Can I Use Any Type of Screwdriver to Remove the Seat?
Yes, you can use different types of screwdrivers to remove a toilet seat. However, it is important to consider the pros and cons of each type, such as the size and compatibility with the screws.
Is It Necessary to Turn off the Water Supply Before Removing the Toilet Seat?
Yes, it is crucial to turn off the water supply before removing the toilet seat. Failing to do so can lead to potential water damage. Always prioritize safety and precaution when undertaking toilet seat removal.
What Should I Do if the Seat Is Stuck and Won’t Come Off?
If the toilet seat is stuck and won’t come off, there are a few seat removal hacks you can try. Troubleshooting stuck toilet seats involves using a wrench, lubricant, or even a hairdryer to loosen it.
Can I Use Bleach to Clean the Toilet Seat?
Bleach is effective for cleaning toilet seats, but alternatives like vinegar or hydrogen peroxide are safer for the environment. When using bleach, follow best practices by diluting it and wearing protective gloves.
Conclusion
In conclusion, removing a toilet seat may seem like a daunting task, but it can be done easily with the right tools and steps. By following the detailed instructions provided, you can successfully remove the seat cover, detach it from the hinges, and remove it from the toilet bowl.
Remember to clean the seat thoroughly before reattaching it. One example of the importance of knowing how to remove a toilet seat is when a family member accidentally dropped their phone into the toilet and needed to remove the seat to retrieve it.