
Did you know that the average person spends over three years of their life in the bathroom? That’s a lot of time spent with the trusty toilet paper holder.
But what happens when you need to remove it? Don’t worry, I’ve got you covered. In this article, I’ll walk you through the step-by-step process of taking off a toilet paper holder.
With a few simple tools and a little know-how, you’ll have that holder off in no time. Let’s get started!
Key Takeaways
- The tools needed for removing a toilet paper holder include a screwdriver, pliers, a putty knife, lubricant like WD-40, and a hidden release button or latch.
- Mounting screws may be stuck or rusted, but can be loosened with lubricant or removed with pliers. Alternative methods like adhesive strips or suction cups can also be used.
- Removing the mounting screws can be done with a screwdriver, pliers, a drill with a screwdriver bit, penetrating oil, or a screw extractor tool for damaged screws.
- Exploring alternative options like freestanding toilet paper holders is important before detaching. These holders offer flexibility, easy placement, and a variety of styles and designs.
toilet paper holder removal tools
As an affiliate, we earn on qualifying purchases.
As an affiliate, we earn on qualifying purchases.
Tools Needed
To take off the toilet paper holder, you’ll need a few tools. One common mistake people make is using the wrong tools, which can damage the holder or surrounding walls.
The essential tools you’ll need are a screwdriver, pliers, and a putty knife. The screwdriver is used to remove any screws holding the holder in place. Pliers are helpful if the screws are tight or difficult to reach. A putty knife can be used to gently pry the holder from the wall if it is glued or caulked.
An alternative method for removing a toilet paper holder is to look for a hidden release button or latch, which allows for easy removal without any tools. Remember to use caution and follow these steps to avoid any accidents or damage.
toilet paper holder mounting screw remover
As an affiliate, we earn on qualifying purchases.
As an affiliate, we earn on qualifying purchases.
Locating the Mounting Screws
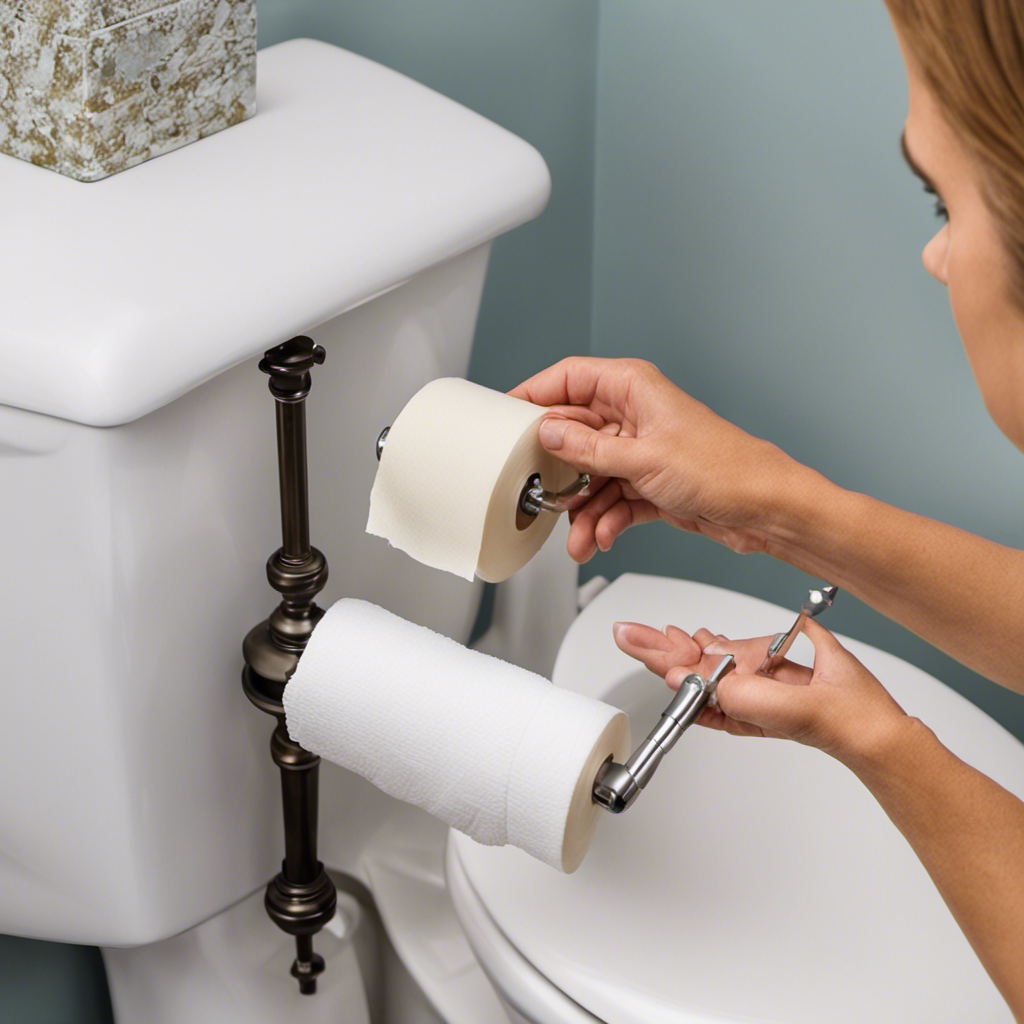
Once you’ve found the mounting screws, you can use a screwdriver to remove the toilet paper holder.
When it comes to removing the toilet paper holder, there are a few common problems that you may encounter. One issue could be that the screws are stuck or rusted, making them difficult to loosen. In such cases, you can try spraying a lubricant, like WD-40, on the screws to help loosen them.
Another problem could be that the screws are stripped, preventing you from using a screwdriver. In this situation, you can try using pliers to grip the screw head and turn it counterclockwise.
If your toilet paper holder doesn’t have mounting screws, you can check for alternative methods such as adhesive strips or suction cups. However, keep in mind that these methods may not be as secure as mounting screws.
Moving on to the next step, let’s learn how to remove the mounting screws.
toilet paper holder adhesive strips
As an affiliate, we earn on qualifying purchases.
As an affiliate, we earn on qualifying purchases.
Removing the Mounting Screws
When removing the mounting screws, you’ll need a screwdriver to loosen them. However, there are alternative removal methods if you find yourself without a screwdriver.
One option is to use pliers with a firm grip to turn the screws counterclockwise. Another method is to use a drill with a screwdriver bit to remove the screws. Just be careful not to overtighten and damage the surrounding area.
If the mounting screws are damaged and difficult to remove, there are a few steps you can take to repair them. First, try using a penetrating oil to loosen the screws. If that doesn’t work, you can use a screw extractor tool to remove the damaged screws.
Remember to always take your time and be gentle when removing or repairing mounting screws to avoid causing further damage.

JOMOLA Stainless Steel Toilet Paper Holder, Suction Cup Bathroom Tissue Roll Paper Towel Holder, No Drill Wall Mount Storage for Bathroom, Kitchen, RV, 1 Pack
1. Tool-Free, Damage-Free Installation in Seconds: Install instantly without any tools or drilling—just a simple twist locks it…
As an affiliate, we earn on qualifying purchases.
As an affiliate, we earn on qualifying purchases.
Detaching the Toilet Paper Holder
If you’re struggling to detach the toilet paper holder, you can use a flathead screwdriver to carefully pry it off.
However, before doing so, it’s important to explore alternative toilet paper storage options.
One option is to use a freestanding toilet paper holder, which offers several benefits.
Firstly, it provides flexibility in terms of placement, allowing you to easily move it around if needed.
Secondly, it eliminates the need for drilling or mounting on the wall, making it a great option for renters or those who prefer not to damage their walls.
Lastly, freestanding holders come in a variety of styles and designs, allowing you to choose one that complements your bathroom decor.
Once you’ve explored these options, you can proceed with detaching the holder and move on to the next step of cleaning and reinstalling it.
Cleaning and Reinstalling the Holder
To clean and reinstall the holder, start by gently wiping down the surfaces with a damp cloth. This will remove any dust or dirt that has accumulated over time.
Once the holder is clean, you can proceed with the reinstallation process. Here are the steps to follow:
-
Remove any screws or brackets holding the holder in place.
-
Clean the wall or surface where the holder was attached using a mild cleaning solution and a sponge or cloth.
-
Consider alternative storage options such as wall-mounted shelves or freestanding holders if you want to change the look of your bathroom.
Conclusion
In conclusion, removing a toilet paper holder is a simple task that can be done with just a few tools and some patience. By locating and removing the mounting screws, you can easily detach the holder from the wall.
Once removed, it is important to clean the holder and reinstall it properly.
Did you know that the average person uses about 100 rolls of toilet paper per year? That’s enough to cover the distance of a football field!
So, the next time you need to take off your toilet paper holder, remember these steps and be confident in your DIY skills.