As a seasoned bathroom DIY-er, I have encountered my fair share of tricky toilet seat removals. But fear not, for I am here to guide you through the process step by step.
Just like a skilled surgeon delicately removes an appendix, we will deftly take off that pesky toilet seat.
With the right tools and a little patience, you’ll have your seat unfastened in no time.
So let’s dive in and unravel the mysteries of toilet seat removal.
Key Takeaways
- Gather the necessary tools for toilet seat removal: screwdriver, wrench, pliers, socket wrench with appropriate size socket, gloves
- Prepare the toilet for seat removal by ensuring cleanliness, proper alignment, and avoiding overtightening of bolts
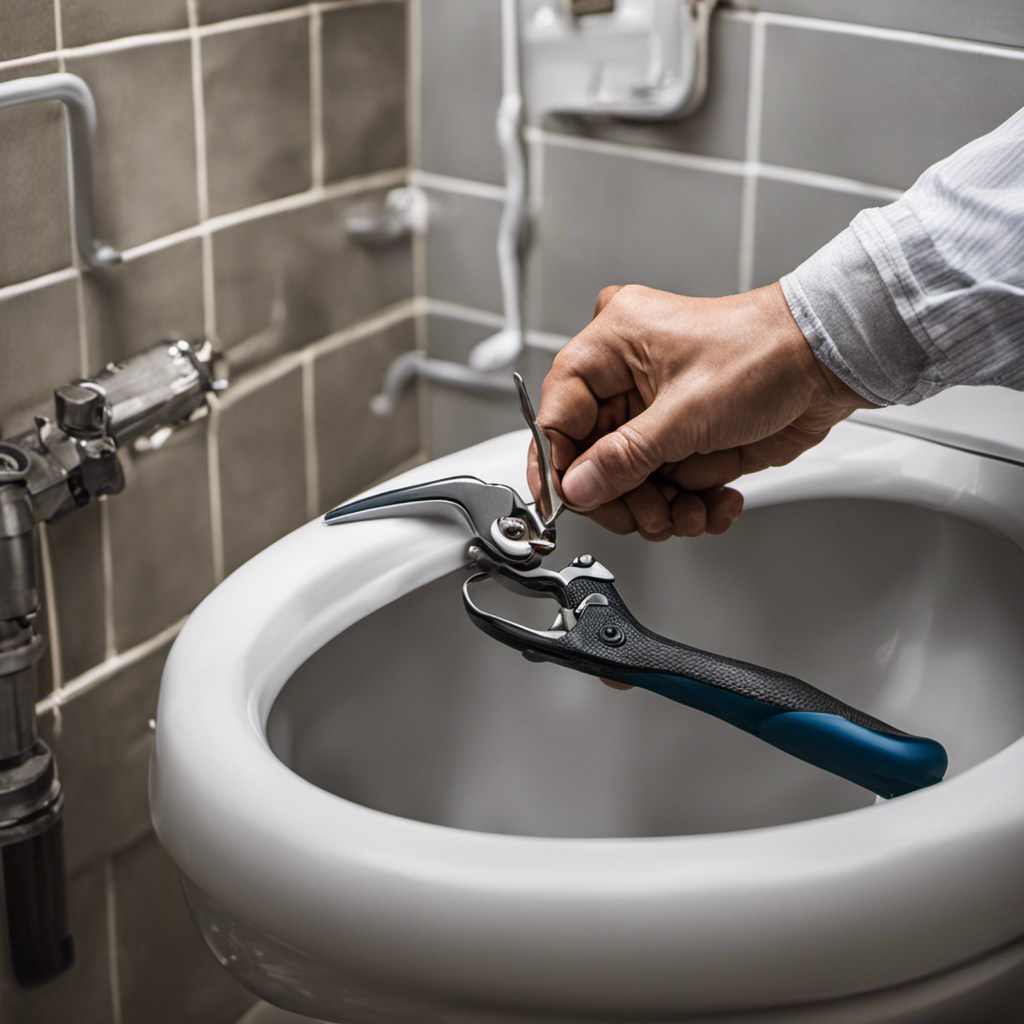
- Use a wrench or pliers to loosen the bolts, and apply penetrating oil to rusted or stuck bolts if necessary
- Lift the seat cover, locate the plastic caps covering the bolts, and gently pry them off with a flathead screwdriver. Then, turn the nuts counterclockwise with a wrench or pliers to loosen them.
Tools Needed
You’ll need a screwdriver to take the toilet seat off.
However, there are other seat removal alternatives you can consider.
One option is using a wrench or pliers to loosen the nuts securing the seat to the toilet bowl.
Another alternative is using a socket wrench with the appropriate size socket to remove the nuts.
It’s important to remember to turn off the water supply to the toilet and flush it before starting the removal process.
When removing the toilet seat, it’s crucial to avoid common mistakes such as using excessive force, which can damage the toilet or cause injury.
Additionally, make sure to properly dispose of the old seat and clean the area before installing a new one.
Preparing the Toilet
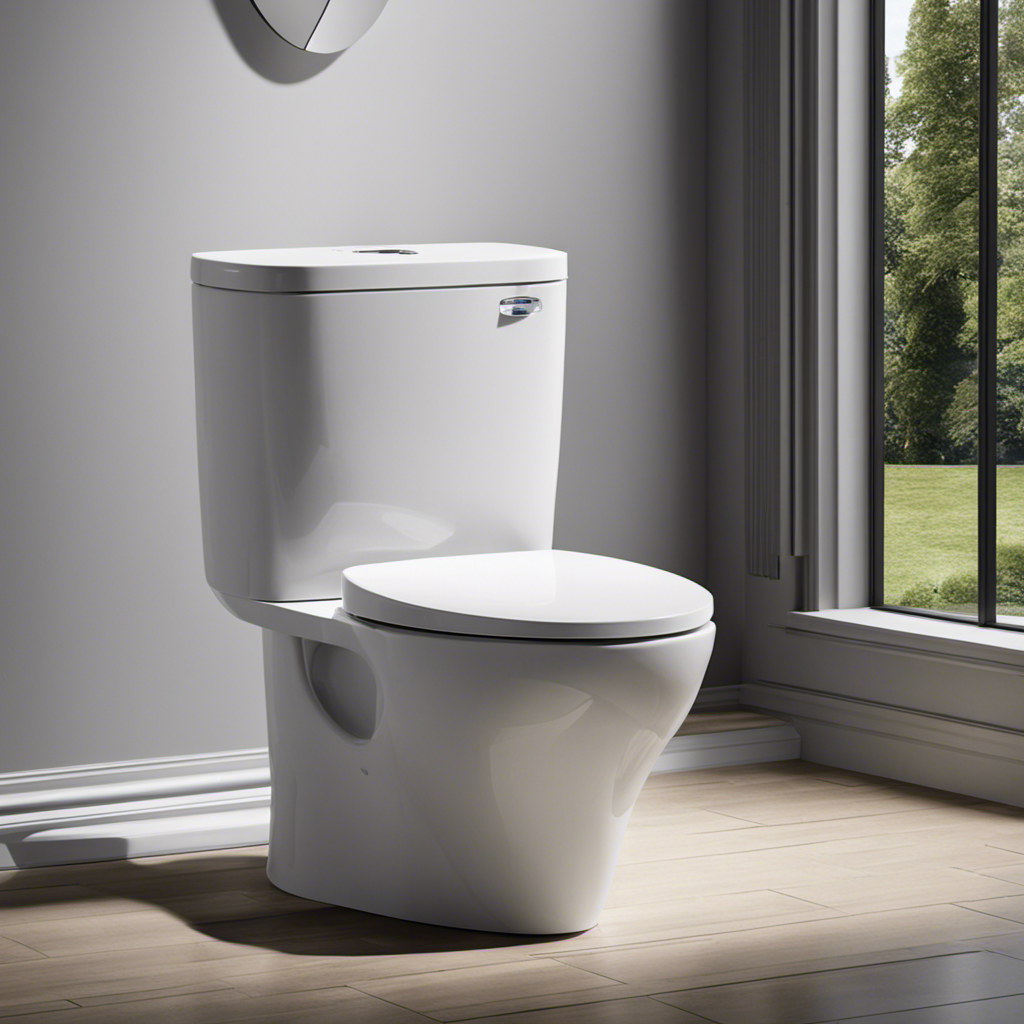
Before starting, it’s important to ensure the toilet is clean and free of any debris. This will provide a clean surface for the installation of the new toilet seat. Now, let’s discuss some toilet seat installation tips and common problems that may arise.
Toilet Seat Installation Tips:
- Align the seat: Make sure the seat is properly aligned with the toilet bowl before tightening the bolts.
- Secure the bolts: Use a screwdriver to tighten the bolts, but be careful not to overtighten as it may crack the seat.
- Check for stability: Give the seat a gentle shake to ensure it is securely fastened.
Common Toilet Seat Problems and Solutions:
| Problem | Solution |
|---|---|
| Loose seat | Tighten the bolts |
| Broken seat | Replace the seat |
| Hinges not working | Lubricate or replace the hinges |
Now that we have discussed toilet seat installation tips and common problems, let’s move on to the next step of removing the bolts.
Removing the Bolts
To remove the bolts, simply loosen them using a wrench or pliers. However, there are alternative methods you can try if you encounter any difficulties.
First, make sure to apply some penetrating oil to the bolts if they are rusted or stuck. This will help to loosen them and make the removal process easier.
Another alternative method is to use a hacksaw or reciprocating saw to cut through the bolts if they are completely stuck. Be careful not to damage the toilet bowl or seat while doing this.
Now, let’s move on to detaching the seat, but before that, let’s discuss some common mistakes to avoid during the bolt removal process.
Detaching the Seat
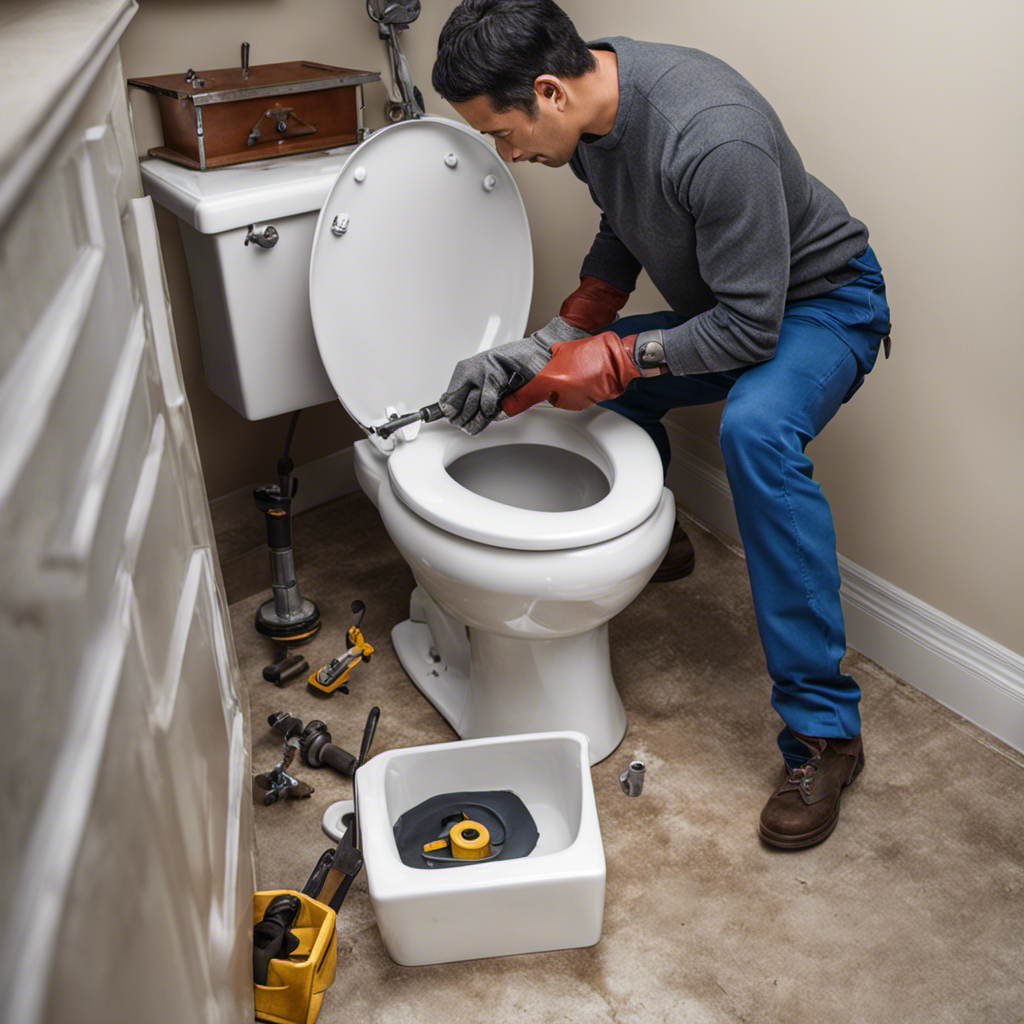
Once the bolts are loosened, it’s easy to detach the toilet seat. To properly detach the seat, follow these steps:
- Lift the seat cover and locate the plastic caps covering the bolts at the rear of the seat.
- Use a flathead screwdriver to gently pry off the caps, exposing the bolts.
- Grab a wrench or pliers and turn the nuts counterclockwise to loosen them.
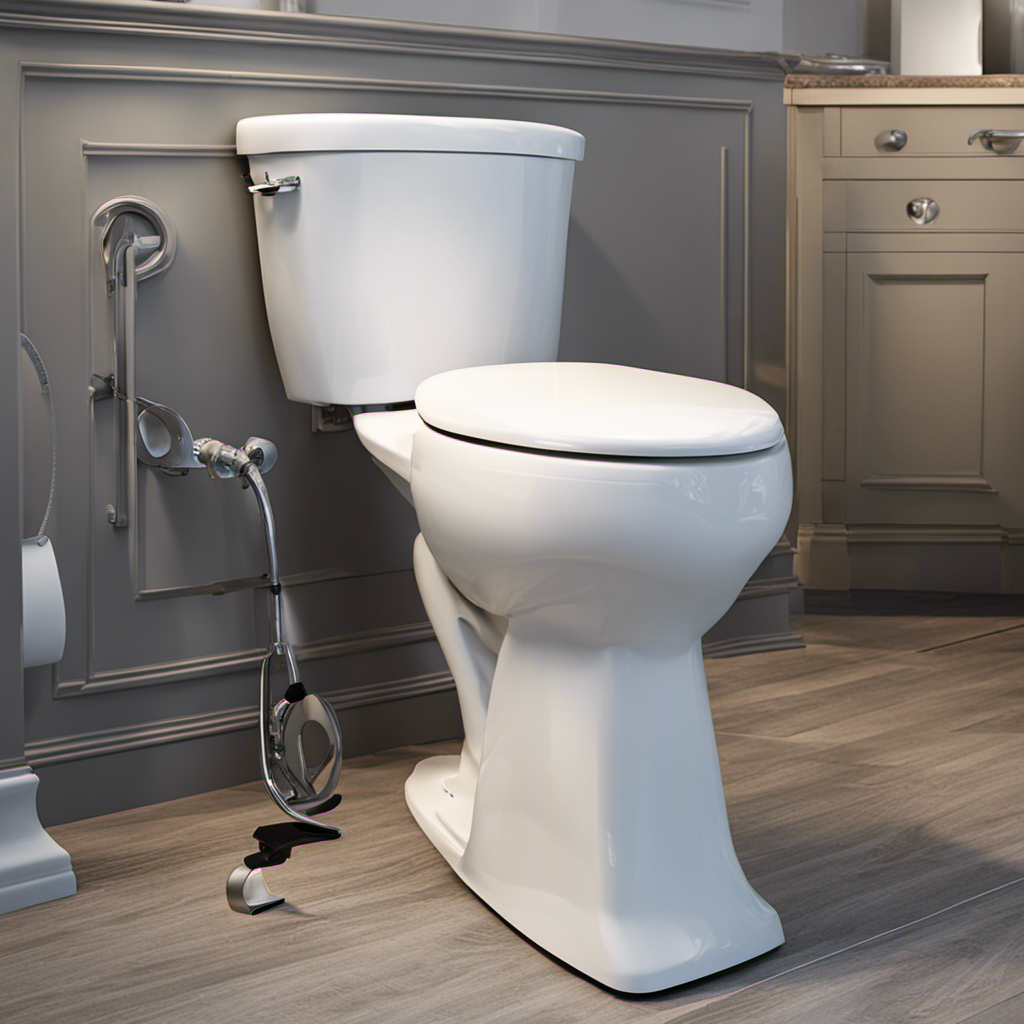
Proper maintenance is essential when dealing with different types of toilet seats. Whether it’s a traditional seat with metal hinges or a modern seat with quick-release buttons, regular cleaning and inspection can prolong the life of your seat.
Once the seat is detached, it’s time to clean and reassemble it for continued use.
Cleaning and Reassembling
First, make sure you have all the necessary cleaning supplies ready. Cleaning and sanitizing your toilet seat is an important part of maintaining proper hygiene in your bathroom. To effectively clean and sanitize your toilet seat, you can follow these techniques and methods:
| Cleaning Supplies | Sanitizing Methods |
|---|---|
| Mild detergent | Bleach solution |
| Scrub brush | Disinfecting wipes |
| Microfiber cloth | Hydrogen peroxide |
Start by removing the toilet seat from the hinges according to the instructions provided by the manufacturer. Use a mild detergent and a scrub brush to clean the seat thoroughly, paying attention to any stains or dirt. Rinse the seat with water and dry it using a microfiber cloth. Once the seat is clean, you can use a bleach solution or disinfecting wipes to sanitize it. Alternatively, you can use hydrogen peroxide as a natural sanitizing agent. Make sure to follow the instructions on the cleaning products and allow the seat to dry completely before reassembling it.
Conclusion
In conclusion, removing a toilet seat may seem daunting, but it can be done easily with the right tools and preparation. By following the steps outlined in this article, you can successfully detach the seat, clean it thoroughly, and reassemble it for a fresh and hygienic bathroom experience.
So don’t hesitate to tackle this DIY project and say goodbye to that old, worn-out toilet seat. Your bathroom will thank you!

Liam’s journey with us started as a consumer. Having faced challenges while setting up his own modern bathroom, he delved deep into research.
Recognizing his knack for simplifying complex information and his authentic writing style, we were thrilled to welcome him aboard. Liam’s articles often merge practicality with style, ensuring readers find the perfect fit for their homes. Liam is an avid hiker off-duty and often jokes about finding the best “natural toilets” Mother Earth has to offer.