If you’ve ever experienced the frustration of a wobbly toilet seat, fear not! I’ve got you covered with a step-by-step guide on how to tighten that pesky seat.
In this article, I’ll walk you through the process, from assessing the problem to reattaching and securing the seat.
With just a few simple tools and a little bit of know-how, you’ll have your toilet seat feeling as sturdy as ever in no time.
Let’s get started, shall we?
Key Takeaways
- Determine the level of looseness before proceeding with repairs
- Common causes of a loose toilet seat include worn-out hinges, loose screws, or a damaged toilet bowl
- Sit on the toilet seat and check for any wobbling or movement
- Inspect the hinges and screws to ensure they are securely fastened
Assessing the Loose Toilet Seat
First, you’ll want to determine how loose the toilet seat is before proceeding with any repairs.
There are several causes of a loose toilet seat, such as worn-out hinges, loose screws, or a damaged toilet bowl. To assess the problem accurately, avoid common mistakes like assuming the seat is loose when it’s actually the hinges that need tightening.
Start by sitting on the toilet seat and moving it side to side. If it wobbles, grab the seat and check for any movement.
Next, inspect the hinges and screws to ensure they are securely fastened. If the seat is still loose, try tightening the screws using a screwdriver.
If that doesn’t work, you may need to replace the hinges or seek professional assistance.
Gathering the Necessary Tools
Next, you’ll need to grab a few tools to get started. Choosing the right tools is crucial to ensure a proper tightening of the loose toilet seat.
Firstly, you’ll need a screwdriver, preferably a flathead or Phillips head, depending on the type of screws used to secure the seat. Additionally, a pair of pliers can come in handy for holding the nuts in place while tightening.
Once you have the appropriate tools, it’s important to follow the proper technique for tightening. Begin by locating the screws or bolts on the underside of the toilet seat. Using the screwdriver, tighten them clockwise until the seat is secure. Be careful not to overtighten, as this could damage the seat or the toilet itself.
Removing the Toilet Seat
To remove it, you’ll need to locate and unscrew the bolts holding the toilet seat in place. Here’s a step-by-step guide on how to remove a loose toilet seat:
-
Grab a screwdriver: Before you begin, make sure you have a screwdriver that fits the bolts securing the toilet seat.
-
Lift the seat: Lift the toilet seat cover and locate the bolts on the underside of the seat. These bolts are usually found at the back of the seat.
-
Unscrew the bolts: Using the screwdriver, start unscrewing the bolts in a counterclockwise direction. Keep turning until the bolts are completely removed.
Once the bolts are removed, the toilet seat should come off easily. Remember to keep the bolts and any other hardware safely aside, as you will need them when replacing the seat.
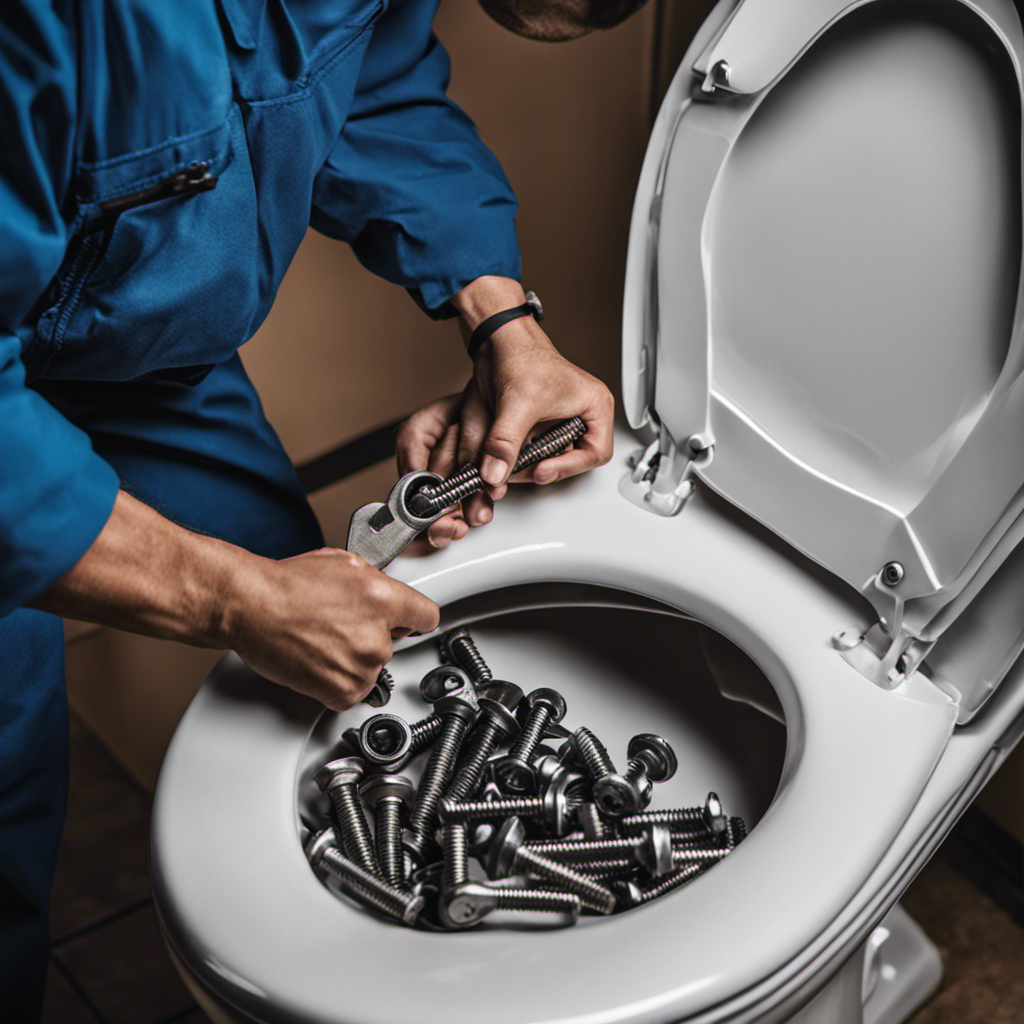
Adjusting the Hinges or Mounting Bolts
When adjusting the hinges or mounting bolts, you can use a wrench to tighten or loosen them as needed.
If you find that the hinges are stiff or not moving smoothly, it may be helpful to lubricate them for smoother movement. Apply a small amount of lubricant, such as WD-40 or silicone spray, to the hinges and pivot points. This will help reduce friction and allow the toilet seat to move more freely.
Additionally, if you want to provide added support to the toilet seat, you can consider using a stabilizing bracket. This bracket can be installed underneath the toilet bowl and will help secure the seat in place, preventing any wobbling or movement.
Ensure that you follow the manufacturer’s instructions when installing the stabilizing bracket to ensure proper installation and stability.
Reattaching and Securing the Toilet Seat
After adjusting the hinges or mounting bolts, it’s important to reattach and secure the toilet seat properly. This step is crucial to ensure that the seat remains stable and doesn’t come loose again.
To reattach and secure the toilet seat, follow these simple steps:
-
Align the seat: Make sure the seat is properly aligned with the toilet bowl. Adjust it so that it sits evenly and doesn’t wobble.
-
Tighten the bolts: Using a screwdriver or wrench, tighten the mounting bolts underneath the toilet bowl. Start with the bolts on one side and then move to the other side, alternating between the two until they are securely tightened.
-
Check for stability: Once the bolts are tightened, check the stability of the seat by gently rocking it back and forth. If it feels firm and doesn’t move, then you have successfully reattached and secured the toilet seat.
Conclusion
Well, that’s one loose toilet seat problem taken care of! Who knew that tightening a toilet seat could be such a technical and precise task?
But fear not, with the right tools and a little bit of know-how, you can easily fix this annoyance in no time.
So next time you’re faced with a wobbly seat, just remember these steps and you’ll be back to enjoying a stable and secure throne.
Happy tightening, folks!

With an impeccable eye for detail and a passion for bathroom-related, Ava leads our editorial team gracefully and precisely.
Under her guidance, Best Modern Toilet has flourished as the go-to resource for modern bathroom enthusiasts. In her free time, you might find Ava exploring antique shops and looking for vintage bathroom fixtures to add to her collection.