Did you know that a loose toilet can waste up to 200 gallons of water per day?
In this article, I’m going to show you exactly how to tighten your toilet and prevent any unnecessary water waste.
With just a few simple steps and the right tools, you’ll be able to secure your toilet firmly in place, ensuring a leak-free and efficient bathroom experience.
So let’s get started and tighten that toilet!
Key Takeaways
- Regular maintenance and tightening of bolts and screws prevents leaks and ensures proper functionality of the toilet.
- Proper preparation, such as inspecting the flange for damage, securely fastening it to the floor, and checking/replacing the wax ring, prevents leaks and common toilet problems.
- When adjusting the bolts on the toilet, use a wrench to snugly tighten them, being cautious not to overtighten and crack the toilet base. Replace loose or rusted bolts if necessary.
- After tightening the bolts, check for leaks around the base of the toilet. If leaks persist, replace the wax ring seal and consider using a leak detection tablet in the toilet tank.
Los Flexi Concealed In-Wall Toilet Tank Carrier for Wall Hung Toilets, 0.8/1.6 GPF Dual Flush, Adjustable Height Tank Carrier, Includes Flush Actuator Plate for Wall Mount Toilet Setup
Durable Steel Construction: This in-wall toilet tank system supports most wall hung toilets with a sturdy steel frame,...
As an affiliate, we earn on qualifying purchases.
Tools Needed
To tighten the toilet, you’ll need a few tools. Common toilet problems, such as a loose toilet seat or a wobbly bowl, can be easily fixed by tightening the bolts. Regular toilet maintenance is important to prevent leaks and ensure proper functionality.
The tools you’ll need include an adjustable wrench, a screwdriver, and possibly a pair of pliers. The adjustable wrench is used to tighten the bolts that secure the toilet seat to the bowl and the tank to the floor. The screwdriver comes in handy for adjusting the screws that hold the seat in place. If the bolts are rusted or corroded, you may need to use pliers to loosen them before tightening.
Now that you have the necessary tools, let’s move on to preparing the toilet.

Casta Diva in Wall Toilet Tank Carrier, Concealed Wall Hung Toilet Tank System with Black Dual-Flush Actuator Plate (2x4 / 2x6 Studs)
Toilet tank brace wall, fit for most wall mount toilet bowls, a black tank actuator plate included in...
As an affiliate, we earn on qualifying purchases.
Preparing the Toilet
Before you start, make sure you’ve gathered all the necessary tools and materials for preparing the toilet. Proper preparation is crucial for ensuring a successful toilet installation and avoiding common toilet problems.
First, shut off the water supply to the toilet by turning the valve clockwise.
Next, remove the old toilet and inspect the flange for any damage or cracks. Ensure that the flange is securely fastened to the floor. If necessary, repair or replace the flange before proceeding.
Additionally, check the wax ring and replace it if it appears worn or damaged.
Properly preparing the toilet by addressing these issues will help prevent leaks, unstable seating, and other common toilet problems.

Eridanus Wall Hung Toilet with Tank, 2x4 In-Wall Toilet Tank Carrier, Wall Mounted Toilet Combo Set, Dual-Flush Plate Included, Floating Bowl With Soft-Close Seat, Glossy White, 2 Separate Packages
【Please Note】Toilet and tank are shipped in two separate packages and may not arrive at the same time.
As an affiliate, we earn on qualifying purchases.
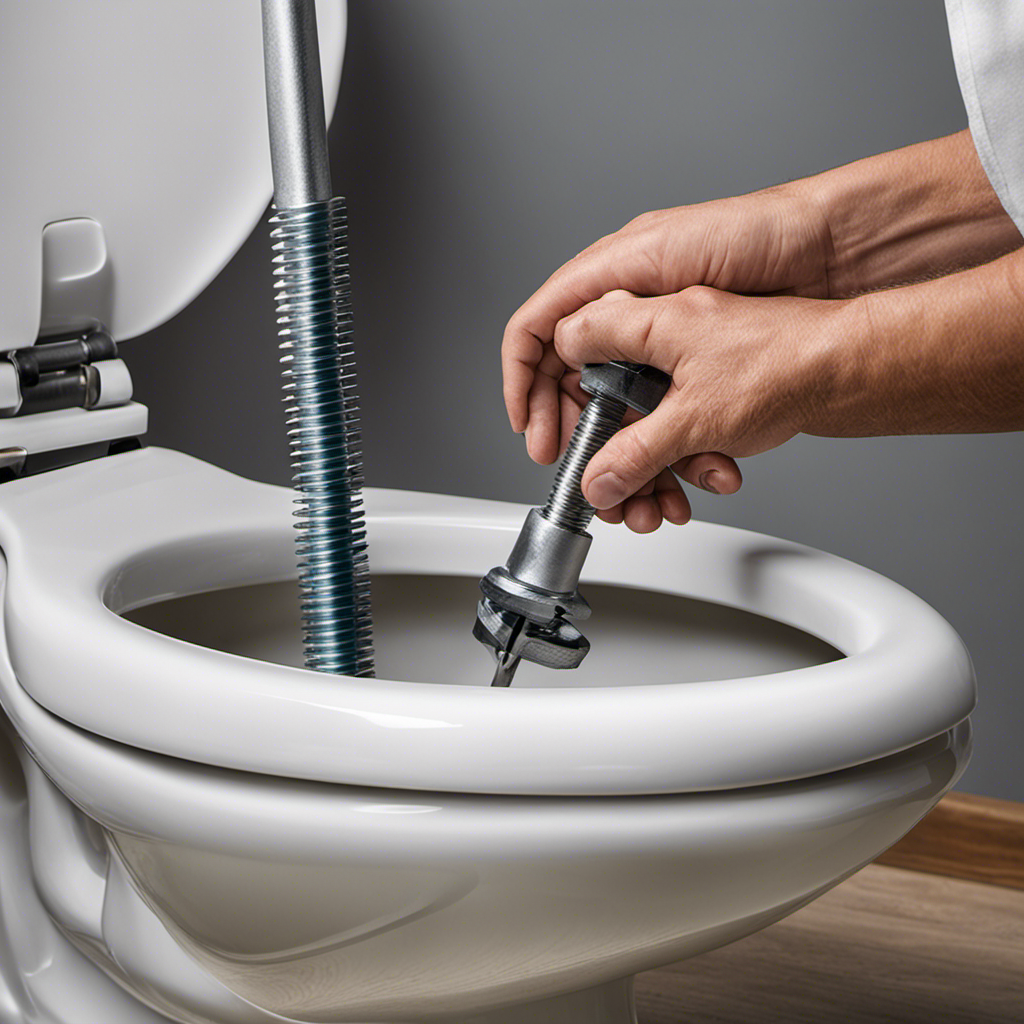
Adjusting the Bolts
Once you’ve gathered all the necessary tools and materials, you can start by adjusting the bolts on the toilet. This step is crucial in ensuring a secure and leak-free connection.
Begin by locating the bolts at the base of the toilet. Using a wrench, tighten the bolts until they are snug, but be careful not to overtighten as it may crack the toilet base.
If you encounter any issues, such as loose or rusted bolts, it’s recommended to replace them with new ones.
Additionally, it’s essential to inspect the wax ring during this process. If you notice any signs of wear or damage, it’s best to replace the wax ring to maintain a proper seal.

SmartSylva In-Wall Toilet Tank Carrier with Dual-Flush Actuator Plate in Chrome Silver Color (Compitable with our #SS01-M1G Wall-Hung Smart Toilet to work as An Intelligent Toilet Combo)
[ Work with SmartSylva Wall Hung Smart Toilet ] : This Water Tank is Compatible with our #SS01-M1G...
As an affiliate, we earn on qualifying purchases.
Check for Leaks
Make sure you inspect the area around the base of the toilet for any signs of leaks. A leaking toilet can cause water damage and waste valuable resources.
To fix a leaking toilet, start by tightening the bolts that secure the toilet to the floor. Use a wrench to carefully tighten the bolts, being careful not to overtighten and crack the base.
If the bolts are already tight and the toilet still leaks, you may need to replace the wax ring seal between the toilet and the floor.
Additionally, consider using a leak detection tablet in the toilet tank to identify any hidden leaks.
Prevent toilet leaks by avoiding excessive flushing, using a plunger instead of flushing non-flushable items, and regularly checking for leaks to address them promptly.
Finishing Touches
Now that you’ve checked for leaks, it’s time to add the finishing touches to your toilet repair project.
First, start by polishing the toilet to make it shine like new. Use a non-abrasive cleaner and a soft cloth to gently clean the exterior surface of the toilet. Pay attention to any stains or marks and make sure to remove them thoroughly.
Once the toilet is clean and dry, it’s time to apply sealant. This step is crucial in preventing any future leaks. Apply a thin bead of silicone sealant around the base of the toilet, ensuring complete coverage. Smooth out the sealant with your finger or a caulk smoothing tool to create a neat and watertight seal.
Allow the sealant to dry completely before using the toilet.
Conclusion
So there you have it, folks! Tightening a toilet may seem like a daunting task, but it can be a breeze with the right tools and a little bit of know-how.
Just remember to take your time and follow the steps carefully. Think of it as giving your toilet a much-needed hug, ensuring its stability and preventing any unwanted leaks.
With a well-tightened toilet, you can enjoy a worry-free bathroom experience, knowing that everything is securely in place.
Happy tightening!