Ever wondered how to tile your toilet like a pro? Look no further!
In this step-by-step guide, I’ll show you the easiest way to transform your bathroom with stylish tiles.
From choosing the right tiles to applying the perfect adhesive, you’ll learn all the tips and tricks to create a beautiful and durable toilet floor.
So, are you ready to take your bathroom game to the next level? Let’s get started!
Key Takeaways
- Consider the style and functionality when choosing tiles for the toilet
- Clean and prime the toilet surface before tiling
- Level the surface using a self-leveling compound for even tile installation
- Choose the right adhesive for the type of surface and allow it to dry completely before grouting

Globalcom Heavy Duty Construction Adhesive, Tile and Stone Marble Granite Wood Floor Adhesive, Gap Filling and Waterproof – 5.3 oz White
【Strong Bonding Performance】- This is a new type of heavy duty construction adhesive, the main material is modified…
As an affiliate, we earn on qualifying purchases.
As an affiliate, we earn on qualifying purchases.
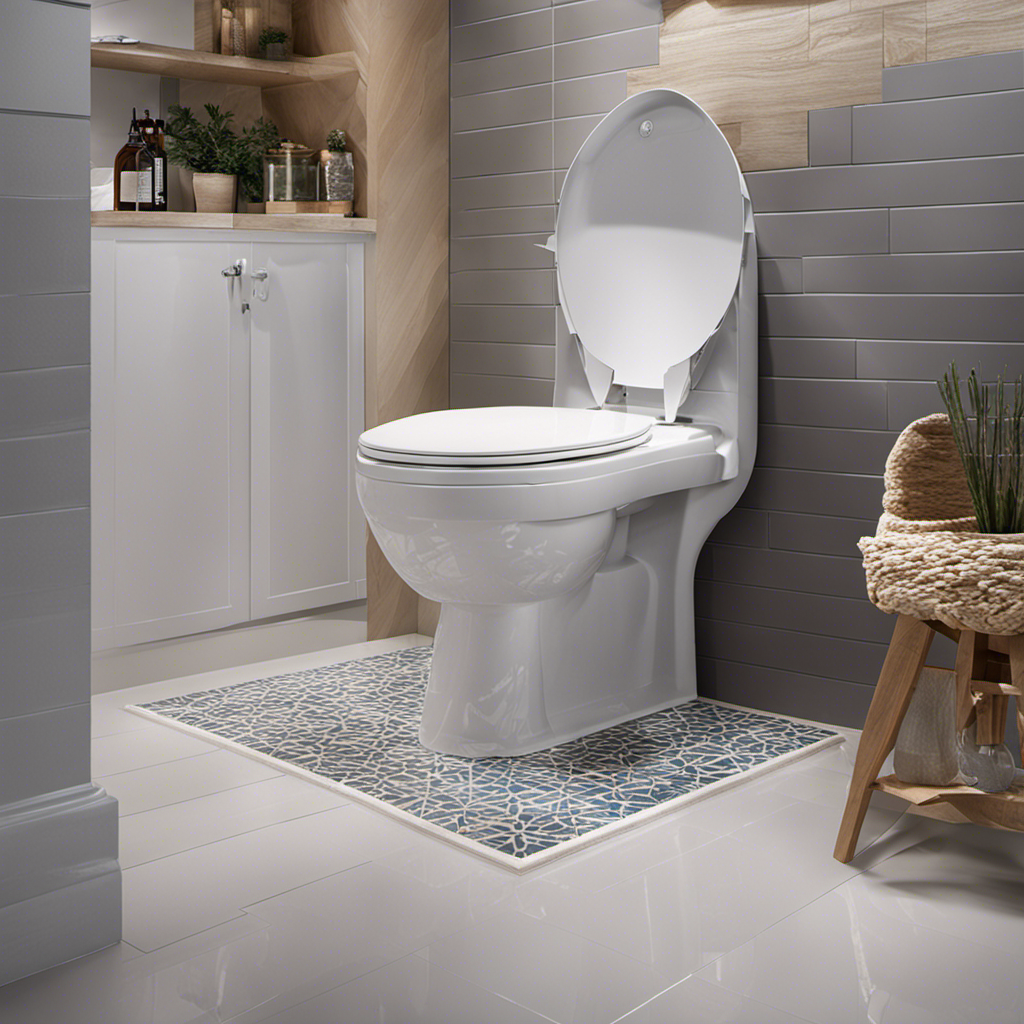
Choosing the Right Tiles
When choosing the right tiles for your toilet, it’s important to consider the style and functionality you want.
Tile material options range from ceramic and porcelain to natural stone and glass. Ceramic and porcelain tiles are popular choices due to their durability and water resistance. Natural stone tiles, such as marble or granite, add a luxurious touch to your toilet but require more maintenance. Glass tiles provide a sleek and modern look but may be more prone to scratching.
Additionally, consider color coordination with the rest of your bathroom decor. Light-colored tiles can make a small toilet appear larger, while darker tiles can create a cozy and intimate atmosphere.
Now that we have discussed choosing the right tiles, let’s move on to preparing the toilet surface.

ARDEX TL 2000 Fiber Reinforced Self-Leveling Floor Underlayment, Cement-Based Polymer-Modified Compound for Interior Concrete, Wood, Tile, 50 Lbs Bag, 38119
Fiber-reinforced self-leveling floor underlayment for increased durability, tensile strength, and flexural performance
As an affiliate, we earn on qualifying purchases.
As an affiliate, we earn on qualifying purchases.
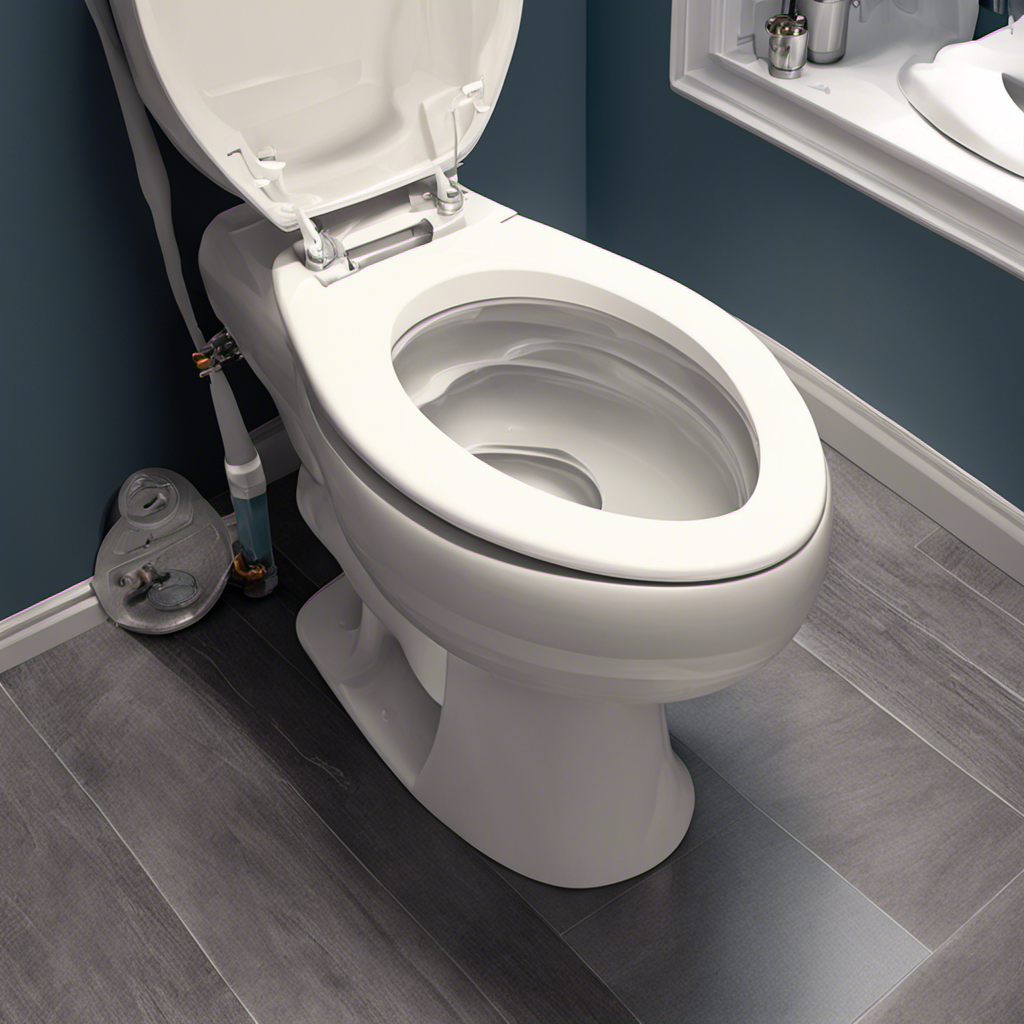
Preparing the Toilet Surface
Before tiling the toilet, there are three key steps to take: cleaning and priming the surface, leveling the surface, and choosing the right adhesive.
First, I’ll thoroughly clean the toilet surface using a mild detergent and water to remove any dirt or debris.
Then, I’ll apply a primer to ensure proper adhesion of the tiles.
Next, I’ll level the surface by using a self-leveling compound, ensuring a smooth and even base for the tiles.
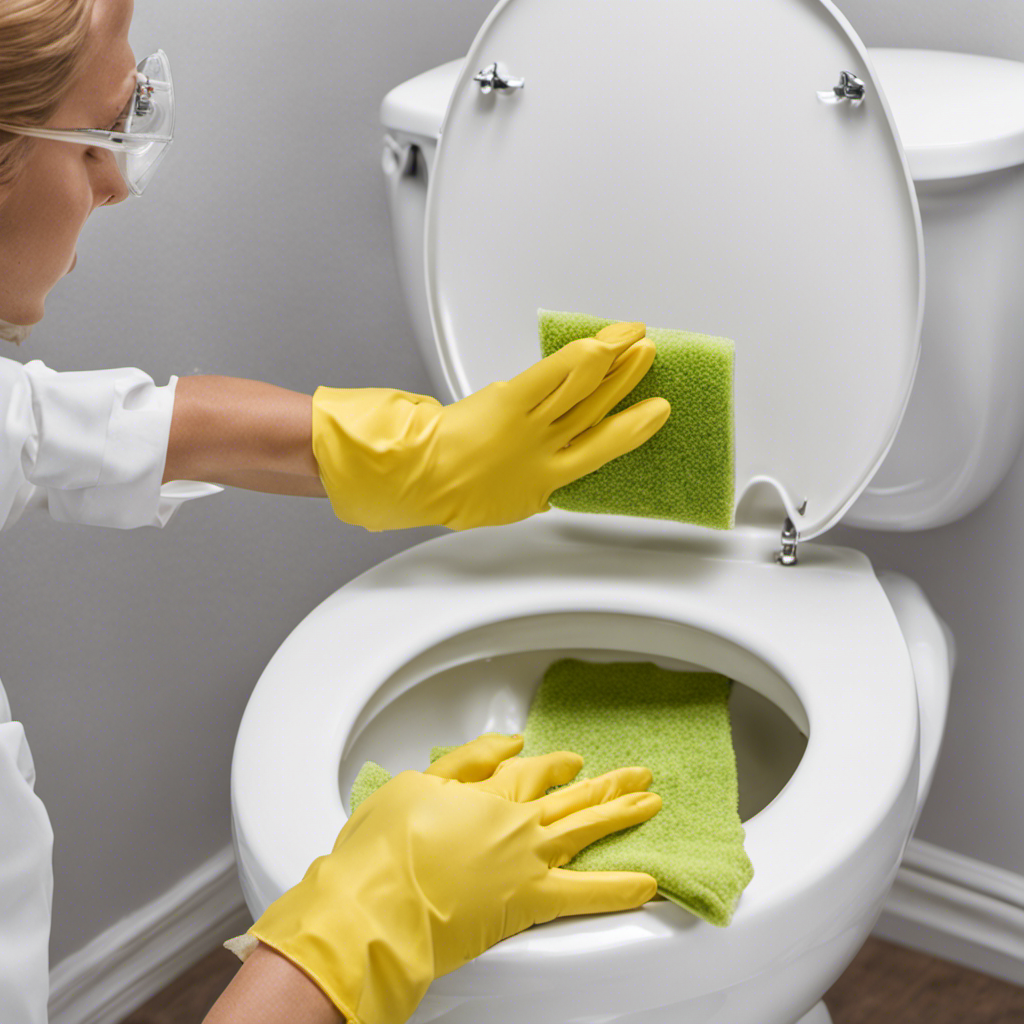
Cleaning and Priming
To properly clean and prime the toilet, you’ll need to use a disinfectant cleaner and a primer specifically designed for ceramic surfaces.
Start by applying the disinfectant cleaner to the entire surface of the toilet, including the bowl, tank, and seat. Use a cloth or sponge to scrub away any dirt, stains, or residue. Pay special attention to areas that are prone to buildup, such as under the rim and around the base.
Once the toilet is clean, it’s time to prime the surface. Apply a thin, even coat of the ceramic primer using a brush or roller. This will help the tile adhesive bond securely to the toilet surface.
Allow the primer to dry completely before moving on to the next step of leveling the surface.
Leveling the Surface
Once you have completed the cleaning and priming steps, you’ll want to ensure that the surface is level before proceeding with the next phase of the project. Leveling the surface is crucial for a proper tile installation.
To level the surface, start by checking for any high or low spots using a straightedge or level. If you find any uneven areas, you can use leveling compounds to fill in the gaps and create a smooth surface.
Apply the leveling compound according to the manufacturer’s instructions and allow it to dry completely. Once the surface is level, you can proceed with confidence to the next step of choosing the right adhesive for your tile installation.
Choosing the Right Adhesive
When selecting the right adhesive, make sure to consider the type of surface you are working with. The adhesive you choose for tiling your toilet can greatly impact the success and longevity of your project.
Here are some key factors to keep in mind:
-
Compatibility: Ensure that the adhesive is suitable for the surface material you are tiling onto. Different adhesives work best for various surfaces such as ceramic, porcelain, or natural stone.
-
Application: Follow the manufacturer’s instructions for proper adhesive application. Use a notched trowel to create ridges for better adhesion and coverage.
-
Drying Time: Allow the adhesive to dry completely before grouting. This can take anywhere from 24 to 48 hours, depending on the adhesive type and environmental conditions.
-
Clean-Up: Remove any excess adhesive immediately using a damp sponge or cloth. Once the adhesive has dried, it becomes much more challenging to remove.
FloorPops FPP4182W Peel Stick Tile Primer, White & Off-White
Latex floor primer for FloorPops peel and stick floor tiles
As an affiliate, we earn on qualifying purchases.
As an affiliate, we earn on qualifying purchases.
Measuring and Cutting the Tiles
When it comes to tiling, two key considerations are the size of the tiles and the precision in cutting them.
First, it is important to carefully consider the size of the tiles in relation to the surface area to be covered. This will help determine the number of tiles needed and ensure a balanced and visually pleasing layout.
Second, precision in tile cutting is crucial for achieving a professional and seamless finish. Using the right tools and techniques, such as a wet saw or tile cutter, will help ensure accurate cuts and minimize waste.
Tile Size Considerations
To ensure proper tile installation in your toilet, you’ll need to consider the size of the tiles. Here are some key factors to keep in mind:
-
Grout Color: Choose a grout color that complements the tiles and enhances the overall aesthetics of your bathroom. A contrasting grout color can make the tiles stand out, while a matching color can create a seamless look.
-
Tile Layout: Determine the most suitable tile layout for your toilet. Consider factors such as the size and shape of the room, the location of fixtures, and any design preferences you may have. Popular tile layout options include straight, diagonal, herringbone, and basketweave patterns.
-
Spacing: Ensure proper spacing between tiles to allow for grout application. Use tile spacers to maintain consistent spacing and create a professional finish.
-
Size Proportions: Choose tile sizes that are proportionate to the size of your toilet. Larger tiles can make a small space feel more spacious, while smaller tiles can add visual interest in larger areas.
Precision in Tile Cutting
Now that we have considered the size of the tiles, let’s move on to the next step: precision in tile cutting.
Achieving precise cuts is crucial to ensure a seamless and professional-looking tile installation. There are several tile cutting techniques that you can use, depending on the type of tile and your personal preference.
One common technique is using a tile cutter, which is a manual tool that scores the tile and then snaps it along the scored line. Another option is a wet tile saw, which uses a diamond blade to make precise cuts. For more intricate cuts, you can use a tile nipper or a tile file.
Whichever tool you choose, make sure to follow the manufacturer’s instructions and take necessary safety precautions to achieve the most accurate and clean cuts.

Grout Pen White Tile Grout Paint Marker: Waterproof Tile Grout Colorant and Sealer Pens for Cleaner Looking Floors & Whitener Without Bleach – Narrow 5mm, 2 Pack with Extra Tips (7mL) – White
LOOK BRAND NEW: Skip scrubbing tiles and use GROUT PEN to paint and recolor your grout for a…
As an affiliate, we earn on qualifying purchases.
As an affiliate, we earn on qualifying purchases.
Applying the Tile Adhesive
You’ll need to apply the tile adhesive evenly on the toilet surface. This is a crucial step in the tiling process, as it ensures that the tiles adhere properly and stay in place. Here are some techniques and tips for applying adhesive, as well as common mistakes to avoid:
-
Use the right adhesive: Make sure to choose an adhesive that is specifically designed for tiling. Using the wrong adhesive can lead to tiles not sticking properly or even coming loose over time.
-
Mix it correctly: Follow the instructions on the adhesive packaging to mix it properly. This ensures that the adhesive has the right consistency for application.
-
Apply evenly: Use a notched trowel to spread the adhesive evenly on the toilet surface. This helps to create a strong bond between the tiles and the surface.
-
Avoid excess adhesive: Be careful not to apply too much adhesive, as it can seep through the gaps between the tiles and create a messy appearance. Use a level to ensure that the adhesive layer is consistent.
Placing and Grouting the Tiles
After placing the tiles, it’s time to apply the grout to fill in the gaps between them. Grouting is a crucial step in the tiling process as it not only enhances the aesthetics but also provides stability and prevents water damage. To ensure a successful grouting job, it is important to follow the right techniques.
Start by mixing the grout according to the manufacturer’s instructions, achieving a smooth consistency. Next, use a rubber grout float to apply the grout diagonally over the tiles, pressing it firmly into the gaps. Remove excess grout with the float’s edge, holding it at a 45-degree angle.
After letting the grout dry for about 10-15 minutes, wipe off the haze with a damp sponge. Finally, inspect for any unevenness or gaps and touch up as needed. Some common grouting mistakes to avoid include leaving excess grout on the tiles, not cleaning the sponge frequently, and rushing the drying process.
Take your time and follow these techniques to achieve a professional-looking finish.
Finishing Touches and Maintenance Tips
To maintain the newly grouted tiles, it’s important to regularly clean them with a mild detergent and a soft cloth. Here are some maintenance techniques to keep your tiles looking fresh and clean:
-
Clean and wipe the tiles regularly to prevent dirt and grime buildup. This will help maintain their original shine and color.
-
Avoid using abrasive cleaners or scrub brushes that can scratch the surface of the tiles. Stick to gentle cleaning methods to preserve their quality.
-
Consider using a sealer on the grout lines to protect them from stains and discoloration. This will help prolong the lifespan of the grout and keep it looking pristine.
-
When selecting the right grout color, choose one that complements the tiles and enhances their overall appearance. A well-chosen grout color can make a significant difference in the final look of your tiled toilet.
Conclusion
In conclusion, tiling the toilet may seem like a daunting task, but with the right techniques and materials, it can be easily accomplished.
Remember to choose tiles that are suitable for wet areas and prepare the surface properly to ensure a long-lasting result.
Measure and cut the tiles accurately, and apply the tile adhesive evenly for a strong bond.
Placing and grouting the tiles meticulously will give your toilet a polished look.
Just like a well-tiled toilet, attention to detail and patience can transform any challenge into a beautiful masterpiece.