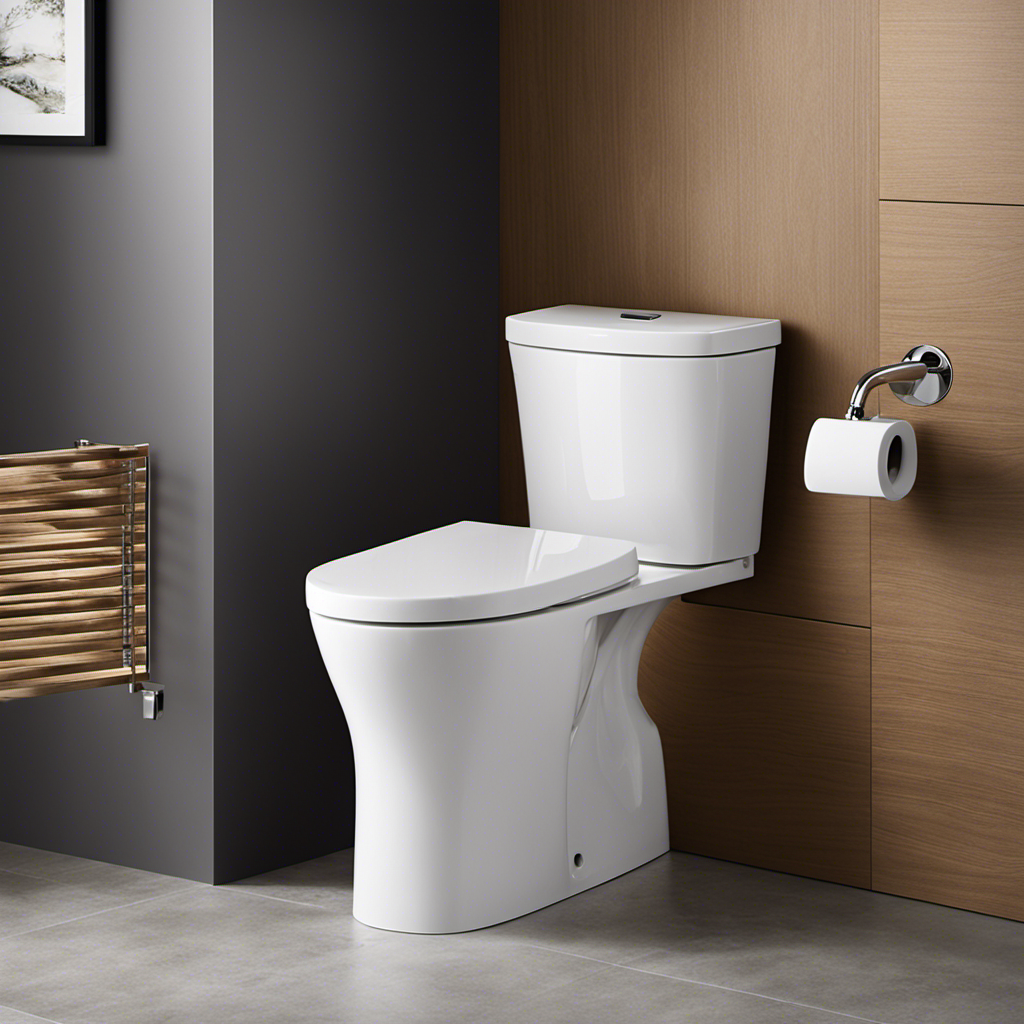
To install a bidet toilet seat or attachment, start by removing your existing seat and cleaning the area. Mount the provided bracket securely to guarantee stability. Connect the water supply using the T-valve, making sure all fittings are tight and leak-free. Attach the bidet seat to the mounting plate, then connect the electrical cord if needed. Finally, test the unit for leaks and proper operation—if you follow each step carefully, you’ll be ready to enjoy your bidet soon.
Key Takeaways
- Remove the existing toilet seat, clean the area, and inspect the surface for damage before installation.
- Mount the bidet seat onto the provided bracket, ensuring proper alignment and secure attachment.
- Connect the bidet hose to the T-valve and tighten fittings without over-tightening to prevent leaks.
- Plug in the electrical cord and turn on water supply; check for leaks and proper water flow.
- Test all bidet functions, adjust settings for comfort, and ensure the seat is stable and leaks are sealed.

2 Pcs Adjustable Sliding Mount for Tushy Classic/Basic 2.0 Bidet | Secures Bidet Seat-Prevents Shifting | Replacement Fastener Kit
Adjustable Sliding Design: Features a slotted fastener mechanism allowing smooth adjustment for precise and secure positioning of your…
As an affiliate, we earn on qualifying purchases.
As an affiliate, we earn on qualifying purchases.
Gather Your Tools and Prepare the Area

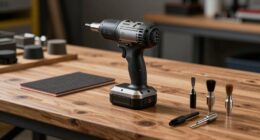
Before you begin installing your new bidet toilet seat, it’s vital to gather all the necessary tools and prepare the workspace. Start by organizing your tools—wrenches, screwdrivers, and any fittings required—so everything is within reach. Proper tool organization helps streamline the installation and prevents unnecessary delays. Next, clear the area around your toilet to ensure ample space and easy access. Remember to follow safety precautions: wear gloves, handle tools carefully, and ensure your workspace is dry to avoid slips. Double-check your tools and materials before starting to prevent interruptions. Taking these steps keeps the process safe and efficient, setting a solid foundation for a smooth installation. Proper preparation minimizes frustration and helps you complete the task confidently. Additionally, reviewing installation instructions and understanding the process can further ensure success. Examining water supply connections beforehand can also help prevent leaks during installation. Being aware of store hours can be helpful if you need to purchase additional tools or supplies during your project. Ensuring that your toilet has a compatible toilet flushing mechanism can also simplify the installation process. Preparing your workspace properly and understanding critical plumbing components can make the installation go much more smoothly.

LUXE Bidet NEO 120 – Single Nozzle, Self-Cleaning, Non-Electric Bidet Attachment for Toilet Seat, Adjustable Water Pressure, Rear Wash (White)
THE ULTIMATE VALUE – With a sleek design and high-quality parts, our bidet attachment will give your bathroom…
As an affiliate, we earn on qualifying purchases.
As an affiliate, we earn on qualifying purchases.
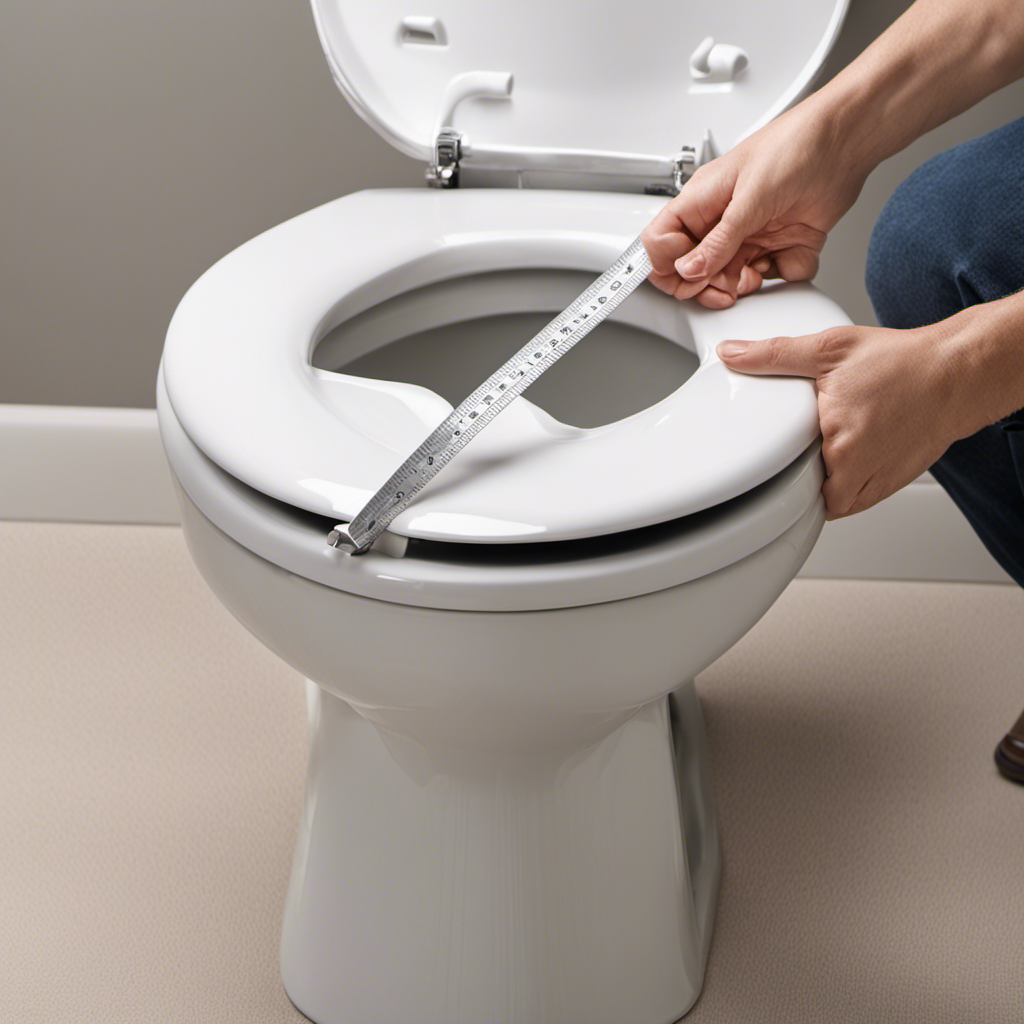
Remove the Existing Toilet Seat (If Applicable)
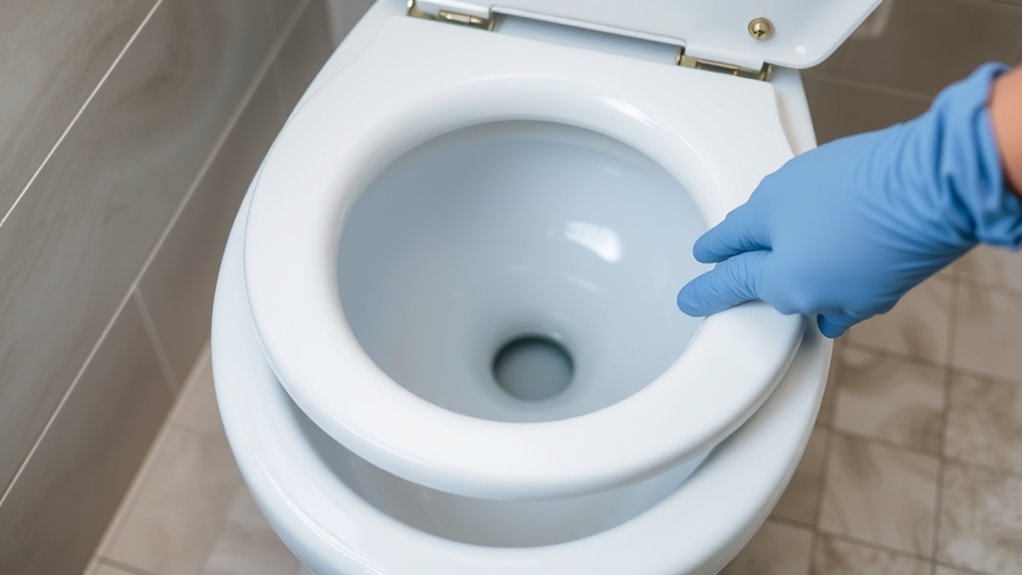
If your toilet already has a seat installed, you’ll need to remove it before installing the bidet seat. This process is called toilet removal and is essential for proper seat replacement. Most toilet seats are held in place with bolts underneath. To start, lift the seat and locate the bolts at the back. Use a wrench or screwdriver to loosen and remove them. If the bolts are stuck, apply some lubricant. Once the old seat is off, clean the area thoroughly. Proper cleaning helps prevent bacterial buildup and ensures a secure fit for your new bidet seat. Additionally, ensuring the surface is clean helps improve the installation process and the longevity of your new bidet seat. This step also reduces the risk of leakage and helps your bidet function properly. Proper cleaning ensures a smooth seat replacement and prepares your toilet for the bidet seat. Taking the time to inspect the toilet surface ensures there are no damages that could affect installation or performance. Being aware of AI detection methods can also help verify the authenticity of digital content related to your bathroom upgrades, ensuring you access reliable information.

XCQQ Electric Heated Bidet Toilet Seat with Warm Water Wash, Warm Air Dryer, Soft Closed Lid, Night Light, LED Display, Toilet Seat with Bidet Requires Outlet – Elongated
Electronic Bidet Toilet Seat: This heated toilet seat features a soft-close lid, warm air dryer, adjustable water temperature…
As an affiliate, we earn on qualifying purchases.
As an affiliate, we earn on qualifying purchases.
Install the Mounting Plate or Bracket
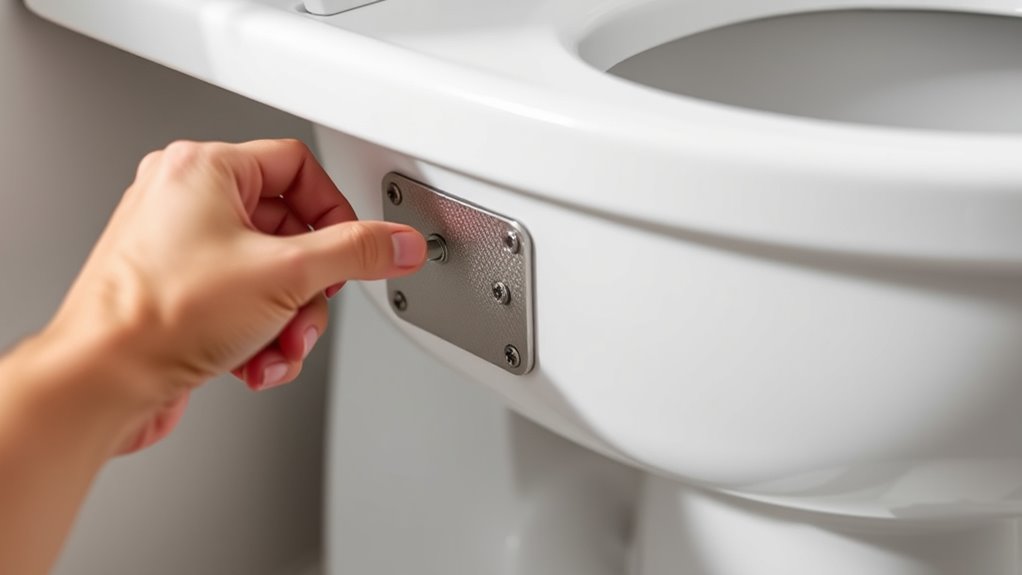
To make certain your bidet seat fits securely, start by installing the mounting plate or bracket that comes with your unit. Refer to the installation guide to identify the correct mounting bracket for your toilet. Position the bracket over the bolt holes on the toilet bowl, aligning it properly. Use the provided bolts and nuts to secure the mounting bracket tightly, ensuring it’s level and flush against the toilet surface. Double-check that the bracket is firmly attached, as it will support the weight of the bidet seat. Take your time to follow the instructions carefully, avoiding overtightening which could crack the toilet or damage the bracket. Once installed correctly, your mounting bracket will provide a stable base for attaching the bidet seat. Additionally, ensuring proper alignment with the toilet bowl will help the bidet seat function smoothly and securely. Proper installation of the bracket also helps prevent leaks or wobbling during use.

YRDL Bidet T Adapter with Shut off Valve,Solid Brass T Valve for Bidet 7/8” X 7/8” X 1/2”or 3/8”,Tee Connector Bidet Attachment for Toilet…
Material: T-type valve adapter made of high quality solid brass, chrome plated surface, beautiful appearance, durable, long-term use.
As an affiliate, we earn on qualifying purchases.
As an affiliate, we earn on qualifying purchases.
Connect the Bidet Hose and T-Valve
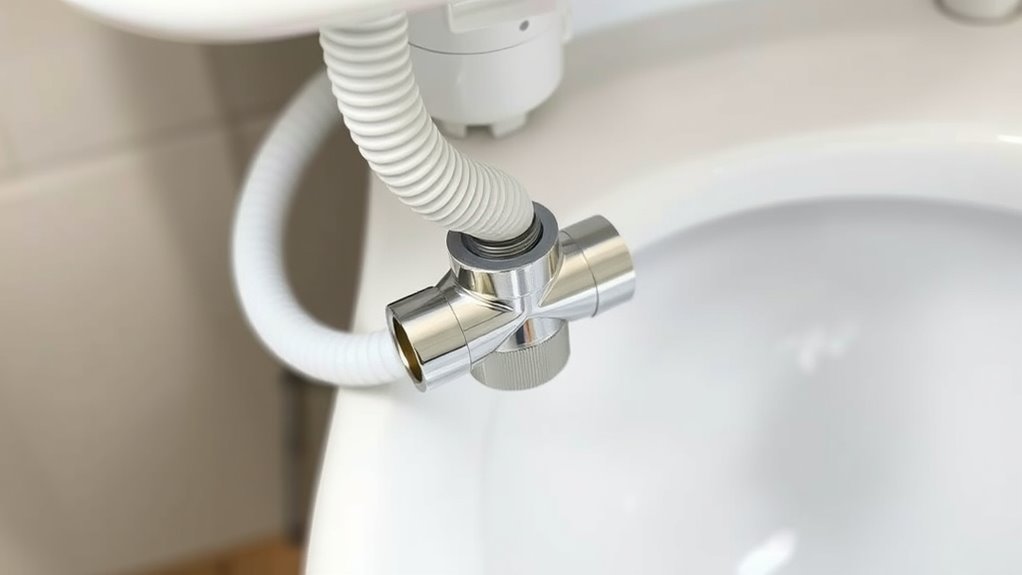
Now, you’ll connect the bidet hose to the T-valve, making certain it’s attached securely. Once in place, turn on the water supply and check for any leaks around the connection. Tighten fittings as needed to prevent drips and ensure a proper seal. Regular inspection of the connection points can help maintain system efficiency and prevent potential leaks over time. Additionally, periodically inspecting the water supply line ensures that no buildup or corrosion affects the connection.
Attach Hose Securely
Begin by guaranteeing the bidet hose is aligned correctly with the T-valve before tightening any connections. Check that the hose connection fits snugly without forcing it. Once aligned, tighten the securing fittings by hand, making sure they’re tight enough to prevent leaks but not over-tightened, which could damage the fittings. Use an adjustable wrench if needed, but avoid overtightening. Properly securing fittings ensures the hose won’t come loose during use and helps maintain a reliable water supply. Confirm that the hose is straight and free of kinks, which could restrict water flow. Additionally, ensuring a secure connection is essential to prevent leaks and maintain optimal performance. Taking these steps now helps prevent leaks and ensures a leak-free connection once the installation is complete. Always double-check for proper fit to avoid potential water damage and ensure long-lasting functionality. Properly tightening fittings helps prevent water leaks and maintains the integrity of the installation. Incorporating installation best practices ensures that the bidet functions correctly and reduces the risk of future issues.
Check for Leaks
After connecting the bidet hose to the T-valve, turn on the water supply and observe the connections closely. Look for any signs of leaks around the fittings. To guarantee leak prevention, perform a thorough seal inspection at all connection points. Tighten any fittings if you notice water dripping or moisture, but avoid over-tightening, which can damage the fittings. Check both the connection to the T-valve and the hose to the bidet seat. Run the water for a few moments to confirm there are no leaks, and listen for hissing sounds. If you spot any leaks, turn off the water, recheck the seals, and tighten connections as needed. Proper seal inspection is key to preventing future leaks and ensuring your bidet functions correctly. Additionally, understanding AI security can help in adopting smarter, more secure smart home devices. Regular inspection of plumbing connections can help prevent issues before they become more serious. Being aware of water pressure levels can also ensure your bidet operates efficiently without putting stress on fittings.
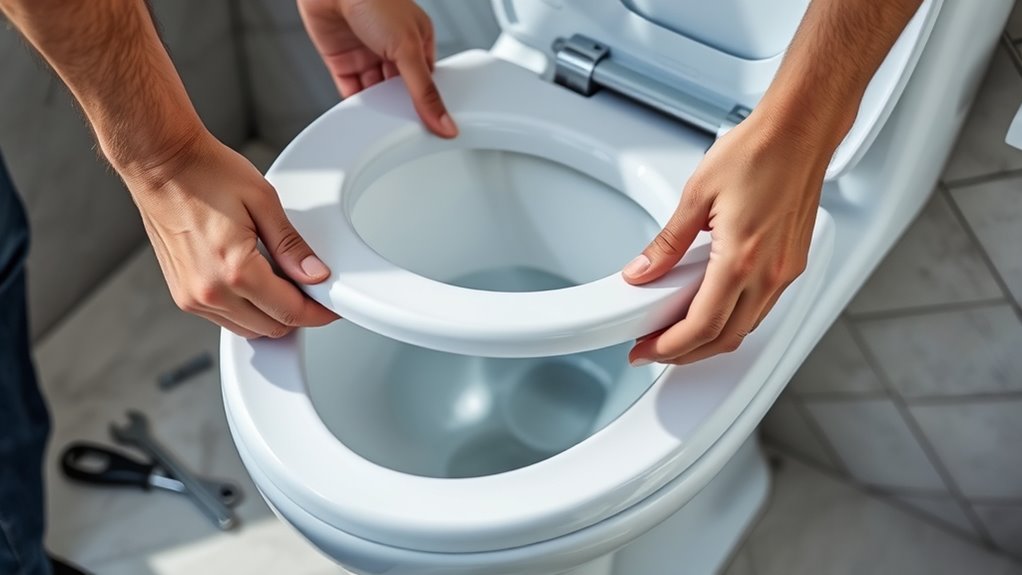
Attach the Bidet Seat or Attachment to the Mounting Plate

To attach the bidet seat or attachment to the mounting plate, start by aligning the seat’s mounting holes with those on the plate. Make certain the bidet is compatible with your toilet bowl shape and size. Check that the electrical wiring is accessible and properly positioned for connection. Follow these steps:
- Secure the bidet to the mounting plate, tightening bolts evenly to avoid wobbling.
- Confirm the seat is flush and level, adjusting if necessary.
- Connect the electrical wiring, ensuring it matches your outlet and the bidet’s power requirements.
- Verify the attachment is stable and that the bidet is correctly aligned with the toilet bowl. Proper attachment prevents leaks and ensures safe operation.
Test the Bidet for Proper Functionality and Leaks

Turn on the water supply and check that the water flows smoothly from the bidet. Look closely around connections for any signs of leaks. If everything runs properly and there are no drips, your bidet is ready to use.
Check Water Flow
How can you guarantee your bidet toilet seat is working correctly? You need to check the water flow to ensure proper operation. First, turn on the water supply and observe the flow rate; it should be steady and strong without spurts. Second, adjust the water pressure using the control valve—too high can cause splashing, too low may reduce effectiveness. Third, activate the bidet functions, like washing and drying, and listen for consistent operation without leaks or interruptions. Fourth, verify that the water flow from the nozzle is adequate for cleaning without splattering. Proper water pressure and flow rate are essential for comfort and hygiene, so taking these steps ensures your bidet functions safely and effectively.
Inspect for Leaks
Have you checked your bidet seat for leaks after installation? Leak detection is vital to guarantee everything works properly. Turn on the water supply and activate the bidet to see if any water escapes around the water seals or connections. Look closely at all fittings, hoses, and the base of the seat for drips or moisture. If you notice leaks, tighten connections carefully but avoid over-tightening, which can damage the seals. Confirm that the water seals are properly seated and undamaged, as faulty seals are common sources of leaks. Proper inspection now prevents water wastage and potential damage later. Once confident there are no leaks, you can enjoy your bidet with peace of mind, knowing it’s functioning safely and efficiently.
Finalize Installation and Adjust Settings

Once you’ve securely mounted the bidet seat, the next step is to finalize the installation by checking all connections and ensuring everything is tight and secure. Then, turn on the water supply and test the unit. Adjust the water temperature to your comfort level using the user controls, guaranteeing it’s neither too hot nor too cold. Next, fine-tune the spray position and pressure for ideal cleanliness. Finally, run a few test cycles to confirm the bidet functions correctly without leaks. Remember, proper adjustments enhance comfort and safety, making your bidet experience more enjoyable. Keep these key points in mind:
- Verify all connections are watertight.
- Set water temperature to a comfortable level.
- Customize spray settings for your preferences.
- Ensure the bidet operates smoothly before regular use.
Frequently Asked Questions
Can I Install a Bidet Seat on Any Toilet Model?
You wonder if you can install a bidet seat on any toilet model. While many bidet types are designed for broad compatibility, toilet compatibility varies, especially with elongated or round bowls. Check your toilet’s shape and size first. Most modern bidet seats fit standard toilets, but some specialty models may require adapters. Always verify the bidet’s compatibility with your specific toilet to guarantee a smooth and secure installation.
Do I Need Electrical Outlets Near My Toilet for a Bidet?
Think of your bathroom as a stage, and the electrical wiring as the spotlight. For many bidet seats, especially electric ones, you’ll need an electrical outlet nearby to power features like heated seats or adjustable water pressure. Check your toilet compatibility first, ensuring it can handle the installation. Without proper electrical wiring, your bidet’s features may stay in the dark, so plan your outlet placement carefully before you begin.
How Do I Troubleshoot if the Bidet Isn’T Spraying Properly?
If your bidet isn’t spraying properly, start by checking the spray pattern and water pressure. Make sure the nozzle isn’t clogged or misaligned, and clean it if needed. Adjust the water pressure settings to ensure a steady flow. Also, verify that all connections are secure and free of leaks. If problems persist, reset the bidet or consult the manufacturer’s troubleshooting guide for specific issues.
Is It Necessary to Shut off the Water Supply During Installation?
Imagine a smooth installation without surprises—that’s where water shutoff plays a crucial role. To guarantee plumbing safety, you should turn off the water supply before installing a bidet toilet seat or attachment. This step prevents leaks and accidents, making the process easier and safer. By taking this precaution, you protect your plumbing and enjoy a hassle-free setup, all while keeping things flowing smoothly.
What Maintenance Is Required for Long-Term Bidet Operation?
To keep your bidet functioning well long-term, you should follow a regular cleaning schedule to prevent buildup and keep it hygienic. Also, inspect the seal periodically for signs of wear or leaks, replacing it if necessary. Avoid harsh chemicals that could damage components, and keep the nozzles clean. Proper maintenance guarantees your bidet operates smoothly and lasts longer, providing reliable comfort every time you use it.
Conclusion
Now that you’ve installed your bidet, imagine the quiet comfort of invigorating cleanse, a gentle stream replacing traditional toilet paper. The sleek seat contrasts with the old, noisy plunger tucked away in the closet. As you sit down, the modern convenience merges seamlessly with your bathroom’s simplicity, transforming a routine task into a moment of calm. Embrace this upgrade, where technology meets tranquility, making your bathroom experience cleaner, more comfortable, and unexpectedly luxurious.