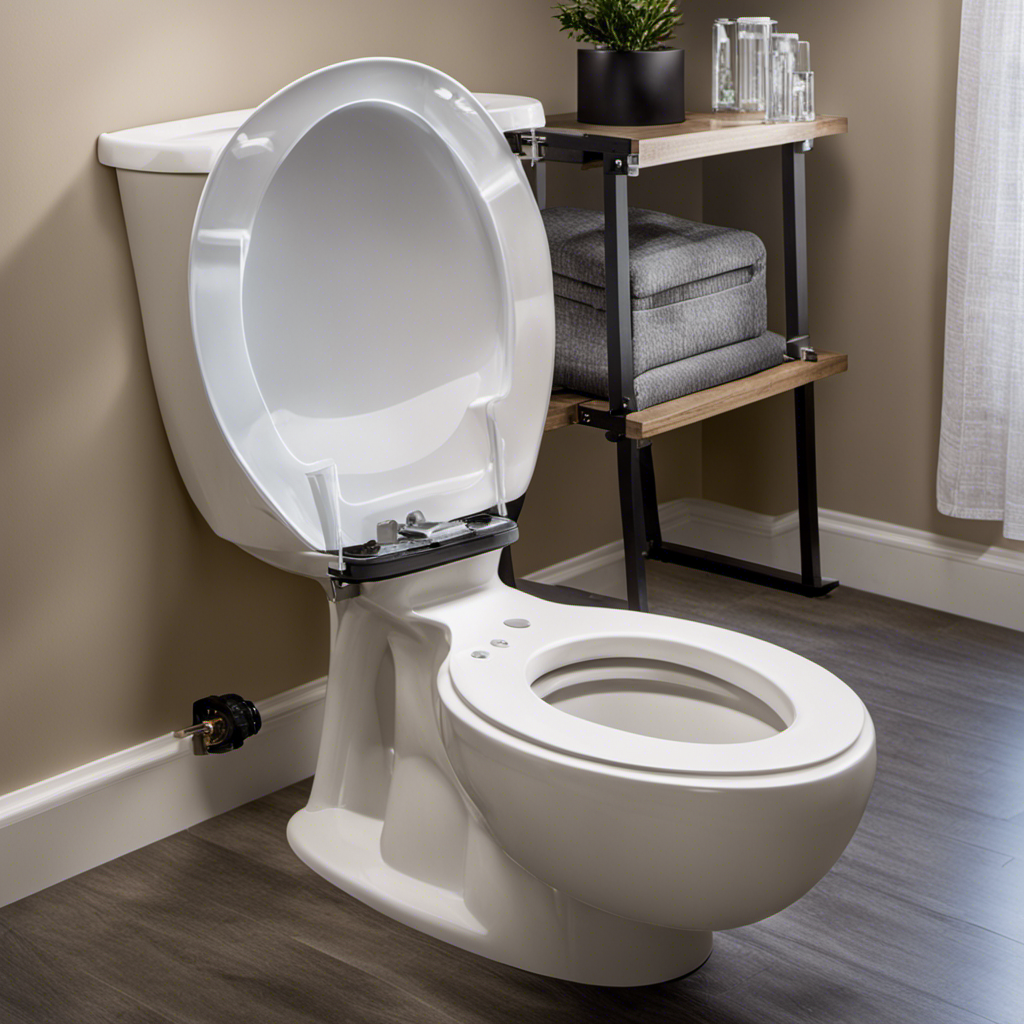
Did you know that an unlevel toilet can cause leaks and damage to your bathroom? In fact, signs of an unlevel toilet include rocking, uneven gaps, and even difficulty in flushing.
But don’t worry, there’s a solution. By leveling and shimming your toilet, you can ensure proper functioning and stability.
This article will guide you through the process step by step, providing you with the knowledge and tools needed to get the job done right.
So let’s dive in and learn how to stabilize your toilet for a leak-free and efficient bathroom.
Key Takeaways
- Properly leveling a toilet is important for preventing leaks and ensuring efficient flushing.
- Uneven gaps between the toilet base and the floor are signs of poor leveling, which can lead to rocking or wobbling of the toilet bowl.
- Shims, such as wood, plastic, or rubber wedges, can be used to level out gaps and stabilize the toilet.
- After leveling and shimming, it is important to test the toilet for stability and check for any leaks before using it.
Checking for Gaps and Unevenness
The homeowner inspects the entire toilet bowl for gaps between the floor and the porcelain base. Common causes of gaps and unevenness in toilet installations can include an uneven bathroom floor, loose toilet bolts, or an improperly sized wax ring. These gaps can lead to leaks and water damage if not addressed.
Proper toilet leveling plays a crucial role in preventing these issues. By ensuring that the toilet is stable and level, the risk of leaks and water damage is minimized. Additionally, a level toilet provides a comfortable seating surface and ensures efficient flushing, preventing water wastage.
If gaps or unevenness are found, small wood, plastic, or rubber shims can be used to level out the toilet and seal the gaps.
Inserting and Trimming the Shims
To insert and trim the shims, one should place a shim on the floor with the sharp edge facing the gap. This ensures a secure fit and prevents any movement or rocking of the toilet bowl. Once the shim is in position, it can be pushed into the gap using your fingers or a small hammer if necessary.
It is important to repeat this process for all gaps under the toilet bowl to ensure even and stable leveling. After inserting the shims, trimming them is necessary to make them less visible. Using a utility knife, carefully cut off the excess part of the shim, taking care not to damage the floor. Trim the shim at the right angle to align it with the surface of the toilet bowl. This will create a seamless appearance and ensure a level toilet.
Common mistakes when using shims:
- Using shims that are too large or too small for the gap, leading to an unstable toilet.
- Failing to trim the shims properly, resulting in a visible and uneven shim.
- Not inserting enough shims to adequately level the toilet, causing rocking or wobbling.
Testing the Toilet
After inserting and trimming the shims, one can now proceed to test the toilet for stability and proper flushing.
Testing the toilet is an essential step to ensure that it is securely leveled and there are no leaks.
To test for stability, gently push the toilet from different angles and check if it wobbles or moves. A stable toilet should remain firm and not rock back and forth.
Additionally, it is important to flush the toilet multiple times to check for any leaks. There should be no leakage at the base of the toilet, indicating a proper seal.
Testing the toilet from all sides and angles will help ensure its stability and functionality, providing a comfortable and efficient flushing experience.
Caulking the Toilet Base
Using a caulk gun, they apply silicone caulk to fill the gaps between the shims and the base of the toilet. Caulking the toilet base provides several advantages, such as ensuring a watertight seal. The caulk seals any gaps between the shims and the toilet base, preventing water from seeping through and causing damage to the floor.
Another advantage is enhancing stability. The caulk helps to secure the shims in place, reducing the chances of the toilet rocking or wobbling. Additionally, caulking the base of the toilet improves hygiene. It creates a smooth surface that is easier to clean and prevents bacteria and dirt from accumulating in the gaps.
However, it is important to avoid common mistakes when caulking the toilet base. These mistakes include using the wrong type of caulk or applying too much caulk, which can lead to a messy appearance or difficulties in future repairs. It is crucial to follow proper caulking techniques to achieve a professional and long-lasting result.
Importance of Leveling a Toilet
Ensuring that a toilet is properly leveled is essential for preventing leaks and maintaining efficient flushing. Common leveling mistakes can lead to issues such as rocking, water wastage, and potential damage to the wax seal.
Troubleshooting leveling issues requires careful inspection of the toilet base and the gaps between the floor and porcelain base. Gaps can be filled using small wood, plastic, or rubber shims, which should be inserted and trimmed to make them level with the surface of the toilet bowl.
Testing the toilet for stability and checking for leaks is crucial after leveling. If necessary, the toilet base can be caulked using 100% silicone caulk to create a watertight seal.
Proper leveling of a toilet is vital for its functionality, aesthetics, and longevity.
Signs of an Unlevel Toilet
Signs of an unlevel toilet include rocking or wobbling of the bowl and uneven gaps between the base and the floor. This can be caused by several factors, such as an uneven bathroom floor, loose bolts, or a deteriorated wax ring.
To solve this issue, one can use shims to level out the gaps. By inserting small wood, plastic, or rubber shims and trimming them to align with the surface of the toilet bowl, the gaps can be sealed and the toilet can be stabilized. It is also important to test the toilet for wobbling and leaks after shimming.
Caulking the toilet base with silicone caulk can further enhance stability and prevent water leakage. Ensuring a level toilet is crucial for proper functioning and preventing damage to the wax seal.
Tools and Materials Needed
The necessary tools and materials for this task include:
- A putty knife
- Adjustable pliers
- A level tool
- A caulk gun
- Masking tape
- A utility knife
- A 100% silicone caulk tube.
These tools and materials are essential for properly leveling a toilet and stabilizing it.
While there are alternative leveling methods available, such as using toilet shims made of wood, plastic, or rubber, these materials have their pros and cons.
Wood shims, for example, are sturdy and provide excellent support, but they may rot over time.
Plastic shims are durable and resistant to moisture, but they may compress under the weight of the toilet.
Rubber shims offer flexibility and can absorb vibrations, but they may degrade over time.
It is important to consider these factors when choosing the right type of shim for the job.
Step-by-Step Guide
Using a putty knife, the person can carefully lift the toilet off the flange. Once the toilet is removed, the next step is to properly level it to ensure stability and prevent leaks.
Here is a step-by-step guide on how to achieve proper leveling techniques:
- Clean the base of the toilet to remove any dirt or dust.
- Inspect the entire toilet bowl for gaps between the floor and the porcelain base.
- Use small wood, plastic, or rubber shims to level out the gaps.
Common mistakes in toilet installation that should be avoided include:
- Failing to check for gaps and unevenness in the toilet bowl.
- Not using shims to level out the gaps.
- Forgetting to test the toilet for wobbling and leaks after installation.
Tips for Proper Toilet Shimming
To achieve proper stability when leveling a toilet, it is important to start with small shims and gradually add more if needed. This ensures that the toilet is securely positioned and prevents any rocking or wobbling. However, there are common shimming mistakes that should be avoided to ensure a successful leveling process.
One of the common mistakes is using shims that are too large or thick, which can cause the toilet to become unsteady. Another mistake is not trimming the shims properly, which can make them visible and affect the overall aesthetics of the bathroom.
In addition to using shims, there are alternative methods for leveling a toilet. One alternative method is using toilet leveling wedges, which are specifically designed to provide stability and eliminate rocking. These wedges are inserted under the toilet base and can be adjusted to achieve the desired level. Another alternative method is using a leveling compound, which is a self-leveling material that can be poured onto the floor to fill in any gaps and create a level surface for the toilet.
Overall, proper toilet shimming is crucial for achieving stability and preventing leaks. By starting with small shims and avoiding common mistakes, homeowners can ensure that their toilet is securely leveled and functioning properly.
Final Steps and Maintenance
After completing the shimming process, homeowners should ensure that the toilet remains stable and does not wobble by gently pushing it from different angles. This final step is crucial to guarantee the effectiveness of the leveling and shimming process.
To properly maintain the stability of the toilet, here are some maintenance tips to consider:
- Regularly check for any signs of rocking or movement in the toilet.
- Inspect the shims for any wear or damage and replace them if necessary.
- Keep the area around the toilet clean and free from any debris that may affect its stability.
Frequently Asked Questions
Can I Use Any Type of Shim to Level Out the Gaps Under the Toilet Bowl?
Yes, alternative materials like wood, plastic, or rubber shims can be used to level the gaps under the toilet bowl. Proper installation techniques involve placing shims in the gaps and trimming them for a secure fit.
How Long Does the Caulk Need to Dry Before I Can Use the Toilet Again?
The caulk typically needs to dry overnight for at least eight hours before the toilet can be used again. However, there are alternative leveling methods that don’t require caulk and allow for immediate use.
What Should I Do if I Notice Leaks at the Base of the Toilet Even After Leveling and Shimming?
If leaks persist at the base of the toilet after leveling and shimming, check for a damaged wax seal or loose bolts. Replace the wax seal and tighten the bolts to prevent further leaks.
Is It Necessary to Remove the Toilet in Order to Level and Shim It?
Is it necessary to remove the toilet to level and shim it? There are alternative methods available to stabilize a toilet without removing it, such as using adjustable shims or installing a toilet support bracket.
Are There Any Alternative Methods to Leveling and Shimming a Toilet Without Using Shims?
There are alternative methods to leveling and shimming a toilet without using shims, such as using adhesive pads or wedges. However, shims are the most commonly used and effective technique.
Conclusion
In conclusion, leveling and shimming a toilet is crucial for its stability and preventing leaks. By checking for gaps and unevenness, inserting and trimming shims, testing the toilet, and caulking the base, one can ensure a level and sturdy toilet.
This process not only ensures proper functioning and efficient flushing but also maintains the overall aesthetics of the bathroom.
As the old adage goes, ‘A level toilet keeps troubles at bay,’ and by following the step-by-step guide and using the right tools and materials, one can achieve a perfectly leveled toilet that will stand the test of time.
