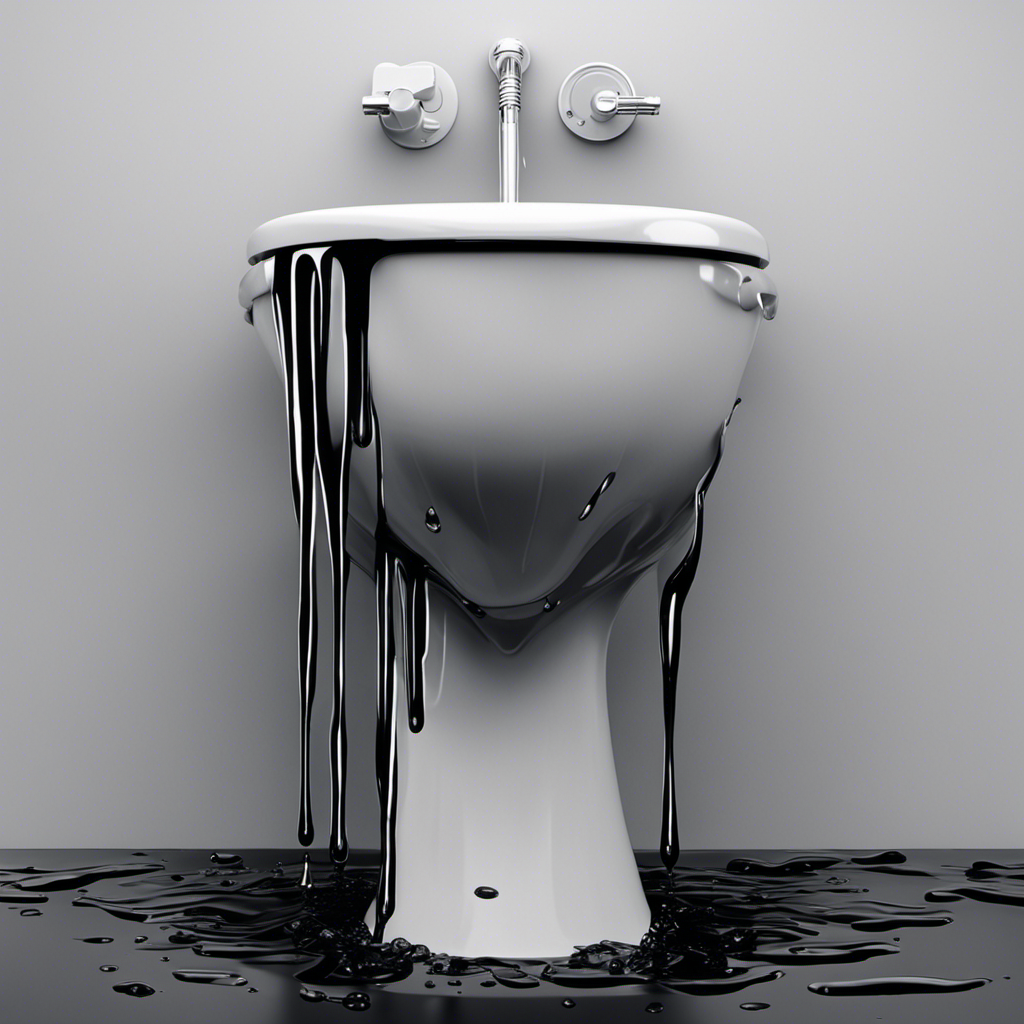
Ready to take your home improvement skills to the next level? In this article, I’ll show you how to master the art of toilet seat replacement.
As someone who has tackled countless DIY projects, I understand the importance of a detailed and knowledgeable approach. From choosing the right seat to testing its functionality, I’ll guide you through each step with clear instructions.
So, let’s roll up our sleeves and get ready to transform your bathroom with this essential skill.
Key Takeaways
- Consider the size, material, and budget options when choosing a toilet seat
- Properly remove and clean the old seat before installing a new one
- Ensure proper alignment and tightness of bolts during installation for stability
- Regularly clean and disinfect the seat to maintain hygiene and prevent odors
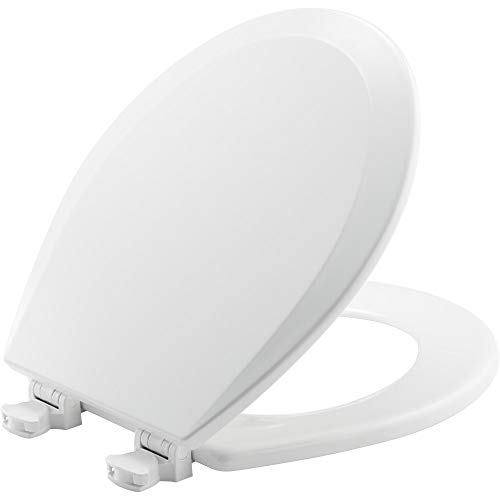
BEMIS 500EC 390 Toilet Seat with Easy Clean & Change Hinges, 1 Pack Round, Cotton White
- Easy to Clean Hinges: Releases for thorough cleaning
- Stylish White Design: Complements modern and classic bathrooms
- Simple DIY Installation: Install in minutes without professional help
As an affiliate, we earn on qualifying purchases.
As an affiliate, we earn on qualifying purchases.
Seat Purchase
I’ll head to the store later to check out the seat options for purchase.
When it comes to toilet seat replacement, one of the most important things to consider is the size. You want to make sure that the new seat fits perfectly on your toilet bowl. Measure the length and width of your current seat to ensure a proper fit.
As for budget options, there are plenty available in the market. Look for seats made from durable materials like plastic or wood, as they’re usually more affordable. Additionally, consider features like easy installation and cleaning.
Now that we’ve discussed the seat purchase, let’s move on to the next step: removing the old seat.
Old Seat Removal
Removing the old seat is a straightforward process that requires a few simple tools and a little bit of patience. Before starting, make sure to gather the necessary tools: a wrench, pliers, and a screwdriver. Once you have everything ready, follow these steps to remove the old seat:
- Flip up the seat and locate the bolts underneath.
- Use the wrench to loosen and remove the nuts on the bolts.
- If the nuts are stuck, use pliers to grip them and loosen them.
- Once the nuts are removed, lift the seat straight up to detach it from the toilet bowl.
- Clean the area to ensure a smooth installation of the new seat.
Clean Area
After removing the old seat, I’ll wipe down the area with a disinfectant wipe to ensure it’s clean.
Maintaining proper toilet seat hygiene is crucial for a healthy and comfortable bathroom experience. Over time, toilet seats can accumulate dirt, germs, and unpleasant odors. By regularly cleaning the area, we can prevent the spread of bacteria and maintain a fresh and sanitary environment.
In addition to routine cleaning, it’s essential to address common toilet seat problems such as loose hinges or cracked seats. These issues not only compromise the comfort and functionality of the seat but can also lead to potential accidents. By promptly addressing these problems, we can ensure a safe and comfortable experience for everyone.
Now that the area is clean and ready, let’s move on to the next step: placing the new seat securely in its position.
New Seat Placement
When it comes to new seat placement, proper alignment is key to a comfortable and functional toilet.
Begin by ensuring that the seat is centered and level on the bowl. This will prevent any rocking or instability.
Additionally, choosing the right seat material and style is important for both durability and aesthetics.
Proper Seat Alignment
While I’m replacing the toilet seat, I need to ensure proper seat alignment to avoid any wobbling or discomfort. Here are a few key things to keep in mind when aligning your toilet seat:
- Make sure the seat is centered on the bowl to avoid any uneven pressure.
- Tighten the bolts evenly on both sides to ensure stability.
- Use a level to ensure the seat is perfectly horizontal.
- Check for any gaps between the toilet seat and the bowl, as these can cause wobbling.
- Double check that the seat is securely attached before use.
Proper seat alignment is essential for a comfortable and sturdy toilet seat. By following these simple steps, you can avoid common installation mistakes and ensure a hassle-free experience for yourself and others in your home.
Now, let’s move on to the next important step: choosing the right seat.
Choosing the Right Seat
I’ll make sure to choose the right seat that matches my bathroom decor and provides maximum comfort.
When it comes to toilet seat materials, there are various options available. One popular choice is plastic, which is affordable, lightweight, and easy to clean. Another option is wood, which adds a touch of elegance and warmth to the bathroom. However, it requires more maintenance to keep it in good condition.
Seat size is another factor to consider. Most toilet seats come in standard size, but there are also options for elongated or compact toilets. It’s essential to measure the dimensions of your toilet bowl to ensure a proper fit.
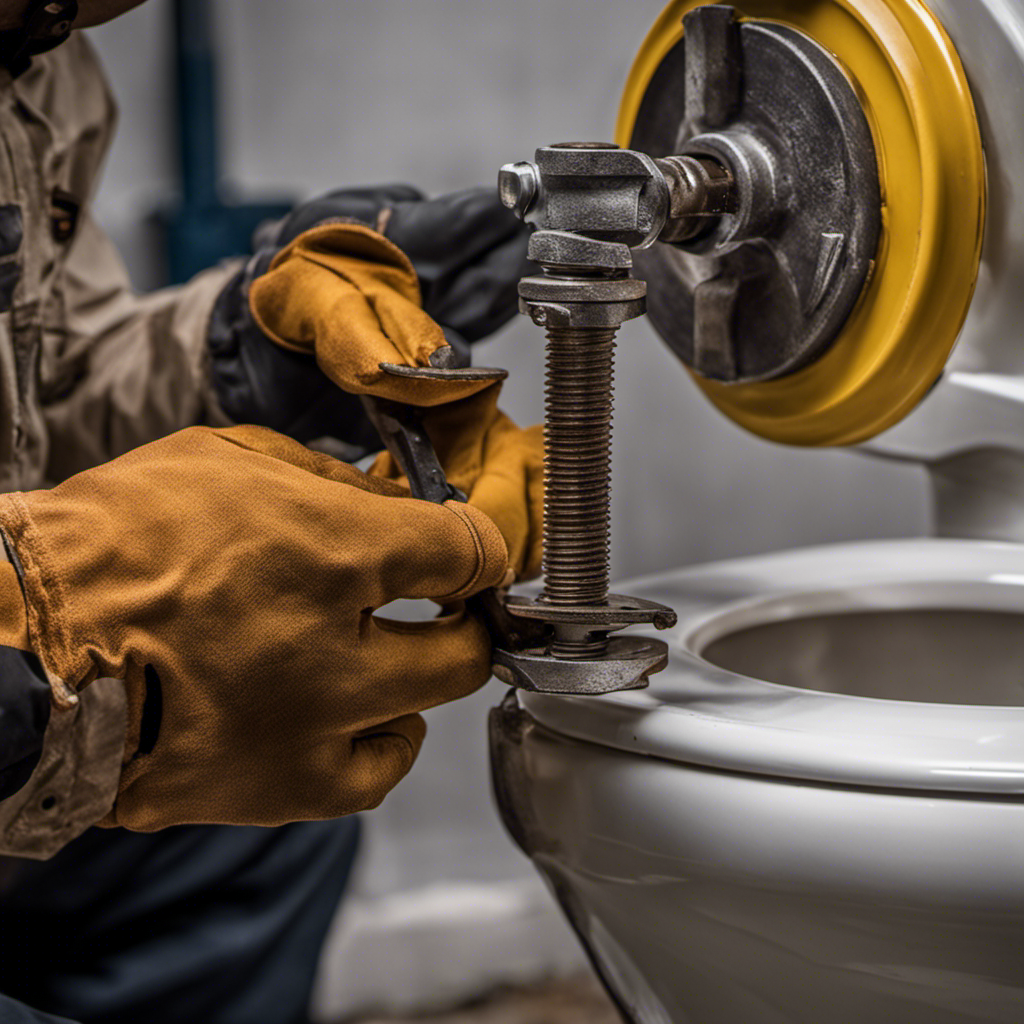
Bolt Attachment
I’m struggling with the bolt attachment on the new toilet seat. It can be a tricky process, but with a little guidance, you’ll have it securely fastened in no time. Here are some tips to help you master the art of bolt installation and tightening:
-
Ensure you have the right tools: A wrench or pliers will come in handy for tightening the bolts.
-
Position the seat correctly: Align the bolt holes on the seat with the holes on the toilet bowl.
-
Insert the bolts: Place the bolts through the holes and secure them with the accompanying nuts.
-
Tighten the bolts evenly: Alternate between tightening each bolt to ensure a balanced and secure fit.
-
Test for stability: Once tightened, give the seat a gentle shake to make sure it doesn’t wobble.
Tightening
I can use a wrench or pliers to tighten the bolts on the toilet seat, ensuring its stability and preventing any wobbling or shifting.
When it comes to seat fastening, it’s crucial to have the right tools and technique for a secure installation. Firstly, I recommend checking the tightness of the bolts regularly, especially if you notice any movement or looseness.
Using a wrench or pliers, gently tighten the bolts clockwise until they’re snug. Be careful not to overtighten, as this can cause damage to the toilet or the seat itself.
Additionally, consider using plastic or rubber washers under the bolt heads for added stability.
Lid Attachment
Securing the lid attachment is essential for preventing any accidental slippage or potential damage to the toilet seat. As an experienced handyman, I understand the importance of proper toilet seat installation and lid replacement. Here are some key tips to ensure a secure lid attachment:
- Use the correct size and type of screws for your toilet seat.
- Align the lid with the hinges and place it gently on top.
- Tighten the screws evenly, alternating between each side.
- Don’t overtighten, as it may cause cracks or breakage.
- Test the lid by gently lifting and lowering it to ensure it stays in place.
By following these steps, you can confidently secure the lid attachment and prevent any mishaps.
Functionality Testing
Testing the functionality of the toilet seat is crucial to ensure it operates smoothly and securely. When it comes to toilet seat durability, it’s important to conduct thorough tests to guarantee its long-lasting performance. One must check if the seat remains sturdy and securely attached to the bowl, even with frequent use.
Additionally, it’s essential to test the comfort of the seat. Sitting on it for a few minutes will help determine if it provides adequate support and cushioning. A well-designed and comfortable toilet seat can greatly enhance the overall bathroom experience for users.
Once the functionality of the toilet seat has been confirmed, it’s time to move on to the next step: clean up.
Clean Up
When it comes to clean up after a toilet seat replacement, proper disinfection techniques are crucial to ensure a hygienic environment. From using disinfectant wipes to thoroughly cleaning all surfaces, it’s important to kill any germs or bacteria that may be present.
Additionally, removing stubborn stains from the toilet seat is essential for a clean and fresh appearance. Regular cleaning is key to maintaining a sanitary and pleasant bathroom experience.
Proper Disinfection Techniques
How often should I be disinfecting my toilet seat to ensure proper cleanliness and hygiene? As a seasoned home improvement enthusiast, I understand the importance of maintaining a clean and germ-free toilet seat.
Here are some best practices and disinfectant options to ensure optimal hygiene:
- Regularly disinfect your toilet seat using a suitable disinfectant spray or wipes.
- Aim to disinfect the toilet seat at least once a day, or more frequently if it’s heavily used.
- Pay special attention to high-touch areas, such as the seat hinges and underside.
- Consider using disinfectant products that are specifically designed for toilet seats, as they’re formulated to effectively kill germs.
- Always follow the manufacturer’s instructions for proper usage and safety precautions.
By following these best practices, you can maintain a hygienic toilet seat and prevent the spread of harmful bacteria.
Now, let’s move on to tackling those stubborn stains…
Removing Stubborn Stains
I’ll show you my go-to method for tackling stubborn stains on toilet seats.
When it comes to stain removal techniques, I always opt for eco-friendly cleaning methods.
First, gather your supplies: white vinegar, baking soda, a soft brush, and a microfiber cloth.
Start by sprinkling baking soda directly onto the stain.
Then, pour white vinegar over the baking soda to create a bubbling reaction.
Let it sit for a few minutes to break down the stain.
Next, scrub the area gently with a soft brush, making sure to cover the entire stain.
Rinse the seat with water and wipe it dry with a microfiber cloth.
This method not only effectively removes stains, but it’s also safe for the environment.
Importance of Regular Cleaning
Regular cleaning is an essential task that I must prioritize and diligently perform in order to maintain a clean and healthy living environment. As someone who desires to serve others, I understand the importance of hygiene and the impact it has on our overall well-being.
To prevent rust and ensure a hygienic living space, here are some tips that I’ve found beneficial:
- Regularly wipe down surfaces with a mild cleaning solution to remove dirt and bacteria.
- Use a rust-resistant cleaner or vinegar solution to prevent rust from forming on metal fixtures.
- Pay special attention to high-touch areas, such as doorknobs and light switches, as they can harbor germs.
- Don’t forget about hidden areas like behind furniture or under appliances, as they can accumulate dust and dirt over time.
- Implement a regular cleaning schedule to ensure that all areas of your home receive the attention they need.
By following these preventive measures, you can maintain a clean and healthy living environment for yourself and those you serve.
Now, let’s discuss some additional steps you can take to further enhance your cleaning routine.
Preventive Measures
I can’t stress enough the importance of regularly sanitizing high-touch surfaces as a preventive measure to reduce the spread of germs. In addition to cleaning, it’s essential to focus on toilet seat maintenance to ensure a hygienic bathroom environment.
When it comes to replacing a toilet seat, there are common installation mistakes that often occur. One such mistake isn’t tightening the seat securely. This can result in a wobbly seat and potential discomfort for users. Another common mistake is using the wrong size or type of seat for the toilet bowl. It’s crucial to carefully measure the dimensions and choose a seat that fits properly.
Frequently Asked Questions
How Do I Choose the Right Size Toilet Seat for My Toilet?
When choosing a toilet seat, it’s important to consider the dimensions of your toilet. Measure the distance between the mounting holes on the back of the bowl to determine the seat size you need.
Most toilets have standard dimensions, but some may require a specific size or shape. Take into account the shape of the bowl as well, whether it’s round or elongated.
Can I Reuse the Old Seat Bolts When Installing a New Toilet Seat?
Yes, you can reuse the old seat bolts when installing a new toilet seat. However, it’s important to inspect them closely to ensure they’re still in good condition and not rusted or worn out. If they’re damaged, it’s recommended to replace them with new bolts for a secure installation.
Alternatively, there are other options available such as using alternative seat bolt systems or even using adhesive to attach the new seat.
Is It Necessary to Clean the Area Around the Toilet Before Installing a New Seat?
It is absolutely necessary to clean the area around the toilet before installing a new seat. Toilet seat hygiene is of utmost importance, and disinfecting the toilet area ensures a clean and sanitary environment.
Not only does it help prevent the spread of germs and bacteria, but it also improves the overall appearance and cleanliness of the bathroom. Taking the time to thoroughly clean the area before replacing the seat is a crucial step in maintaining a healthy and hygienic bathroom space.
How Can I Prevent the Toilet Seat From Becoming Loose Over Time?
To prevent the toilet seat from becoming loose over time, there are a few simple steps you can take.
Firstly, make sure the seat is properly tightened to the bowl using the screws provided. Regularly check and tighten them if necessary.
Additionally, consider using rubber washers or adhesive pads between the seat and the bowl to provide extra stability.
Lastly, avoid placing excessive weight or pressure on the seat, as this can cause it to become loose.
Are There Any Specific Materials or Cleaning Products I Should Avoid Using When Cleaning the Toilet Seat?
When it comes to cleaning your toilet seat, it’s important to avoid using certain materials or cleaning products. Some materials, like abrasive sponges or brushes, can scratch the surface of the seat, while certain cleaning products containing bleach or ammonia can damage the seat’s finish.
To keep your toilet seat in good condition, it’s best to use a mild soap and water solution or a specialized toilet seat cleaner. Taking these precautions will help prolong the life of your toilet seat.
Conclusion
In conclusion, mastering the art of toilet seat replacement is an essential skill for any homeowner. By following the step-by-step instructions outlined in this article, you can confidently tackle this home improvement task with ease.
Remember to:
- Purchase a new seat that suits your needs
- Properly remove the old seat
- Clean the area
- Securely attach the new seat and lid
- Test its functionality
- Clean up afterwards
Taking these preventive measures will ensure a successful and hassle-free toilet seat replacement.