Hey there!
Did you know that installing a dual flush toilet can help you save up to 50% more water compared to a traditional toilet?
In this article, I’ll walk you through the steps of mastering the art of dual flush toilet installation. From gathering the necessary tools to testing the dual flush mechanism, you’ll learn everything you need to know to successfully install your own water-saving toilet.
Let’s get started and make a positive impact on both your wallet and the environment!
Key Takeaways
- Dual flush toilets save water by offering different flush options for solid and liquid waste.
- Installing a dual flush toilet can lead to significant water savings and lower utility bills.
- Before installation, gather the necessary tools and materials and ensure a level floor.
- During installation, properly secure the toilet to the floor and check for leaks after connecting the water supply line.

Danco HYR451T HyrdroRight Universal Water-Saving Toilet Repair Kit with Dual Flush Valve, Lever Handle, White, HYR451T
NO TOOLS REQUIRED: Easy and simple DROP-IN installation that does NOT require any tools or toilet tank removal.
As an affiliate, we earn on qualifying purchases.
As an affiliate, we earn on qualifying purchases.
Gathering the Necessary Tools
I’ve already gathered all the necessary tools for the dual flush toilet installation. To ensure a smooth and successful installation, it’s crucial to have the right tools on hand. Here are some installation tips and a troubleshooting guide to help you along the way.
Firstly, make sure you have a wrench, adjustable pliers, screwdriver, level, and a hacksaw. These tools will help you with tasks such as tightening bolts, adjusting water supply lines, and cutting pipes if necessary.
Before starting the installation, it’s important to familiarize yourself with the toilet’s instructions and follow them carefully. This will ensure that everything is installed correctly and functions properly.
If you encounter any issues during the installation, such as leaks or improper flushing, refer to the troubleshooting guide provided with the toilet. It will help you identify the problem and provide step-by-step solutions to resolve it.

Danco HyrdroRight Water-Saving Toilet Tank Repair Kit with Dual Flush Valve, Includes Dual Push Button Handle in Chrome, (HYR460)
WATER-SAVING DUAL FLUSH TOILET REPAIR KIT: Converts a standard toilet into a dual flush toilet that saves water…
As an affiliate, we earn on qualifying purchases.
As an affiliate, we earn on qualifying purchases.
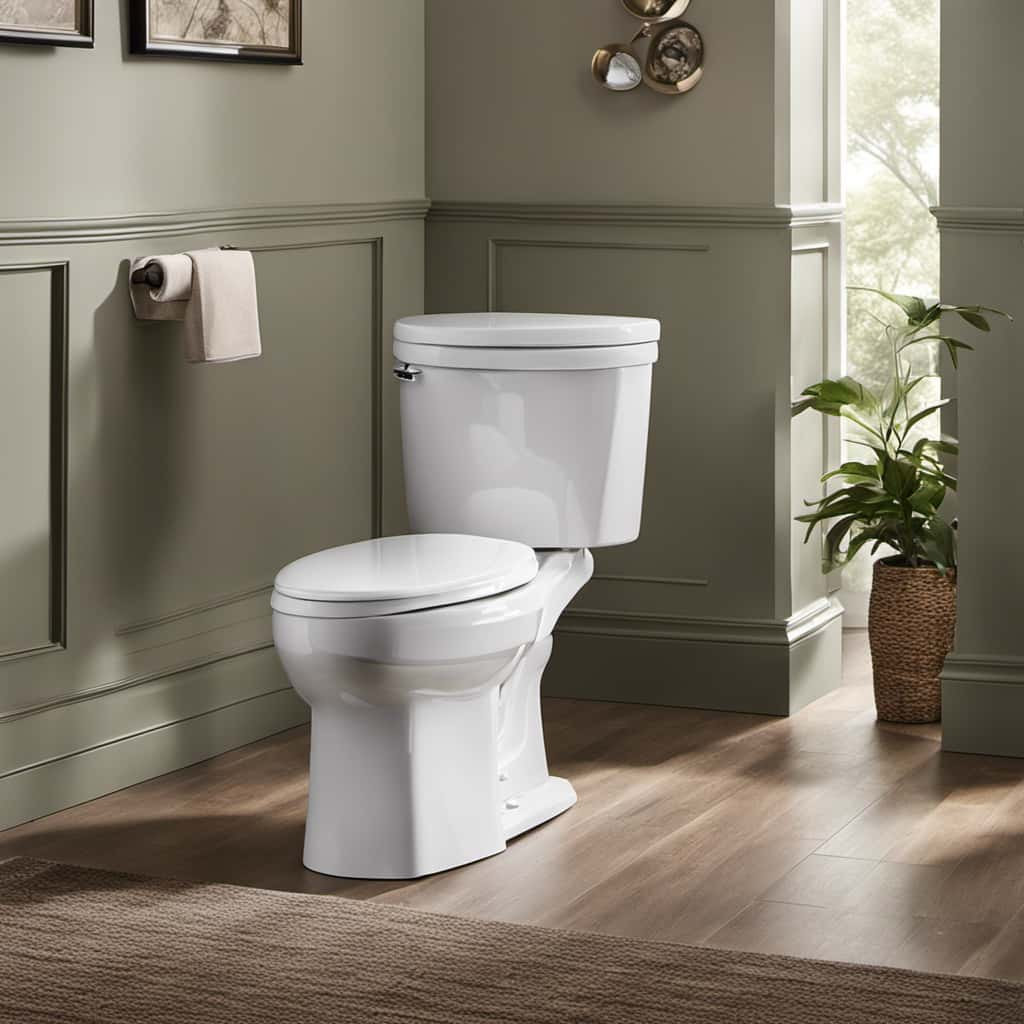
Choosing the Right Dual Flush Toilet
When choosing the right dual flush toilet, there are two important points to consider.
First, the water-saving benefits of a dual flush system are significant, allowing you to conserve water and save money on your utility bills.
Second, you need to consider the installation considerations, such as the size and shape of the toilet and whether it will fit properly in your bathroom.
Water-Saving Benefits
I’m excited about the water-saving benefits of using a dual flush toilet in my home. Not only does it help conserve water, but it also offers eco-friendly options for a greener lifestyle.
Here are some key advantages:
-
Water Conservation:
-
Dual flush toilets have two buttons, allowing you to choose between a full flush for solid waste and a half flush for liquid waste. This helps reduce water usage and lowers your water bill.
-
On average, a dual flush toilet can save up to 68% more water compared to traditional toilets. This is a significant contribution to water conservation efforts.
-
Eco-Friendly Options:
-
Dual flush toilets are designed with sustainability in mind. They use advanced flushing technology to maximize efficiency while minimizing water wastage.
-
By opting for a dual flush toilet, you’re actively reducing your carbon footprint and promoting a more environmentally friendly lifestyle.
Installation Considerations
My main concern for installation considerations is finding a dual flush toilet that meets my specific needs and budget. When it comes to installing a dual flush toilet, there are a few tips that can help ensure a smooth and successful installation process.
First and foremost, it’s important to carefully read and follow the manufacturer’s instructions. This will ensure that the toilet is installed correctly and functions properly.
Additionally, it’s important to check the water supply and drainage system to ensure compatibility with the dual flush toilet. Regular maintenance is also essential to keep the toilet in good working condition. This includes cleaning the toilet regularly, checking for leaks and addressing any issues promptly.

Fluidmaster K-400H-021-P8 PerforMAX 2-Inch Everything Toilet Repair Kit, Multicolor
The Everything Kit includes everything you need to fix your toilet in one trip and one purchase
As an affiliate, we earn on qualifying purchases.
As an affiliate, we earn on qualifying purchases.
Shutting off the Water Supply
I need to shut off the water supply before I can begin installing the new dual flush toilet. This is an important step to ensure a smooth and hassle-free installation process.
Here are the steps I’ll follow to shut off the water supply:
-
Locate the shut off valve: The shut off valve is usually located near the toilet or in the basement. It can be a lever or a knob that you need to turn clockwise to shut off the water supply.
-
Test the shut off valve: Before proceeding, it’s a good idea to test the shut off valve to ensure it’s working properly. Turn it on and off a few times to make sure it stops the water flow completely.
Once the water supply is shut off, I can move on to the next step of removing the old toilet. With the water supply safely turned off, I can proceed with confidence, knowing that I won’t encounter any water leaks or other complications during the removal process.
dual flush toilet with adjustable water level
As an affiliate, we earn on qualifying purchases.
As an affiliate, we earn on qualifying purchases.
Removing the Old Toilet
To remove the old toilet, start by gathering the proper tools such as a wrench, a scraper, and gloves.
Next, locate the water shut-off valve behind the toilet and turn it clockwise to stop the water flow.
Once the water is shut off, use the wrench to loosen and remove the nuts securing the toilet to the floor.
Carefully lift the toilet off the bolts and place it aside.
Proper Tools Needed
I’ll grab the wrench and start removing the old toilet. Before I begin the installation process, it’s crucial to gather the necessary supplies. Here’s a step-by-step guide to ensure a smooth and successful installation:
-
Gather Supplies:
-
Adjustable wrench
-
Screwdriver
-
Wax ring
-
Bolts
-
Dual flush toilet kit
-
Step-by-Step Instructions:
- Shut off the water supply to the toilet by turning the water shut-off valve clockwise.
- Flush the toilet to remove any remaining water in the tank and bowl.
- Disconnect the water supply tube from the bottom of the tank using the wrench.
- Remove the nuts securing the toilet to the floor using the wrench.
- Lift the old toilet and carefully place it aside.
Water Shut-Off Valve
Turning the water shut-off valve clockwise, I successfully shut off the water supply before removing the old toilet.
The water shut-off valve is a crucial component when it comes to toilet installation or repairs. By shutting off the valve, you prevent any water flow to the toilet, ensuring a safe and mess-free process. This valve is typically located behind the toilet, near the floor or wall. It’s essential to familiarize yourself with its location before starting any work.
Apart from its practicality during installation, the water shut-off valve also offers water-saving benefits. By shutting off the water supply when the toilet isn’t in use, you can effectively reduce water wastage. This small action can contribute to conserving water and promoting sustainability, making it a valuable addition to any household.
Disposing of Old Toilet
I’ve successfully removed the old toilet and now need to find a proper way to dispose of it.
Proper disposal methods for old toilets are important to ensure environmental sustainability and public health.
Here are a few options to consider:
-
Recycle: Check with your local recycling center if they accept toilets. Some centers have specific guidelines for accepting porcelain waste, so it’s important to inquire beforehand.
-
Donate: If your old toilet is still in good condition, consider donating it to a local charity or a Habitat for Humanity ReStore. They may be able to refurbish it and provide it to someone in need.
-
Landfill: As a last resort, you can dispose of the toilet in a landfill. However, be sure to contact your local waste management facility for specific instructions on how to do this properly.
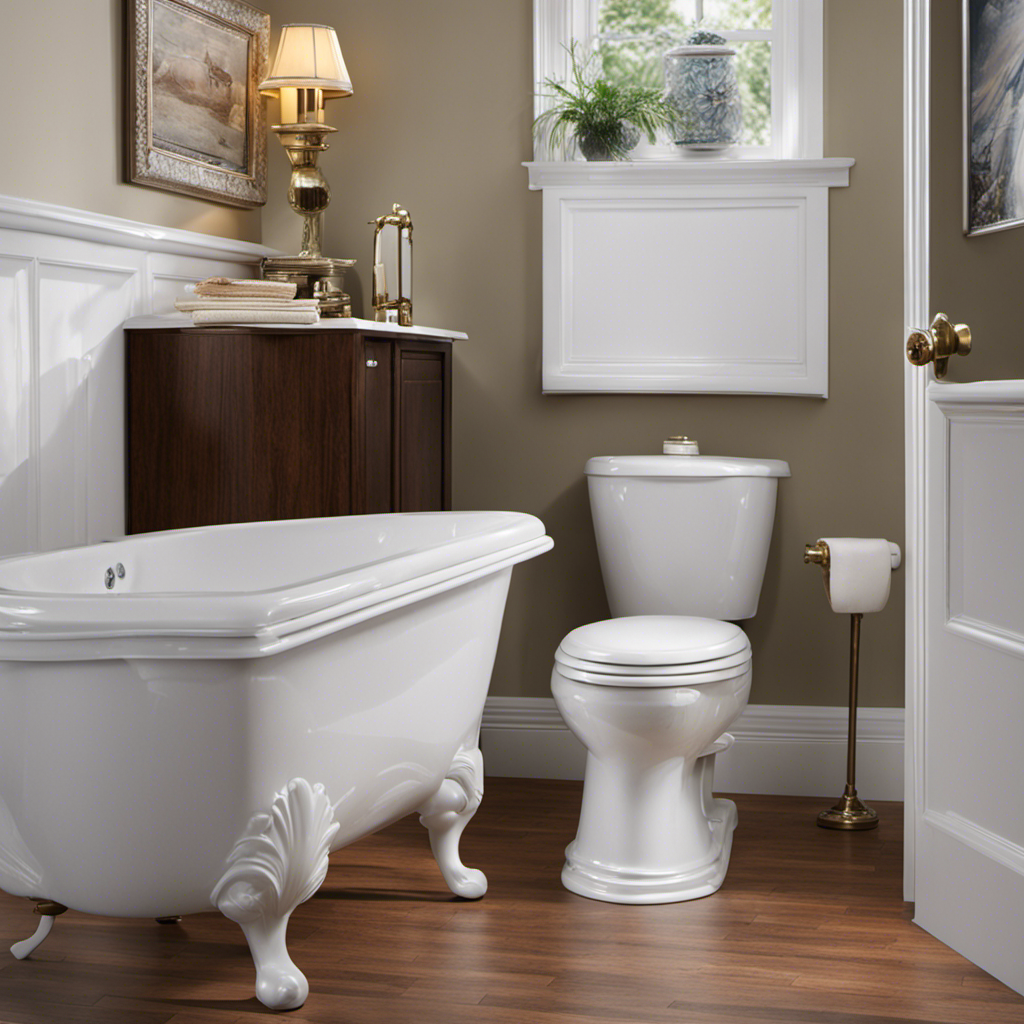
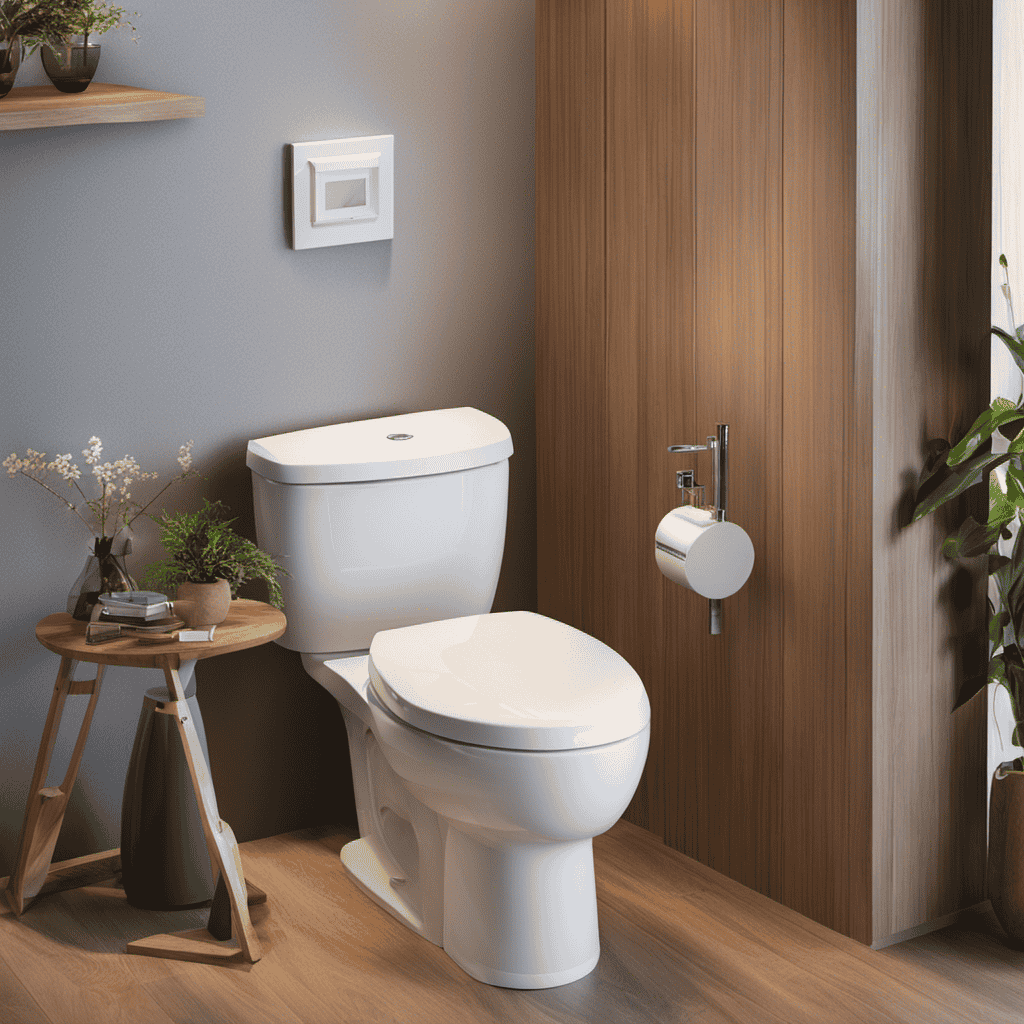
Positioning the Dual Flush Toilet
Placing the dual flush toilet correctly is crucial for efficient water usage and environmental sustainability.
When it comes to proper positioning, it’s important to consider the floor measurements of the bathroom. Before installation, measure the distance between the wall and the center of the sewer drain. This will ensure that the toilet is aligned properly and prevents any leaks or blockages in the future.
Additionally, make sure to check the levelness of the floor to avoid any wobbling or instability.
Properly positioning the dual flush toilet not only ensures optimal functionality but also promotes water conservation. By following these simple steps and taking accurate floor measurements, you can contribute to a greener and more sustainable environment while serving others with an efficient and reliable toilet system.
Connecting to the Water Supply
Connecting to the water supply is a crucial step in installing a dual flush toilet. To ensure a proper installation, it’s important to carefully follow the manufacturer’s instructions.
Some common issues that may arise during this process include leaks, low water pressure, or improper connection, which can be resolved through troubleshooting techniques.
Water Supply Connection
I’m in the process of ensuring a proper water supply connection for my new dual flush toilet. It’s essential to have a reliable water supply connection to ensure the efficient functioning of the toilet.
Here are some key considerations I’ve come across during this process:
-
Water Pressure:
-
Check the water pressure in your home. High water pressure can cause damage to the toilet and other plumbing fixtures. If the pressure is too high, consider installing a pressure reducing valve to protect your toilet.
-
Low water pressure can affect the flushing power of the toilet. If you’re experiencing low pressure, you may need to install a booster pump to increase the water flow.
-
Valve Adjustment:
-
The water supply valve needs to be adjusted properly to regulate the flow of water into the toilet. Make sure the valve is fully open for maximum flow and adjust it if necessary.
Proper Installation Techniques
Since I’ve already adjusted the water supply valve, I can now focus on properly connecting the dual flush toilet to the water supply.
When it comes to installing a dual flush toilet, there are a few key tips to keep in mind to ensure a successful installation. One common mistake isn’t properly sealing the connection between the water supply valve and the toilet tank. To avoid leaks, it’s important to use a rubber gasket or a wax ring to create a watertight seal.
Additionally, it’s crucial to follow the manufacturer’s instructions and use the correct size and type of supply line. Another common mistake is overtightening the water supply connection, which can lead to damage or leaks. It’s important to tighten the connection just enough to create a secure seal, without applying excessive force.
Troubleshooting Common Issues
My first step in troubleshooting common issues with the dual flush toilet was checking the tightness of the water supply valve’s connection. This is a common installation mistake that can lead to water leakage or inadequate flushing. After ensuring the connection was secure, I moved on to the next troubleshooting steps:
-
Check the flapper valve: Sometimes, the flapper valve may not be sealing properly, causing water to continuously leak into the bowl. Adjusting or replacing the flapper valve can resolve this issue.
-
Inspect the fill valve: If the toilet isn’t filling up to the correct water level, the fill valve may be the culprit. Adjusting the float or replacing the fill valve can help resolve this problem.
By following these troubleshooting steps, you can quickly identify and fix common issues with a dual flush toilet, ensuring optimal performance and water efficiency.
Now, let’s move on to the next step: attaching the toilet seat.
Attaching the Toilet Seat
How do I properly attach the toilet seat? When it comes to toilet seat installation, it’s important to ensure a secure and stable attachment. Here is a step-by-step guide on how to attach a toilet seat:
- Start by cleaning the toilet bowl and seat area thoroughly to remove any dirt or debris.
- Position the seat on the toilet bowl, aligning the holes on the seat with the holes on the bowl.
- Place the bolts through the holes, securing them in place with the nuts provided.
- Tighten the nuts evenly on both sides, using a wrench or screwdriver, until the seat is firmly attached.
| Step | Instructions |
|---|---|
| 1 | Clean the toilet bowl and seat area |
| 2 | Position the seat and align the holes |
| 3 | Insert bolts and secure with nuts |
| 4 | Tighten the nuts evenly on both sides |
Adding the Toilet Tank
I will now connect the water supply hose to the toilet tank and tighten the connection to prevent any leaks.
It’s crucial to properly maintain the toilet tank to ensure its efficient functioning and prevent any water wastage.
Here are some important steps to consider when it comes to toilet tank maintenance and adjusting the water level:
-
Check the water level: Ensure that the water level in the tank is at the correct height. It should be about an inch below the overflow tube.
-
Adjust the fill valve: If the water level is too high or too low, you can adjust the fill valve to regulate the water level.
-
Turn off the water supply: Before making any adjustments, turn off the water supply to the toilet.
-
Use the adjustment screw: Locate the adjustment screw on the fill valve and turn it clockwise to decrease the water level or counterclockwise to increase it.
By following these steps, you can maintain the toilet tank and adjust the water level to your desired preference.
Now, let’s move on to testing for leaks to ensure everything is working perfectly.
Testing for Leaks
To ensure everything is working perfectly, I’ll carefully inspect the toilet tank and water connections for any signs of leaking. Leak detection is a crucial step in the installation process, as even a small leak can cause significant damage over time.
I’ll start by checking all the connections, making sure they’re tight and secure.
Next, I’ll examine the tank for any cracks or damage that could lead to leaks.
If I detect any leaks, I’ll promptly address them using appropriate repair methods, such as tightening loose connections or replacing faulty seals.
It’s essential to ensure that the toilet tank is leak-free before moving on to testing the dual flush mechanism. This will guarantee optimal performance and prevent any water wastage or further damage.
Testing the Dual Flush Mechanism
The dual flush mechanism is being tested to ensure its proper functionality and water-saving capabilities. As part of our commitment to serving others and promoting water conservation, we want to make sure that every aspect of the dual flush system is working effectively. To accomplish this, we’re conducting rigorous tests and troubleshooting common issues that may arise.
Here are some important points to consider:
-
Testing for Leaks:
-
Checking all connections and seals for any signs of leakage.
-
Utilizing dye tablets to identify even the smallest leaks that may go unnoticed.
-
Troubleshooting Common Issues:
-
Addressing problems with flushing power by adjusting the water pressure or cleaning the flush valve.
-
Resolving issues with incomplete or weak flushes by adjusting the water level in the tank or replacing faulty components.
Frequently Asked Questions
How Do I Know if I Need to Replace My Old Toilet With a Dual Flush Toilet?
I can determine if I need to replace my old toilet with a dual flush toilet by considering the cost and benefits.
Dual flush toilets can be more expensive upfront, but they can save money in the long run by conserving water. They’ve two flush options, one for liquid waste and another for solid waste, which helps reduce water usage.
Additionally, using a dual flush toilet can contribute to environmental sustainability by decreasing water consumption.
Can I Install a Dual Flush Toilet Myself, or Do I Need to Hire a Professional Plumber?
I’ve been pondering whether to take on the challenge of installing a dual flush toilet myself or call a professional plumber. It’s like standing at a crossroads, weighing the pros and cons.
On one hand, doing it myself could save me some bucks, but there’s also the risk of making costly mistakes.
Hiring a plumber guarantees expertise and peace of mind, but it comes with a price tag.
Decisions, decisions…
Are There Any Specific Building Codes or Regulations I Need to Consider When Installing a Dual Flush Toilet?
When installing a dual flush toilet, it’s important to consider building code requirements and plumbing regulations. These guidelines ensure that the installation is safe, efficient, and up to standard.
Building codes may dictate the proper placement of the toilet, the size of the water supply lines, and the type of venting required.
Plumbing regulations may cover issues such as backflow prevention and waste disposal.
Adhering to these codes and regulations will help ensure a successful and compliant installation.
What Are Some Common Mistakes to Avoid When Installing a Dual Flush Toilet?
When it comes to installing a dual flush toilet, avoiding common mistakes is crucial for a successful installation.
One tip is to ensure proper alignment of the tank and bowl to prevent leaks.
Another mistake to avoid is overtightening the bolts, as this can crack the porcelain.
Additionally, make sure to properly seal the wax ring to prevent any water leakage.
How Long Does the Installation Process Typically Take?
To ensure a successful dual flush toilet installation, there are a few key steps to follow.
First, gather the necessary tools and materials, such as a wrench, screwdriver, wax ring, and toilet bolts.
Next, turn off the water supply and remove the old toilet.
Then, carefully install the new toilet, making sure to align it properly and secure it with the bolts.
Finally, connect the water supply and test for any leaks.
The entire installation process typically takes around 1-2 hours.
Conclusion
In conclusion, mastering the art of dual flush toilet installation is a worthwhile endeavor. By following the steps outlined in this article, you can save water, reduce your environmental impact, and enjoy the convenience of a modern toilet system.
With the right tools and careful attention to detail, you can successfully install a dual flush toilet and ensure its proper functioning. Don’t hesitate to take on this DIY project and make a positive change in your home.