
I’ve mastered the art of toilet installation, and now I’m here to share my expertise with you.
In this article, I’ll guide you through the step-by-step process of installing a toilet like a pro.
From selecting the perfect site to ensuring a secure base, I’ll cover all the essential details to make your installation a success.
So, grab your tools and get ready to become a toilet installation master!
Key Takeaways
- Consider toilet bowl size and design for easy access and functionality
- Choose a trusted and reliable toilet brand for excellent performance
- Properly position and secure the flange for a watertight seal
- Ensure proper sealing and tightening of bolts to prevent leaks and water damage

SmartBidet® SB-1000 Smart Bidet Electric Bidet Toilet Seat with Heated Seat, Warm Water, Air Dryer – Remote Control, Elongated
SMART & EASY: Upgrade now to a hands-free wash with our Smart Bidet toilet seat. Our Smart Bidet...
As an affiliate, we earn on qualifying purchases.
Site Selection
I’m currently researching different locations to set up my new business, and I’ve narrowed down my options by carefully scouting potential sites.
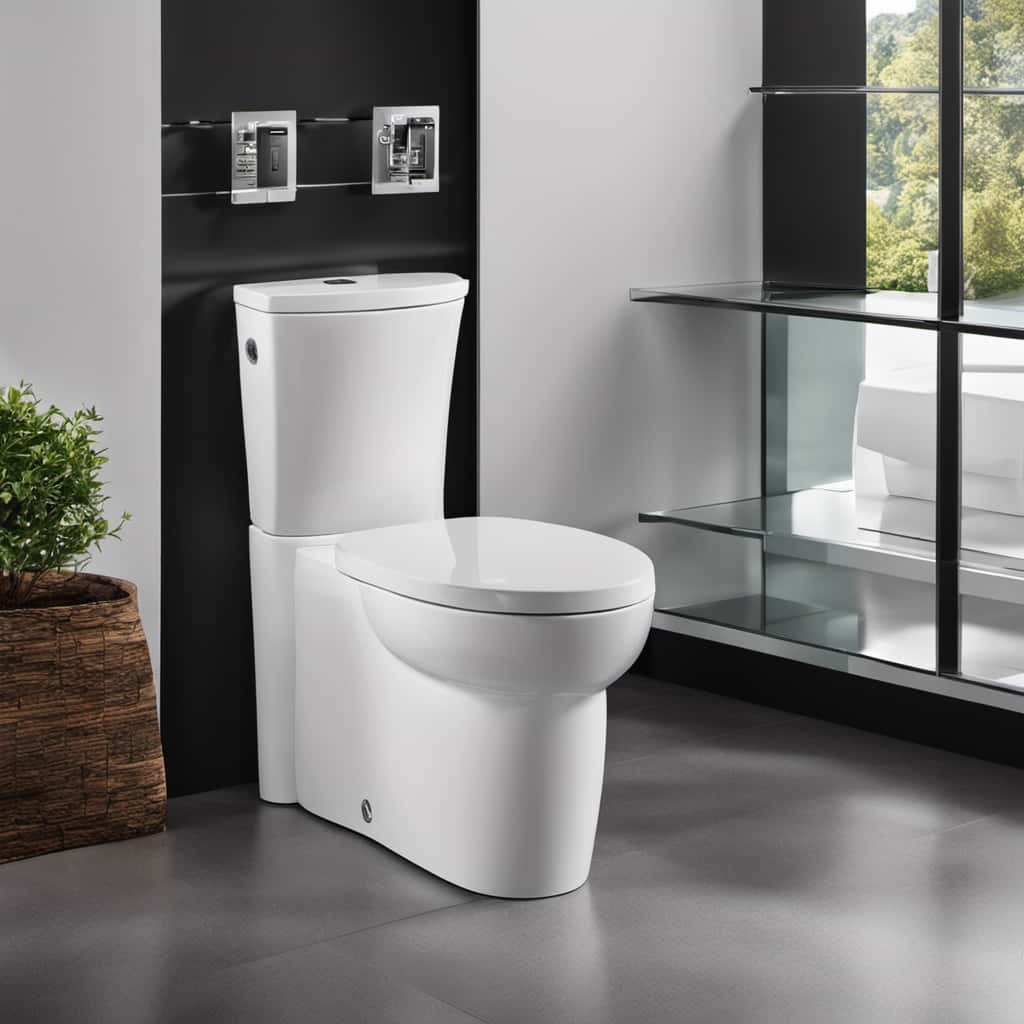
When it comes to site selection for my toilet installation business, I need to consider several factors, including the toilet bowl and plumbing connections. The toilet bowl is the centerpiece of every bathroom, and it needs to be strategically placed for easy access and functionality. I’m looking for locations that have ample space to accommodate different toilet bowl sizes and designs.
Additionally, I need to ensure that the plumbing connections are properly installed to avoid any leaks or drainage issues. This is crucial in providing a seamless and efficient bathroom experience for my customers.

LEIVI Electric Bidet Toilet Seat with Wireless Remote and Side Panel, Multiple Spray Modes, Adjustable Heated Seat, Warm Water and Air Dryer, Auto LED Nightlight, Elongated
User-Friendly & Feature-Rich - This electronic bidet toilet seat delivers a premium bathroom experience with user-friendly design. Features...
As an affiliate, we earn on qualifying purchases.
Measurements
To ensure precise toilet installation, accurate measurements and proper alignment of the plumbing connections are essential. When installing a toilet, it’s crucial to measure the dimensions of the space where the toilet bowl will be placed.
This includes measuring the distance from the wall to the center of the toilet flange, as well as the width and depth of the area. Additionally, it’s important to measure the height of the existing plumbing connections to ensure proper alignment. Taking accurate measurements will help prevent any issues with the toilet’s fit and performance.
Furthermore, it’s crucial to consider the location of the water supply when installing a toilet. This ensures that the water supply line is properly connected and functioning, allowing for a reliable flow of water to the toilet bowl.

iliD Smart Max Bidet Toilet Seat, Electric Elongated Ecoseat with Four Cleaning Modes, Auto Open/Close, Wider Seat, Ultra Slim, Female Wash and Rear Wash
Auto Open/Close: With the integration of advanced radar and body-sensing chip technology, this intelligent bidet seat offers a...
As an affiliate, we earn on qualifying purchases.
Toilet Purchase
Usually, I buy toilets from reputable retailers to ensure quality and durability. When it comes to choosing the perfect toilet for my customers, there are a few key factors I consider. Here’s my checklist:
-
Toilet brand: It’s important to choose a trusted and reliable brand that offers excellent performance and customer support. Brands like Kohler, Toto, and American Standard have a proven track record in the industry.
-
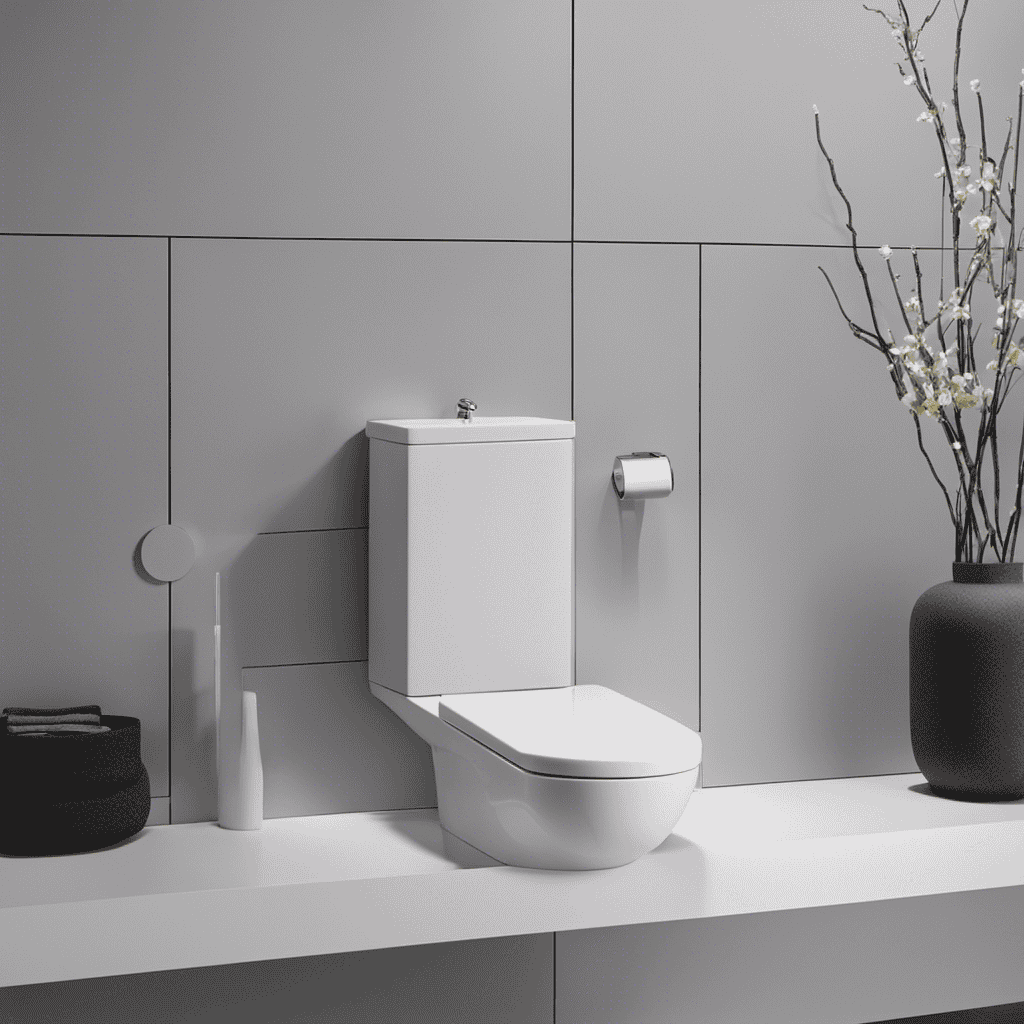
Toilet design: The design of the toilet is crucial in enhancing both the functionality and aesthetics of the bathroom. Whether it’s a one-piece or two-piece toilet, elongated or round bowl, or a wall-mounted option, the design should complement the overall style of the bathroom.
-
Flushing technology: A powerful and efficient flushing system is essential for a hassle-free experience. Look for toilets with water-saving features like dual-flush mechanisms or pressure-assisted technology to ensure efficient water usage.

QMU Electric Bidet Toilet Seat Elongated, Heated Bidet Seat with Instant Warm Water, Warm Air Dryer, Self-Cleaning Stainless Steel Nozzle, Heated Seat, Night Light, Remote Control, Soft Close
🌟【Smart LED Display & Premium Design】This heated bidet toilet seat features a built-in LED screen that clearly displays...
As an affiliate, we earn on qualifying purchases.
Fixture Removal
Removing the fixtures from the bathroom can be a tedious task, but with proper tools and a systematic approach, it can be accomplished efficiently. When it comes to toilet repair and DIY plumbing, understanding how to remove fixtures is an essential skill. Let’s take a closer look at the process:
| Tools Needed | Steps to Follow |
|---|---|
| Adjustable Wrench | 1. Turn off the water supply by shutting off the valve located behind the toilet. |
| Screwdriver | 2. Disconnect the water supply line from the bottom of the toilet tank using an adjustable wrench. |
| Bucket | 3. Remove the caps covering the bolts at the base of the toilet and unscrew the nuts using a wrench. |
| Wrench | 4. Carefully lift the toilet off the bolts and place it on a towel or cardboard to avoid any damage to the floor. |
Flange Check
When it comes to toilet installation, one crucial step is the flange check. The positioning of the flange is of utmost importance to ensure a proper and secure fit for the toilet.
It’s essential to seal the flange tightly to prevent any leaks or movement of the toilet once installed.
Flange Positioning Importance
I understand the importance of properly positioning the flange for a secure toilet installation. When it comes to flange alignment and stability, attention to detail is crucial. Here are three key points to consider:
-
Flange Alignment: Ensuring that the flange is properly aligned with the waste pipe is essential. Misalignment can lead to leaks and unstable toilet seating. Take the time to carefully position the flange to ensure a perfect fit.
-
Flange Stability: A stable flange is vital for a secure toilet installation. Make sure that the flange is securely fastened to the floor, using appropriate screws or bolts. This will prevent any movement or wobbling of the toilet.
-
Proper Seal: Achieving a watertight seal between the flange and the toilet is critical. Use a high-quality wax ring or a rubber gasket to create a tight seal, ensuring that no water leaks occur.
Sealing the Flange Tightly
To ensure a leak-free installation, I recommend using both a wax ring and a rubber gasket to seal the flange tightly. Proper sealing of the flange is crucial in preventing any water leakages and ensuring the longevity of your toilet installation.
First, ensure the flange alignment is correct by placing the wax ring on the flange, making sure it’s centered. Then, place the rubber gasket on top of the wax ring, creating a double seal. This combination of the wax ring and rubber gasket provides an extra layer of protection against leaks.
As you tighten the bolts, make sure to alternate between them to ensure even pressure distribution. Tighten them gradually, avoiding over-tightening, as this can damage the flange or cause leaks.
Following these steps will help you achieve a tight and secure seal, giving you peace of mind in your toilet installation.
Wax Ring Placement
When it comes to wax ring placement, precision is key. The wax ring acts as a seal between the toilet base and the flange, ensuring a watertight connection.
To avoid leaks, it’s crucial to position the wax ring evenly and firmly onto the flange, making sure it’s centered and properly aligned with the waste outlet.
Proper Wax Ring
Installing a new toilet requires using the proper wax ring to ensure a secure and leak-free seal.
Here are three important factors to consider when choosing the right wax ring for your toilet installation:
-
Size: Select a wax ring that matches the size of your toilet’s drain opening. It should fit snugly to create a tight seal.
-
Thickness: The thickness of the wax ring is crucial for proper sealing. Ensure it’s thick enough to bridge the gap between the toilet base and the floor flange.
-
Material: Opt for a high-quality wax ring made from durable materials to prevent leaks and ensure long-lasting performance.
By considering these factors, you can avoid potential issues such as leaks and unstable toilet installations.
Now, let’s move on to the next crucial step: sealing the connection between the toilet and the floor flange.
Sealing the Connection
I’m using a high-quality wax ring to ensure a tight seal between my toilet and the floor flange. Flange alignment is crucial in this process to prevent any leaks or wobbling. To ensure proper alignment, I use a simple technique. First, I position the wax ring on top of the flange, making sure it lines up perfectly with the bolt holes. Then, I carefully lower the toilet onto the flange, making sure the bolts pass through the corresponding holes. Once the toilet is in place, I tighten the bolts evenly, alternating between them until they are snug. Finally, I use caulking techniques to seal the base of the toilet to the floor, preventing any water from seeping underneath. This not only ensures a tight seal but also adds stability to the toilet.
| Flange Alignment | Caulking Techniques |
|---|---|
| Position wax ring on flange, aligning with bolt holes | Apply a continuous bead of caulk around the base of the toilet |
| Lower toilet onto flange, ensuring bolts pass through holes | Smooth the caulk with a caulk smoothing tool |
| Tighten bolts evenly, alternating between them | Allow caulk to dry completely before using the toilet |
Avoiding Leaks
To ensure a watertight seal, I securely position the wax ring on the flange and tightly fasten the bolts, preventing any leaks from occurring.
Here are three essential steps to avoiding leaks and preventing water damage:
-
Check the wax ring: Inspect the wax ring for any signs of wear or damage. If it looks worn out or cracked, replace it immediately to maintain a proper seal.
-
Tighten the bolts: Make sure the bolts connecting the toilet to the floor are tightened securely. Loose bolts can cause water to seep out and cause damage over time.
-
Test for leaks: After the installation, conduct a thorough check for leaks. Look for any water pooling around the base of the toilet or on the floor. If you notice any leaks, troubleshoot the issue by repositioning the wax ring or tightening the bolts further.
Toilet Base Installation
Sometimes I find myself struggling with aligning the toilet base during installation. Proper toilet base leveling and anchoring are crucial for a stable and leak-free toilet. To ensure a successful installation, follow these steps.
First, place the wax ring on the flange and align the bolts with the holes on the base. Gently lower the toilet onto the wax ring, making sure it sits evenly on the floor. Use a level to check if the toilet is balanced. If it’s not, adjust the leveling screws until it is.
Once the toilet is level, secure it to the floor by tightening the nuts on the bolts. Be careful not to overtighten, as it can crack the base.
Finally, check for any gaps between the toilet and the floor and use shims if necessary.
Frequently Asked Questions
Can I Install a Toilet Without Removing the Existing Fixture?
Yes, you can install a toilet without removing the existing fixture. However, it requires specific toilet installation techniques and may not be as simple as it seems.
It’s important to consider the benefits of hiring a professional plumber for toilet installation, as they have the expertise and tools to ensure a proper and efficient installation.
They can also provide guidance on whether it’s feasible to install a new toilet without removing the existing fixture in your specific situation.
What Is the Average Lifespan of a Toilet?
The average lifespan of a toilet can vary depending on several factors, such as usage and maintenance. Proper toilet maintenance is crucial to prolong its lifespan.
Regularly inspecting for signs of a failing toilet, such as cracks, leaks, or frequent clogs, is important. These issues can indicate that it’s time to consider replacing your toilet.
Additionally, ensuring that the toilet is properly installed and using high-quality materials can also contribute to a longer lifespan.
How Do I Know if My Bathroom Floor Can Support the Weight of a Toilet?
To ensure the stability of your toilet, it’s important to check the strength of your bathroom floor. Start by assessing the condition of the floor and looking for any signs of damage or weakness.
You can also consult a professional to conduct a thorough inspection and provide expert advice. It’s crucial to ensure the floor can support the weight of the toilet to avoid any accidents or damage in the long run.
Are There Any Specific Tools or Equipment Needed for Toilet Installation?
Toilet installation requires specific tools and equipment to ensure a successful and efficient job. Some essential tools include:
- A wrench for tightening bolts
- A screwdriver for securing the seat
- A level for ensuring proper alignment
- A wax ring for sealing the toilet to the floor
Additionally, a plunger and snake may be needed for any future clogs. Having these tools on hand will make the installation process easier and more seamless.
How Do I Dispose of the Old Toilet Properly After Removal?
How do I properly dispose of the old toilet after removal?
When it comes to proper disposal methods for old toilets, there are a few eco-friendly options to consider.
One option is to contact your local waste management facility to inquire about their recycling program for porcelain fixtures.
Another option is to donate the toilet to a salvage or reuse center, where it can be refurbished and given a second life.
These options not only help reduce waste but also contribute to a more sustainable future.
Conclusion
Now that you have mastered the art of toilet installation, you can confidently tackle this task on your own. By following the steps outlined in this article, you can ensure a successful and efficient installation process.
Remember to carefully select the site, take accurate measurements, purchase the right toilet, remove the old fixture, check the flange, place the wax ring correctly, and install the toilet base securely.
So, why wait? Are you ready to become a toilet installation expert?