So, you think installing a toilet seat is a piece of cake, huh? Well, think again!
Don’t worry though, because I’ve got you covered with this foolproof guide on mastering toilet seat installation.
In just a few simple steps, I’ll show you how to remove that old seat and replace it with a shiny new one.
With the right tools and a little bit of know-how, you’ll be sitting pretty in no time.
Let’s get started, shall we?
Key Takeaways
- Choosing the right toilet seat that fits and matches your bathroom decor is important.
- Measure the distance between the bolt holes and consider comfort and accessibility when adjusting the seat position.
- Check for any wobbling or instability once the seat is installed and tighten the nuts if necessary.
- Properly align the seat holes with the bolts to avoid an unstable seat during installation.

ZeroWater Official Replacement Filter - 5-Stage 0 TDS Water Filter Replacement IAPMO Certified to Reduce Lead, Chromium, and PFOA/PFOS 4-Pack
- Filter Pack Includes 4 Filters: Each with 15-gallon lifespan
- Effective 5-Stage Filtration: Removes dissolved solids for pure water
- Certified for Safety and Purity: IAPMO certified, BPA-free, reduces contaminants
As an affiliate, we earn on qualifying purchases.
Tools and Materials Needed
I need to gather all the necessary tools and materials for installing a new toilet seat.
First, it’s important to choose the right toilet seat that fits your toilet bowl and matches your bathroom decor. Measure the distance between the bolt holes to ensure a proper fit.
When adjusting the seat position, consider the comfort and accessibility for users. It should be positioned at a comfortable height and centered on the toilet bowl. Some seats have adjustable hinges, allowing you to tilt the seat forward or backward for a better fit.
Additionally, check for any wobbling or instability once the seat is installed. This can be fixed by tightening the nuts on the bolts using a wrench.
Remember to follow the manufacturer’s instructions for a successful installation.
Preparing for Installation
Gather all the necessary tools and materials for the installation process.
To ensure a successful toilet seat installation, it is crucial to measure correctly and avoid common installation mistakes. Here are some key points to keep in mind:
Measuring Correctly:
- Measure the distance between the seat holes on your toilet bowl accurately.
- Take note of the shape and size of your toilet bowl to ensure a proper fit.
Common Installation Mistakes:
- Over-tightening the nuts can cause damage to the toilet bowl or seat.
- Failing to properly align the seat holes with the bolts can lead to an unstable seat.
- Neglecting to remove old wax ring remnants can result in leaks.
Removing the Old Toilet Seat
After locating the plastic caps and removing them with a flathead screwdriver, unscrew the bolts holding the old toilet seat in place. When dealing with stubborn bolts, applying some penetrating oil can help loosen them. If that doesn’t work, you can use a hacksaw to carefully cut through the bolts.
Once the bolts are unscrewed, lift away the old toilet seat and clean the area around the seat holes.
Now, when it comes to disposing of the old seat, it’s important to follow proper disposal methods. Check with your local waste management facility for guidance on how to dispose of the old seat responsibly. Remember, it’s always best to prioritize environmental sustainability.
Installing the New Toilet Seat
To install the new toilet seat, assemble the fittings according to the instructions and attach them to the toilet, tightening the nuts on the bolts.
Choosing the right toilet seat:
- Measure the distance between the seat holes on your toilet bowl to ensure a proper fit.
- Consider the material of the seat, such as plastic or wood, and choose one that suits your preferences and budget.
Troubleshooting common installation issues:
- If the seat wobbles, check if the bolts are tightened properly. If not, use a wrench to tighten them further.
- If the seat slides around, make sure the rubber bumpers on the seat are securely in place.
- If the seat cracks or breaks during installation, contact the manufacturer for a replacement.
Remember to follow the manufacturer’s instructions carefully to ensure a successful installation.
Finishing Touches and Cleanup
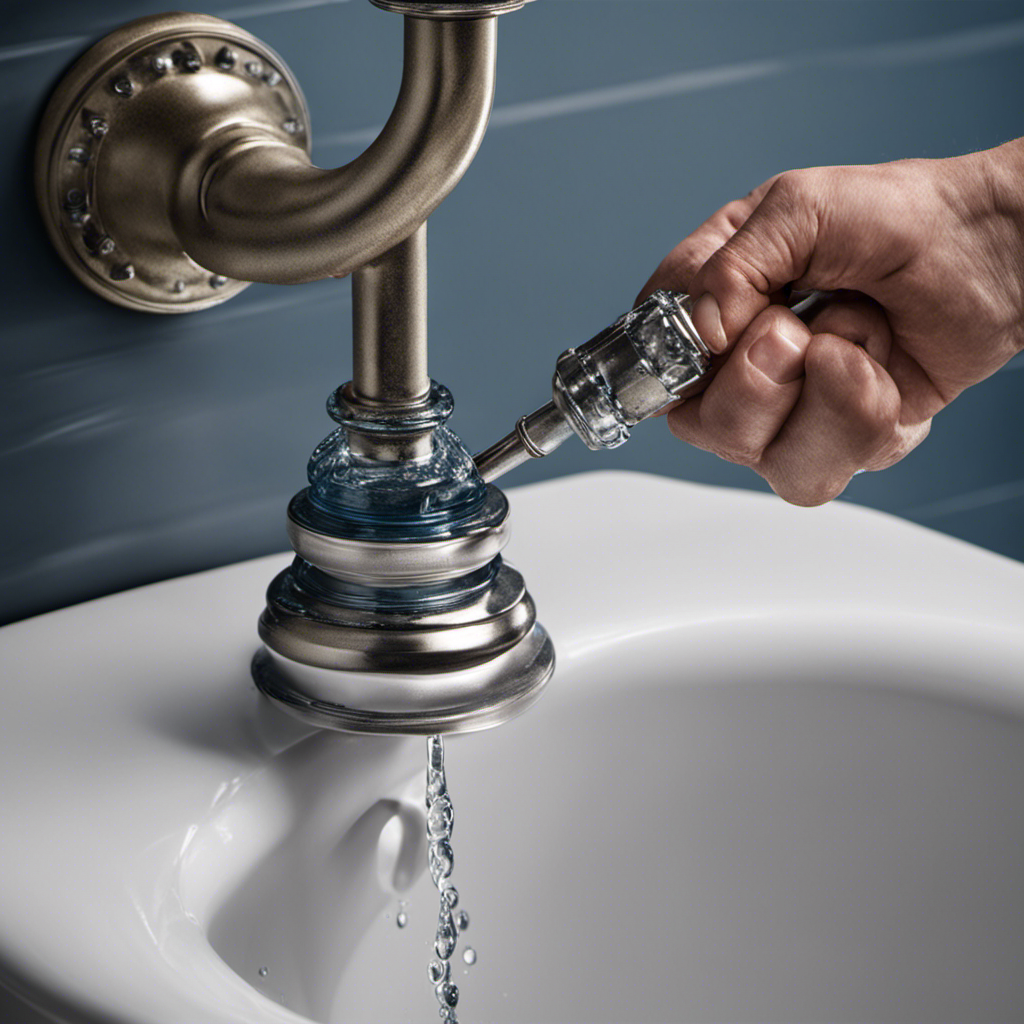
I can now reconnect the water supply, turn it on, and check for any leaks.
It’s important to clean and sanitize the toilet seat before considering the installation complete. Use a mild soap or disinfectant solution to wipe down the seat and remove any dirt or bacteria. Pay special attention to the hinges and underside of the seat, as these areas can accumulate grime over time. Avoid using abrasive cleaners or scouring pads, as they can scratch the surface of the seat.
Additionally, it’s crucial to address any common installation mistakes. One common mistake is not tightening the nuts securely enough, which can cause the seat to wobble or become loose. Another mistake is not properly aligning the seat holes with the bolts, resulting in an uneven or unstable installation.
Taking the time to clean properly and avoid these mistakes will ensure a successful and long-lasting toilet seat installation.
Frequently Asked Questions
How Do I Choose the Right Size Toilet Seat for My Toilet?
To choose the right size toilet seat, measure the distance between the mounting holes on your toilet bowl. Consider the weight limit of the seat and select materials that are durable and suitable for your needs.
Can I Reuse the Old Wax Ring When Installing a New Toilet Seat?
No, it is not recommended to reuse the old wax ring when installing a new toilet seat. It is better to use a new wax ring or consider alternative sealant options for a proper and secure installation.
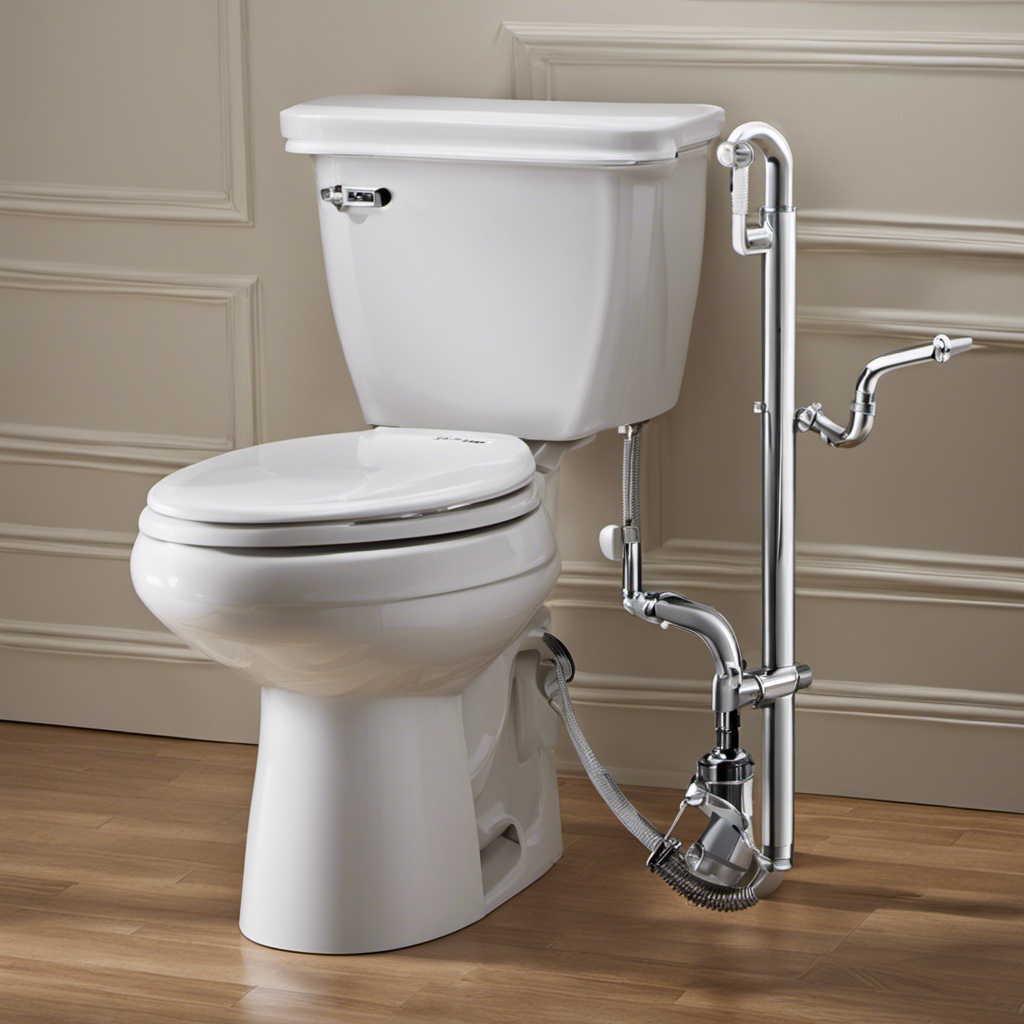
Is It Necessary to Turn off the Water Supply Before Removing the Old Toilet Seat?
Yes, it is necessary to turn off the water supply before removing the old toilet seat. This prevents any water leakage and makes the process easier and safer.
What Should I Do if the Bolts Holding the Old Seat in Place Are Rusted or Stuck?
If the bolts holding the old seat are rusted or stuck, I would use penetrating oil to loosen them. Then, I would try using pliers or a wrench to unscrew the bolts. If all else fails, I may need to cut the bolts with a hacksaw.
Are There Any Special Considerations for Installing a Bidet Seat Instead of a Regular Toilet Seat?
When installing a bidet seat instead of a regular toilet seat, there are some special considerations. The pros include improved hygiene and comfort, but the cons include higher cost and the need for an electrical outlet. Troubleshooting tips include checking the water connection and adjusting the seat position.
Conclusion
In conclusion, mastering toilet seat installation is a task that can be easily accomplished with the right tools and preparation. By following this foolproof guide, you can ensure a seamless and efficient installation process.
As you tighten the bolts and connect the fittings, imagine the satisfaction of a perfectly aligned toilet seat, ready to provide comfort and support.
With a final check for leaks and a thorough cleaning, you can confidently admire your handiwork, knowing that you have mastered the art of toilet seat installation.