
Repairing and replacing grout is like giving a facelift to your home’s surfaces. It’s a necessary task to ensure the strength and attractiveness of materials like stone, glass, and tile.
With three main types of residential grouts—sanded, unsanded, and epoxy—plus the versatile caulk, there’s a solution for every gap.
Armed with the right tools and materials, anyone can remove damaged grout, prepare the area, and apply new grout, resulting in a durable and visually pleasing finish.
Key Takeaways
- There are three types of grout commonly used for residential purposes: sanded grout, unsanded grout, and epoxy grout.
- Caulk is a versatile material that can be used to fill gaps and bond a wide variety of surfaces, but it is not recommended to mix grout and caulk together.
- Caulking over grout should be done with caution as it may not be aesthetically pleasing and may not provide a long-term solution.
- Steps to repair or replace grout include removing damaged grout, cleaning the area, applying new grout, cleaning up excess grout, and applying a sealant for waterproofing.
grout repair kit
As an affiliate, we earn on qualifying purchases.
As an affiliate, we earn on qualifying purchases.
Understanding the Importance of Grout Maintenance
Understanding the importance of grout maintenance is crucial for homeowners to prevent costly problems such as water damage and the growth of mold and mildew. One of the advantages of epoxy grout is its resistance to stains, making it a popular choice for areas prone to spills and moisture.
Common grout problems include cracking, discoloration, and crumbling. These issues can be caused by improper installation, lack of sealing, or simply wear and tear over time. To address these problems, homeowners can use grout repair kits or tubs of grout to replace damaged grout. Additionally, applying a sealant after repair or replacement can help prevent future issues.
Regular cleaning and sealing of grout can go a long way in maintaining its integrity and preventing costly repairs down the line.
epoxy grout for tiles
As an affiliate, we earn on qualifying purchases.
As an affiliate, we earn on qualifying purchases.
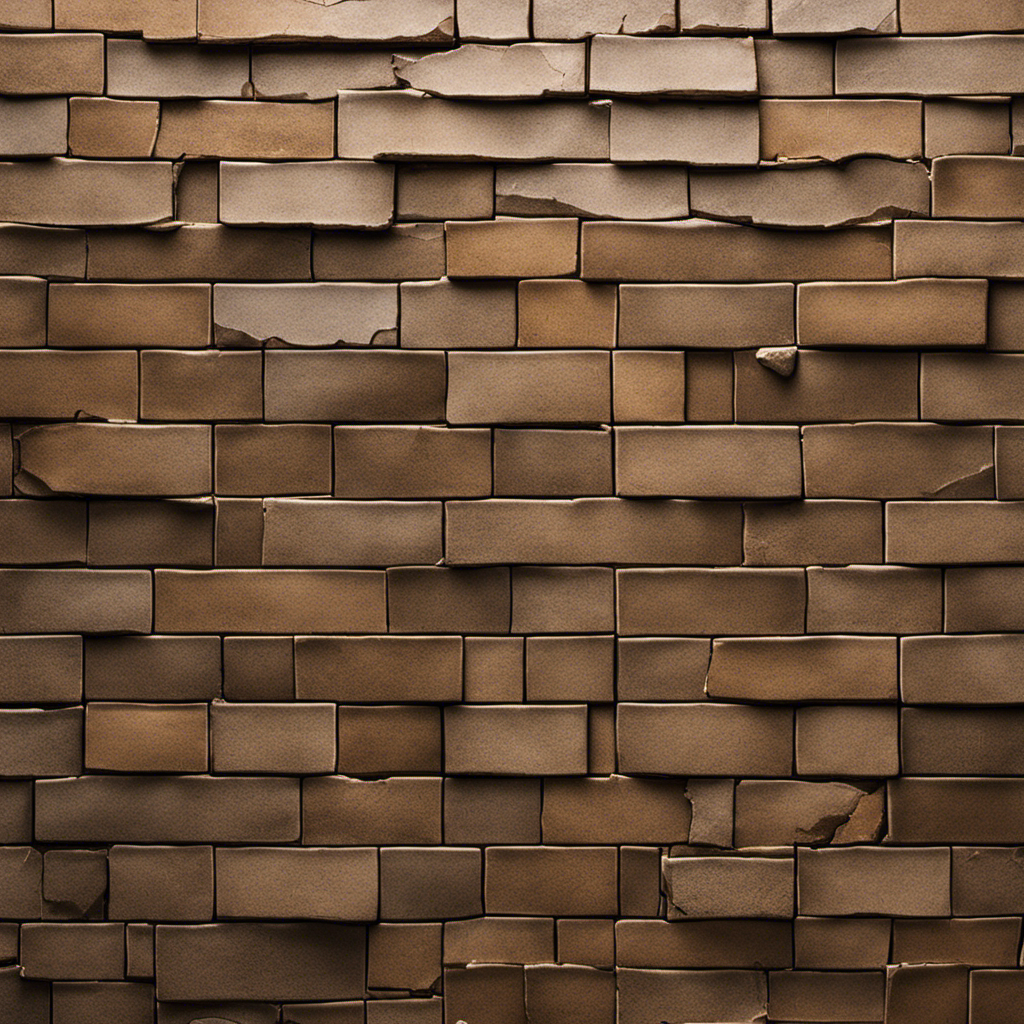
Assessing the Condition of Your Grout
To evaluate the condition of their grout, homeowners can visually inspect the gaps between their tiles or stones for signs of cracking, discoloration, or crumbling. This evaluation is crucial in determining if there is grout deterioration or potential water damage.
Here are three signs to look out for:
-
Cracking: If the grout lines have visible cracks, it indicates that the grout has weakened and may not be providing adequate support for the tiles or stones. This can lead to further damage if left untreated.
-
Discoloration: Discolored grout, particularly in wet areas like bathrooms and kitchens, may suggest water penetration. This can cause the grout to deteriorate and create an environment for mold and mildew growth.
-
Crumbling: If the grout feels powdery or crumbles easily when touched, it is a clear sign of deterioration. This can compromise the integrity of the tile or stone installation and may require immediate attention.
tile grout removal tools
As an affiliate, we earn on qualifying purchases.
As an affiliate, we earn on qualifying purchases.
Gathering the Necessary Tools and Materials
Gathering the necessary tools and materials is essential for homeowners who want to assess and repair their grout.
When it comes to choosing the right grout color, homeowners should consider the overall aesthetic of the space. Grout color can make a significant impact on the final look of the project. It is important to select a color that complements the tiles or stones being used.
Additionally, preventing future grout damage is crucial for maintaining the longevity of the grout. Applying a high-quality grout sealer can help protect against stains and water damage. Regular cleaning and maintenance, such as wiping up spills promptly and avoiding harsh cleaning agents, can also help prevent grout damage.
grout sealing spray
As an affiliate, we earn on qualifying purchases.
As an affiliate, we earn on qualifying purchases.
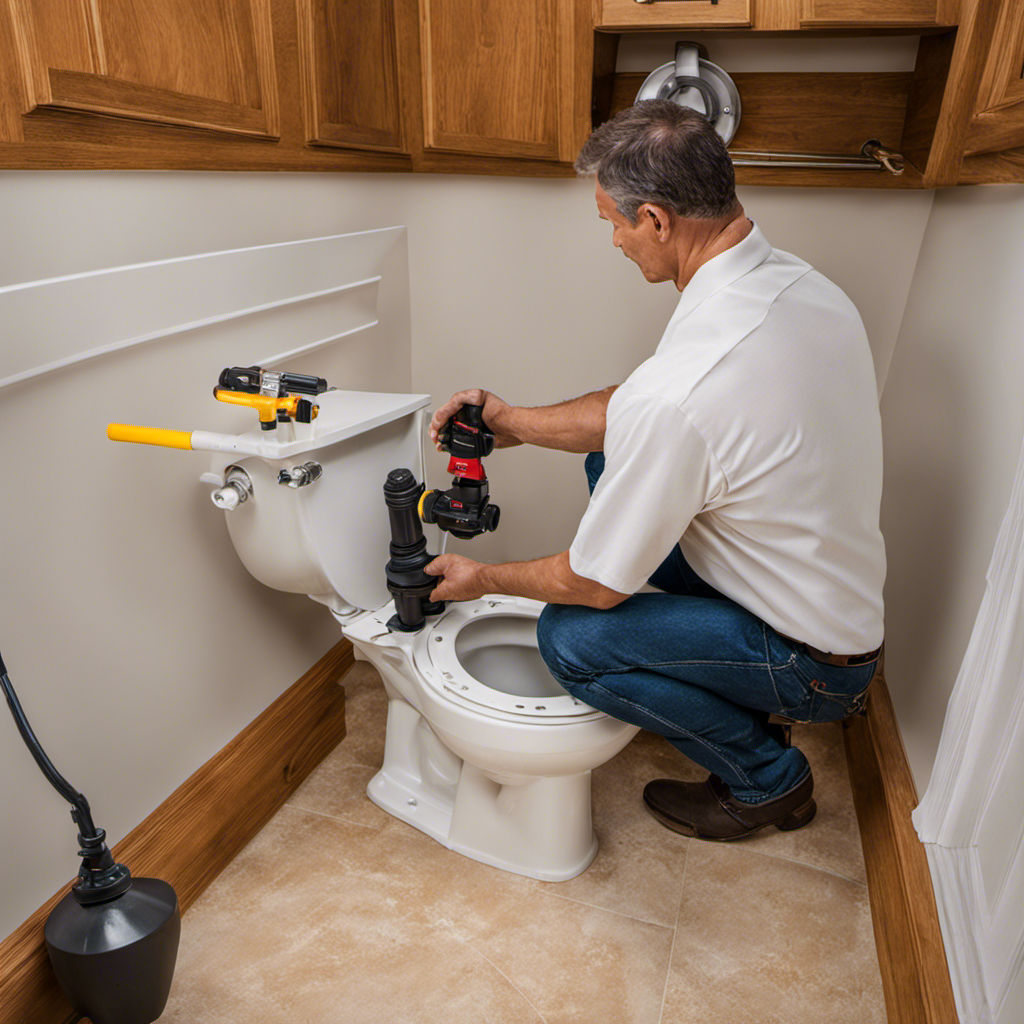
Removing Damaged Grout
Removing damaged grout can be achieved by using a grout saw or an oscillating tool to carefully extract the old grout from the affected areas. This step is crucial in the process of repairing or replacing grout.
Here are three regrouting techniques that can evoke an emotional response in the audience:
-
Precision: The use of a grout saw or an oscillating tool requires skill and precision. It shows the dedication and attention to detail that goes into the restoration process.
-
Transformation: By removing damaged grout, it opens up the possibility for a complete transformation. It allows for a fresh start and the opportunity to create a visually appealing and long-lasting result.
-
Preservation: Removing damaged grout not only improves the appearance of the surface, but it also helps to preserve the integrity of the underlying material. By addressing the issue promptly, it prevents further damage and extends the lifespan of the tiled area.
With these regrouting techniques and alternative grout options, homeowners can revive their tiled surfaces and enjoy a beautiful and durable finish.
Preparing the Area for New Grout
Once the damaged grout has been removed, the next step in the process is preparing the area for the application of new grout. This involves thorough cleaning to ensure a clean and debris-free surface.
Grout cleaning techniques vary depending on the type of grout being used and the condition of the area. For sanded and unsanded grout, a mixture of water and vinegar can be used to clean the surface. This solution helps to remove any dirt, stains, or residues that may be present. For epoxy grout, a pH-neutral cleaner or a specialized epoxy grout cleaner can be used. It’s important to follow the manufacturer’s instructions when using these cleaners.
Once the area is clean, it’s crucial to take preventive measures to avoid future grout damage. This includes sealing the grout to protect it from moisture and stains. Regular maintenance, such as wiping down the grout lines and avoiding harsh cleaners, can also help prevent damage.
Applying the New Grout
To apply the new grout, the homeowner carefully spreads the mixture into the gaps between the tiles using a grout float. This step is crucial in ensuring that the grout is evenly distributed and fills in all the spaces.
It is important to choose the right grout color that complements the tiles and enhances the overall aesthetic of the space. This can be done by considering the color of the tiles and the desired look.
Additionally, to prevent grout stains, it is recommended to seal the grout once it is fully dry. This will create a protective barrier and make the grout less prone to staining.
Regular cleaning and maintenance can also help in preventing grout stains and keeping the area looking fresh and clean.
Cleaning and Finishing the Grout Lines
The homeowner carefully cleans the grout lines using a grout brush and a mixture of warm water and mild detergent, ensuring that any dirt, grime, or residue is thoroughly removed. This step is crucial in preparing the surface for re grouting.
Once the grout lines are clean, the next step is to select the right grout color. It is important to choose a color that complements the tiles or stones and enhances the overall aesthetic of the space. The homeowner should consider factors such as the color of the tiles, the size of the grout lines, and personal preference.
After the grout color is chosen, the homeowner can proceed with applying the new grout, following the steps outlined in the previous subtopic. Proper cleaning and finishing of the grout lines are essential for achieving a professional and long-lasting result.
Sealing and Maintaining the Repaired or Replaced Grout
After completing the repair or replacement of the grout, it is important for the homeowner to seal and regularly maintain the newly repaired or replaced grout to ensure its durability and longevity. To prevent grout discoloration and choose the right sealant for grout, consider the following:
-
Research the types of sealants available, such as penetrating sealants or topical sealants, to find the one that best suits your needs. Penetrating sealants are absorbed into the grout, providing long-lasting protection, while topical sealants create a protective layer on the surface.
-
Check the label or consult with a professional to ensure that the sealant is suitable for your specific type of grout. Different grout materials may require different types of sealants for effective protection.
-
Follow the manufacturer’s instructions carefully when applying the sealant. Proper application ensures maximum coverage and effectiveness in preventing grout discoloration.
Regular maintenance, including resealing every few years, will help to keep your grout looking fresh and prevent discoloration over time. Choose a sealant that suits your grout type, and follow the instructions for best results. With proper care, your repaired or replaced grout will remain durable and attractive for years to come.
Frequently Asked Questions
Can I Use Caulk Instead of Grout for Repairing or Replacing Grout?
Yes, caulk can be used instead of grout for repairing or replacing grout. Using silicone caulk for grout repair offers benefits such as flexibility, ease of application, and resistance to mold and mildew.
How Long Does It Take for Grout to Dry Before It Can Be Sealed?
Grout drying time depends on several factors such as temperature and humidity. Generally, it takes about 24-48 hours for grout to dry before it can be sealed. The grout sealing process helps protect it from stains and water damage.
Can I Use a Grout Pen Instead of Removing and Replacing Grout?
A grout pen can be used as an alternative to removing and replacing grout. However, its effectiveness may vary depending on the condition of the existing grout.
Is It Necessary to Remove All of the Old Grout Before Applying New Grout?
Removing all old grout before applying new grout is necessary for a proper repair or replacement. This ensures a clean surface and allows the new grout to adhere effectively, creating a strong and durable bond.
Can I Use Sanded Grout on All Types of Tile and Stone?
Sanded grout is compatible with most types of tile and stone, providing a strong bond. However, there are alternative grout options available, such as unsanded grout and epoxy grout, which may be more suitable for certain materials.
Conclusion
In conclusion, maintaining and repairing grout is crucial for the longevity and aesthetic appeal of materials like stone, glass, and tile. By following a step-by-step guide and using the right tools and materials, one can easily remove damaged grout, prepare the area, and apply new grout for a durable and visually pleasing result.
It is important to assess the condition of the grout and choose the appropriate type, whether it be sanded, unsanded, or epoxy grout. Additionally, sealing and regular maintenance of the repaired or replaced grout will ensure its long-lasting performance.