To replace a bathroom vanity, start by turning off the water supply and disconnecting the plumbing. Remove the existing vanity carefully, then measure and prepare the space for the new one. Position and level the new vanity, connect the plumbing, and secure it firmly. Finish by cleaning the area, adding accessories, and ensuring everything functions smoothly. For detailed step-by-step guidance and tips to make the process easier, keep exploring the full instructions.
Key Takeaways
- Turn off water supply, disconnect plumbing, and remove the old vanity carefully.
- Measure and position the new vanity, ensuring it fits and is level.
- Connect plumbing lines securely and check for leaks before securing the vanity to the wall.
- Install decorative hardware, mirrors, or accessories to enhance the new vanity’s appearance.
- Clean the workspace, organize tools, and inspect all connections for proper function.

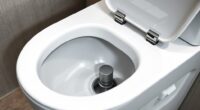
Enhon 2 Pack Lavatory Pop up Center Piece Assembly, Compatible with Price Pfister Pop up Stopper and Other Popular Brands, Replacement for PS2673, Pivot Rod Bathroom Sink Repair Kit, Chrome
Compatibility: the pop up center piece assembly is designed to be compatible with Price Pfister Pop up stopper…
As an affiliate, we earn on qualifying purchases.
As an affiliate, we earn on qualifying purchases.
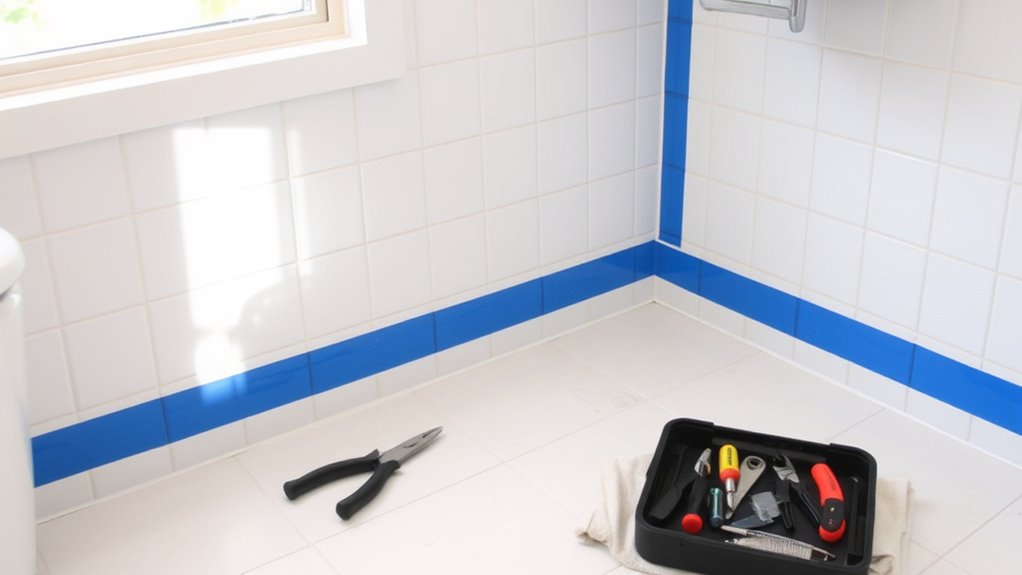
Gathering Tools and Materials
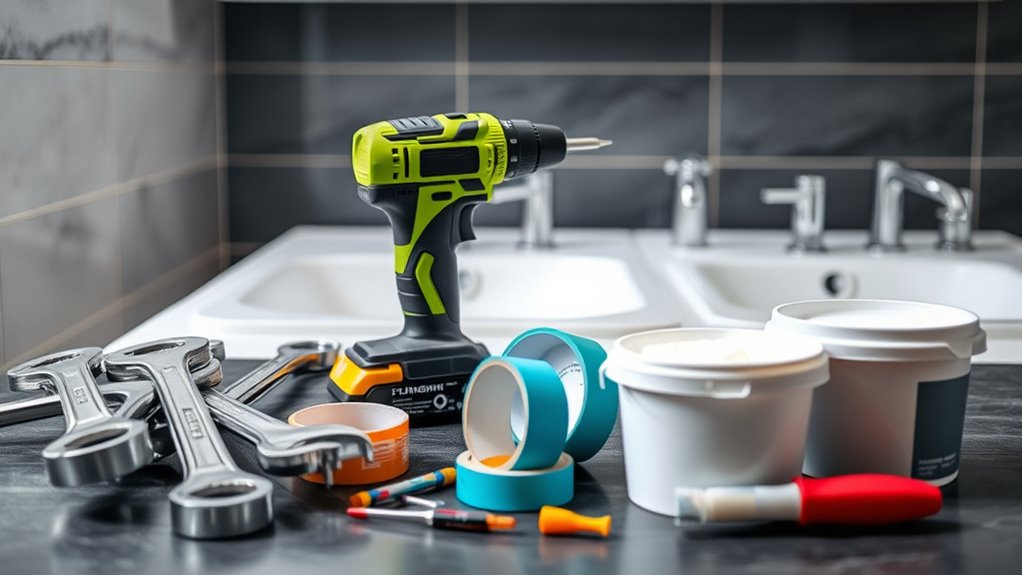
Before you begin replacing your bathroom vanity, it is vital to gather all the necessary tools and materials. Start by choosing the right vanity selection that fits your space and style. Once you’ve picked your new vanity, gather essential tools such as a wrench, screwdriver, utility knife, and pliers. You’ll also need materials like plumber’s tape, a bucket, and rags for handling plumbing connections. Inspect your existing plumbing to confirm you have the correct fittings or adapters for disconnecting and reconnecting water lines. Having everything on hand will streamline the process and prevent multiple trips to the store. Proper preparation saves time and reduces frustration during installation, making your vanity replacement smoother and more efficient. Additionally, understanding projector specifications can help ensure you select the appropriate hardware and fittings for a seamless upgrade. Being aware of air purifier features can also aid in choosing the best models for your needs, should you decide to improve your living space further. For added confidence, familiarizing yourself with essential oil uses can even help create a calming atmosphere during your DIY project.

POWERTEC Corner Leveling Feet 4PK, Heavy Duty Adjustable Corner Bracket Levelers with Nylon Foot for Cabinets, Vanities, Furniture & Shelves (71157)
FEATURES: Includes four lipped corner bracket levelers with adjustable M10 threaded leveling bolts and durable nylon foot. Mounting…
As an affiliate, we earn on qualifying purchases.
As an affiliate, we earn on qualifying purchases.
Preparing the Workspace
To guarantee a smooth vanity replacement, you need to prepare your workspace properly. Good decor safety and effective space planning are essential for a successful remodel. Start by clearing the area around the vanity to create a clutter-free zone, making it easier to work efficiently. Next, protect nearby surfaces with drop cloths or old sheets to prevent damage or stains. Finally, organize your tools and materials within reach, ensuring you have everything handy without overcrowding the space. Proper preparation not only streamlines the process but also minimizes accidents and mishaps. Additionally, considering the electric power generation with bike generators can be a sustainable way to power tools or small appliances during your project. Incorporating wall organization systems can help keep your workspace tidy and accessible throughout the remodel. Using vertical storage solutions can further optimize your workspace and keep essential tools organized. Being aware of gold IRA options and how they might relate to your financial planning can also provide valuable insights for long-term stability. For example, utilizing vegetable juices can be a healthy addition to your daily routine, supporting overall wellness during your renovation. By planning your workspace carefully, you’ll make the project safer, more manageable, and more enjoyable. Remember, a well-prepared space sets the foundation for a seamless vanity replacement.

VOTMELL 4 Rolls 1/2 Inch(W) X 520 Inches(L) Teflon Plumbers Tape,Pipe Sealing & Plumbing Thread Tape,PTFE Water Sealant Seal for Shower Head,White
Teflon tape has a sealing function to prevent the leakage of water or gas.
As an affiliate, we earn on qualifying purchases.
As an affiliate, we earn on qualifying purchases.
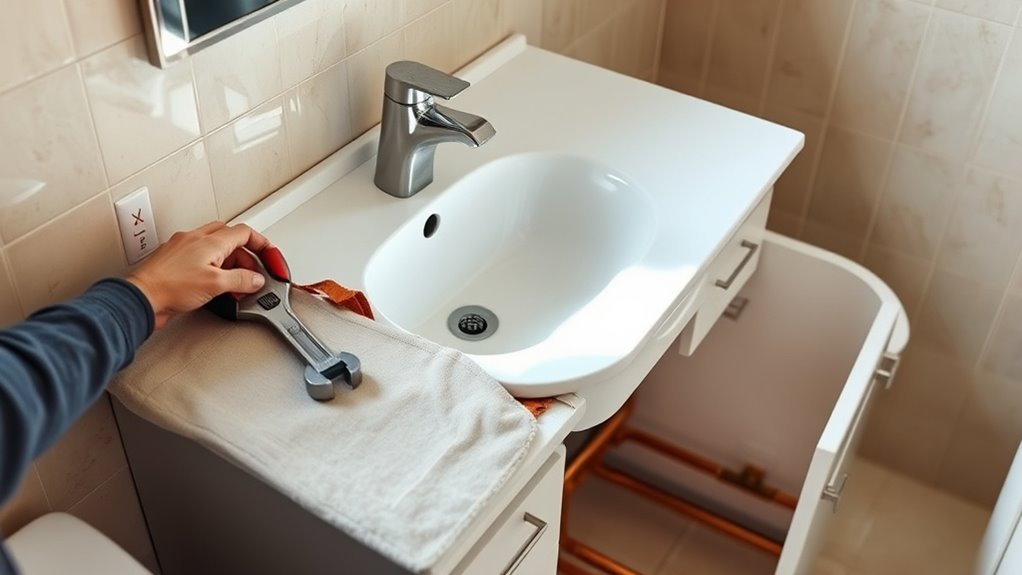
Removing the Old Vanity
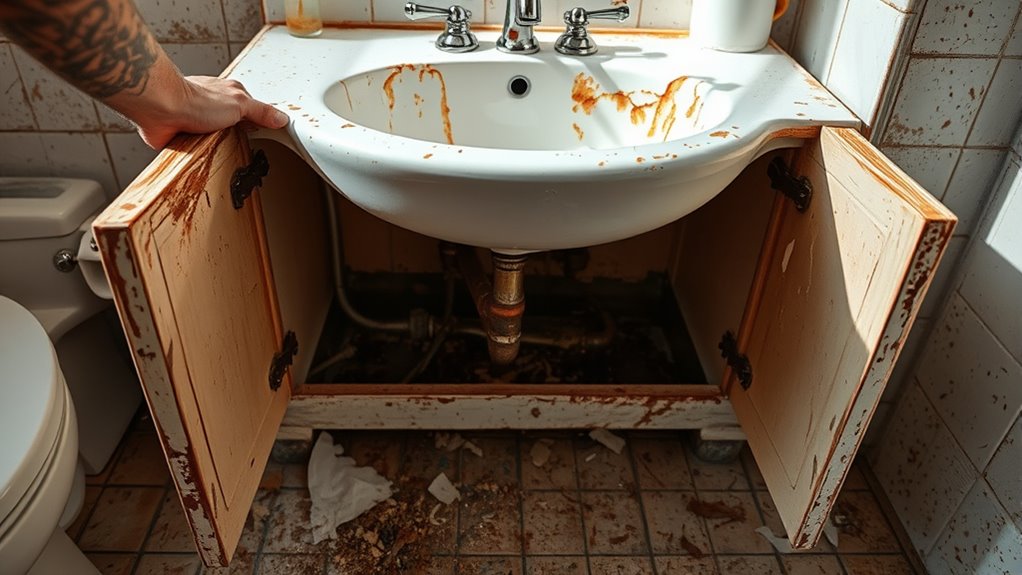
Removing the old vanity is a crucial first step that requires careful attention. Start by turning off the water supply and disconnecting the plumbing. Carefully loosen the supply lines and drain any remaining water to prevent messes. Next, remove the countertop, which may be glued or screwed in place. Use a pry bar if needed, taking care not to damage the walls or surrounding surfaces. Once the countertop is removed, check for any remaining fasteners securing the vanity to the wall. Unscrew and detach these, and then gently lift the entire unit out of the space. Be cautious of sharp edges or residual debris. Removing the old vanity carefully prepares your workspace for the new installation, ensuring a smooth remodeling process. Additionally, understanding how to handle emotional support during stressful projects can help maintain a positive workspace and reduce frustration. Paying attention to proper disposal of old fixtures and materials will also keep your project area clean and safe. Incorporating proper cleaning techniques during removal can further minimize dust and debris, making the process safer and more efficient. It is also beneficial to assess the condition of the surrounding wall and flooring to ensure a solid foundation for the new vanity. Considering safety precautions such as wearing gloves and goggles can protect you from potential injuries during removal.

BGL Bathroom Accessory Set, Brushed Nickel Adjustable Expandable Towel Bar 4-Piece Bathroom Hardware Set Wall Mounted
Adjustable Towel Bar: The towel bar can be adjusted to 12‘' or 24" depending on the needs of…
As an affiliate, we earn on qualifying purchases.
As an affiliate, we earn on qualifying purchases.
Installing the New Vanity
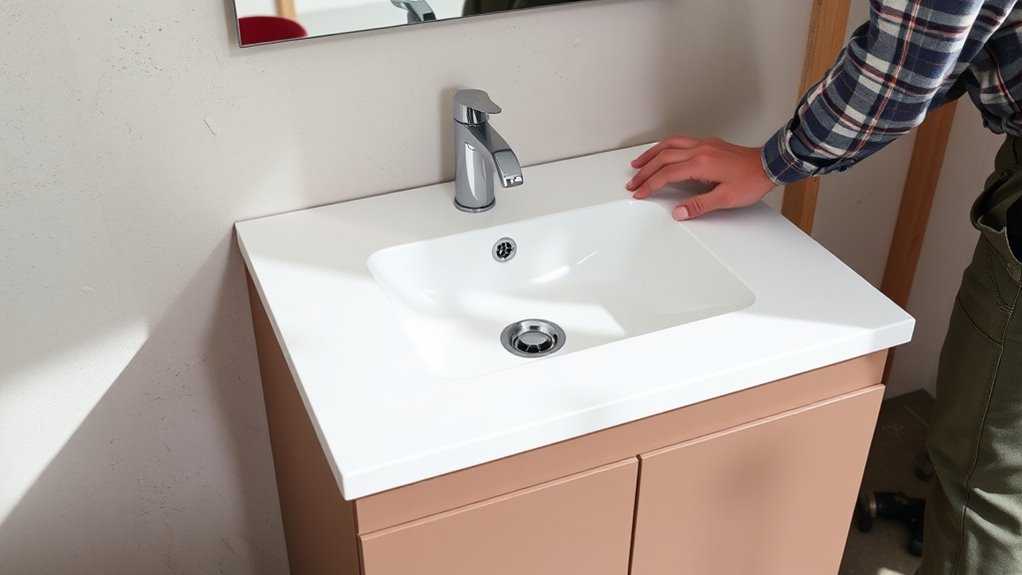
Once you have cleared the space of the old vanity, it’s time to install the new one. Start by measuring the vanity dimensions to verify it fits your space perfectly. Then, position the vanity carefully against the wall, making sure it’s level. Next, connect the plumbing connections, aligning the sink’s drain and water supply lines accurately to avoid leaks. To streamline the process, consider these steps:
- Secure the vanity to the wall using appropriate brackets, ensuring stability.
- Double-check the plumbing connections for tight seals and proper alignment.
- Test the sink by turning on the water to check for leaks and proper drainage.
- Resilience during installation can help you troubleshoot unexpected issues and complete the project successfully.
Taking your time with each step guarantees a smooth installation and a professional-looking finish.
Finishing Touches and Cleanup
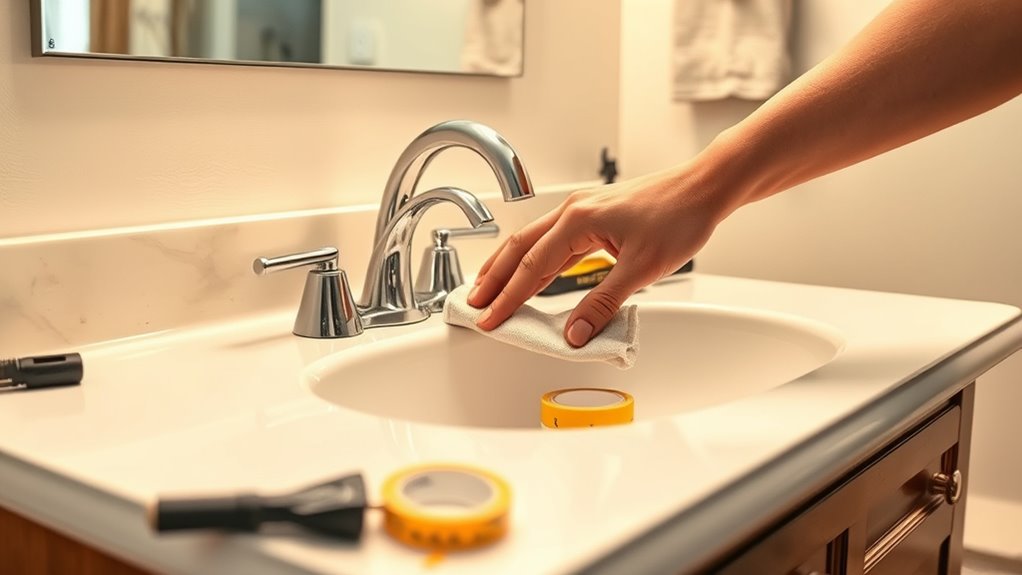
After installing the vanity, focus on adding the finishing touches to guarantee a polished look and proper functionality. Start by applying touch-up painting to any spots that need it, ensuring a seamless finish. Next, add decorative accents like stylish hardware, mirrors, or small accessories to personalize your space. These details create a warm, inviting atmosphere. To help visualize your progress, consider this table:
| Decorative Accents | Touch-Up Painting | Cleanup Tasks |
|---|---|---|
| Stylish hardware | Fix minor scuffs | Wipe surfaces |
| Mirrors & art | Cover chipped paint | Vacuum & sweep |
| Small accessories | Touch up walls | Organize tools |
Incorporating attention to detail during this stage ensures a comprehensive and professional-looking remodel. Paying close attention to finishing touches can significantly enhance the overall appearance. Remember that choosing the right decorative accents can also reflect your personal style and elevate your bathroom’s aesthetic. Additionally, ensuring your cybersecurity measures are up-to-date can help protect your home network during the remodel process. Completing these steps leaves your bathroom looking fresh, functional, and truly yours.
Frequently Asked Questions
How Do I Ensure My New Vanity Fits in the Existing Space?
To guarantee your new vanity fits in the existing space, start by measuring your bathroom carefully, noting the width, depth, and height available. When selecting a vanity, compare these measurements to the options you’re considering. Double-check clearance around doors and fixtures, and account for plumbing needs. This proactive approach helps you pick a vanity that fits perfectly, avoiding surprises during installation and ensuring a seamless look in your bathroom.
What Are Common Mistakes to Avoid During Installation?
Did you know that plumbing errors cause over 30% of bathroom renovation issues? To avoid common mistakes during installation, double-check measurements before cutting or drilling, guaranteeing your vanity fits perfectly. Be cautious of measurement mistakes that can lead to misalignment. Also, carefully connect plumbing, avoiding shortcuts that cause leaks. Taking your time and verifying each step helps prevent costly errors and ensures a smooth, successful vanity replacement.
How Can I Prevent Water Leaks After Installation?
To prevent water leaks after installation, focus on proper waterproofing tips and leak prevention. Make certain all plumbing connections are tight and use plumber’s tape on threaded fittings. Apply a waterproof sealant around the vanity’s edges and sink drain to seal any gaps. Regularly inspect for signs of leaks and address issues immediately. These steps will help keep your bathroom dry and leak-free, giving you peace of mind after your DIY remodel.
What Tools Are Essential for a Seamless Vanity Swap?
You’ll want tools that make your job easier and more precise. Grab a wrench for plumbing fixtures, a screwdriver for cabinet hardware, and a level to verify everything lines up correctly. A utility knife helps with adjustments, while pliers are great for gripping tricky parts. Don’t forget a tape measure for accurate placement. With these essentials, you’ll achieve a seamless vanity swap, making your bathroom look perfect and functional.
How Do I Adjust the Height for Comfort and Accessibility?
To modify your vanity height for comfort and accessibility, focus on ergonomic design and ADA compliance. You can raise or lower the countertop or install an adjustable vanity to suit your needs. Guarantee the height aligns with ergonomic principles, typically 34-36 inches for ideal comfort. For ADA compliance, make sure the vanity provides sufficient knee clearance and is accessible for all users, making your bathroom safer and more inclusive.
Conclusion
Now that you’ve completed the installation, your bathroom transformation is almost complete. But hold on—there’s one last step that could make all the difference. Will you discover a hidden obstacle or a clever solution that elevates your new vanity even further? Stay tuned, because this final touch might just be the secret to turning your DIY project into a stunning, professional-looking space. Are you ready to see the magic happen?