
Replacing a damaged toilet flange can be a daunting task for homeowners, but fear not! In this DIY guide, we’ll walk you through the step-by-step process of replacing your toilet flange, saving you time and money.
With just a few basic tools and a new flange, you’ll be able to tackle this project with confidence. Say goodbye to leaky toilets, wobbly bases, and uneven floors.
Get ready to enjoy a fully functioning bathroom once again. Let’s dive in!
Key Takeaways
- Proper alignment of the new flange with the existing drain pipe is crucial to ensure a successful replacement.
- Using the correct sealants and adhesives is important to prevent leaks and ensure a watertight seal.
- Avoid overtightening the bolts to prevent cracks or damage to the flange or toilet base.
- Thoroughly cleaning the area around the flange before installation is necessary for proper adhesion and sealing.

One N Done Toilet Flange Repair Kit – Toilet Kit For Low or Broken Flange. Toilet Wax Ring Replacement Kit W/Toilet Flange Extender Kit, Easy Toilet Bolts, & Toilet Caps For Bottom of Toilet. (1 Ea.)
- No Wax Ring Needed: Seals all flange depths with one gasket
- Universal Fit: Fits flanges 1/8 inch above to 1.5 inches below floor
- Easy Installation: Self-adjusts to any flange depth, no mess
As an affiliate, we earn on qualifying purchases.
As an affiliate, we earn on qualifying purchases.
Tools and Materials Needed for the Job
The homeowner will need a new flange, a new wax ring, rubber gloves, a sponge, a small bucket, an adjustable wrench, a flathead screwdriver, old towels or newspaper, and a putty knife for the job.
When replacing a toilet flange, it is important to gather all the necessary tools and materials beforehand. This ensures that the process goes smoothly and efficiently.
The cost of a toilet flange replacement can vary depending on the quality and type of flange chosen.
Common mistakes when replacing a toilet flange include not properly aligning the new flange with the existing drain pipe, using incorrect sealants or adhesives, and overtightening the bolts which can lead to cracks or damage.
Taking the time to carefully follow the correct steps and avoiding these common mistakes will help ensure a successful toilet flange replacement.
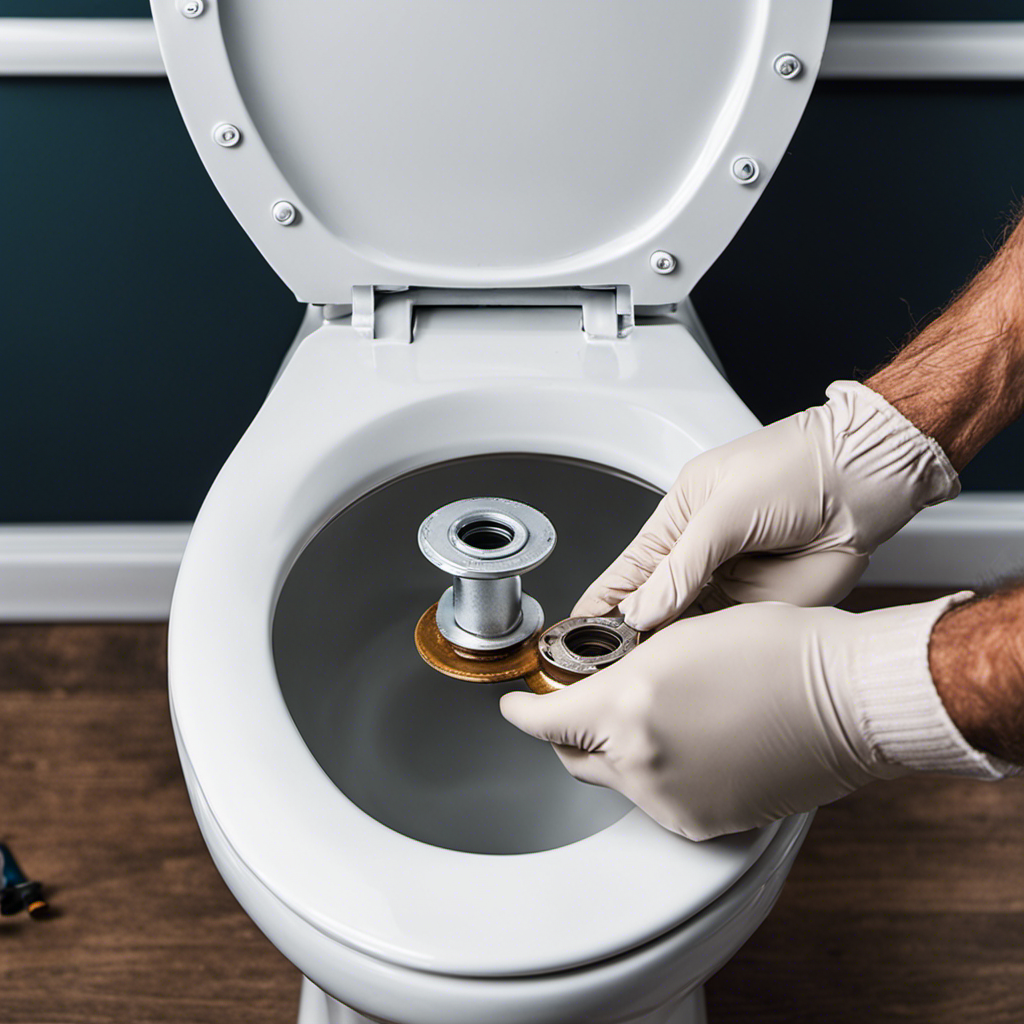
Step-By-Step Instructions for Removing the Old Flange
To remove the old flange, first turn off the water supply and empty the toilet bowl. This step is crucial to prevent any water from leaking or causing a mess during the removal process.
Once the water is off and the bowl is empty, you can start removing the old flange. One common mistake to avoid is using excessive force when trying to loosen the flange. It’s important to be gentle and patient to prevent any damage to the toilet or the surrounding area.
Another mistake to avoid is not properly cleaning the area around the flange before installing the new one. Any debris or old wax residue can affect the seal of the new flange.
To troubleshoot common issues during toilet flange replacement, it’s recommended to double-check the alignment of the new flange before securing it in place. Adjustments may be needed to ensure a proper fit.
Additionally, checking the tightness of the bolts and ensuring the wax ring is properly seated can help prevent any leaks or wobbling after the replacement.
Installing a New Toilet Flange: a DIY Guide
Once the water is turned off and the toilet bowl is empty, it is important for the user to carefully align and secure the new flange in place. Common mistakes when installing a toilet flange can lead to future damage and costly repairs.
To prevent such mistakes, it is crucial to follow a few tips. Firstly, ensure that the flange is properly aligned with the drain pipe before securing it with bolts. Additionally, use the correct size and type of bolts to avoid any leaks or instability. It is also essential to tighten the bolts evenly to prevent any damage to the flange or toilet base.
Lastly, make sure to use a wax ring that is in good condition and properly positioned to create a watertight seal. By following these tips, users can prevent toilet flange damage and ensure a successful installation.
Signs of a Damaged Toilet Flange and Why It’s Important to Replace It
When a toilet base is leaky, it is often a sign of a broken or malfunctioning flange. Common problems caused by a damaged flange include wobbly toilets, water leakage, and an uneven bathroom floor. These issues can lead to bigger problems if not addressed promptly.
Replacing a damaged flange is important to prevent further damage and ensure proper functioning of the toilet. While it is possible to replace a flange without professional help, there are benefits to hiring a professional for the job.
Professional flange replacement ensures that the new flange is installed correctly and securely, reducing the risk of future problems. Additionally, professionals have the expertise and tools necessary to complete the replacement efficiently and effectively. Hiring a professional can save time, effort, and potential headaches in the long run.
Frequently Asked Questions About Toilet Flange Replacement
FAQ 1: Can toilet flanges be removed easily?
Yes, toilet flanges can be removed relatively easily with the right tools and know-how. Here are some tips for removing toilet flanges:
-
Determine the type of flange you have: There are different types of toilet flanges, including wax ring flanges, closet flanges, and offset flanges. Knowing the type will help you choose the right method for removal.
-
Use a wrench or screwdriver: Depending on the type of flange, you may need to use an adjustable wrench or a flathead screwdriver to remove the bolts or screws holding the flange in place.
-
Apply lubricant if necessary: If the flange is stuck or difficult to remove, applying some lubricant around the edges can help loosen it.
-
Take your time and be careful: Removing a toilet flange requires precision and patience. Take your time to avoid damaging the surrounding area or the flange itself.
Tips for preventing flange damage:
-
Avoid using excessive force when installing or removing the toilet.
-
Regularly inspect the flange for any signs of damage or wear.
-
Ensure that the toilet is properly aligned and secured to the flange.
-
Use a high-quality wax ring during installation to provide a secure seal and prevent leaks.
Frequently Asked Questions
How Long Does It Typically Take to Replace a Toilet Flange?
Replacing a toilet flange typically takes about 1-2 hours. Common mistakes in flange replacement include improper alignment, insufficient sealing, and overtightening bolts. Following the correct installation process can prevent future issues.
Can a Damaged Flange Cause Damage to the Surrounding Flooring?
A damaged flange can cause leaks in the surrounding area, such as the subfloor. To prevent damage to the flooring when replacing a toilet flange, it is important to follow a DIY guide and take necessary precautions.
Is It Possible to Repair a Damaged Flange Instead of Replacing It?
It is not possible to repair a damaged flange. The only alternative to replacement is to install a new flange. Quick action is necessary to prevent further damage and ensure proper functioning of the toilet.
Are There Any Special Considerations or Precautions to Take When Removing the Old Flange?
When removing the old flange, it is important to take special considerations and precautions to avoid further damage. Proper tools and techniques should be used to ensure a smooth and successful removal process.
Can a Damaged Flange Cause the Toilet to Become Completely Unusable?
A damaged flange can render a toilet completely unusable, causing leaks and instability. Replacing the flange is the best solution, as alternatives like temporary repairs or ignoring the issue can lead to further damage.
Conclusion
In conclusion, replacing a damaged toilet flange is a task that can be easily accomplished by homeowners with basic DIY skills. By following the step-by-step guide provided and using the necessary tools and materials, one can successfully remove the old flange and install a new one.
It is crucial to address a malfunctioning flange promptly to avoid further damage and prevent unpleasant odors. Remember, a well-functioning flange is the foundation of a stable and leak-free toilet, ensuring a smooth and comfortable bathroom experience.
So don’t hesitate to tackle this DIY project and restore your toilet’s functionality with a new flange.