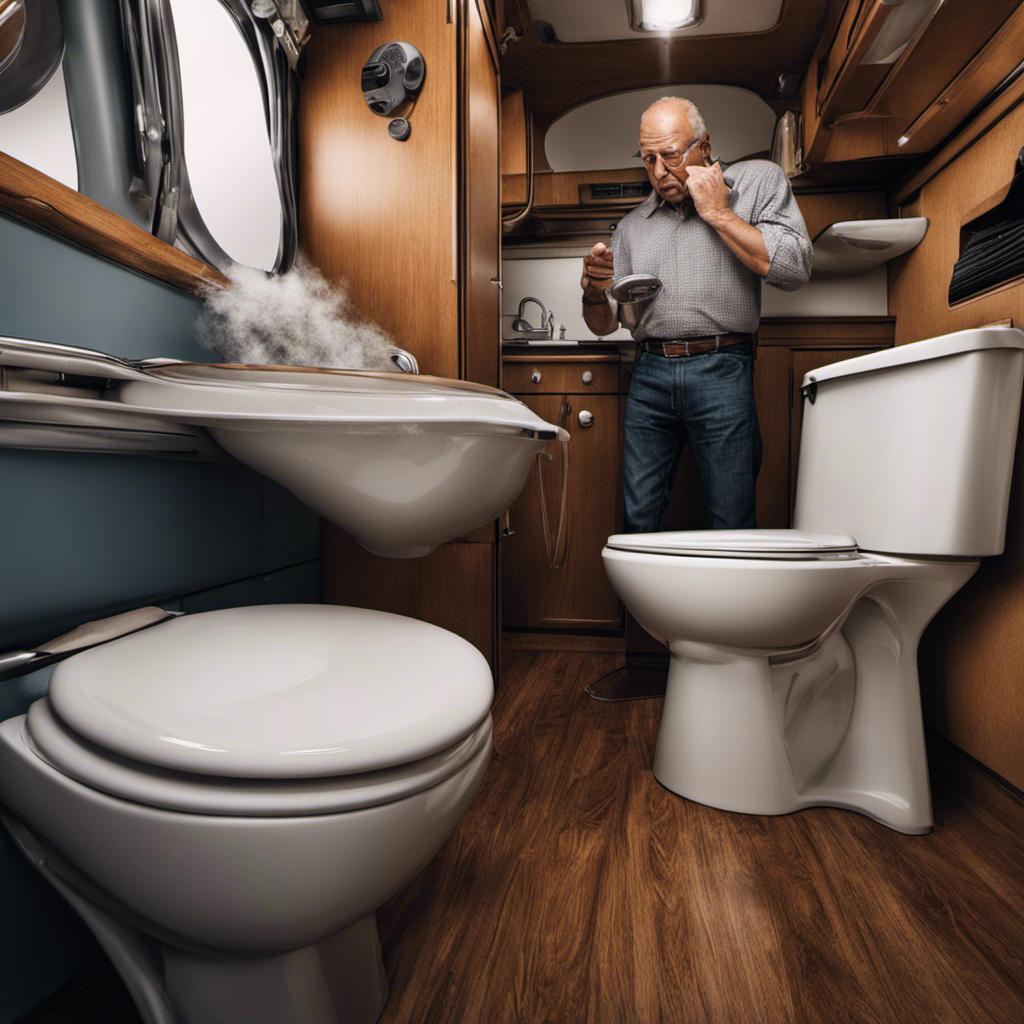
As a plumber, I’ve seen my fair share of toilets cycling on and off, and let me tell you, it’s no fun. When your toilet starts behaving like a never-ending cycle, it’s time to roll up your sleeves and get to work.
In this article, I’ll walk you through the essential steps to troubleshoot and fix the issue. From checking the water supply to inspecting the flapper and float assembly, we’ll cover all the bases to put an end to your toilet’s cycling woes.
So, let’s dive in and get your toilet back in tip-top shape.
Key Takeaways
- Check the water valve and ensure it is fully open.
- Inspect the fill valve for any issues that may cause toilet cycling.
- Inspect the flapper or flush valve for any issues.
- Inspect the float assembly for damage or misalignment.
Water Supply
The first thing to check when your toilet is cycling on and off is the water supply. This is crucial for proper functioning of the toilet.
To ensure the water supply is working correctly, start by checking the water valve. Make sure it is fully open and allowing water to flow into the cistern.
Next, inspect the water level in the cistern. If it is too low, it may cause the toilet to cycle on and off. Adjust the float arm or float ball to ensure the water level is at the appropriate level.
Additionally, check for any leaks or cracks in the toilet bowl or cistern. Regular cistern maintenance is essential to prevent these issues and maintain a properly functioning toilet.
Fill Valve
Start by making sure you’ve checked the fill valve for any issues. When it comes to troubleshooting a faulty fill valve, there are a few common causes that can lead to toilet cycling.
One possible cause is a worn-out or damaged fill valve. Over time, the fill valve may become clogged with debris or worn down, causing it to malfunction and cycle on and off.
Another cause could be an improperly adjusted float. If the float is set too high, it can cause the fill valve to continuously run, leading to toilet cycling.
Additionally, a faulty valve seal can also result in toilet cycling. It’s important to inspect the fill valve and ensure it is in good working condition to resolve any cycling issues.
Transitioning to the next section, let’s now discuss the flapper or flush valve.
Flapper or Flush Valve
Make sure you’ve inspected the flapper or flush valve for any issues, such as a worn-out seal or a misaligned float.
If the toilet is cycling on and off, it could be due to a faulty flapper or a misadjusted flush valve.
The flapper is responsible for sealing the flush valve and preventing water from leaking into the bowl. Over time, the flapper can become worn out or damaged, causing it to not seal properly. In this case, a flapper replacement is necessary to fix the issue.
On the other hand, if the flush valve is not adjusted correctly, it may not allow enough water to flow into the bowl, resulting in the toilet cycling on and off.
Adjusting the flush valve can help resolve this problem and ensure proper flushing.
Float Assembly
Inspect your float assembly for any signs of damage or misalignment. The float assembly is responsible for regulating the water level in the toilet tank, preventing it from overflowing. If the float is damaged or misaligned, it can lead to constant cycling on and off of the toilet. To ensure proper functioning, perform a float adjustment or consider float replacement if necessary.
Here is a table summarizing the steps for float adjustment and float replacement:
| Float Adjustment | Float Replacement |
|---|---|
| 1. Turn off the water supply. | 1. Turn off the water supply. |
| 2. Locate the float assembly. | 2. Remove the old float assembly. |
| 3. Adjust the float height as needed. | 3. Install the new float assembly. |
| 4. Turn on the water supply and test. | 4. Turn on the water supply and test. |
| 5. Repeat if necessary. | 5. Repeat if necessary. |
Toilet Tank Leaks
Now, let’s move on to addressing the issue of potential leaks in the toilet tank. Toilet tank leaks can be a common problem that can lead to water wastage and higher bills. It is important to identify and fix these leaks promptly to avoid further damage.
Here are some key points to consider when dealing with toilet tank leaks:
- Check for cracks in the toilet tank, as they can cause water to leak out.
- Inspect the toilet bowl for leaks, as they can also contribute to water leakage.
- Ensure that all the tank components, such as the fill valve and flush valve, are properly connected and functioning.
- Use dye tablets or food coloring to detect leaks. Add them to the tank and wait to see if the water in the bowl changes color.
- Consider replacing old or worn-out parts to prevent future leaks.
By following these steps, you can effectively address toilet tank leaks and prevent further issues.
Conclusion
In conclusion, when dealing with a toilet that keeps cycling on and off, it is crucial to check the water supply, fill valve, flapper or flush valve, and float assembly. These components play a vital role in the proper functioning of the toilet.
By ensuring that these parts are working correctly, you can prevent any potential leaks or malfunctions. Fixing a toilet is like solving a puzzle, where each piece needs to fit perfectly for it to work smoothly.
So, make sure to inspect and address these areas first to resolve the issue efficiently.

