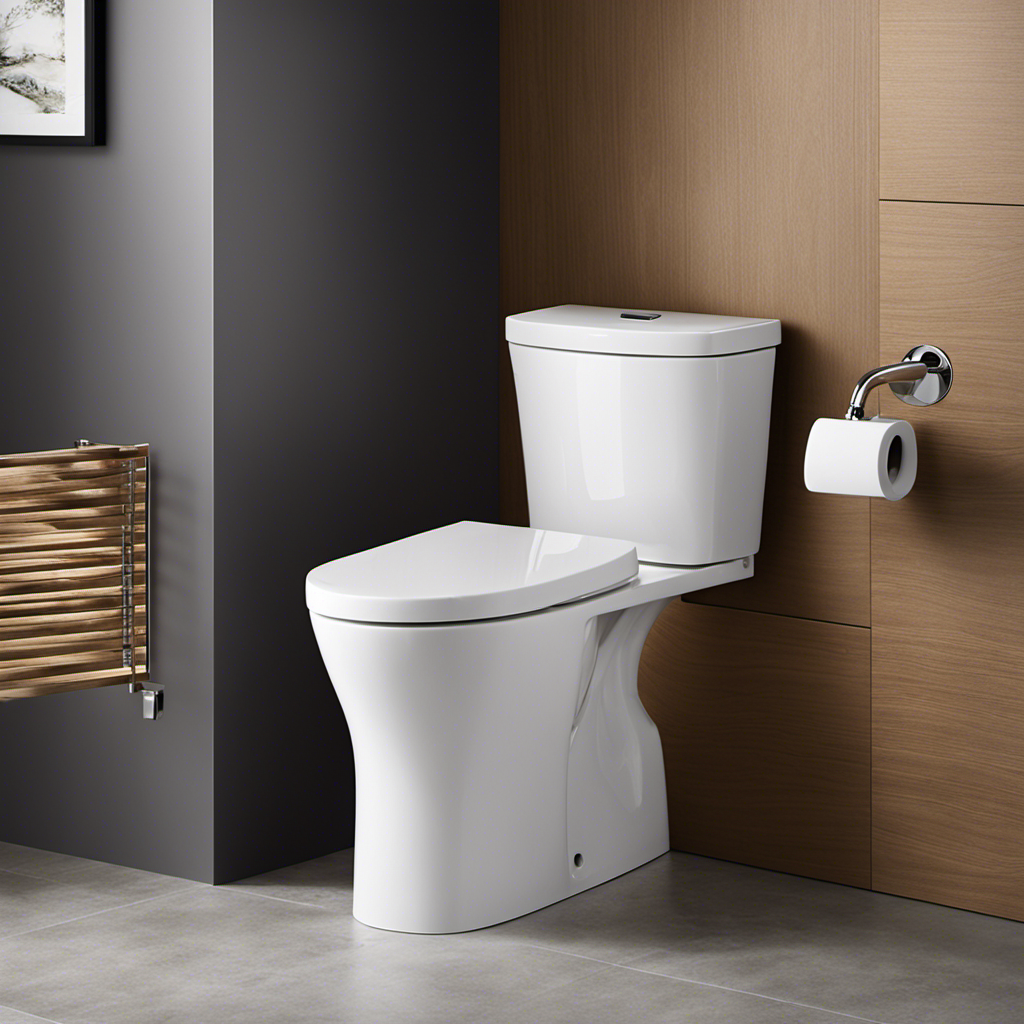
Hey there!
Ever had a toilet shut-off valve that just wouldn’t cooperate? Well, I’ve been there, and let me tell you, it’s not fun.
But fear not, because in this article, I’m going to share some troubleshooting tips and fixes to get that valve back in working order. From dealing with stuck valves to tackling leaks, I’ve got you covered.
So grab your tools and let’s get ready to fix that toilet shut-off valve once and for all!
Key Takeaways
- Regular maintenance and cleaning of the shut-off valve is crucial to prevent malfunctions.
- Stuck shut-off valves can be caused by old age and dirt accumulation, while partially turning valves may be due to rust.
- Rust prevention and repair techniques, such as regular inspection and removal of rust, can help maintain proper functioning of shut-off valves.
- Leaking shut-off valves can be prevented through the installation of a pressure regulator, replacing old valves, and ensuring proper alignment and tightness during installation.

Toilet Connector Water Line Kit with 12" Length Long 3/8" COMP x 7/8" BC Toilet Connector Hose, 1/2 inch NOM Inlet x 3/8 inch OD Compression Outlet Angle Shut Off and Escutcheon Plate
COMPLETE INSTALLATION KIT:Our toilet water supply line set includes 1 pc toilet connector,1 pc 1/4 turn angel stop…
As an affiliate, we earn on qualifying purchases.
As an affiliate, we earn on qualifying purchases.
Identifying and Diagnosing a Malfunctioning Shut-Off Valve
I can identify and diagnose a malfunctioning shut-off valve by looking for signs of it being stuck, partially turning, or leaking. Common causes of shut-off valve malfunctions include old age and dirt, which can cause the valve to get stuck. Rust can also cause the valve to only partially turn.
In some cases, a malfunctioning shut-off valve may be leaking due to damage or breakage. Signs of a malfunctioning shut-off valve can include difficulty in turning the valve, water dripping or pooling around the valve, or a complete failure to shut off the water flow.
Identifying these signs early can help prevent further damage and allow for timely repair or replacement of the shut-off valve.

Avenuebool 3 Pack 18 Point Toilet Shut Off Valve Compatible with 88000 Brass Craft Stop Valves, Water Valve Shut Off Tool for Toilet & Sink
✔ Universal Compatibility – 18 point 88000 toilet shut off valve Compatible with Brass Craft Stop Valves perfect…
As an affiliate, we earn on qualifying purchases.
As an affiliate, we earn on qualifying purchases.
Stuck Shut-Off Valve Due to Old Age and Dirt
Using a wrench, loosen the stuck shut-off valve by gently applying pressure back and forth.
A stuck shut-off valve is a common problem caused by old age and dirt accumulation. Over time, the valve can become difficult to turn, making it challenging to control the water flow. Regular shut-off valve maintenance is crucial to prevent malfunction.
By keeping the valve clean and lubricated, you can prolong its lifespan and avoid issues. When dirt and debris build up inside the valve, it can become stuck, leading to restricted water flow or even complete blockage. To prevent this, it is important to clean the valve regularly and remove any accumulated dirt or debris.
Additionally, exercising the shut-off valve periodically by turning it on and off can help prevent it from getting stuck in the first place. By following these maintenance practices, you can ensure that your shut-off valve operates smoothly and effectively.

Kingston Brass CC53307DLK 5/8-Inch X 3/8-Inch OD Comp Quarter-Turn Angle Stop Valve with Flange, Brushed Brass
Solid brass construction
As an affiliate, we earn on qualifying purchases.
As an affiliate, we earn on qualifying purchases.
Partially Turning Shut-Off Valve Due to Rust
When rust accumulates on the shut-off valve, it can cause the valve to only partially turn, limiting control over the water flow. To prevent rust on shut-off valves, it is important to keep them clean and dry.
Regularly inspect the valves for any signs of rust or corrosion. If rust is present, it can be removed using a few simple steps. First, turn off the water supply to the valve. Then, use a wire brush or sandpaper to gently scrub away the rust. Be careful not to damage the valve while doing this.
Once the rust is removed, apply a rust inhibitor or protective coating to prevent future rusting. Regular maintenance and prevention are key to ensuring the longevity and proper functioning of shut-off valves.

Fluidmaster 400H-002 Performax Universal Toilet Fill Valve High Performance Tank and Bowl Water Control, 1-Pack, Multicolor
Fix noisy, or slow filling fill valves with the quietest, most powerful toilet fill valve available
As an affiliate, we earn on qualifying purchases.
As an affiliate, we earn on qualifying purchases.
Leaking Shut-Off Valve Due to Damage or Breakage
Inspecting the shut-off valve for any signs of damage or breakage is crucial to identify the source of the leak. Leaks can occur due to various reasons such as corrosion, wear and tear, or improper installation. To prevent a shut-off valve from leaking, regular maintenance is essential.
Here are some common causes of shut-off valve damage:
-
High water pressure: Excessive water pressure can put strain on the valve, leading to leaks or even valve failure. Install a pressure regulator to prevent damage.
-
Age and deterioration: Over time, shut-off valves can degrade due to aging and exposure to harsh conditions. Replace old valves to avoid leaks.
-
Poor installation: Incorrect installation can cause leaks at the connection points. Ensure proper alignment and tightness during installation.
-
Physical damage: Accidental impacts or mishandling can result in cracks or breakage of the valve. Handle with care to prevent damage.
-
Corrosion: Rust or corrosion can weaken the valve, leading to leaks. Protect the valve from moisture and use anti-corrosion coatings.
Regular inspection, maintenance, and addressing any signs of damage promptly can help prevent shut-off valve leaks and ensure the smooth functioning of your plumbing system.
Repairing a Malfunctioning Shut-Off Valve
I can wiggle the malfunctioning shut-off valve back and forth to loosen it. This technique helps to dislodge any debris or sediment that may be causing the valve to stick.
It is important to ensure that the central screw is tightened to keep the structure firm.
Another method is to use hot water to soften the valve, making it easier to loosen. Additionally, applying a spray lubricant can help to ease the movement of the valve.
However, it is crucial to avoid common mistakes when repairing a shut-off valve. One common mistake is overtightening the valve, which can lead to damage or breakage. Another mistake is using the wrong tools or not using them properly.
It is also essential to exercise the valve regularly to prolong its lifespan.
If the shut-off valve is beyond repair, replacing it with a ball valve is recommended for better functionality and durability.
Wiggle the Valve Back and Forth to Loosen It
When dealing with a stuck shut off valve, one effective troubleshooting method is to wiggle the valve back and forth to loosen it. This technique can help dislodge any debris or dirt that may be causing the valve to stick. To do this, simply grasp the valve handle firmly and gently move it back and forth. Be careful not to apply too much force, as this could damage the valve. If the valve doesn’t loosen after several attempts, it may be necessary to try other troubleshooting methods or consider replacing the valve altogether.
To prevent shut off valve malfunctions in the future, regular maintenance is key. Inspect the valve periodically for any signs of damage or wear. Additionally, exercising the valve by turning it on and off a few times every few months can help keep it in good working condition.
Tighten the Central Screw to Keep the Structure Firm
By tightening the central screw, you can ensure that the structure of the shut-off valve remains firm and secure. This step is crucial for proper maintenance and care of shut-off valves.
Over time, the central screw may become loose due to regular usage or vibrations. By tightening it, you can prevent any potential leaks or malfunctions that may occur.
It is important to note that if the shut-off valve is old or damaged beyond repair, it may be necessary to replace it with a new one. Replacing the shut-off valve with a new one is a straightforward process that involves closing the main water supply, draining excess water from the pipes, removing the existing valve, and installing the new valve with proper alignment.
Proper maintenance and care for shut-off valves ensure their longevity and prevent any potential issues in the future.
Loosen the Valve With Hot Water to Soften It
In my experience, when dealing with a stubborn shut-off valve, one effective solution is to use hot water to loosen it. This method works particularly well when the valve is stuck due to old age or dirt buildup. By applying hot water to the valve, it can soften and loosen any debris or sediment that may be causing it to stick.
To give you a better understanding of the different shut-off valve materials, I have prepared a table below:
| Valve Material | Pros | Cons |
|---|---|---|
| Brass | Durable and resistant to corrosion | More expensive than other materials |
| PVC | Affordable and easy to install | Prone to cracking and breaking over time |
| Stainless Steel | Highly resistant to corrosion | Limited availability and higher cost |
| Copper | Long lifespan and excellent corrosion resistance | Can be expensive and requires soldering for installation |
Use a Spray Lubricant to Ease Movement
I find that using a spray lubricant is an effective way to make the shut-off valve move more easily. When it comes to toilet shut-off valves, common issues like being stuck, partially turning, or leaking can cause inconvenience and frustration. Regular maintenance is crucial to prevent these problems.
Here are some common issues and troubleshooting tips for shut-off valves:
-
Stuck shut-off valve due to old age and dirt: Wiggling the valve back and forth can help loosen it.
-
Partially turning shut-off valve due to rust: Tightening the central screw can keep the structure firm.
-
Leaking shut-off valve due to damage or breakage: Loosening the valve with hot water can soften it and aid in repair.
-
Importance of regular maintenance: Using a spray lubricant on the valve can ease movement and prevent future issues.
Regularly exercising the shut-off valve can prolong its lifespan and ensure smooth operation. Proper maintenance is key to avoiding costly repairs and inconveniences.
Frequently Asked Questions
How Can I Prevent a Shut-Off Valve From Getting Stuck Due to Old Age and Dirt?
To prevent a shut-off valve from getting stuck due to old age and dirt, I recommend regular preventive maintenance. This includes cleaning techniques such as using a spray lubricant and exercising the valve regularly to keep it functioning properly.
What Should I Do if the Shut-Off Valve Is Partially Turning Due to Rust?
If the shut-off valve is partially turning due to rust, I would take the following steps to fix it: remove rust from the valve and lubricate it properly. This will ensure smooth movement and prevent further damage.
How Can I Fix a Leaking Shut-Off Valve if It Is Damaged or Broken?
To fix a leaking shut-off valve, I would first close the main water supply and drain excess water from the pipes. Then, I would remove the damaged valve and replace it with a new one, ensuring proper alignment.
Are There Any Additional Tips for Repairing a Malfunctioning Shut-Off Valve?
Sure, I can provide some additional tips for repairing a malfunctioning shut-off valve. One common problem is a stuck or partially turning valve. To fix this, try wiggling the valve, tightening the central screw, or using hot water to loosen it.
What Are the Consequences of Not Fixing a Continuously Running Toilet?
Not fixing a continuously running toilet can lead to wasted water, higher water bills, and potential damage to the toilet and surrounding areas. To fix a running toilet, check the flapper, fill valve, and water level.
Conclusion
In conclusion, troubleshooting and fixing a malfunctioning toilet shut-off valve can be a straightforward process with the right tools and techniques.
By wiggling the valve, tightening the central screw, and using hot water or spray lubricant, you can address common issues such as sticking or partial turning.
If the valve is leaking or broken, replacing it is necessary.
Remember to regularly exercise the valve to prolong its lifespan.
Fixing a shut-off valve is like solving a puzzle – with patience and the right steps, you can restore proper functionality to your toilet.