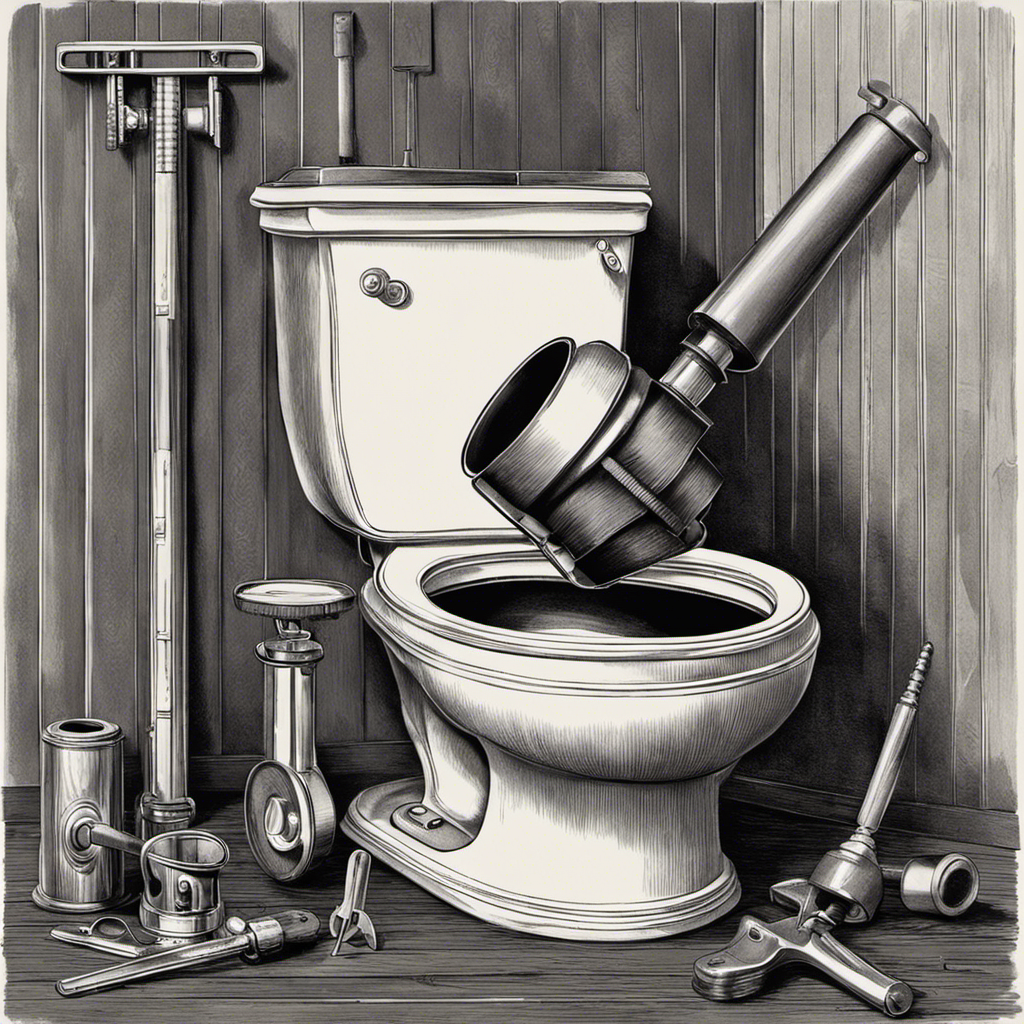
As someone who has experienced the frustration of a constantly running toilet, I understand the importance of troubleshooting and adjusting toilet floats to prevent water waste. A loose float can lead to leakages and a significant amount of wasted water.
In this guide, I will walk you through the step-by-step process of adjusting both ball-and-arm floats and cylinder toilet floats. By learning how to fine-tune these adjustments, you can ensure the correct water level and save time, money, and the environment.
Regular maintenance of toilet floats is key to avoiding future issues. So, let’s dive in and fix those troublesome toilet floats!
Key Takeaways
- Proper adjustment of a toilet float is important to prevent water wastage and potential leaks.
- Signs of a faulty float include continuous running water, a higher-than-usual water level, and too little water in the bowl.
- Adjustments for a ball-and-arm float involve checking the current water level, inspecting the float mechanism, and tightening or loosening the float screw with a screwdriver.
- Adjustments for a cylinder toilet float involve squeezing or releasing the adjustment clip, keeping the float half-inch from the dial, and rotating the stem clockwise or counterclockwise.

Fluidmaster K-400H-039 High Performance Toilet Fill Valve with 2-Inch Adjustable Toilet Flapper Kit
The PerforMAX fill valve and 2 in. Flapper Kit is the premium solution to make your 2 in….
As an affiliate, we earn on qualifying purchases.
As an affiliate, we earn on qualifying purchases.
Common Signs of Toilet Float Issues
A loose float can lead to leakages, wasting up to 200 gallons of water per day. As a homeowner, it is important to be aware of common signs of toilet float issues.
If you notice that there is too much or too little water in your toilet bowl, it could indicate a problem with the float. Another sign to look out for is continuous running water or a higher-than-usual water level. These are all indications that your float may be faulty and in need of repair.

Fluidmaster 400H-002 Performax Universal Toilet Fill Valve High Performance Tank and Bowl Water Control, 1-Pack, Multicolor
Fix noisy, or slow filling fill valves with the quietest, most powerful toilet fill valve available
As an affiliate, we earn on qualifying purchases.
As an affiliate, we earn on qualifying purchases.
Adjusting a Ball-and-Arm Float: Procedure
First, I need to stop the water supply to prevent any spillages or accidents.
When troubleshooting common float problems, it is important to know how to adjust a ball-and-arm float.
To begin, check the current water level, which should be one to two inches below the overflow tube.
Flush the toilet to empty it and then inspect the float mechanism for any signs of damage.
Using a screwdriver, tighten or loosen the float screw based on the water level.
Use caution when adjusting the float to avoid creating new problems.
A slight overflow can be resolved with half a turn, while a major overflow may require a full rotation or two.
Confirm if the water level is correct by reopening the water supply.
If the level is still incorrect, make further adjustments until the ideal level is achieved.
In some cases, replacing a faulty float may be necessary.

Fluidmaster 400AKRP10 Universal, All In One, Complete Toilet Tank Repair Kit For 2-Inch Flush Valve Toilets
RESTORES OVERALL TOILET PERFORMANCE: All in one toilet repair kit replaces inefficient fill and flush valves, leaky flappers,…
As an affiliate, we earn on qualifying purchases.
As an affiliate, we earn on qualifying purchases.
Fine-tuning the Ball-and-Arm Float Adjustment
To ensure optimal performance, it is crucial to make small adjustments and confirm the water level after fine-tuning the ball-and-arm float. When troubleshooting common issues with cylinder toilet floats, it’s important to know how to adjust a ball and arm float without a screwdriver. Here are some key points to consider:
- Start by stopping the water supply to prevent spillages and accidents.
- Check the current water level, which should be one to two inches below the overflow tube.
- Flush the toilet to empty it and inspect the float mechanism for any signs of damage.
- Adjust the level by tightening or loosening the float screw based on the water level.
- Use caution when making adjustments to avoid creating new problems.
- Confirm the water level after adjusting with a screwdriver.
- If the level is still incorrect, make further adjustments until the ideal level is achieved.
Fluidmaster 400H-002 Performax Universal Toilet Fill Valve High Performance Tank and Bowl Water Control, 1-Pack, Multicolor
Fix noisy, or slow filling fill valves with the quietest, most powerful toilet fill valve available
As an affiliate, we earn on qualifying purchases.
As an affiliate, we earn on qualifying purchases.
Adjusting a Cylinder Toilet Float: Procedure
After stopping the water supply, I check the current water level in the toilet bowl. This is an important step in adjusting a cylinder toilet float. To properly adjust the float, follow these steps:
| Procedure | Tips and Tricks |
|---|---|
| Steps 1 and 2: Stop the water supply and check level | Ensure the water level is 1-2 inches below the overflow tube. |
| Step 3: Look for the adjustment stem | Locate the tiny tube with a special clip. |
| Step 4: Squeeze or release the clip | Adjust the height of the float, keeping it half-inch from the dial. Rotate the stem clockwise or counterclockwise. |
| Step 5: Confirm the results | Turn on the water and check the water level. Make further adjustments if needed. |
Proper maintenance tips for toilet floats include regular inspection for damage and adjustment as necessary. Troubleshooting common problems, such as continuous running water or inadequate water levels, can be resolved by adjusting the float. By following these steps and performing regular maintenance, you can prevent water waste and keep your toilet functioning properly.
Proper Positioning of the Cylinder Toilet Float
When adjusting the cylinder toilet float, I ensure that it is positioned half-inch from the dial. Proper positioning of the float is crucial for the efficient functioning of the toilet.
Here are some common float problems and troubleshooting tips:
- Water level issues: Too much or too little water in the toilet can indicate a problem with the float.
- Leakage and water wastage: A loose float can lead to leakages, wasting up to 200 gallons of water per day.
- Faulty float signs: Continuous running water and a higher-than-usual water level are signs of a faulty float.
To troubleshoot these issues, follow these steps:
- Stop the water supply.
- Check the water level.
- Flush the toilet.
- Inspect the float for damage.
- Adjust the float level using a screwdriver.
Benefits of Learning How to Adjust Toilet Floats
Learning how to adjust toilet floats has numerous benefits.
Firstly, it can save water and prevent potential issues. By reducing water consumption, we can contribute to water conservation efforts and lower our utility bills.
Secondly, troubleshooting common toilet problems becomes easier when we understand how to adjust the float properly. A faulty float can lead to excessive water in the toilet bowl, causing wastage and potential leaks. By learning to adjust the float, we can ensure that the water level is optimal, preventing unnecessary water usage.
Lastly, adjusting the float can help troubleshoot issues such as continuous running water or a higher-than-usual water level. Taking the time to learn this simple maintenance task can save us time and money, while also promoting sustainability and responsible water usage.
Importance of Regular Maintenance for Toilet Floats
Regular maintenance for toilet floats is crucial in ensuring proper functioning and preventing potential issues. Neglecting regular maintenance can lead to common toilet float issues that can disrupt the proper functioning of the toilet.
Here are some key points to emphasize the importance of regular maintenance for toilet floats:
- Regular maintenance helps to prevent leakages and water wastage.
- It ensures that the water level in the toilet bowl is correct, avoiding problems like too little or too much water.
- Regular maintenance allows for early detection and troubleshooting of float issues before they escalate into bigger problems.
Frequently Asked Questions
Can I Adjust the Toilet Float Without Turning off the Water Supply?
No, adjusting the toilet float without turning off the water supply is not recommended. It is important to stop the water supply to prevent spillages and accidents while making adjustments to the float.
What Should I Do if the Water Level Is Still Incorrect After Adjusting the Float?
If the water level is still incorrect after adjusting the float, I would recommend checking if the float mechanism is damaged and making further adjustments with a screwdriver until the ideal level is achieved.
Are There Any Specific Tools Required for Adjusting a Ball-And-Arm Float?
Yes, there are essential tools required for adjusting a ball-and-arm float. A screwdriver is commonly used to tighten or loosen the float screw, allowing you to achieve the correct water level in your toilet.
How Often Should I Check and Adjust the Toilet Float?
I check and adjust the toilet float regularly to ensure proper water levels and prevent water wastage. Regular maintenance is important for checking float height and avoiding future issues.
Can Adjusting the Toilet Float Fix a Clogged Toilet?
Adjusting the toilet float can fix a clogged toilet if the clog is caused by a water level issue. However, troubleshooting a running toilet and common problems with toilet floats should be addressed separately to ensure proper resolution.
Conclusion
In conclusion, learning how to troubleshoot and adjust toilet floats is essential for preventing water waste and maintaining a properly functioning toilet.
By being aware of common signs of float issues and following the step-by-step procedures for adjusting both ball-and-arm and cylinder floats, you can save time and money while avoiding leakages.
Regular maintenance of toilet floats is crucial to ensure the correct water level and prevent future problems.
So, don’t let a faulty float go unnoticed. Take control and keep your toilet in good condition.