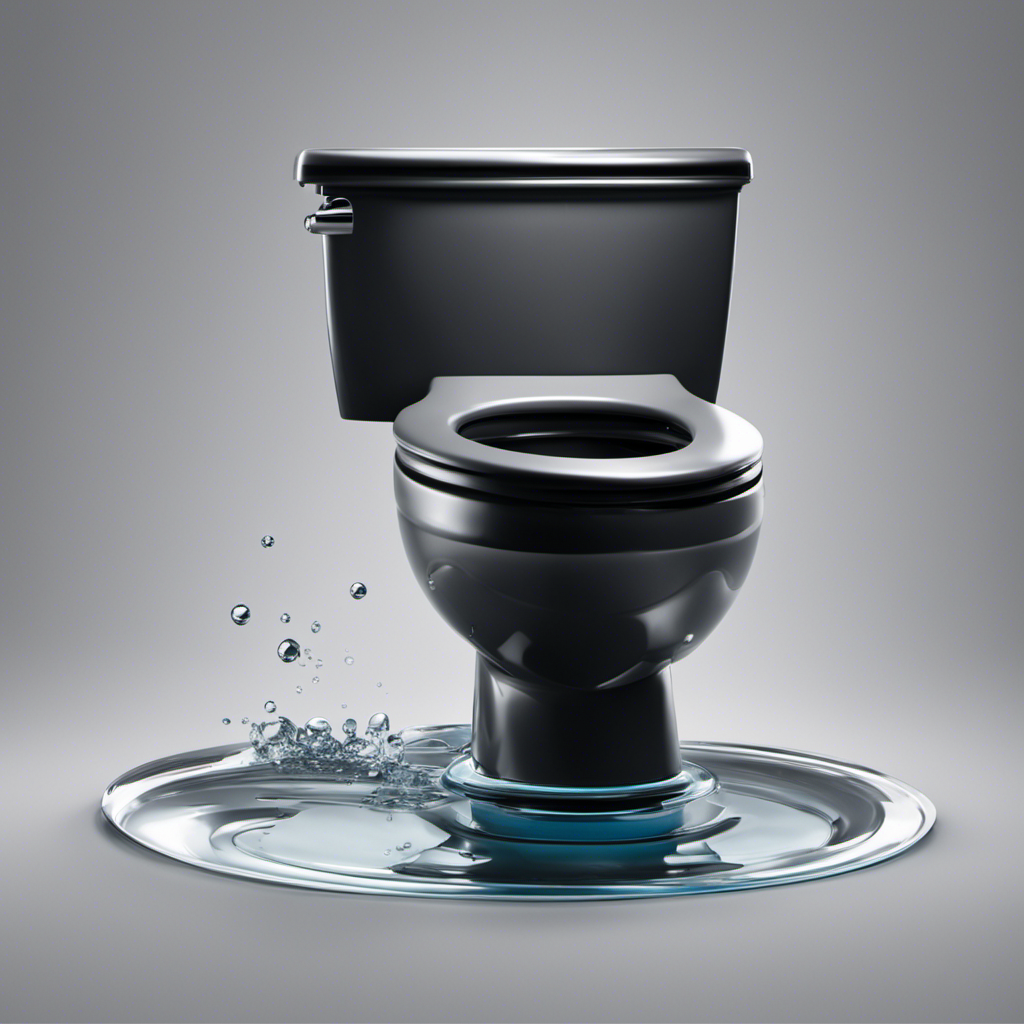
As I plunge into the world of toilet troubleshooting, I am armed with a comprehensive guide to tackle those pesky leaks.
From seals to valves to wax rings, I’ll explore every nook and cranny where leaks can spring.
With step-by-step instructions, I’ll dismantle and reassemble the toilet, fixing leaks in the bowl and tank.
I’ll even teach you the water color test to pinpoint the culprit.
So, grab your wrench and let’s dive into the depths of toilet leaks together.
Key Takeaways
- There are three common areas where toilet leaks can occur: the bowl, between the tank and the bowl, and during flushing.
- To address a leak from the bowl, the toilet needs to be detached by turning off the water supply, emptying the tank, and removing the tank and body of the toilet. The existing seal should be removed and replaced with a new wax ring before remounting the toilet.
- For certain issues, the toilet tank needs to be detached from the bowl. This can be done by turning off the water supply, emptying the tank, and unbolting the tank from the bowl. The tank seal can be replaced before securing the tank back in place.
- The water color test can help identify specific causes of leaks by adding non-permanent water dye to the tank and comparing the color of the leaking water to the dyed water. This test is useful for diagnosing issues with the flapper, shank gasket, or leaks between the tank and the bowl.

Korky 6000BP Universal Toilet WaxFree Seal with Hardware – Toilet Installation Made Easy – Made in USA , Red
NO WAX, NO MESS – The easiest way to install a toilet seal ring & fix leaks
As an affiliate, we earn on qualifying purchases.
As an affiliate, we earn on qualifying purchases.
Understanding the Causes of Toilet Leaks
Understanding the causes of toilet leaks is crucial in effectively troubleshooting and repairing the issue. There are several common toilet leak causes that homeowners should be aware of.
One sign of a leaking toilet is a constant presence of water on the floor around the base of the toilet. This may indicate a faulty wax ring seal, which can be easily replaced.
Another common cause of leaks is a malfunctioning flapper valve. If you notice the toilet continuously running or making a hissing sound, the flapper valve may need to be adjusted or replaced.
Additionally, cracks or damage to the toilet bowl or tank can also lead to leaks.

Fluidmaster K-400H-021-P8 PerforMAX 2-Inch Everything Toilet Repair Kit, Multicolor
The Everything Kit includes everything you need to fix your toilet in one trip and one purchase
As an affiliate, we earn on qualifying purchases.
As an affiliate, we earn on qualifying purchases.
Detaching and Remounting the Toilet: Step-by-Step Guide
To detach the toilet, I turn off the water supply and flush the toilet to empty the tank. Then, I use a sponge to remove any remaining water in the tank and bowl.
Next, I unscrew the water supply line and remove the bolts to detach the tank and body of the toilet. Using a putty knife, I remove the existing seal and expose the closet flange.
After fixing the issue, I remount the toilet by placing a new wax ring over the flange and positioning the bolts. I ensure a tight and secure seal by sliding the closet bolts.

Korky Ultra Standard 2-Inch Universal Toilet Flapper – Long Lasting Rubber – Easy to Install – Made in USA, 100BP
TOILET FLAPPER VALVE FITS MOST POPULAR 2 inch toilet brands including, but not limited to: American Standard, Kohler,…
As an affiliate, we earn on qualifying purchases.
As an affiliate, we earn on qualifying purchases.
Addressing Issues With the Toilet Tank: Troubleshooting Tips
When addressing issues with the toilet tank, I begin by turning off the water supply and emptying the tank. This allows me to safely work on the tank without any water interference. One common problem with the toilet tank is a malfunctioning flush mechanism. To troubleshoot this issue, I use the following table as a guide:
| Problem | Possible Solution |
|---|---|
| Weak Flush | Adjust the water level in the tank |
| Continuous Running | Check and adjust the flapper |
| Incomplete Flush | Clean or replace the flapper |
| No Flush | Replace the flush handle or chain |

New Resources Group Toilet Leak Detection Dye Tablets (Detect Silent Leaks) Blue 20 Pack
Detect Silent Leaks in your toilet. 20 Packets (2 Blue Tablets per Packet good for 40 tests)
As an affiliate, we earn on qualifying purchases.
As an affiliate, we earn on qualifying purchases.
The Water Color Test: How to Identify Specific Leak Causes
I perform the water color test to identify specific causes of leaks in the toilet. This test is a useful tool for troubleshooting toilet flapper leaks and determining common toilet leak causes. Here’s how it works:
- Add non-permanent water dye to the tank and let it sit.
- Check the water leaking from the tank and compare it to the dyed watercolor.
- This test can help narrow down the cause of the leak.
By performing the water color test, I can determine if the flapper is not sealing properly, causing water to leak into the bowl. If the dyed watercolor appears in the bowl, it indicates that the flapper needs to be replaced or adjusted.
Additionally, this test can help identify leaks between the tank and the bowl, or issues with the shank gasket. By pinpointing the specific cause of the leak, I can efficiently troubleshoot and address the problem.
Other Possible Issues and Solutions
Checking for cracks in the porcelain and inspecting the water lines are important steps in identifying and addressing other possible issues with toilet leaks.
Cracks in the porcelain can indicate structural damage that may require a new toilet.
It’s crucial to tighten the refill tube to prevent water from leaking. A loose refill tube can cause water to overflow and create a mess.
Additionally, inspecting the water lines is essential to ensure there are no signs of damage or leaks.
Cracked or damaged water lines can lead to water leakage and potential water damage.
By addressing these issues promptly, you can prevent further damage and ensure your toilet functions properly.
Regular maintenance and inspection are key to maintaining a leak-free toilet.
Inspecting and Sealing Water Supply Lines
Inspecting and sealing water supply lines is an important step in preventing leaks and ensuring the proper functioning of my toilet. Checking for leaks in the water supply lines is crucial to avoid water damage and costly repairs.
Here are some key steps to properly seal water supply connections:
-
Turn off the water supply: Before inspecting the water supply lines, make sure to turn off the water valve to prevent any water flow.
-
Visually inspect the lines: Look for any signs of leaks, such as water stains, dampness, or dripping water. Check the connections between the supply lines and the toilet to ensure they are secure.
-
Tighten connections: If you notice any loose connections, use a wrench to tighten them. Be careful not to overtighten, as it can damage the fittings.
When to Call a Professional Plumber: Signs and Recommendations
If experiencing persistent and complicated plumbing issues, it may be necessary to consult a professional plumber for assistance and recommendations.
When it comes to toilet leaks, there are certain signs to look out for. These include a constantly running toilet, water pooling around the base, or a noticeable increase in your water bill. If you notice any of these signs, it’s important to address the issue promptly to prevent further damage.
Common toilet leak repairs include replacing faulty seals, valves, or wax rings. Additionally, taking apart and remounting the toilet or detaching the tank may be necessary for certain repairs. However, it’s important to note that toilet repairs can be complex, so it’s best to seek the expertise of a professional plumber to ensure the job is done correctly and to avoid any additional problems.
Frequently Asked Questions
Can a Toilet Leak Be Caused by a Faulty Water Supply Line?
Yes, a faulty water supply line can cause a toilet leak. It is one of the possible issues to consider when troubleshooting toilet leaks. Ensure the line is properly sealed and check for any signs of damage or cracks.
How Do You Know if the Wax Ring Needs to Be Replaced?
If my toilet is leaking, I can check for signs of a faulty wax ring by looking for water pooling around the base of the toilet or detecting a foul odor. These symptoms indicate a possible need for a wax ring replacement.
Are There Any Specific Tools Required for Detaching and Remounting a Toilet?
Yes, there are specific tools required for detaching and remounting a toilet. Some of these tools include a wrench, screwdriver, putty knife, and wax ring. These tools help ensure a proper and secure installation.
What Are the Most Common Causes of Leaks Between the Tank and the Bowl?
The most common causes of leaks between the tank and the bowl are damaged seals, faulty gaskets, or loose bolts. To troubleshoot, turn off the water supply, empty the tank, and inspect the seals and gaskets for any signs of wear or damage.
Is It Possible for a Toilet Leak to Be Caused by a Cracked Porcelain Bowl?
Yes, it is possible for a toilet leak to be caused by a cracked porcelain bowl. A crack in the bowl can compromise the seal and allow water to leak out.
Conclusion
In conclusion, troubleshooting toilet leaks can be a daunting task, but with the right knowledge and tools, it can be successfully resolved.
By understanding the causes of leaks and following a step-by-step guide to detach and remount the toilet, you can fix leaks in the bowl and between the tank and the bowl.
The water color test is a useful tool to identify specific leak causes, and it’s important to check for other possible issues such as loose refill tubes and damaged water supply lines.
Remember, as the saying goes, ‘A stitch in time saves nine,’ so addressing toilet leaks promptly can prevent further damage and costly repairs.