When setting up your wet tile saw, avoid mistakes that can ruin your expensive tiles. First, don’t overlook blade alignment—it’s essential for even cuts. Make certain your surface is level to prevent alignment issues. Manage water flow to keep your cuts smooth, and always use sharp blades for precision. Finally, secure your tiles properly to avoid slippage. If you want to enhance your setup further, there’s more to learn that can guarantee flawless results.
Key Takeaways
- Ensure proper blade alignment to prevent uneven cuts that can ruin expensive tiles.
- Measure tiles accurately to avoid costly errors during installation.
- Secure tiles properly during cutting to prevent shifting and misalignment.
- Maintain a level surface to enhance cutting accuracy and prevent alignment issues.
- Regularly check and replace dull blades to ensure precise cuts and minimize chipping.

BOBOVAV Table Saw Alignment Gauge with 0.0005"Digital Dial Indicator – 18cm Rod, Fits 3/4"(19mm)+ with Screw Adjustment, CNC Machined Aluminum Bar Stable for Saw Blade Alignment and Calibration
High Precision Digital Measurement: BOBOVAV digital table saw alignment gauge features a digital dial indicator with 0.0005" (0.01mm)…
As an affiliate, we earn on qualifying purchases.
As an affiliate, we earn on qualifying purchases.
Common Mistakes When Setting Up a Wet Tile Saw
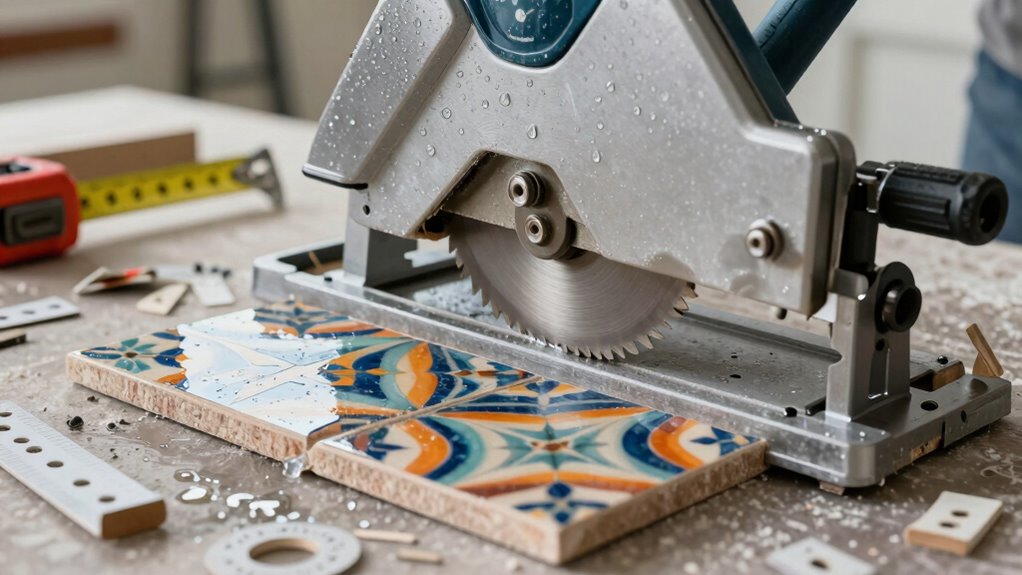
When setting up a wet tile saw, many people make at least three common mistakes that can hinder their project. First, they often overlook proper blade alignment. If the blade isn’t aligned correctly, you’ll end up with uneven cuts, wasting time and materials. Next, inaccurate tile measurement can lead to costly errors. Always double-check your measurements before cutting; a small mistake can throw off your entire project. Finally, neglecting to secure the tile properly can result in shifting during the cut, compromising precision. By avoiding these mistakes, you’ll guarantee a smoother setup and achieve better results. Take the time to double-check your alignment and measurements, and you’ll save yourself frustration down the line.

ZZJMCH 12 Pack White Multi Purpose Furniture Plastic Shims for Leveling Extreme Weight Capacity Wedges Easy to Snap Cut-to-fit Size Leveler for Toilet Shims, Doors, Windows, Sheds, Table
Multi Purpose Furniture Plastic Shims Adjustable size: 3.86 x 0.31 inch/ 10 x 0.8 cm, White, (12 Pcs)…
As an affiliate, we earn on qualifying purchases.
As an affiliate, we earn on qualifying purchases.
Starting With a Level Surface for Optimal Cuts

To achieve ideal cuts with your wet tile saw, starting with a level surface is essential. If your surface isn’t level, you’ll struggle with tile alignment, leading to uneven cuts and potential waste. Begin your surface preparation by checking the workspace with a level tool. If you notice any dips or bumps, address them before you start cutting. You might need to add shims or even a sturdy board to guarantee everything’s even. A flat, stable surface not only enhances your cutting accuracy but also prolongs the life of your equipment. By taking the time to prepare your workspace, you’ll save yourself frustration and ensure your tiles are cut perfectly every time. Additionally, a proper maintenance routine for your equipment can further enhance cutting performance and longevity.

7 in Wet Tile Saw with Water Reservoir – 0-45° Bevel Cutting, Professional Tile Cutter Tool with 3500 RPM Induction Motor for DIY Enthusiasts
High-Speed Precision Power: Equipped with a 7-inch blade and a robust 3450 RPM induction motor, this wet tile…
As an affiliate, we earn on qualifying purchases.
As an affiliate, we earn on qualifying purchases.
Effective Water Management Techniques for Wet Tile Saw Setup
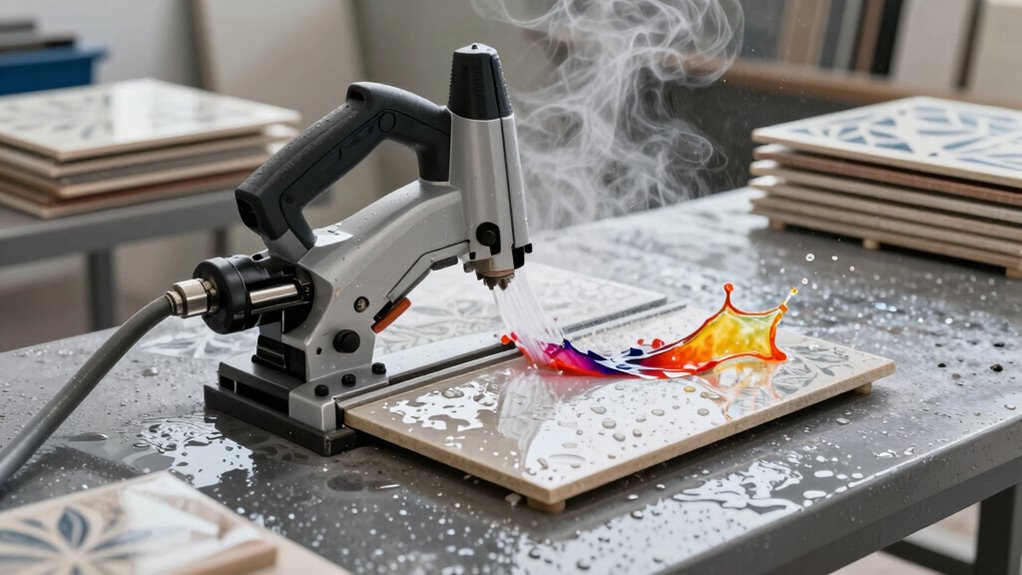
Effective water management is essential for guaranteeing your wet tile saw operates efficiently and produces clean cuts. Managing water flow not only enhances cutting performance but also aids in tile maintenance. Here are some effective techniques to implement:
| Technique | Description |
|---|---|
| Adjust Water Flow | Set the ideal water flow for your saw to prevent clogging. |
| Keep Water Reservoir Full | Regularly check and refill the water reservoir to maintain consistent flow. |
| Use a Splash Guard | Install a splash guard to minimize water loss and maintain a clean workspace. |
| Monitor Water Level | Frequently monitor the water level during cutting to guarantee proper lubrication. |
| Clean the Pump | Regularly clean the pump to ensure it operates effectively and maintains water flow. |

EZYPAK 089038001076 Rear Splash Guard for Ri-dgid R4040 R4040S Tile Saw
Replacement part number: 089038001076
As an affiliate, we earn on qualifying purchases.
As an affiliate, we earn on qualifying purchases.
Avoiding Dull Blades for Better Cuts
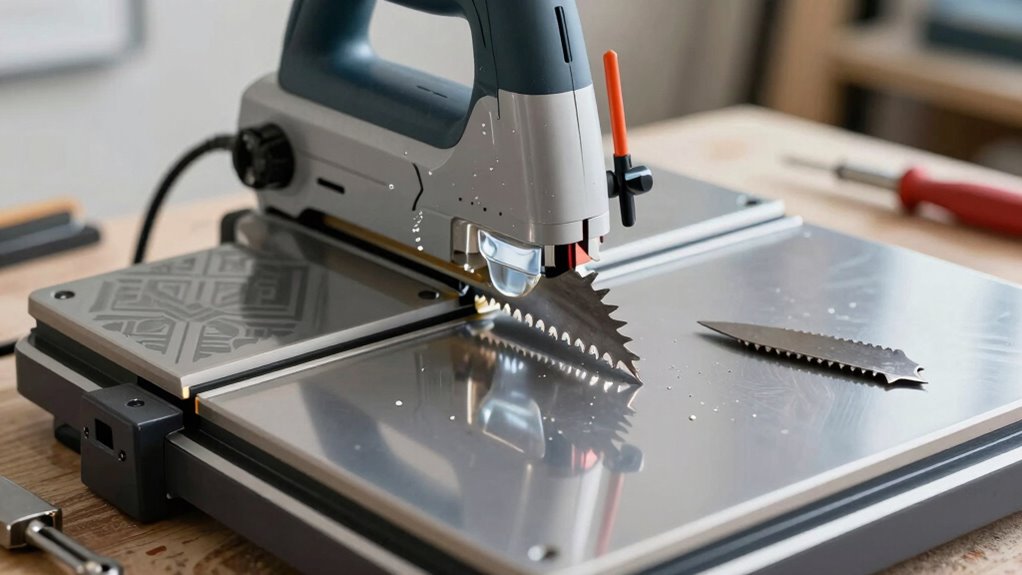
While you might be focused on achieving precise cuts with your wet tile saw, neglecting the condition of your blade can lead to frustrating results. Dull blades not only compromise cut precision but can also cause chipping and uneven edges. To prevent this, prioritize regular blade maintenance; clean the blade after each use to remove debris and check for wear. If you notice the blade struggling or producing rough cuts, it’s time for a replacement. Investing in high-quality blades designed for your specific tile type can make a significant difference. Remember, a sharp blade isn’t just about efficiency; it’s about ensuring your project turns out beautifully. Keep your blade sharp, and you’ll achieve the flawless cuts you desire.
Securing Tiles to Prevent Slippage and Damage

Achieving flawless cuts isn’t the only factor in a successful tile project; securing your tiles properly is just as important. If you want to avoid slippage and damage, follow these essential steps during tile placement:
- Choose the Right Adhesive: Use an adhesive suitable for your tile type and the surface.
- Apply Adhesive Evenly: Spread adhesive uniformly to guarantee full contact and prevent air pockets.
- Press Tiles Firmly: After placing each tile, press down firmly to fix it in place.
- Use Spacers: Insert spacers between tiles to maintain consistent gaps and prevent shifting during the curing process. Additionally, ensure that your workspace is free from common household hazards that can lead to accidents while tiling.
Frequently Asked Questions
What Type of Tile Is Best Suited for Wet Tile Saws?
Ceramic tiles and porcelain tiles are both excellent choices for wet tile saws. They’re durable and can handle the precision cuts you need for your projects. When you use a wet tile saw, the water helps cool the blade, reducing the risk of chipping. Just make sure you choose high-quality tiles to get the best results. With the right setup, you’ll achieve clean, professional-looking cuts every time.
How Often Should I Replace the Water in the Reservoir?
You should replace the water in the reservoir every few days, or more often if you’re cutting a lot of tiles. Regular water maintenance guarantees peak performance and helps prevent debris buildup. Keeping the reservoir clean is essential for reservoir hygiene, which not only extends the life of your wet tile saw but also improves the quality of your cuts. Always check for contaminants and change the water as needed to keep everything running smoothly.
Can I Use a Wet Tile Saw for Cutting Glass Tiles?
Using a wet tile saw for glass tiles is like painting on a delicate canvas; precision is key. Yes, you can cut glass tiles with a wet tile saw, but you need to use the right cutting techniques. Make sure to select a suitable blade designed for glass, and adjust the speed to avoid chipping. With careful handling, you’ll achieve clean, smooth cuts that enhance your project’s overall look.
What Safety Gear Should I Wear When Using a Wet Tile Saw?
When using a wet tile saw, you should definitely wear safety goggles to protect your eyes from flying debris. Hearing protection is also a must, as the saw can be quite loud and damaging to your ears over time. Make sure to also wear a dust mask to avoid inhaling any particles and gloves for better grip and protection. Taking these precautions guarantees you stay safe while working on your tile project.
How Do I Clean My Wet Tile Saw After Use?
Cleaning your wet tile saw after use can extend its life by up to 50%. Start by unplugging the saw and removing the blade. Use a soft brush to remove debris, then wipe down surfaces with a damp cloth. For stubborn stains, consider using mild cleaning solutions. Don’t forget to clean the water reservoir to prevent algae buildup. Regular saw maintenance tips, like this, keep your tools in top shape for future projects.
Conclusion
By avoiding these common mistakes, you’ll set up your wet tile saw like a pro, ensuring your tiles shine instead of shatter. Remember, starting with a level surface, managing water effectively, keeping blades sharp, and securing tiles are essential steps. Don’t let a small oversight turn your project into a costly headache. With careful attention and the right techniques, you’ll transform your vision into a stunning reality, one perfect cut at a time.