
Buying Guides
How Do I Know What Size Flush Valve Seal I Need
Are you perplexed by the multitude of flush valve seal sizes? We understand the frustration of selecting the right one for your toilet. Fear not, for we have the answers you seek.
In this article, we will guide you through the process of identifying and measuring the flush valve in your toilet. With our detailed and technical instructions, you will gain the mastery needed to find the perfect size flush valve seal.
Let’s embark on this journey of toilet enlightenment together.
Key Takeaways
- Flush valve seals create a tight seal between the flush valve and the toilet tank to prevent water leakage.
- Identifying the type of flush valve in your toilet helps troubleshoot problems and find the right size seal.
- Measuring the diameter of your flush valve helps determine the size of the seal needed.
- Determining the thickness of the flush valve seal ensures a snug fit and helps prevent issues like constant running.
Understanding Flush Valve Seals
To understand flush valve seals, we need to explore how they function and their importance in maintaining a watertight seal.
Flush valve seals are crucial components in a toilet’s flushing mechanism. Their main purpose is to create a tight seal between the flush valve and the toilet tank, preventing any water leakage during the flushing process. This ensures that the toilet flushes efficiently and effectively.

However, over time, flush valve seals can deteriorate and become worn out, leading to common problems such as water leakage, constant running of the toilet, or weak flushes. Regular flush valve maintenance is essential to prevent these issues.
This includes inspecting the seals for any signs of wear, cleaning them regularly, and replacing them when necessary. By properly maintaining flush valve seals, you can ensure the optimal functioning of your toilet and avoid costly repairs.
Identifying the Type of Flush Valve in Your Toilet
Now, let’s delve into identifying the type of flush valve in our toilet to determine the size of flush valve seal we need. Identifying the type of flush valve in your toilet is essential for troubleshooting common problems and finding the right size flush valve seal. There are two main types of flush valves: the flapper flush valve and the canister flush valve.
| Flush Valve Type | Description |
|---|---|
| Flapper Flush Valve | This type of flush valve uses a rubber flapper attached to a chain. When the flush lever is pressed, the flapper lifts, allowing water to rush into the bowl. |
| Canister Flush Valve | The canister flush valve is a more modern design. It uses a plastic canister that lifts to release water into the bowl. |
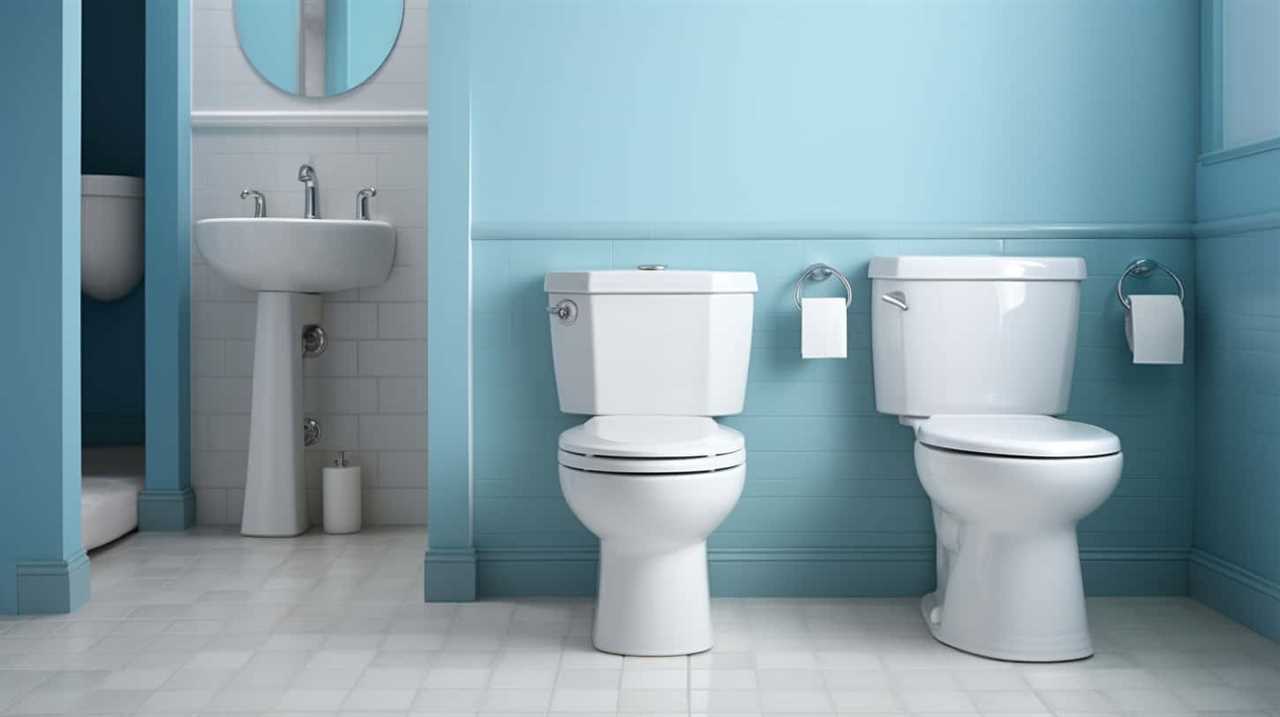
Measuring the Diameter of Your Flush Valve
Let’s measure the diameter of our flush valve to determine the size of flush valve seal we need.
To accurately measure the diameter, follow these steps:
- Start by turning off the water supply to the toilet and flush the toilet to empty the tank.
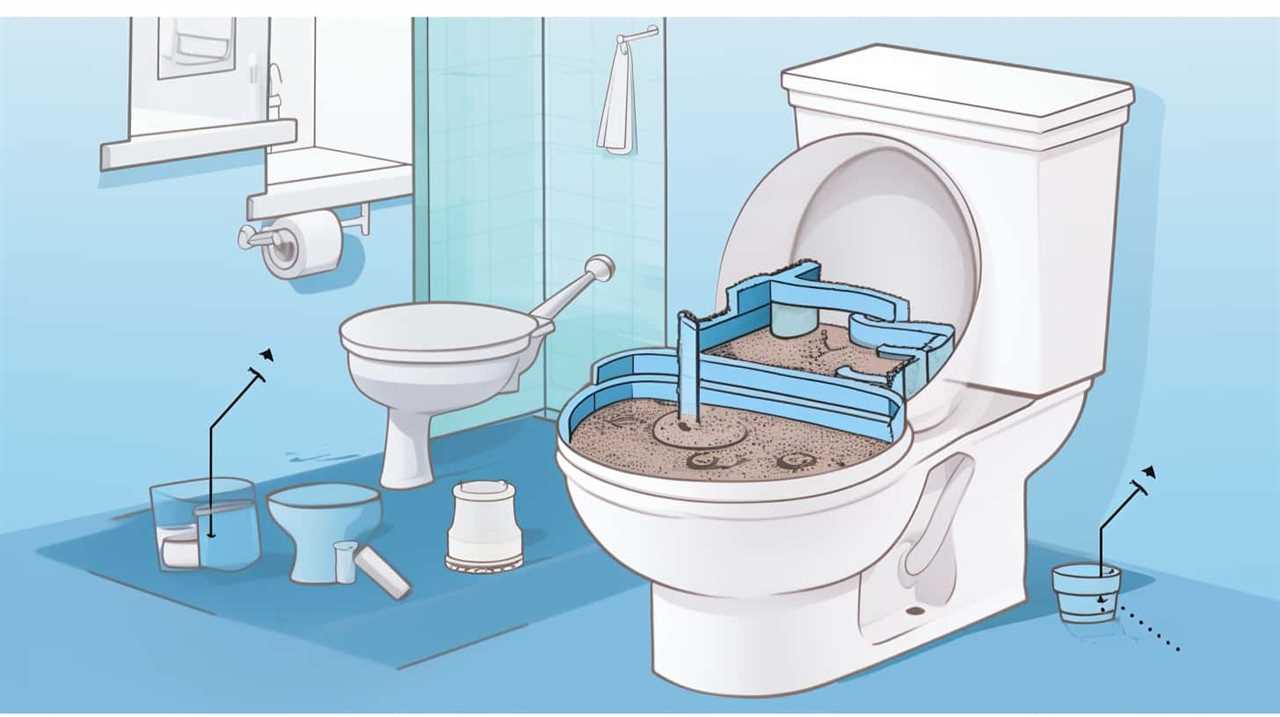
- Remove the tank lid and locate the flush valve, which is the tall tube in the center of the tank.
- Note: The flush valve is responsible for releasing water from the tank into the bowl during a flush.
- Measure the diameter of the flush valve using a measuring tape or ruler.
- Ensure that the tape or ruler is placed across the widest part of the flush valve.
- Take note of the measurement, as this will determine the size of the flush valve seal needed for a replacement or troubleshooting the toilet flush.
Determining the Thickness of the Flush Valve Seal
To determine the thickness of the flush valve seal, we need to measure the distance between the flush valve and the bottom of the tank. This step is crucial because the seal should fit snugly to prevent any leaks.
Common problems with flush valve seals can include deterioration over time, causing water to constantly run or not fill up properly. Replacing the seal can solve these issues.
To replace a flush valve seal step by step, start by turning off the water supply to the toilet and draining the tank. Remove the old seal by unscrewing the flush valve from the tank.
Measure the thickness of the old seal or the distance between the flush valve and the bottom of the tank. This measurement will determine the size of the new seal you need.
Install the new seal by aligning it with the flush valve and screwing it back into place. Finally, turn on the water supply and check for any leaks.
Finding the Right Size Flush Valve Seal for Your Toilet
We can find the right size flush valve seal for our toilet by measuring the distance between the flush valve and the bottom of the tank. To ensure a proper fit, it’s important to accurately determine the size of the flush valve seal. Here are some steps to help you find the right size:
- Measure the distance between the flush valve and the bottom of the tank using a tape measure.
- Once you have the measurement, compare it to the available sizes of flush valve seals on the market.
- Choose a flush valve seal that’s slightly smaller than the measured distance to ensure a snug fit.
Common problems with flush valve seals include leaks and improper functioning. To maintain a flush valve seal and prevent these problems, consider the following tips:
- Regularly inspect the flush valve seal for any signs of wear or damage.
- Clean the seal and the surrounding area regularly to remove any debris or buildup.
- Replace the flush valve seal if it shows signs of deterioration or if it isn’t providing a proper seal.
Frequently Asked Questions
Can I Use Any Size Flush Valve Seal for My Toilet?
We can’t use any size flush valve seal for our toilet. Choosing the right flush valve seal is crucial for proper functionality. Troubleshooting common flush valve seal issues requires understanding the correct size for our specific toilet model.
How Often Should I Replace My Flush Valve Seal?
We replace our flush valve seal based on its lifespan and signs of wear. It’s crucial to monitor for leaks, water waste, and toilet malfunctions. Regular maintenance ensures optimal performance and prevents costly repairs.
Can I Use a Thicker Flush Valve Seal for Better Performance?
Using a thicker flush valve seal can improve performance. It provides a better seal, reducing the risk of leaks and ensuring efficient flushing. Consider flush valve seal alternatives for enhanced functionality and durability.

Are Flush Valve Seals Universal Across Different Toilet Brands?
Flush valve seals are not universal across toilet brands. However, using a universal flush valve seal can offer compatibility advantages, saving time and effort in finding the right size.
Can I Use a Smaller Size Flush Valve Seal if I Can’t Find the Exact Measurement for My Toilet?
If the exact measurement for your toilet’s flush valve seal is not available, alternative options may be considered. However, using a smaller size seal may lead to leaks and other issues. Troubleshooting tips are available to help find the correct size seal.
Conclusion
In conclusion, finding the right size flush valve seal for your toilet is crucial for proper functioning and preventing leaks.
By understanding flush valve seals, identifying the type of flush valve, and measuring both the diameter and thickness of the seal, you can ensure a perfect fit.
Remember, a well-fitted flush valve seal is like a silent guardian, protecting your toilet from unwanted leaks and ensuring a smooth flushing experience.

With an impeccable eye for detail and a passion for bathroom-related, Ava leads our editorial team gracefully and precisely.
Under her guidance, Best Modern Toilet has flourished as the go-to resource for modern bathroom enthusiasts. In her free time, you might find Ava exploring antique shops and looking for vintage bathroom fixtures to add to her collection.


Are you in need of an easy fix for a clogged toilet? Look no more! We have several effective home remedies that will quickly unclog your toilet and have it working properly again in no time.
From the power of hot water and dish soap to the magic of baking soda and vinegar, we’ve got you covered.
And if all else fails, we’ll show you how to use a plunger or even a wire hanger to get the job done.
Get ready to become a toilet unclogging master!
Key Takeaways
- Hot water and dish soap can be an effective remedy to unclog a toilet.
- Baking soda and vinegar mixture can also help in unclogging a toilet.
- Plunging with a plunger can be a powerful method to unclog a toilet.
- Using a wire hanger or a DIY toilet auger can be alternative methods to unclog a toilet.
Hot Water and Dish Soap
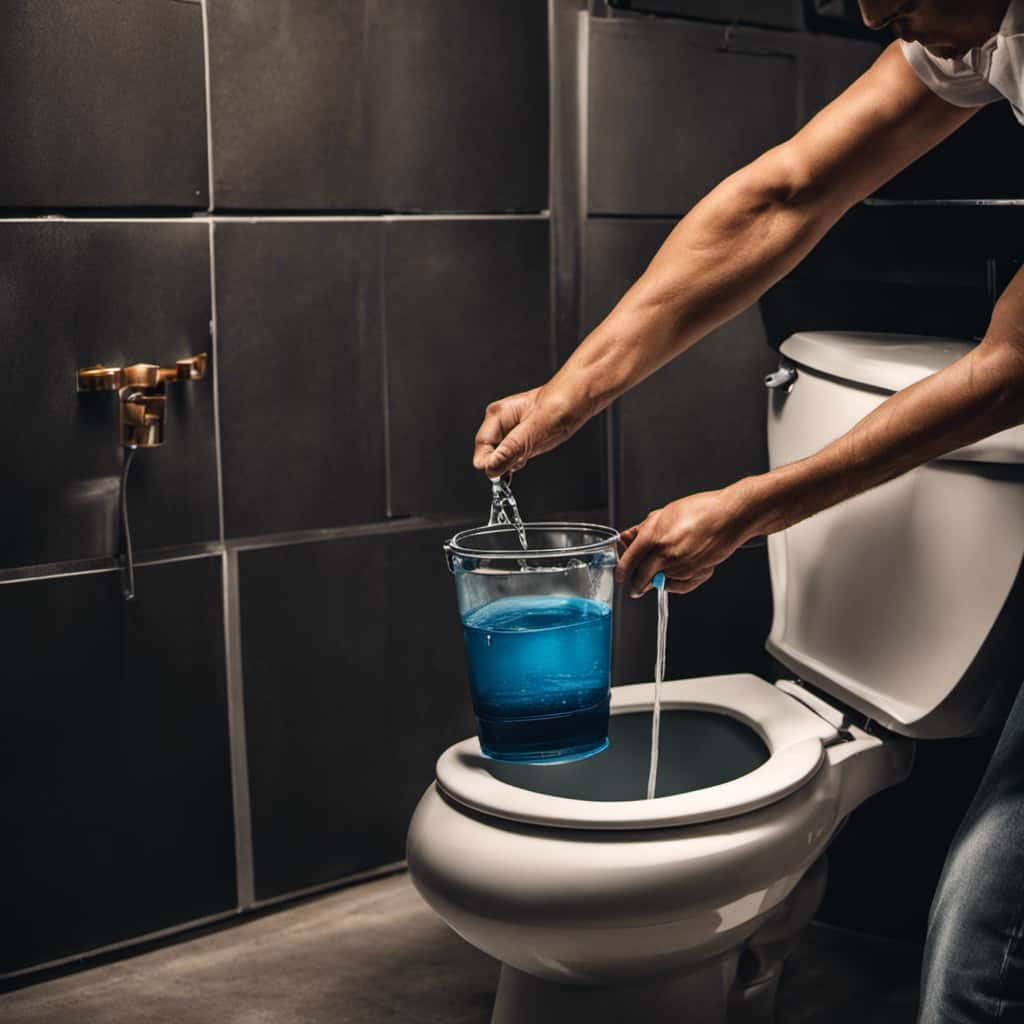
To unclog a toilet using hot water and dish soap, we start by gathering the necessary materials and preparing the solution. This method is an effective and natural drain unclogger that can save you time and money.
First, ensure that you have a toilet bowl cleaner and a plunger on hand.
Next, fill a large bucket with hot water, making sure it isn’t boiling.
Add a few squirts of dish soap to the water and give it a gentle stir.
Carefully pour the solution into the toilet bowl, aiming for the center.
Let it sit for a few minutes to allow the soap to break down any clogs.
Finally, use a plunger to gently push and pull the water, creating pressure that can dislodge the clog.
If this method doesn’t work, don’t worry, as we’ll now move on to the next effective solution: baking soda and vinegar.
Baking Soda and Vinegar
Now let’s explore another effective home remedy to unclog a toilet using baking soda and vinegar.
This simple yet powerful combination can help break down stubborn clogs and restore normal flow to your toilet.
To begin, pour about a cup of baking soda into the toilet bowl. Make sure to distribute it evenly across the water surface.
Next, pour a cup of vinegar into the bowl, causing a chemical reaction that creates fizzing and bubbling.

Allow the mixture to sit for about 30 minutes, allowing it to work its magic on the clog.
Finally, flush the toilet and check if the clog has cleared.
For added effectiveness, you can also try adding a lemon juice solution or an Epsom salt remedy to the mixture. These additional ingredients can help enhance the cleaning and unclogging properties of the baking soda and vinegar solution.
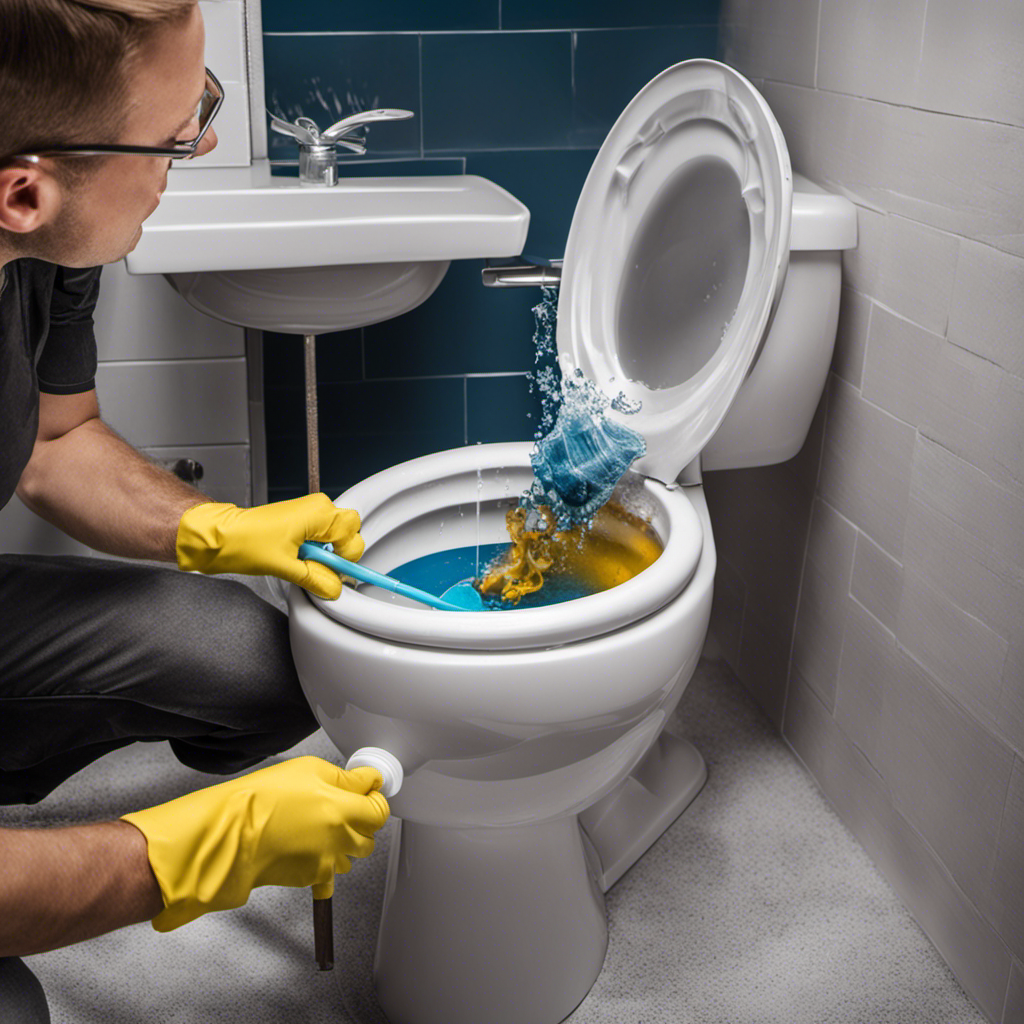
Plunger Power
After using the baking soda and vinegar method, the next step in unclogging a toilet is to utilize the power of a plunger.
Plungers are simple, yet effective tools that can help dislodge clogs and restore the normal flow of water in your toilet.
To use a plunger, place the rubber cup over the drain hole and push down firmly, creating a seal.
Then, vigorously move the handle up and down to create suction and pressure that can dislodge the clog.
Remember to be patient and persistent, as it may take several attempts to unclog the toilet completely.
To prevent future clogs, consider using toilet bowl cleaner alternatives, such as vinegar or baking soda, and avoid flushing items that can easily cause blockages, like wipes or feminine hygiene products.
Wire Hanger Hack
After utilizing the power of a plunger, another effective home remedy to unclog a toilet is the wire hanger hack. This simple yet ingenious method can save you from a messy situation. All you need is a wire hanger, preferably a plastic-coated one to avoid scratching the porcelain.
Bend the hanger into a straight line, leaving a small hook at one end. Insert the hooked end into the toilet drain and gently maneuver it in a circular motion to break up the clog. Be careful not to push the clog further down the drain. Once you feel the clog loosening, flush the toilet to clear it completely.
This hack is especially useful when toilet paper alternatives are used, as they can sometimes cause clogs. It’s also a handy trick for toilet overflow prevention.

Now, let’s move on to the next method: the DIY toilet auger.
DIY Toilet Auger
Using a coiled wire inserted into the toilet drain, we can effectively unclog a toilet with a DIY toilet auger. A DIY toilet auger, also known as a toilet snake, is a simple yet effective tool that can help clear stubborn clogs in your toilet.
To make a homemade drain cleaner, you can create a mixture of baking soda and vinegar. Start by pouring a cup of baking soda into the toilet bowl, followed by a cup of vinegar. Let the mixture sit for a few minutes, allowing it to fizz and break down the clog.
Then, carefully insert the DIY toilet auger into the toilet drain and rotate it clockwise to dislodge the clog. Repeat the process as needed, flushing the toilet to check if the clog has been successfully cleared.
Remember to handle the DIY toilet auger with care and follow safety precautions to avoid any injuries.
Frequently Asked Questions
Can I Use a Home Remedy to Unclog a Toilet if I Don’t Have Hot Water and Dish Soap?
Home remedy alternatives for unclogging a toilet without hot water and dish soap include using a plunger, a mixture of baking soda and vinegar, or a toilet auger. These methods can be effective in clearing the clog.
Is It Safe to Use Baking Soda and Vinegar in a Toilet That Has a Septic System?
Using baking soda and vinegar in a toilet with a septic system may not be safe. To unclog a toilet without risking damage, consider alternatives like a plunger, a plumbing snake, or a natural enzyme-based cleaner.
Are There Any Precautions I Should Take Before Using a Plunger to Unclog a Toilet?
When using a plunger to unclog a toilet, it’s important to take precautions. To prevent splashing water, ensure a tight seal and plunge gently. If the clog doesn’t clear, try using a toilet auger or call a professional.
How Can I Effectively Straighten a Wire Hanger to Use It for Unclogging a Toilet?
To effectively straighten a wire hanger for toilet unclogging, we recommend using a pair of pliers to carefully bend and shape it. This will create a sturdy tool to help tackle the clog.
Is a DIY Toilet Auger a Better Option Than Using a Plunger or Other Home Remedies?
A DIY toilet auger offers several benefits over using a plunger or other home remedies. It provides more effective and thorough unclogging, especially for stubborn blockages. Its design allows for better maneuverability and control.
Conclusion
In the journey of life, clogged toilets may seem like insignificant obstacles, but they hold a symbolic meaning.
Just as we learn to unclog a toilet with simple home remedies, we can also apply these practical solutions to our daily challenges.

With a little effort and the right tools, we can overcome any blockage that stands in our way, allowing us to keep flowing and moving forward towards a cleaner and more fulfilling life.
With an impeccable eye for detail and a passion for bathroom-related, Ava leads our editorial team gracefully and precisely.
Under her guidance, Best Modern Toilet has flourished as the go-to resource for modern bathroom enthusiasts. In her free time, you might find Ava exploring antique shops and looking for vintage bathroom fixtures to add to her collection.

Did you know that 90% of toilet flushing problems are due to simple issues that can easily be resolved? If you’re annoyed with your toilet not properly flushing toilet paper, we are here to offer assistance.
In this article, we’ll explore the reasons behind this issue and provide you with practical solutions. From clogged drains to low water pressure, we’ll cover it all.
So, let’s dive in and master the art of a perfectly functioning toilet!
Key Takeaways
- 90% of toilet flushing issues are caused by clogs in the drain or pipe.
- DIY methods like using a plunger or plumbing snake can effectively unclog the toilet.
- Regular maintenance and cleaning can prevent clogs.
- Using excessive amounts of toilet paper can lead to clogs.
Clogged Drain or Pipe
One common cause for a toilet not flushing paper away is a clog in the drain or pipe. When this happens, it can be quite frustrating and inconvenient.

Luckily, there are several DIY unclogging methods that you can try before resorting to professional plumbing services. One effective method is using a plunger. Make sure you have a good seal around the drain and create a strong suction by pushing and pulling the plunger vigorously.
Another method is using a plumbing snake or auger to break up the clog. Insert the snake into the drain and rotate it to dislodge the obstruction.
If these DIY methods fail to resolve the issue, it may be necessary to call in professional plumbing services to identify and fix the underlying problem. They have the expertise and specialized tools to tackle stubborn clogs and ensure that your toilet flushes paper away smoothly.
Low Water Pressure
Toilet not flushing paper away could also be caused by low water pressure, which can impede the flushing force needed to effectively clear the toilet bowl. Low water pressure can occur for various reasons, such as plumbing maintenance issues or water-saving measures implemented in the household. It is important to ensure that the water pressure in your home is sufficient for proper toilet functionality. Here are some water-saving tips to consider:
| Plumbing Maintenance | Water Saving Tips |
|---|---|
| Check for leaks in pipes | Install a low-flow toilet |
| Clean or replace clogged pipes | Use a dual-flush toilet system |
| Inspect and maintain water pump | Limit the use of toilet paper |
| Adjust water pressure regulator | Collect and reuse greywater |
| Install a pressure-boosting system | Consider a composting toilet |
Malfunctioning Flapper Valve
We’ve found that a common cause of toilets not flushing paper away is a malfunctioning flapper valve. The flapper valve is a rubber seal that sits at the bottom of the tank and controls the flow of water into the toilet bowl. When it malfunctions, it can cause a weak or incomplete flush, leading to paper not being properly flushed away.
Here are some troubleshooting steps and replacement options to consider:
- Inspect the flapper valve for any signs of damage or wear.
- Check the chain that connects the flapper valve to the flush handle, ensuring it’s properly connected and not too loose or tight.
- Clean the flapper valve and the area around it to remove any debris or mineral deposits that may be affecting its performance.
Insufficient Flush Power
To address the issue of insufficient flush power, we need to examine the water pressure in the toilet tank. The toilet tank is responsible for storing and supplying water to the toilet bowl for flushing. If the water pressure in the tank is low, it can result in a weak flush, making it difficult for the toilet to flush away paper properly.
Insufficient flush power can be caused by a variety of factors, such as a partially closed water supply valve, a clogged fill valve, or a faulty flush valve. It’s important to check these components and ensure that they’re functioning properly.

Additionally, checking the water pressure in the toilet tank and adjusting it if necessary can help improve the flush power and ensure effective paper disposal in the toilet bowl.
Incorrect Toilet Paper Usage
One factor that can contribute to a toilet not flushing paper away properly is using an excessive amount of toilet paper. When it comes to proper toilet paper disposal, it’s important to consider the following:
- Folded Sheets: Folding the toilet paper before use allows for better coverage and effectiveness. It helps prevent clumping and ensures a smoother flush.
- Moderate Usage: Avoiding excessive usage of toilet paper not only prevents clogs but also reduces the environmental impact. Using just enough to clean oneself is sufficient.
- Flushable Alternatives: Exploring alternative options like flushable wipes or bidets can reduce the dependency on toilet paper and minimize the impact on both the plumbing system and the environment.
Understanding the environmental impact of excessive toilet paper usage and adopting proper disposal techniques can prevent toilet clogs and contribute to a more sustainable lifestyle.
Conclusion
If your toilet isn’t flushing paper away, there are several possible causes. It could be due to a clogged drain or pipe, low water pressure, a malfunctioning flapper valve, insufficient flush power, or incorrect toilet paper usage.

One example of a hypothetical situation that could evoke emotion is if a family of five is constantly dealing with toilet clogs and backups due to using excessive amounts of toilet paper, leading to frustration and inconvenience.
With an impeccable eye for detail and a passion for bathroom-related, Ava leads our editorial team gracefully and precisely.
Under her guidance, Best Modern Toilet has flourished as the go-to resource for modern bathroom enthusiasts. In her free time, you might find Ava exploring antique shops and looking for vintage bathroom fixtures to add to her collection.
Ah, the pleasures of winter! While we cozy up under blankets and enjoy hot cocoa, the question arises: is it safe to flush the toilet when our pipes are frozen? Despite it seeming like a simple action, the potential risks may be more significant than anticipated.
In this article, we’ll explore the signs of frozen pipes, the dangers of flushing a frozen toilet, and the steps to safely navigate this icy predicament.
So, grab your thermos and let’s dive into the world of frozen pipes and flushing toilets!
Key Takeaways
- Lack of water flow or reduced water pressure are signs of frozen pipes.
- Thawing techniques such as using a hairdryer or heat gun can help unfreeze pipes.
- Flushing a frozen toilet can cause burst pipes due to increased pressure.
- It is important to understand the risks and consider calling a professional plumber for persistent or worsening problems.
Signs of Frozen Pipes
One of the first signs of frozen pipes is a lack of water flow in our household plumbing. When the pipes freeze, the water can’t pass through, resulting in reduced or no water flow in our faucets, toilets, and showers. This is often accompanied by a decrease in water pressure or completely no water coming out.
To address this issue, there are several thawing techniques and DIY solutions available. One common method is using a hairdryer or heat gun to gently warm the frozen pipes. Another option is to wrap the pipes with heating tape or use a space heater in the area where the pipes are located. It’s important to follow these thawing techniques carefully to avoid causing further damage to the pipes.
Now, let’s move on to discussing the risks of flushing a frozen toilet.
Risks of Flushing a Frozen Toilet
Flushing a frozen toilet can pose significant risks if the pipes are already frozen. It’s crucial to understand the consequences before attempting to flush a frozen toilet. Here are the risks involved:
- Increased blockages: Flushing a frozen toilet can cause additional debris to accumulate and further clog the already frozen pipes. This can exacerbate the problem and make it even more difficult to thaw the pipes.
- Pipe bursts: The pressure created by flushing a frozen toilet can cause the frozen pipes to burst. This can result in water damage to your property and require expensive repairs.
- Risks of using hot water: Some people may consider using hot water to thaw the pipes. However, this can cause the sudden expansion of the frozen pipes, leading to cracks or bursts.
- Contamination: Flushing a frozen toilet can cause wastewater to back up into your home, leading to unsanitary conditions and potential health risks.
Understanding these risks can help you make an informed decision about whether to attempt flushing a frozen toilet or seek professional assistance.
Steps to Safely Flush a Frozen Toilet
To safely flush a frozen toilet, we can take a few simple steps.
Firstly, it’s important to identify the cause of the frozen pipes. Common causes include cold weather, inadequate insulation, and a lack of heat in the area where the pipes are located.
Once the cause is determined, we can proceed with the thawing methods. One effective method is to use a hairdryer on a low heat setting to warm the pipes gradually.
Another method involves applying hot water or a heating pad directly to the frozen section. It’s crucial to avoid using open flames or excessive heat, as this can damage the pipes.
After thawing the pipes, the toilet should be able to flush normally. Remember to insulate the pipes to prevent future freezing.
Preventing Frozen Pipes in the Future
To prevent frozen pipes in the future, we need to take proactive measures to insulate and protect them from extreme temperatures. Here are four steps to help you prevent frozen pipes:
- Insulate pipes for winter: Use pipe insulation sleeves or heat tape to wrap exposed pipes, especially those in unheated areas such as basements, crawl spaces, and attics. This will help retain heat and prevent freezing.
- Seal air leaks: Identify any gaps or cracks in the walls, floors, or ceilings near your pipes and seal them with caulk or insulation. This will prevent cold air from entering and affecting the pipes.
- Keep the heat on: Maintain a consistent temperature in your home, even when you’re away. Set your thermostat to a minimum of 55 degrees Fahrenheit to ensure the pipes stay warm enough.
- Open cabinet doors: During extremely cold weather, open the cabinet doors under sinks to allow warm air to circulate around the pipes.
When to Call a Professional Plumber
After taking proactive measures to prevent frozen pipes, such as insulating and sealing air leaks, it’s important to know when it’s necessary to call a professional plumber.
While DIY plumbing solutions can be effective in some cases, there are situations that require the expertise of a professional.
One such situation is when you encounter a burst pipe. Burst pipes can cause significant water damage and should be addressed immediately.
Another instance when calling a professional plumber is necessary is when you’re dealing with a sewage backup. This can be a health hazard and requires emergency plumbing services to ensure proper cleanup and repair.
Additionally, if you have tried DIY methods and the problem persists or worsens, it’s best to call a professional plumber who’s the knowledge and tools to accurately diagnose and fix the issue.
Frequently Asked Questions
What Are the Common Signs of Frozen Pipes?
Yes, you can flush the toilet if the pipes are frozen. However, it’s important to thaw the pipes first using appropriate thawing methods to avoid the consequences of frozen pipes.
Can Flushing a Frozen Toilet Cause Any Damage to the Plumbing System?
Flushing a frozen toilet can potentially cause damage to the plumbing system. Before attempting to flush, it is important to take precautions such as thawing the pipes and ensuring they are not cracked or damaged.
How Can You Safely Flush a Toilet if the Pipes Are Frozen?
To safely flush a toilet when pipes are frozen, we must first thaw the pipes. Attempting to flush a frozen toilet can cause damage to the plumbing system. Consider alternative bathroom solutions until the pipes are thawed.
What Steps Can Be Taken to Prevent Pipes From Freezing in the Future?
To prevent pipes from freezing in the future, we recommend insulating pipes for winter by using materials like foam or insulation sleeves. Another option is to use heat tape, which provides continuous heat to prevent pipe freezing.
When Should You Call a Professional Plumber for Assistance With Frozen Pipes?
When to hire a plumber for frozen pipes? Look for signs like no water or low water pressure. If unsure, call a professional. Don’t risk DIY solutions. We have the expertise to fix it.
Conclusion
In the chilly battle between frozen pipes and a functioning toilet, remember to tread carefully.
Flushing a frozen toilet can lead to disastrous consequences, such as bursting pipes and water damage. It’s crucial to take the necessary steps to safely thaw the pipes before attempting to flush.
By preventing frozen pipes in the future, you can avoid this icy dilemma altogether.
If in doubt, don’t hesitate to call a professional plumber to ensure a smooth and trouble-free plumbing experience.
With an impeccable eye for detail and a passion for bathroom-related, Ava leads our editorial team gracefully and precisely.
Under her guidance, Best Modern Toilet has flourished as the go-to resource for modern bathroom enthusiasts. In her free time, you might find Ava exploring antique shops and looking for vintage bathroom fixtures to add to her collection.


Are Bathroom Mirror

Are Bath and Body Works Mist Long Lasting

Are Bathroom Sinks

Why the Bathroom in Spanish

Are Bath Towel

LDian Smart Toilet Review [2024]

ITENGHUA Smart Toilet Review [2024]

American Standard Champion Toilet: A Comprehensive Review [2024]

American Standard 297AA204-291 Advanced Clean 100 SpaLet Toilet Review [2024]

American Standard Town Square S Toilet Review [2024]

-

 Reviews3 months ago
Best Toilet Air Freshener: Top 10 Picks for a Fresh-Smelling Bathroom [2024]
-

 FAQ - Advanced Bathroom Queries2 months ago
Which Countries Use Bidets the Most
-
 Reviews3 months ago
Best Waterless Toilets: Top Options for Eco-Friendly Bathrooms [2024]
-
 Buying Guides3 months ago
What to Do When You Accidentally Flushed Something Down the Toilet
-
 Reviews2 weeks ago
LDian Smart Toilet Review [2024]
-
 Reviews3 months ago
Best Toilet Enzyme Cleaners for Optimal Odor Control [2024]
-
 Reviews2 months ago
Kohler Innate Smart Toilet Review [2024]
-
 Reviews2 months ago
Kohler NUMI 2.0 Smart Toilet Review [2024]