Bathtub
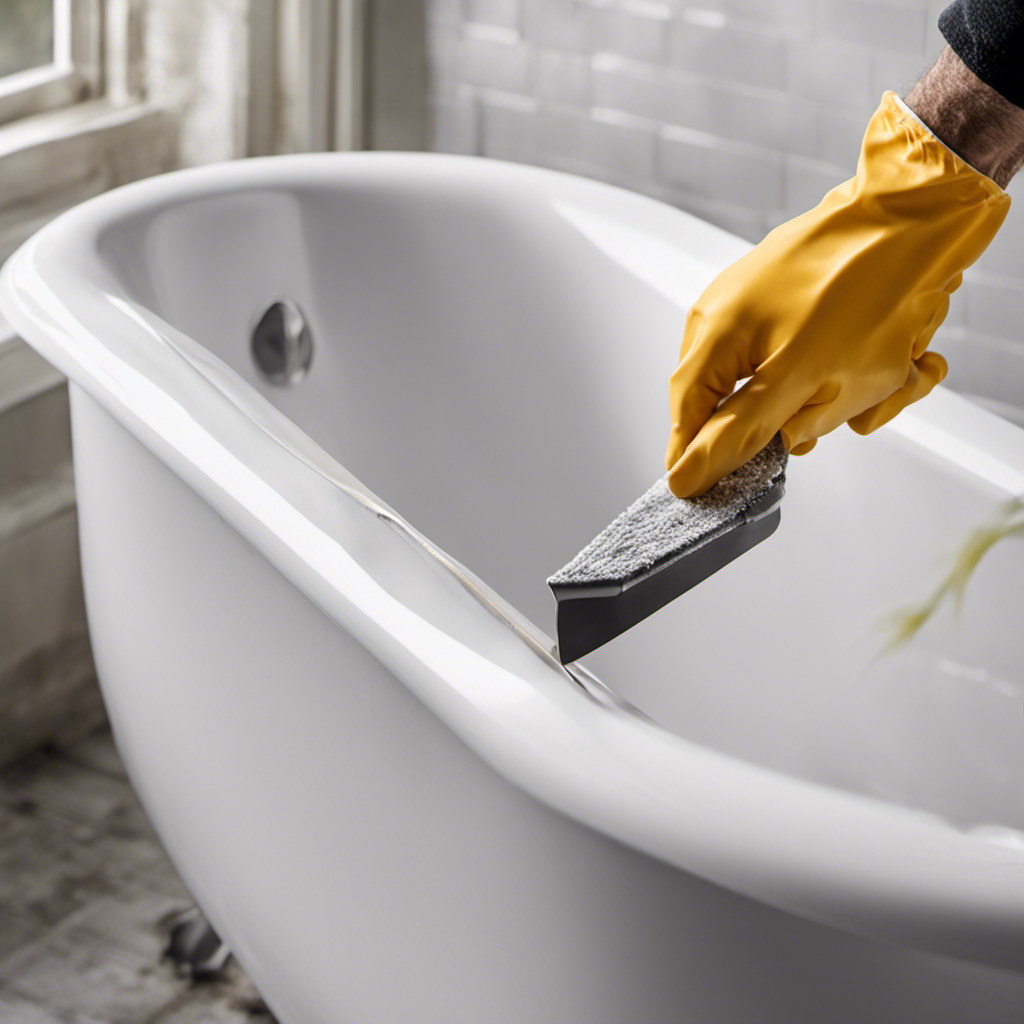
How Do You Remove Caulking From a Bathtub
Are you tired of dealing with that unsightly caulking in your bathtub? Say goodbye to the frustration and hello to a beautiful, caulk-free tub!
In this article, we will guide you through the step-by-step process of removing caulking from your bathtub. With just a few simple tools and a little bit of patience, you’ll have a clean and fresh-looking bathtub in no time.
So, let’s dive in and get started on your journey to a caulking-free oasis!
Key Takeaways
- Use the right tools and materials for caulk removal, such as a caulk removal tool or utility knife, scraper or putty knife, heat gun or hairdryer, rubbing alcohol, and a clean cloth.
- Prepare the bathtub by cleaning it with mild detergent and warm water, drying it completely, inspecting for mold or mildew, ensuring proper ventilation, and removing any loose or damaged caulk.
- Follow a step-by-step guide for removing caulk from the bathtub, including thorough cleaning and drying, avoiding sharp objects for scraping, considering alternative methods like caulk softener or a caulk removal tool, and following safety precautions.
- Use tips and tricks for easy caulk removal, such as applying caulk softener, using a caulk removal tool, heating the caulk before scraping, using a razor blade scraper for smooth surfaces, and preventing caulk stains with thorough cleaning and painter’s tape.
Tools Needed for Caulking Removal
Before starting the process, make sure you have all the necessary tools for removing the caulking.

There are a few essential tools you’ll need to effectively remove the old caulk from your bathtub. First, you’ll need a caulk removal tool or a utility knife with a sharp blade. These tools will help you cut through the caulk and remove it from the joint.
Additionally, you’ll need a scraper or a putty knife to help pry off any stubborn caulk remnants. A heat gun or a hairdryer can also be helpful in softening the caulk, making it easier to remove.
Lastly, have some rubbing alcohol and a clean cloth handy to wipe down the area after the caulk has been removed.
Following these best practices for caulk removal will ensure a smooth and successful process.
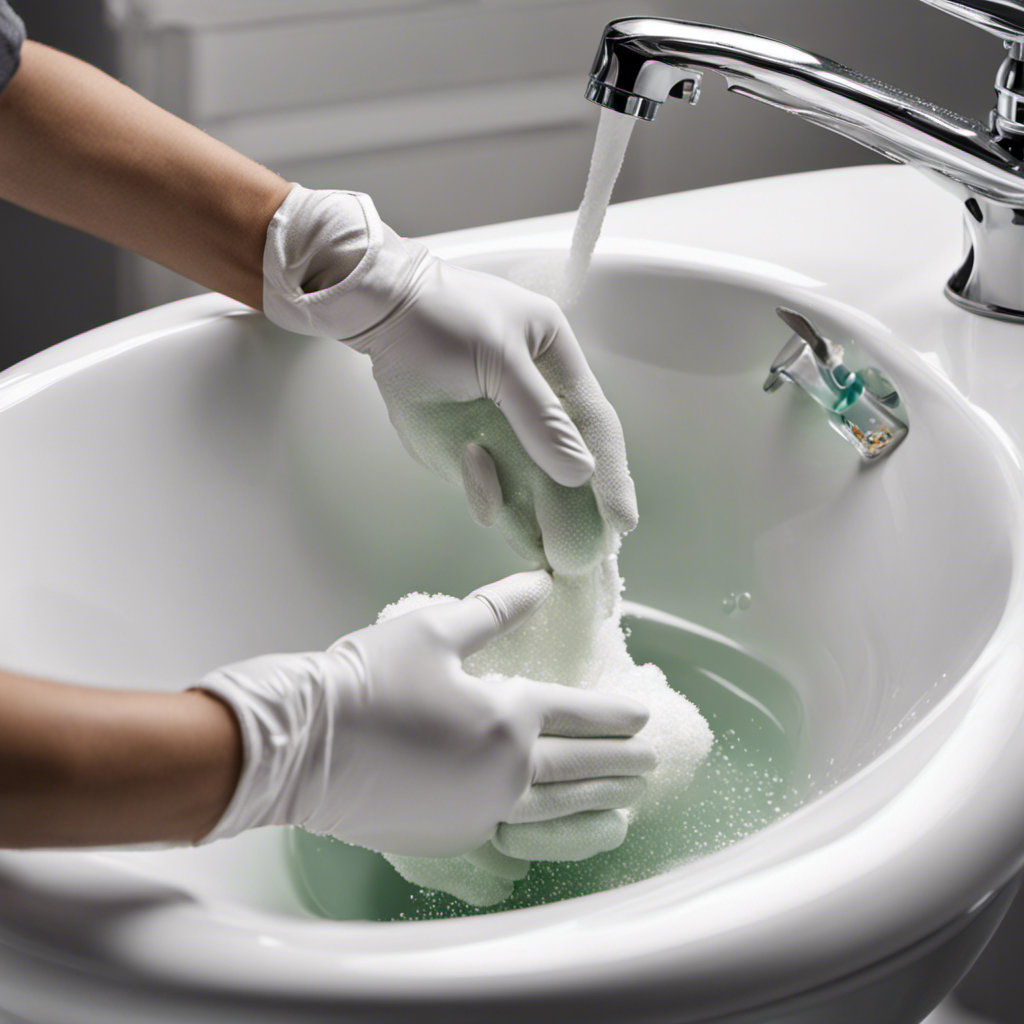
Preparing the Bathtub for Caulk Removal
To properly prepare the bathtub for caulk removal, it’s important to ensure the surface is clean and dry. Here are some steps to follow:
-
Start by thoroughly cleaning the bathtub with a mild detergent and warm water. This will remove any dirt, grime, or soap scum that may be on the surface.
-
Once the bathtub is clean, dry it completely using a clean towel or cloth. Any moisture left on the surface can affect the adhesion of the new caulk.
-
Next, inspect the caulked areas for any signs of mold or mildew. If you notice any, it’s important to take precautions, such as wearing gloves and a mask, to protect yourself from exposure.
-
Open windows or use fans to ensure proper ventilation during the caulk removal process. This will help to reduce the fumes and odors associated with caulk removal products.
-
Lastly, remove any loose or damaged caulk using a caulk removal tool or a utility knife. Be careful not to damage the bathtub surface while doing so.
Step-By-Step Guide to Removing Caulking From a Bathtub
After thoroughly cleaning and drying the bathtub, inspect the caulked areas for any signs of mold or mildew. It is important to address these issues before proceeding with the removal process.
Now, let’s talk about some common mistakes to avoid when removing bathtub caulking. One mistake people often make is using a sharp object, such as a knife or razor blade, to scrape off the caulk. This can cause damage to the bathtub surface and may even result in injuries.
Instead, consider using alternative methods for removing caulking from a bathtub. One effective method is using a caulk removal tool or a caulk softener, which helps to loosen the caulk so it can be easily removed. Another alternative is using a heat gun or a hairdryer to soften the caulk before scraping it off.
Remember to always work carefully and follow safety precautions to achieve the best results.
Tips and Tricks for Easy Caulk Removal
One way to make caulk removal easier is by applying a caulk softener to loosen it before scraping. This can save you time and effort in removing stubborn caulk from your bathtub.
Here are some tips and tricks for easy caulk removal:
-
Use a caulk softening product: Apply the softener to the caulk and let it sit for the recommended amount of time. This will make the caulk easier to scrape off.
-
Use a caulk removal tool: A caulk removal tool has a sharp edge that can easily cut through the caulk, making it easier to remove.
-
Heat the caulk: Use a heat gun or hairdryer to soften the caulk before scraping. This will make it more pliable and easier to remove.
-
Use a razor blade scraper: A razor blade scraper is perfect for removing caulk from smooth surfaces. Make sure to angle the blade to avoid scratching the bathtub.
-
Prevent caulk stains: Before applying new caulk, clean the area thoroughly and use painter’s tape to protect the surrounding surfaces from caulk stains.
Aftercare and Maintenance for a Caulk-Free Bathtub
Maintaining a caulk-free bathtub is simple. Just remember to regularly clean and inspect the edges for any signs of wear or damage.
To keep your bathtub clean and prevent the growth of mold, it is important to establish a regular cleaning routine. Start by wiping down the bathtub after each use to remove any soap scum or residue. Use a mild cleaner specifically designed for bathtubs to prevent damage to the surface.
Scrub the bathtub with a soft brush or sponge, paying special attention to the edges where caulk is usually applied. Rinse thoroughly to ensure all cleaning products are removed.
Additionally, it is important to keep the bathroom well-ventilated to prevent excess moisture, which can contribute to mold growth.
Frequently Asked Questions
How Long Does It Take for Caulk to Fully Cure?
To properly clean and prepare the surface before applying caulk, start by removing any old caulk using a caulk remover tool. After applying new caulk, it takes about 24-48 hours for it to fully cure. Yes, caulk can be painted over after it has cured.
Can I Use a Hairdryer to Speed up the Drying Process of Caulk?
Using a hairdryer on caulk to speed up drying can be effective, but proceed with caution. Excessive heat can damage the caulk or surrounding surfaces. Ensure proper ventilation and use low heat settings for optimal results.
What Is the Best Type of Caulk for a Bathtub?
The best type of caulk for a bathtub depends on your preferences and needs. There are various color options available, each with their own pros and cons. It’s important to choose a caulk that is waterproof and mold-resistant.
Can I Use a Knife or a Razor Blade to Remove Caulk From a Bathtub?
Using a knife or razor blade to remove caulk from a bathtub can be effective, but it comes with pros and cons. While it may be quicker, there is a risk of damaging the surface.
How Often Should I Recaulk My Bathtub?
To properly maintain your bathtub, it’s important to know how frequently you should reapply caulk and what signs indicate it’s time to recaulk. Let’s explore these topics in detail.
Conclusion
In conclusion, removing caulking from a bathtub is a straightforward process that can be easily accomplished with the right tools and techniques.
By following the step-by-step guide outlined in this article, you can successfully remove old caulk and achieve a clean, caulk-free bathtub.
While some may worry about the time and effort required, imagine the satisfaction of stepping into a pristine, freshly caulked bathtub, free from any unsightly residue.
With proper aftercare and maintenance, you can enjoy a beautiful, caulk-free bathtub for years to come.

Liam’s journey with us started as a consumer. Having faced challenges while setting up his own modern bathroom, he delved deep into research.
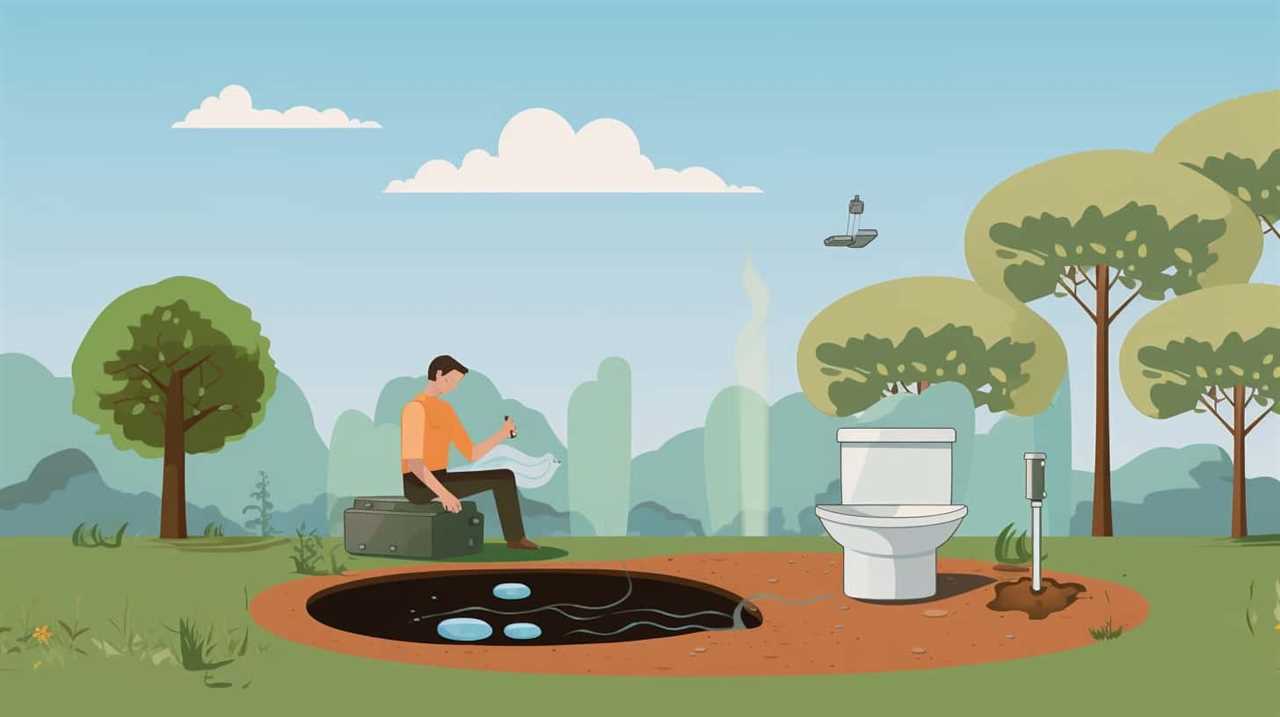
Recognizing his knack for simplifying complex information and his authentic writing style, we were thrilled to welcome him aboard. Liam’s articles often merge practicality with style, ensuring readers find the perfect fit for their homes. Liam is an avid hiker off-duty and often jokes about finding the best “natural toilets” Mother Earth has to offer.


Here is what we have discovered about preventing clogged toilets:
- A good flush is key. By using proper flushing techniques, we can prevent blockages and ensure smooth operation.
- Toilet paper usage is another factor to consider. Being mindful of how much we use can make a big difference.
- Regular maintenance and cleaning also play a crucial role in preventing clogs.
- Moreover, if we avoid flushing non-flushable items and consider upgrading to a high-pressure toilet, we can further reduce the risk of clogging.
Key Takeaways
- Use the appropriate amount of water to flush waste effectively.
- Avoid flushing non-flushable items such as baby wipes, dental floss, and cotton swabs.
- Regular maintenance and cleaning of the toilet bowl, drain, and tank are essential to prevent clogs.
- Consider upgrading to a high-pressure toilet for improved flushing power and reduced likelihood of clogs.
Proper Flushing Techniques
To ensure a toilet is less likely to clog, we must use the proper flushing techniques. Water conservation during flushing plays a crucial role in preventing clogs. It’s essential to use the appropriate amount of water to flush away waste effectively without wasting excess water.
When flushing, a high water pressure is necessary to ensure efficient removal of waste from the toilet bowl. Adequate water pressure creates a strong force that helps carry away debris and prevents it from getting stuck in the drainage system. However, excessively high water pressure may lead to splashing or overflowing, which can cause clogs.
Therefore, it’s important to strike a balance between water pressure and conservation to maximize flushing efficiency while minimizing the risk of clogs.
Toilet Paper Usage
When it comes to preventing clogs, our toilet paper usage is a crucial factor to consider. Not all toilet papers are created equal, and some are more prone to causing blockages than others. To help you make an informed choice, let’s analyze the environmental impact and explore alternatives to traditional toilet paper.
Toilet paper usage can have a significant environmental impact. The production of toilet paper involves cutting down trees and requires a substantial amount of water and energy. Additionally, the transportation and disposal of toilet paper contribute to carbon emissions and waste accumulation.
Considering alternatives to toilet paper can help reduce the environmental impact. Bidets, for example, provide a more hygienic and efficient way to clean oneself after using the toilet. Other options include reusable cloth wipes or bamboo-based toilet paper, which is more sustainable than traditional options.
By understanding the environmental impact of our toilet paper usage and exploring alternatives, we can make more conscious choices that are both eco-friendly and effective in preventing clogs.
Now, let’s delve into the next section about regular maintenance and cleaning.
Regular Maintenance and Cleaning
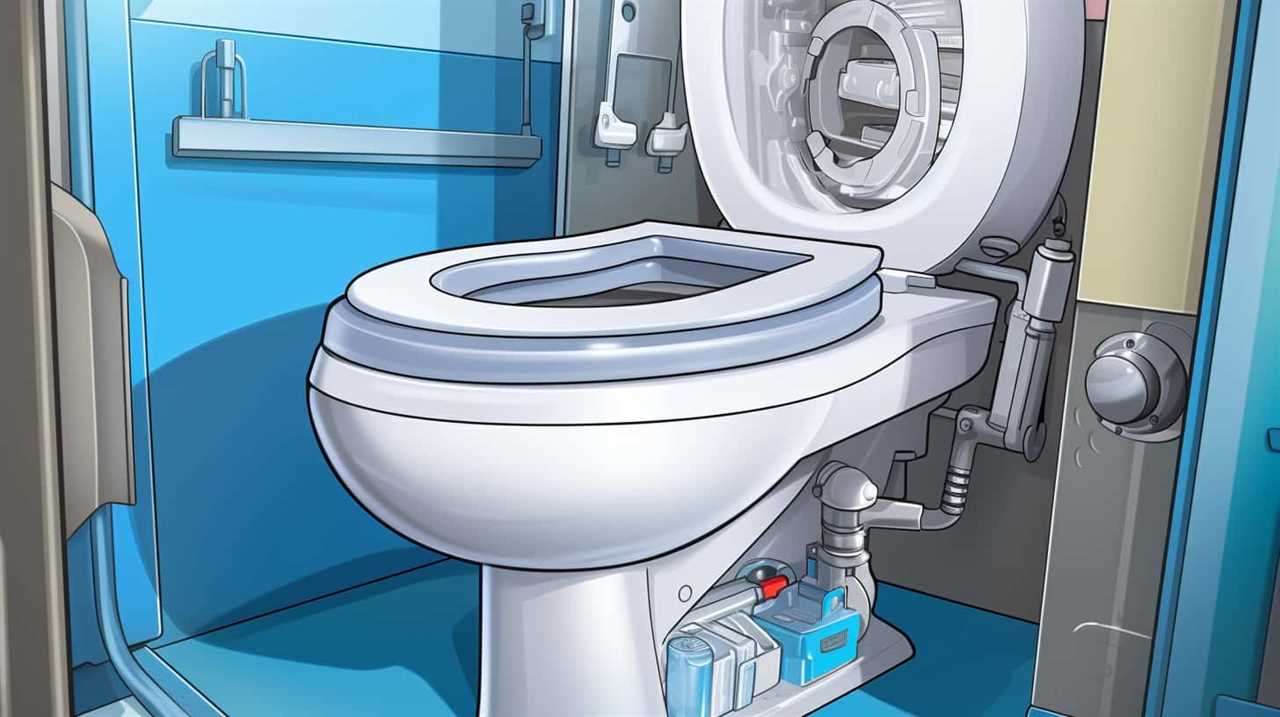
Maintaining and cleaning our toilets regularly is essential in preventing clogs and ensuring optimal performance. Neglecting this aspect of toilet care can lead to unpleasant and costly issues down the line. To keep our toilets in top shape, here are some important steps to follow:
- Toilet bowl scrubbing: Regularly scrubbing the toilet bowl removes built-up grime and prevents blockages. Use a toilet brush and a mild cleaner to thoroughly clean the bowl, paying special attention to the rim and under the rim.
- Drain inspection: Periodically inspecting the drain can help identify potential clogging issues before they become major problems. Check for any signs of blockage, such as slow draining or unusual noises. If necessary, use a plunger or a drain snake to clear any debris.
- Cleaning the tank: It’s also important to clean the toilet tank to prevent sediment buildup. Remove the tank lid and use a sponge or brush to clean the inside surfaces. Be sure to flush the tank thoroughly after cleaning.
- Regular maintenance schedule: Establish a regular maintenance schedule to ensure that cleaning and inspection tasks are performed consistently. This will help prevent clogs and maintain optimal toilet performance.
Avoiding Flushing Non-Flushable Items
One important step in preventing toilet clogs is to avoid flushing non-flushable items. Properly disposing waste and educating children about what can be flushed are crucial aspects of maintaining a functional toilet system. To emphasize the significance of this step, let’s take a look at the following table:
| Non-Flushable Items | Why They Shouldn’t Be Flushed | Proper Disposal Method |
|---|---|---|
| Baby wipes | They do not break down easily | Dispose in the trash |
| Dental floss | Can cause clogs and tangles | Throw in the trash |
| Cotton swabs | Can get stuck and form blockages | Dispose in the trash |
Disposing waste properly involves recognizing that some items, such as baby wipes, dental floss, and cotton swabs, should not be flushed down the toilet. Instead, they should be placed in the trash. Educating children about these guidelines is essential to prevent accidental flushing of non-flushable items. By following these practices, we can reduce the risk of toilet clogs and maintain a properly functioning toilet system.
Upgrading to a High-Pressure Toilet
To reduce the likelihood of clogs, we recommend upgrading to a high-pressure toilet. High-pressure toilets are designed to provide a stronger flush, which helps to clear waste more effectively and prevent clogs from occurring.
Here are some key benefits of upgrading to a high-pressure toilet:
- Increased water pressure: High-pressure toilets are designed to operate with higher water pressure, ensuring a more forceful and thorough flush.
- Efficient waste removal: The increased water pressure helps to push waste through the plumbing system more efficiently, reducing the chances of clogs.
- Less maintenance: With a high-pressure toilet, you’ll experience fewer clogs, which means less time and money spent on maintenance and repairs.
- Improved overall performance: Upgrading to a high-pressure toilet will enhance the overall performance of your plumbing system, ensuring a more reliable and efficient flushing experience.
Frequently Asked Questions
How Do I Fix a Clogged Toilet if the Proper Flushing Techniques Mentioned in the Article Don’t Work?
If the proper flushing techniques don’t work to fix a clogged toilet, we can try other toilet unclogging techniques. One effective method is using a plunger to create suction and dislodge the blockage.
Can Using a Bidet Instead of Toilet Paper Help Prevent Clogs?
Using a bidet instead of toilet paper has several benefits, including reducing the environmental impact of toilet paper. Bidets use water to clean, which can help prevent clogs by ensuring proper flushing.
How Often Should I Hire a Professional Plumber for Regular Maintenance and Cleaning of My Toilet?
For regular maintenance and cleaning of our toilet, we should hire a professional plumber periodically. They are skilled in identifying and resolving potential issues, ensuring optimal functionality and reducing the likelihood of clogs.
What Are the Consequences of Flushing Non-Flushable Items, and How Can They Be Avoided?
Flushing non-flushable items can have serious consequences, such as clogs and damage to your plumbing system. To avoid these issues, it is crucial to educate ourselves on what can and cannot be flushed and dispose of non-flushable items properly.
Are There Any Drawbacks or Disadvantages to Upgrading to a High-Pressure Toilet?
When considering the advantages and disadvantages of upgrading to a high-pressure toilet, it is important to evaluate factors such as water consumption, noise levels, and maintenance requirements.
Conclusion
In conclusion, after investigating the truth behind what makes a toilet less likely to clog, it’s clear that proper flushing techniques, mindful toilet paper usage, regular maintenance and cleaning, avoiding flushing non-flushable items, and upgrading to a high-pressure toilet are all essential factors.
By following these guidelines, you can ensure a smoothly functioning toilet and minimize the chances of experiencing clogs. Remember, a little attention and care go a long way in maintaining a trouble-free bathroom experience.

With an impeccable eye for detail and a passion for bathroom-related, Ava leads our editorial team gracefully and precisely.
Under her guidance, Best Modern Toilet has flourished as the go-to resource for modern bathroom enthusiasts. In her free time, you might find Ava exploring antique shops and looking for vintage bathroom fixtures to add to her collection.

Let’s discuss a crucial topic: the correct way to dispose of condoms.
Flushing condoms down the toilet may seem convenient, but is it really okay? In this article, we’ll explore the potential risks and environmental impact of this practice.
We’ll also discuss the effects on plumbing systems and provide responsible alternatives for condom disposal.
Join us as we delve into this topic, aiming to inform and empower you with the knowledge you need for responsible condom use.
Key Takeaways
- Flushing condoms can lead to clogs and costly repairs in sewage systems.
- Flushed condoms contribute to environmental pollution in water bodies and harm marine life.
- Condoms made of latex or polyurethane are not easily biodegradable and can cause plumbing issues.
- Responsible disposal methods, such as wrapping condoms in tissue and throwing them in the trash, are essential for preventing these risks.
Potential Risks of Flushing Condoms
Flushing condoms down the toilet poses several potential risks that we should be aware of.
One of the main risks is the possibility of clogging the sewage system. Condoms are made of materials that don’t easily break down in water, such as latex or polyurethane. As a result, when flushed down the toilet, they can cause blockages in pipes and sewage treatment plants. These blockages not only disrupt the flow of wastewater, but they can also lead to costly repairs and maintenance.
Moreover, the impact on sewage systems goes beyond clogging. Condoms can end up in rivers, lakes, and oceans, contributing to environmental pollution. It’s important to properly dispose of condoms in designated waste bins to avoid these risks and protect the integrity of sewage systems.
Environmental Impact of Flushing Condoms
When condoms are flushed down the toilet, they contribute to environmental pollution by ending up in rivers, lakes, and oceans. This has significant biodegradability concerns and can have a detrimental impact on aquatic ecosystems. The materials used in condoms, such as latex and polyurethane, are not readily biodegradable and can persist in the environment for a long time. As a result, these non-biodegradable condoms can accumulate in water bodies, posing a threat to marine life. To illustrate the gravity of this issue, consider the following table:
| Environmental Impact of Flushing Condoms | ||
|---|---|---|
| Condom Materials | Biodegradability | Impact on Aquatic Ecosystems |
| Latex | Not readily biodegradable | Can harm marine life |
| Polyurethane | Not readily biodegradable | Can harm marine life |
It is crucial to raise awareness about the negative consequences of flushing condoms and encourage responsible disposal methods to protect our environment.
Effects of Condoms on Plumbing Systems
As we continue our discussion on the environmental impact of flushing condoms, it’s important to consider the effects these contraceptives can have on plumbing systems.
When condoms are flushed down the toilet, they can cause various plumbing issues that may lead to clogging concerns. Condoms are made of materials like latex or polyurethane, which aren’t easily biodegradable. These materials have the potential to cause blockages in pipes, especially in older plumbing systems with narrower pipes.
Additionally, condoms can wrap around other debris in the plumbing, creating a larger obstruction. This can result in reduced water flow, backups, and even costly repairs.
It’s crucial to dispose of condoms properly in trash bins to prevent these plumbing problems and maintain the integrity of the plumbing system.
Alternatives to Flushing Condoms
To avoid the potential plumbing issues associated with flushing condoms, we can explore alternative methods of disposal.
One sustainable condom disposal option is to wrap the used condom in tissue or toilet paper and place it in a waste bin. This prevents clogging of the plumbing system and ensures proper waste management.
Another alternative is to use biodegradable condoms. These condoms are made from materials that can break down naturally over time, reducing their environmental impact. Biodegradable condom options are becoming more widely available and offer a more eco-friendly option for disposal.
Responsible Methods of Condom Disposal
To ensure responsible condom disposal, we can continue the conversation by exploring effective methods that minimize the risk of plumbing issues and promote environmental sustainability.
Proper condom disposal is crucial to prevent blockages in plumbing systems and protect the environment.
Safe condom disposal methods involve wrapping the used condom in tissue or toilet paper and throwing it in the trash. It’s important not to flush condoms down the toilet as they can clog pipes and cause expensive damage.
Another option is to use dedicated condom disposal bags or pouches, which can be found at pharmacies or online. These bags are designed to securely hold used condoms until they can be properly disposed of in the trash.
Frequently Asked Questions
Can Flushing Condoms Down the Toilet Cause Damage to the Sewage System?
Flushing condoms down the toilet can cause sewage system damage and health risks. It is important to properly dispose of condoms in the trash to prevent clogs and ensure the integrity of the sewage system.
Are There Any Health Risks Associated With Flushing Condoms?
There can be health risks associated with flushing condoms, as they can clog pipes and damage sewage systems. Proper disposal, such as wrapping them in tissue and throwing them in the trash, is recommended.
What Are the Potential Consequences of Flushing Condoms on the Environment?
Flushing condoms down the toilet can have potential pollution and environmental impact. Proper disposal is crucial to prevent clogging, sewage system damage, and harm to aquatic life. It is not recommended.
Are There Any Alternative Methods of Disposing of Condoms Besides Flushing?
When considering the proper disposal of condoms, it’s essential to explore alternative methods. Flushing condoms down the toilet may not be advisable, but there are other options available that ensure both convenience and environmental responsibility.
How Can Individuals Responsibly Dispose of Condoms to Minimize Their Impact on the Environment?
To minimize our impact on the environment, we must practice sustainable condom disposal. We can explore eco-friendly methods such as wrapping condoms in tissue and disposing them in the trash, or using biodegradable condom options.
Conclusion
In conclusion, it’s indeed a brilliant idea to flush condoms down the toilet! Who needs to consider the potential risks of clogged pipes, sewer backups, or the environmental impact?
Let’s just ignore the fact that condoms can wreak havoc on plumbing systems and opt for the convenient route. After all, who needs responsible methods of condom disposal when we can embrace the thrill of a plumbing disaster?
The choice is yours, but remember, sarcasm does wonders for analytical objectivity.

With an impeccable eye for detail and a passion for bathroom-related, Ava leads our editorial team gracefully and precisely.
Under her guidance, Best Modern Toilet has flourished as the go-to resource for modern bathroom enthusiasts. In her free time, you might find Ava exploring antique shops and looking for vintage bathroom fixtures to add to her collection.
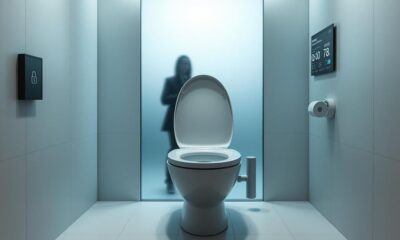
Similar to a ship’s crew discussing which way to navigate, we frequently contemplate the timeless query: should we shut the toilet seat after using it?
In this article, we explore the hygiene benefits, potential health risks, and courtesy arguments for closing the seat.
We also delve into the reasons why some opt to leave it open.
Join us as we navigate the murky waters of toilet seat etiquette and help you make an informed decision based on facts and considerations.
Key Takeaways
- Closing the toilet seat after pooping helps prevent the spread of germs and maintains cleanliness in the bathroom.
- Leaving the seat open increases the risk of spreading germs and bacteria throughout the bathroom, potentially causing illnesses.
- Closing the seat shows respect and consideration for others, preventing accidental contact with germs and reducing the risk of someone falling into the toilet bowl.
- When deciding whether to close the seat, it is important to consider personal preferences, household dynamics, and the importance of reaching a mutual agreement to maintain harmony in shared spaces.
Hygiene Benefits of Closing the Seat
Closing the toilet seat after using it can help prevent the spread of germs and maintain cleanliness in the bathroom. By closing the seat, you create a barrier that prevents bacteria and other microorganisms from escaping the toilet bowl and contaminating the surrounding area. This simple act of hygiene can significantly reduce the risk of illness and infection.
When the seat is left open, it allows for the dispersion of microscopic droplets that may contain harmful bacteria, increasing the chances of cross-contamination. Closing the toilet seat also prevents items from accidentally falling into the bowl, ensuring that the surface remains clean and free from potential sources of contamination.
Potential Health Risks of Leaving the Seat Open
Leaving the toilet seat open can increase the risk of spreading germs and bacteria throughout the bathroom. When the seat is left open, particles from flushing can be dispersed into the air, landing on various surfaces. These particles may contain harmful microorganisms that can cause illnesses such as diarrhea, urinary tract infections, and respiratory infections. To illustrate the potential health risks of leaving the seat open, consider the following table:
| Risks | Cleanliness |
|---|---|
| Spread of germs | Reduced hygiene |
| Increased infection | Decreased sanitation |
| Higher risk of illness | Poor bathroom hygiene |
The Courtesy Argument for Closing the Seat
After we finish using the toilet, it’s considerate to close the seat for the next person. This simple act shows respect and consideration for others who may need to use the bathroom after us. While some may argue that leaving the seat open isn’t a big deal, the courtesy argument for closing the seat holds its ground. Here are three reasons why closing the seat is the polite thing to do:
- Hygiene: Closing the seat prevents any accidental contact with germs or bacteria that may be present in the toilet bowl. It helps maintain a clean and sanitary environment for everyone.
- Safety: A closed seat reduces the risk of someone accidentally falling into the toilet bowl, especially in households with young children or elderly individuals.
- Cultural perspectives: Closing the seat is a common practice in many cultures, seen as a sign of cleanliness and respect. By adhering to this etiquette, we can show our understanding and consideration for diverse cultural norms.
Reasons Why Some People Choose to Leave the Seat Open
While it’s important to consider the courtesy argument for closing the seat, some people choose to leave it open for their own personal reasons. Toilet seat etiquette is a matter of individual preference, and there are several factors that might influence this choice.
Some individuals may have physical limitations or disabilities that make it difficult to close the seat after use. Others may find it more convenient to leave the seat open, especially in households where multiple people use the bathroom. Additionally, some individuals may have cultural or personal beliefs that affect their decision to leave the seat open.
Ultimately, each person’s choice regarding the toilet seat should be respected, as long as they’re mindful of the preferences and needs of others who share the same space.
Considerations for Making Your Own Decision
When making our own decision about whether to close the toilet seat after pooping, there are several factors to consider. Here are three key considerations to keep in mind:
- Toilet Seat Etiquette: Proper toilet seat etiquette is an important aspect to consider. Closing the toilet seat after using it shows respect for others who might use the bathroom next, ensuring a clean and tidy environment for everyone.
- Personal Preferences: Your own personal preferences should also play a role in making this decision. Some people prefer to close the toilet seat for hygienic reasons or to prevent pets from drinking out of the bowl, while others may leave it open for convenience or personal habits.
- Household Dynamics: The dynamics of your household can also influence your decision. If you live alone, you have the freedom to choose what works best for you. However, if you live with others, it’s important to consider their preferences and reach a mutual agreement to maintain harmony.
Frequently Asked Questions
Are There Any Specific Bacteria or Germs That Can Be Easily Transmitted From Leaving the Toilet Seat Open?
Leaving the toilet seat open can expose us to specific bacteria and germs that are easily transmitted. It’s important to close the toilet seat to minimize the risk of spreading these harmful microorganisms.
How Does Leaving the Toilet Seat Open Affect the Overall Cleanliness of the Bathroom?
Leaving the toilet seat open can have a negative effect on bathroom hygiene. It allows for the spread of bacteria and unpleasant odors to linger. Closing the seat after use helps maintain cleanliness and control odors.
Are There Any Potential Health Risks Associated With Closing the Toilet Seat After Pooping?
Closing the toilet seat after pooping may have potential hygiene risks. It can trap bacteria and odors, impacting bathroom sanitation. However, regularly cleaning the toilet and practicing good hand hygiene can help mitigate these risks.
What Are the Social Implications of Leaving the Toilet Seat Open in Public Restrooms?
When it comes to social etiquette in public restrooms, closing the toilet seat after use is considered good hygiene. It shows respect for others and helps maintain cleanliness, preventing potential health risks.

How Can Personal Preferences and Cultural Norms Influence the Decision to Close or Leave the Toilet Seat Open After Using the Bathroom?
When considering whether to close the toilet seat after using it, personal preferences and cultural norms play a significant role. Our individual choices and societal expectations shape our decision-making in this matter.
Conclusion
In conclusion, closing the toilet seat after pooping is a hygienic and considerate practice. It helps prevent the spread of germs and potential health risks associated with leaving it open.
Like closing the door to keep out unwanted guests, closing the toilet seat is a simple act of courtesy that can make a big difference in maintaining a clean and healthy bathroom environment.
So remember, just like shutting the front door to keep the cold out, close the toilet seat to keep the germs in!

With an impeccable eye for detail and a passion for bathroom-related, Ava leads our editorial team gracefully and precisely.
Under her guidance, Best Modern Toilet has flourished as the go-to resource for modern bathroom enthusiasts. In her free time, you might find Ava exploring antique shops and looking for vintage bathroom fixtures to add to her collection.


The Future of Bathroom Cleaning: How Smart Toilets Are Making Chores Obsolete

Composting Smart Toilets: High-Tech Solutions for Eco-Conscious Homeowners
The Rise of Smart Toilet Apps: Tracking Health and Habits on Your Smartphone

Smart Toilets in Healthcare: Improving Patient Care and Monitoring

Cultural Differences in Smart Toilet Adoption: A Global Perspective
-

 Guides2 months ago
How Smart Toilets Can Help Detect Early Signs of Health Issues
-

 Guides3 months ago
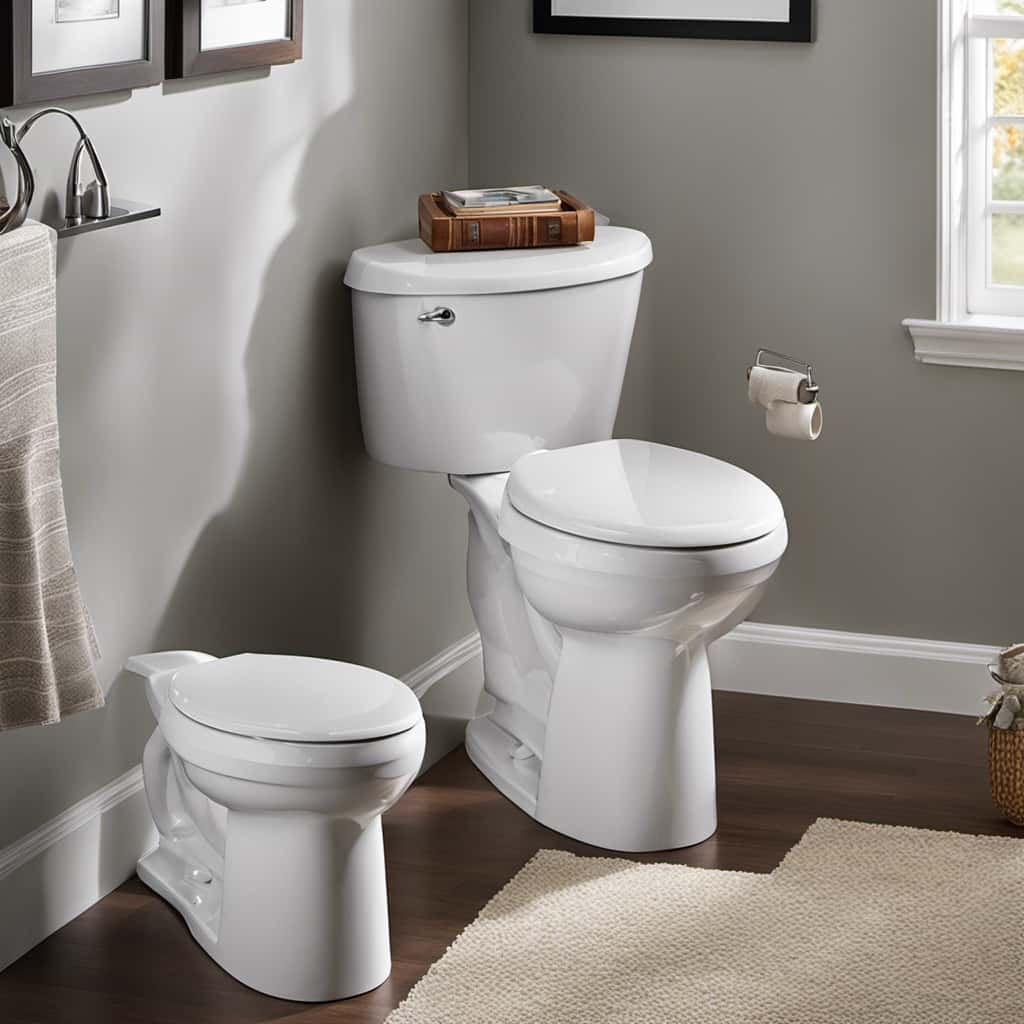
Comparing Top Smart Toilet Brands: Kohler Vs. Toto Vs. American Standard
-

 Guides3 months ago
The Evolution of Toilet Technology: From Ancient Times to Smart Toilets
-

 Guides3 months ago
Toilet Paper Etiquette Around the World: A Country-by-Country Guide
-

 Guides2 months ago
The Future of Public Restrooms: Smart Toilets in Airports, Malls, and Stadiums
-

 Guides2 months ago
Smart Toilets in Japan: What We Can Learn From the Leaders in Toilet Tech
-

 Guides2 months ago
Smart Toilet Regulations and Standards: Navigating the Legal Landscape
-
 Guides2 months ago
Privacy Concerns With Smart Toilets: What You Need to Know