
Guides
How Far Does a Toilet Stick Out From the Wall
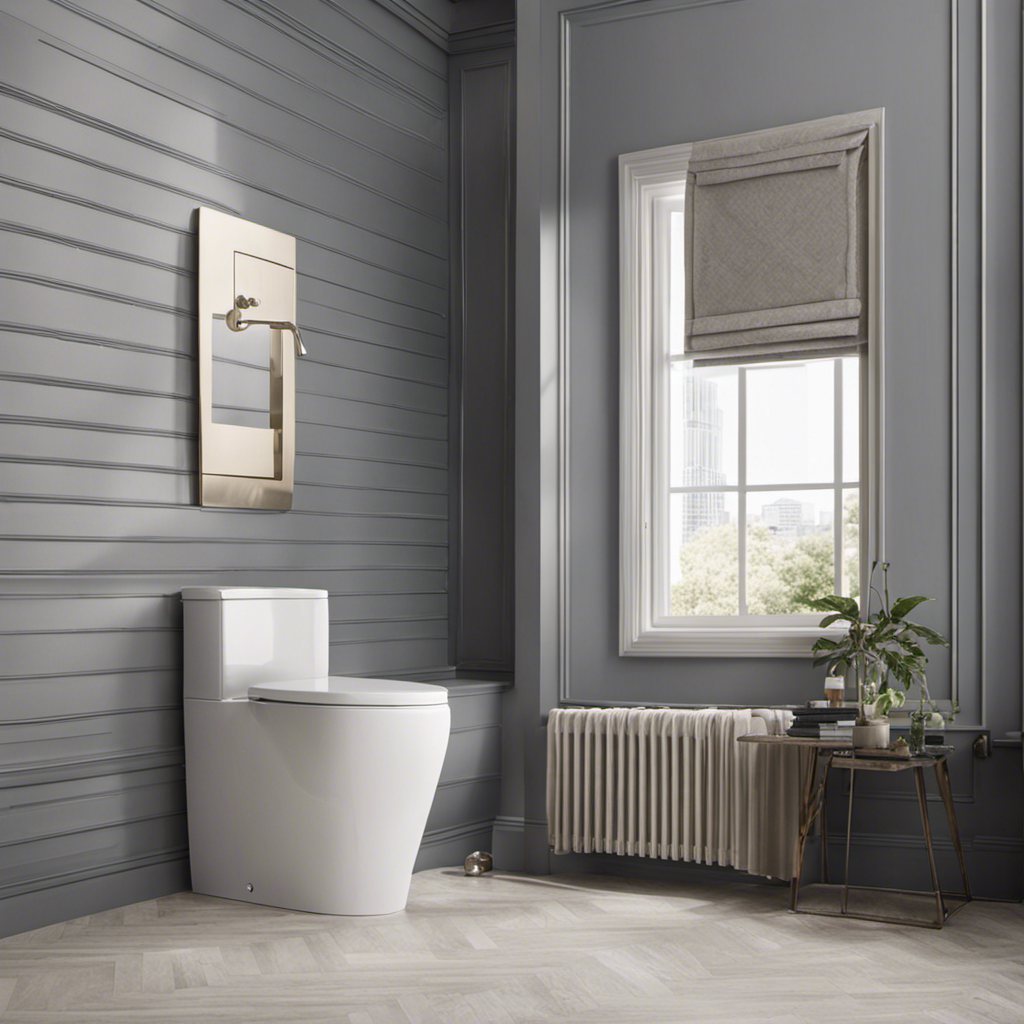
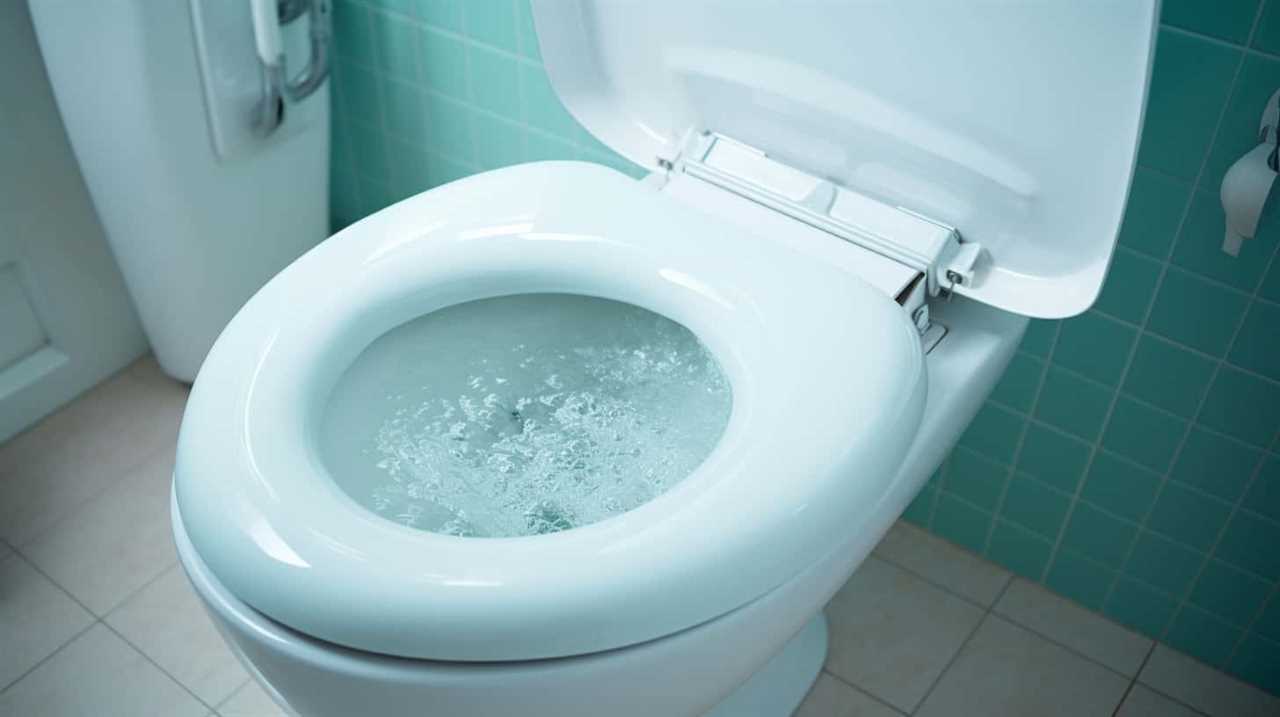
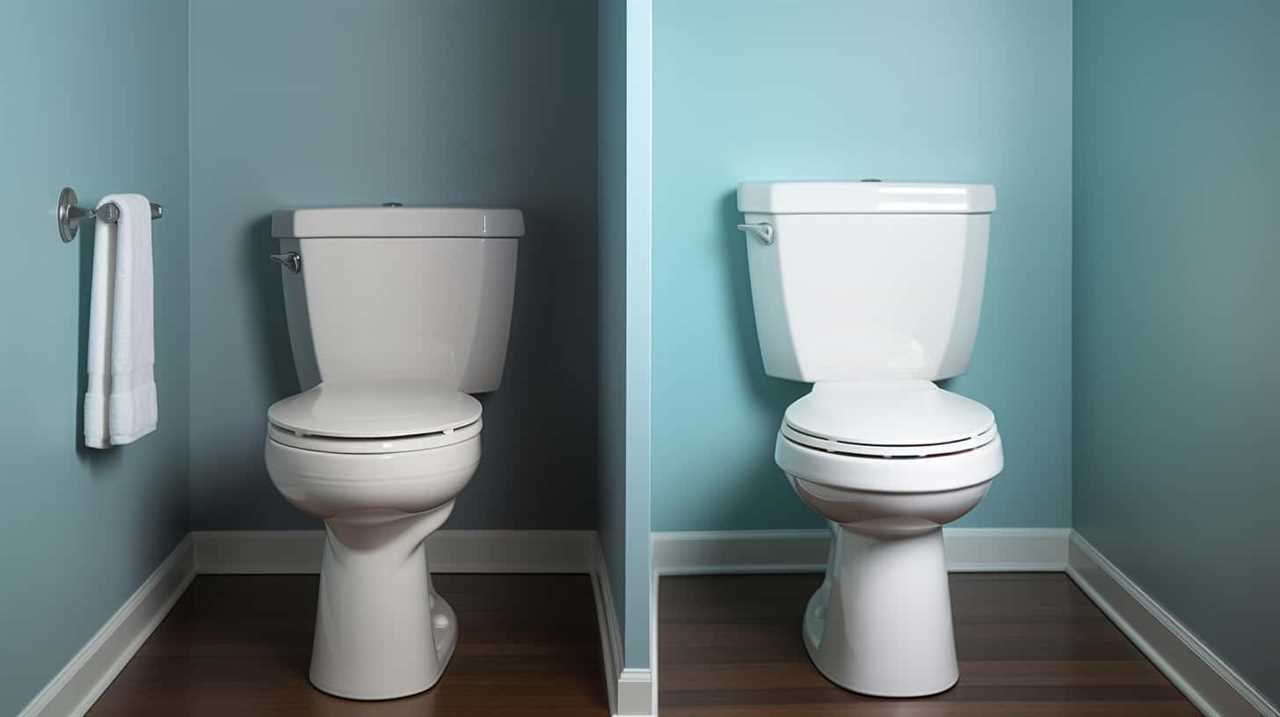
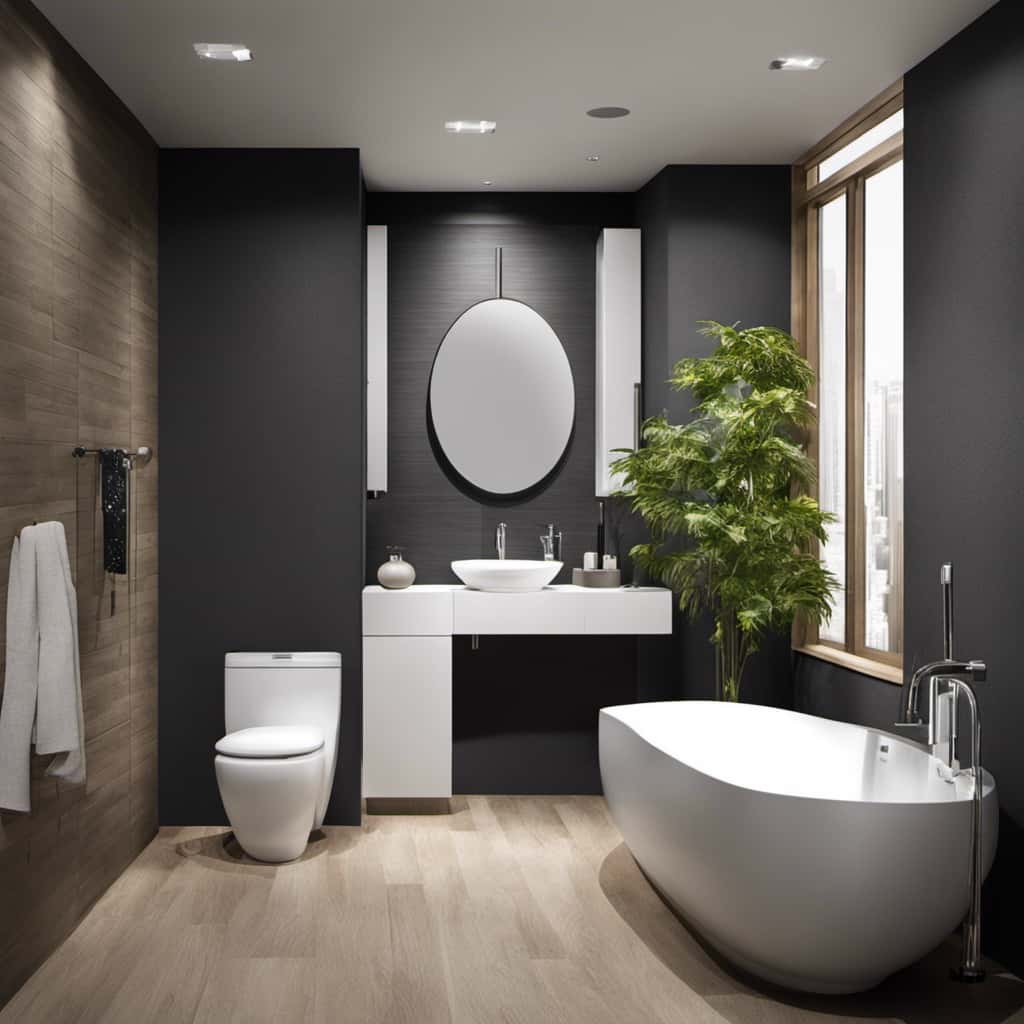
As I step into the bathroom, my eyes are drawn to the toilet. It’s a humble fixture, often overlooked, but its position against the wall holds significance. How far does a toilet stick out from the wall?
This question may seem trivial, but it has practical implications for both space optimization and comfort. In this article, I will delve into the factors that influence toilet distance from the wall, standard measurements, and how to adjust it for small spaces or maximize it for added comfort.
Get ready to flush away any uncertainties about toilet protrusion.
Key Takeaways
- Toilets typically stick out about 12 inches from the wall, allowing for proper leg and knee room, easy access to the flush lever and toilet paper holder, and ergonomic design considerations.
- Factors such as plumbing and bathroom layout, wall structure limitations, personal comfort preferences, and plumbing regulations in different regions can influence the distance a toilet should stick out from the wall.
- It is important to consult plumbing regulations, ensure proper installation of the toilet flange, consider bathroom layout and available space, and prioritize comfort and accessibility when determining the distance a toilet should protrude from the wall.
- Wall construction, weight limitations of standard materials like drywall or plaster, the location of plumbing pipes behind the wall, and understanding the wall structure are crucial in ensuring a secure attachment and proper positioning of the toilet without compromising stability and functionality.
Understanding Toilet Protrusion
Toilets typically stick out about 12 inches from the wall. This is an important aspect to consider when it comes to toilet installation. When positioning the toilet, it is crucial to ensure that there is enough space for comfortable usage.

Ergonomic design plays a significant role in determining the ideal distance a toilet should protrude from the wall. The 12-inch distance allows for proper leg and knee room, ensuring a comfortable sitting position. It also provides enough space for easy access to the flush lever and toilet paper holder.
When installing a toilet, it is essential to follow these tips and consider the ergonomic design to create a functional and comfortable bathroom space.
Factors Affecting Toilet Distance From Wall
When it comes to determining the distance of a toilet from the wall, there are a few key factors to consider.
Firstly, the plumbing and layout of the bathroom play a significant role in determining the placement of the toilet.
Secondly, the wall structure limitations can also impact how far the toilet can be positioned from the wall.
Finally, personal comfort preferences should also be taken into account, as some individuals may prefer a toilet that is closer or further away from the wall based on their own needs and preferences.
Understanding these factors can help homeowners make informed decisions when it comes to toilet placement in their bathrooms.
Plumbing and Layout
When you’re considering the plumbing and layout of your bathroom, it’s important to determine how far the toilet will stick out from the wall. This distance is crucial for ensuring that the toilet is properly installed and meets plumbing regulations.
Here are four key factors to consider when determining the distance:
-
Plumbing Regulations: Different regions may have specific regulations regarding the distance between the toilet and the wall. It’s important to consult local plumbing codes to ensure compliance.
-
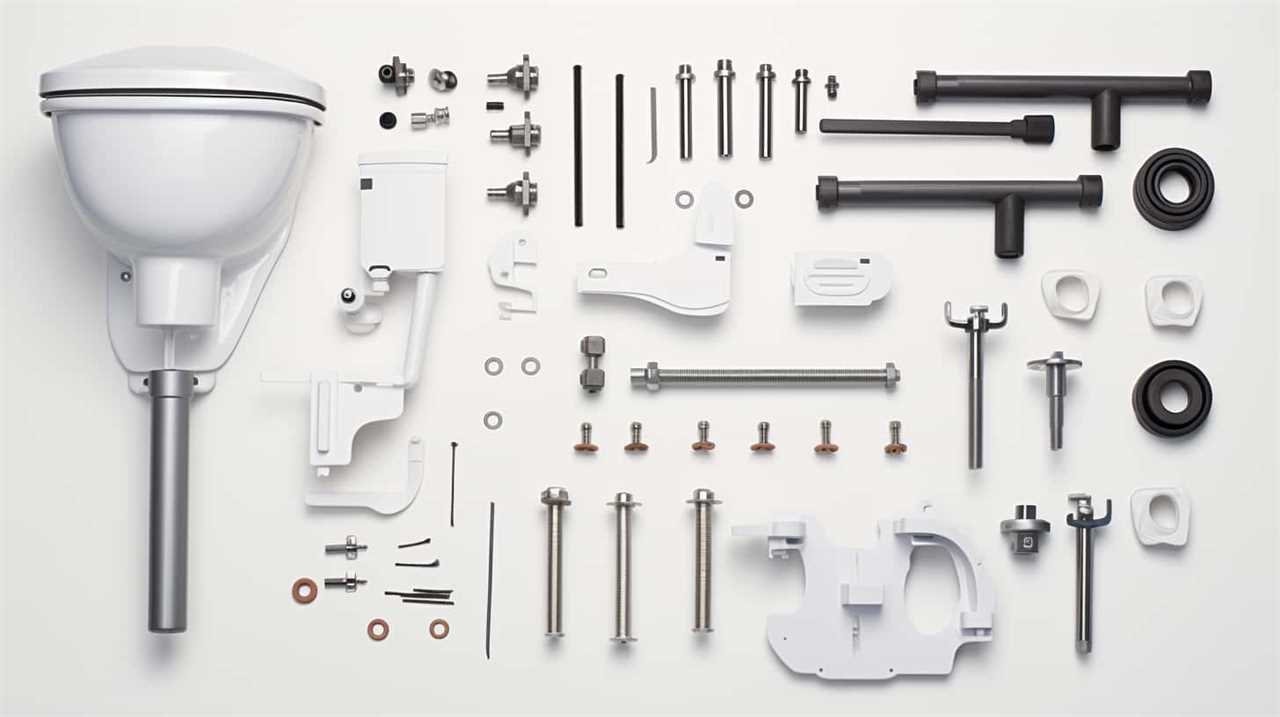
Toilet Flange Installation: The toilet flange is a key component that connects the toilet to the waste pipe. Proper installation of the flange will determine how far the toilet extends from the wall.
-
Bathroom Layout: The overall layout of your bathroom, including the positioning of other fixtures and the available space, will also impact the distance the toilet sticks out from the wall.
-
Comfort and Accessibility: It’s important to consider the comfort and accessibility of the toilet when determining the distance from the wall. Leave enough space for comfortable use and easy maintenance.
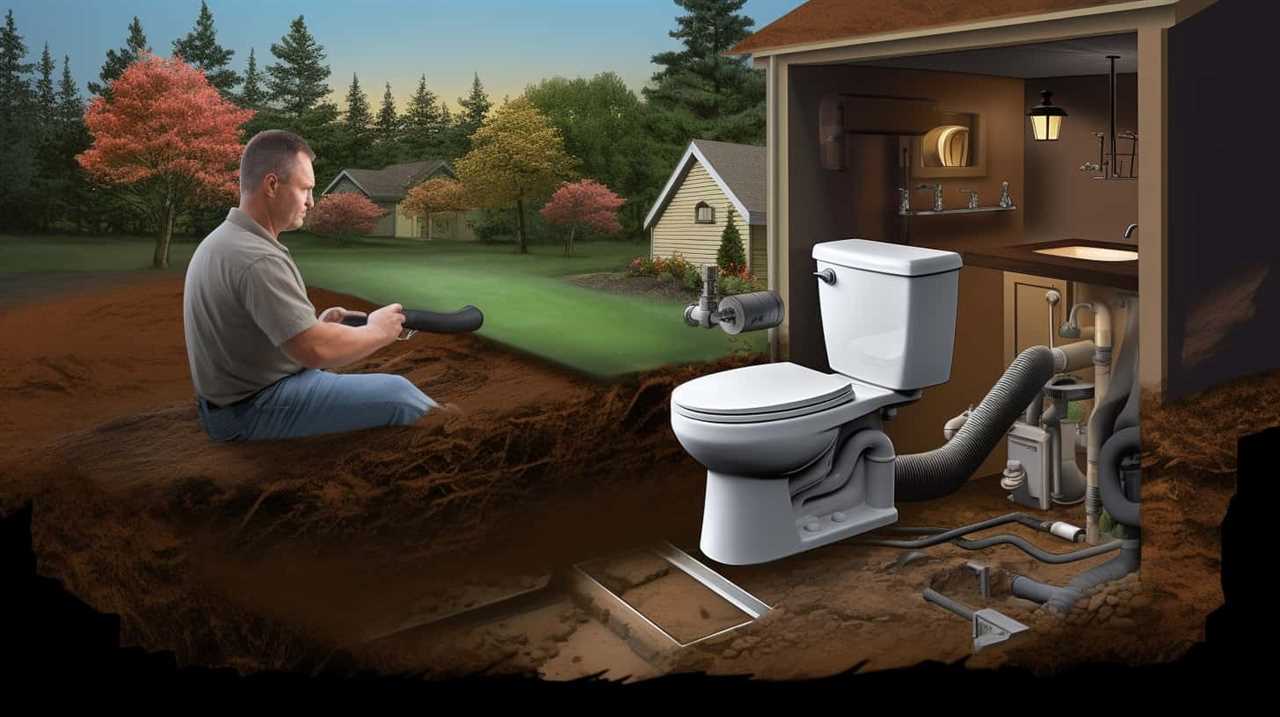
Wall Structure Limitations
Considering the limitations of the wall structure is crucial when determining the distance the toilet should protrude from the wall. Wall construction plays a significant role in the toilet installation process. The thickness and stability of the wall determine how far the toilet can stick out without compromising its stability and functionality.
Most walls are constructed using standard materials like drywall or plaster, which may have weight limitations. Additionally, the location of plumbing pipes behind the wall should be considered to ensure proper installation and avoid any obstructions.
By understanding the wall structure and its limitations, you can ensure that the toilet is securely attached and properly positioned.
Now, let’s explore how personal comfort preferences also come into play when determining the ideal distance a toilet should stick out from the wall.
Personal Comfort Preferences
To ensure your personal comfort, it’s important to determine the ideal distance for the toilet to protrude from the wall. This not only affects your posture while using the toilet but also plays a role in the overall aesthetics of your bathroom decor.
Here are some factors to consider when adjusting the seat:
-
Ergonomics: The distance should allow for a natural and comfortable sitting position, with your feet flat on the floor and your knees at a comfortable angle.
-
Space constraints: Consider the size of your bathroom and ensure the toilet doesn’t stick out too far, causing obstruction or making the space feel cramped.
-
Cleaning ease: A proper distance between the toilet and the wall allows for easy access for cleaning purposes, making maintenance a breeze.
-
Design harmony: Find a balance between functionality and design, ensuring that the toilet’s distance from the wall complements the overall aesthetic of your bathroom.
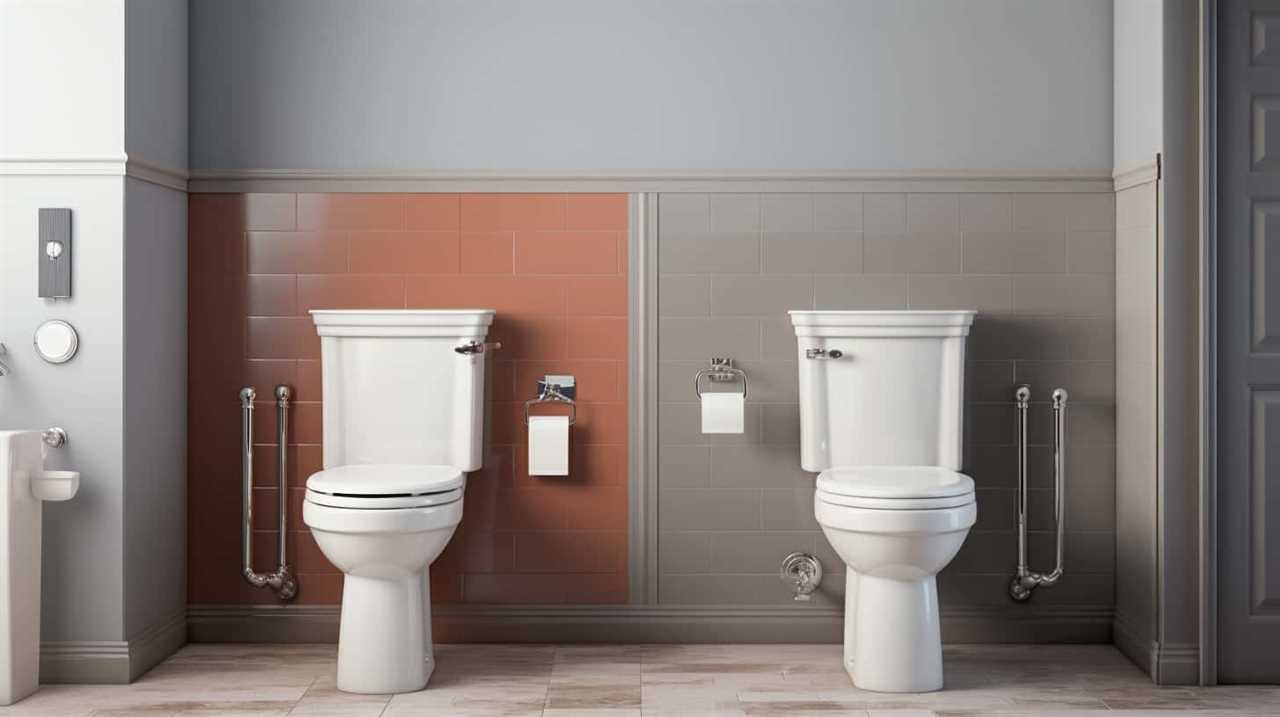
Standard Measurements for Toilet Protrusion
When it comes to optimizing toilet placement, there are a few key factors to consider.
First, it’s important to determine the optimal distance the toilet should protrude from the wall to ensure comfortable and efficient use.
Additionally, space-saving toilet options are worth exploring to maximize the available space in smaller bathrooms.
Optimal Toilet Placement
The optimal placement for a toilet depends on how far it sticks out from the wall. When considering toilet placement, there are a few important distance considerations to keep in mind:
-
Clearance: Ensure there is enough space between the toilet and surrounding fixtures, such as walls, cabinets, and shower enclosures. This will prevent any inconvenience or potential damage during use.
-
Accessibility: Position the toilet within easy reach, especially for individuals with mobility issues. This may involve considering the placement in relation to doorways or other obstacles.
-
Comfort: Place the toilet at a height that is comfortable for the majority of users. Standard toilet heights are typically around 15 inches from the floor to the seat.
-
Plumbing: Consider the location of the existing plumbing lines when determining the optimal placement for the toilet. This will ensure a smooth installation process and avoid any unnecessary expenses.
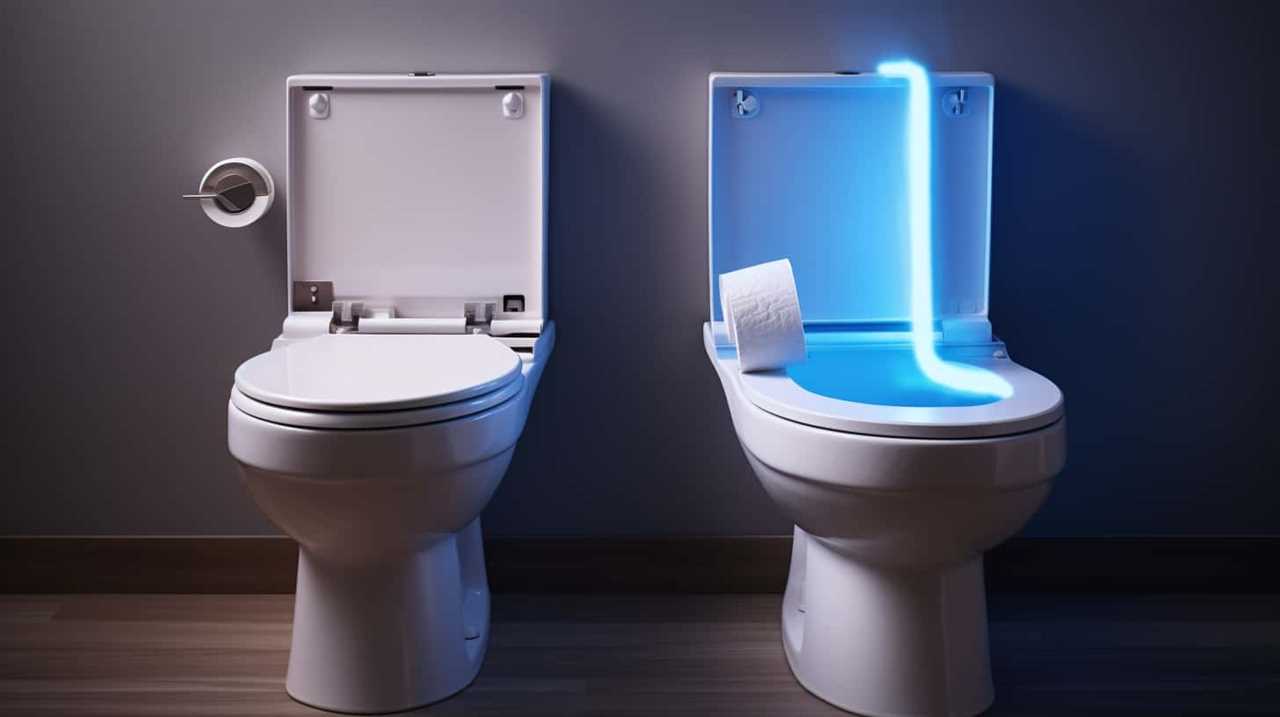
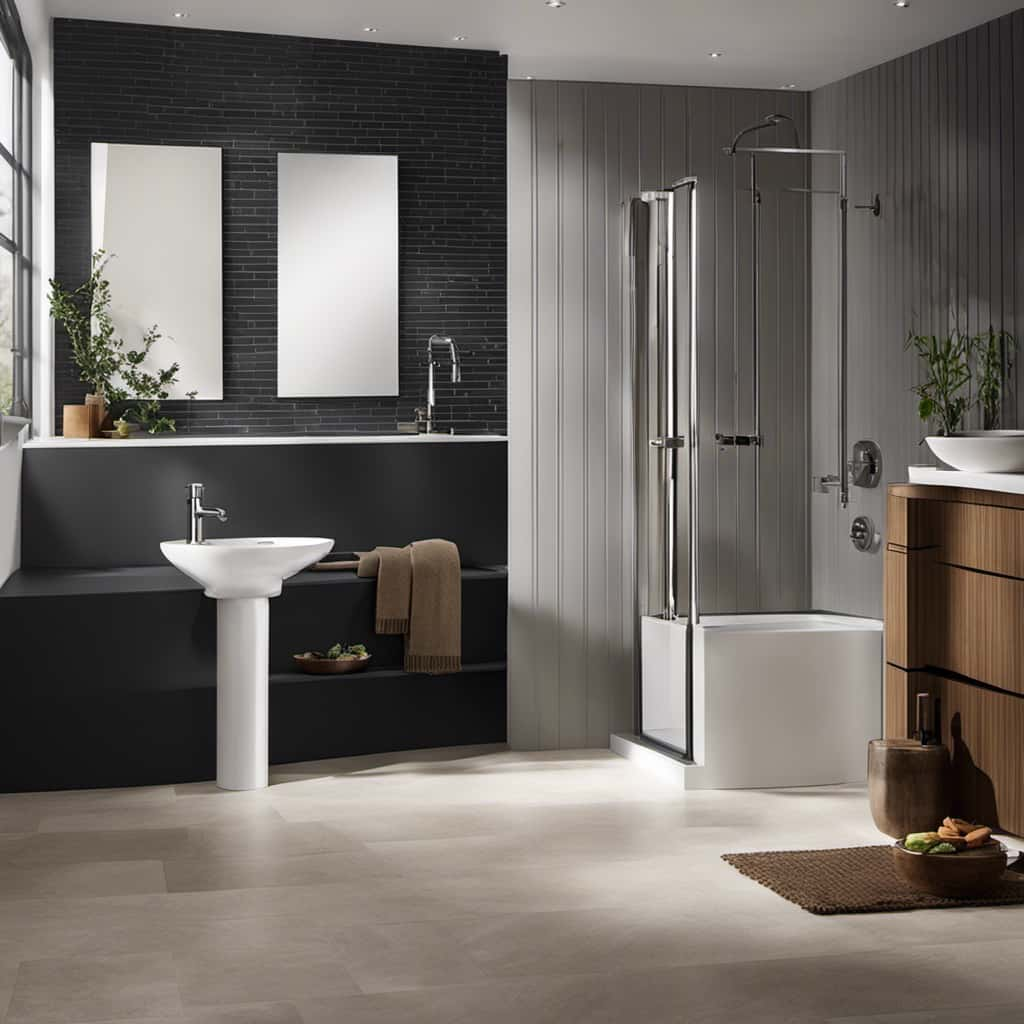
Space-Saving Toilet Options
Consider opting for space-saving toilet options to maximize the available room in your bathroom. When it comes to designing a small bathroom, every inch counts. Space-saving designs and compact toilet options can make a significant difference in the overall layout and functionality of your bathroom. These toilets are designed to fit into tight spaces without compromising on comfort or performance.
To give you a better idea of the available options, here is a comparison table showcasing three popular compact toilet models:
| Model | Dimensions | Features |
|---|---|---|
| A | 25" x 14" | Dual flush, elongated bowl, sleek design |
| B | 24" x 12" | Water-saving, round bowl, easy installation |
| C | 26" x 15" | One-piece design, soft-close seat, efficient flushing |
Adjusting Toilet Protrusion for Small Spaces
To maximize space in small bathrooms, you can adjust how far a toilet sticks out from the wall. This is an important consideration when designing a bathroom with limited space. Here are four toilet placement options to help you make the most of your small bathroom:
-
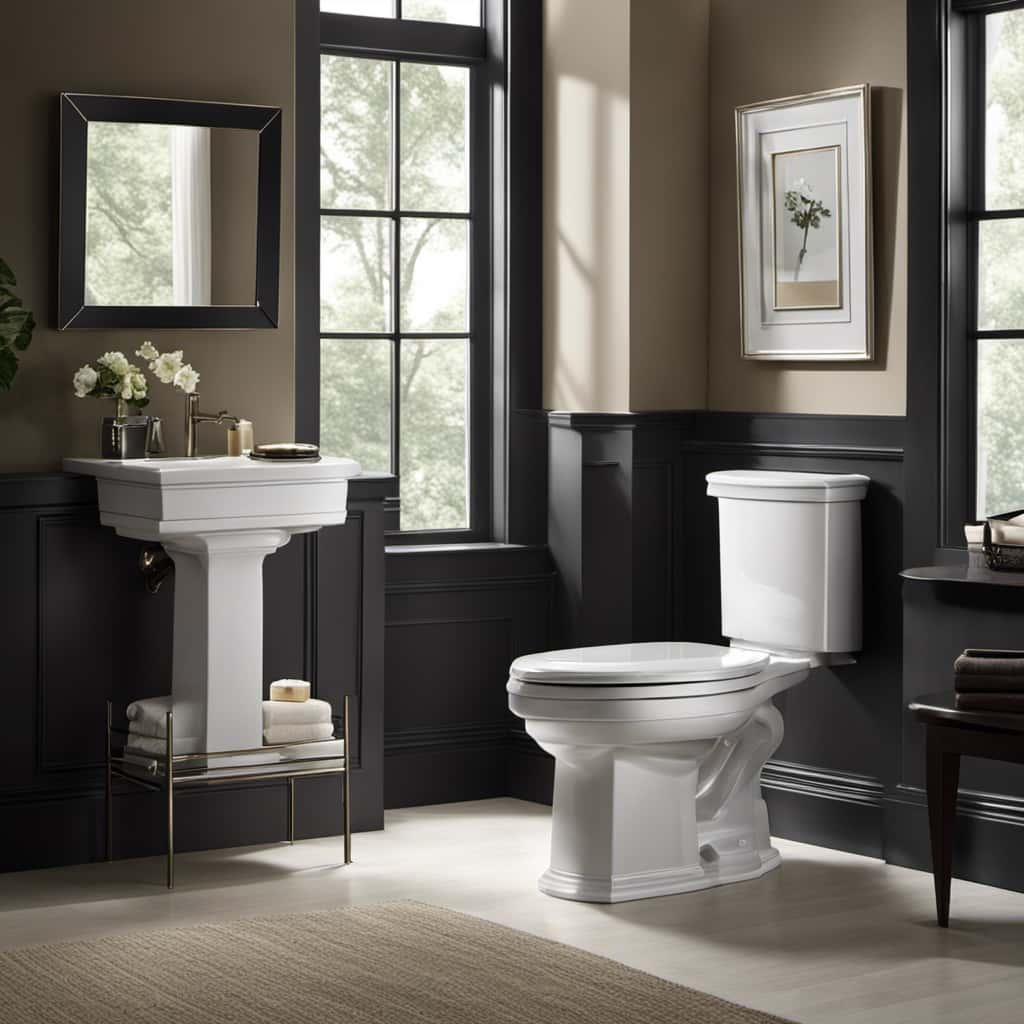
Standard Depth: The toilet is placed with the bowl and tank protruding approximately 30 inches from the wall. This is the most common option and works well in average-sized bathrooms.
-
Compact Depth: A compact toilet is designed with a shorter depth, usually around 27 inches. This option is ideal for narrower bathrooms where space is limited.
-
Corner Placement: Placing the toilet in a corner allows for maximum space utilization. Corner toilets have a triangular tank that fits snugly into the corner, saving valuable floor space.
-
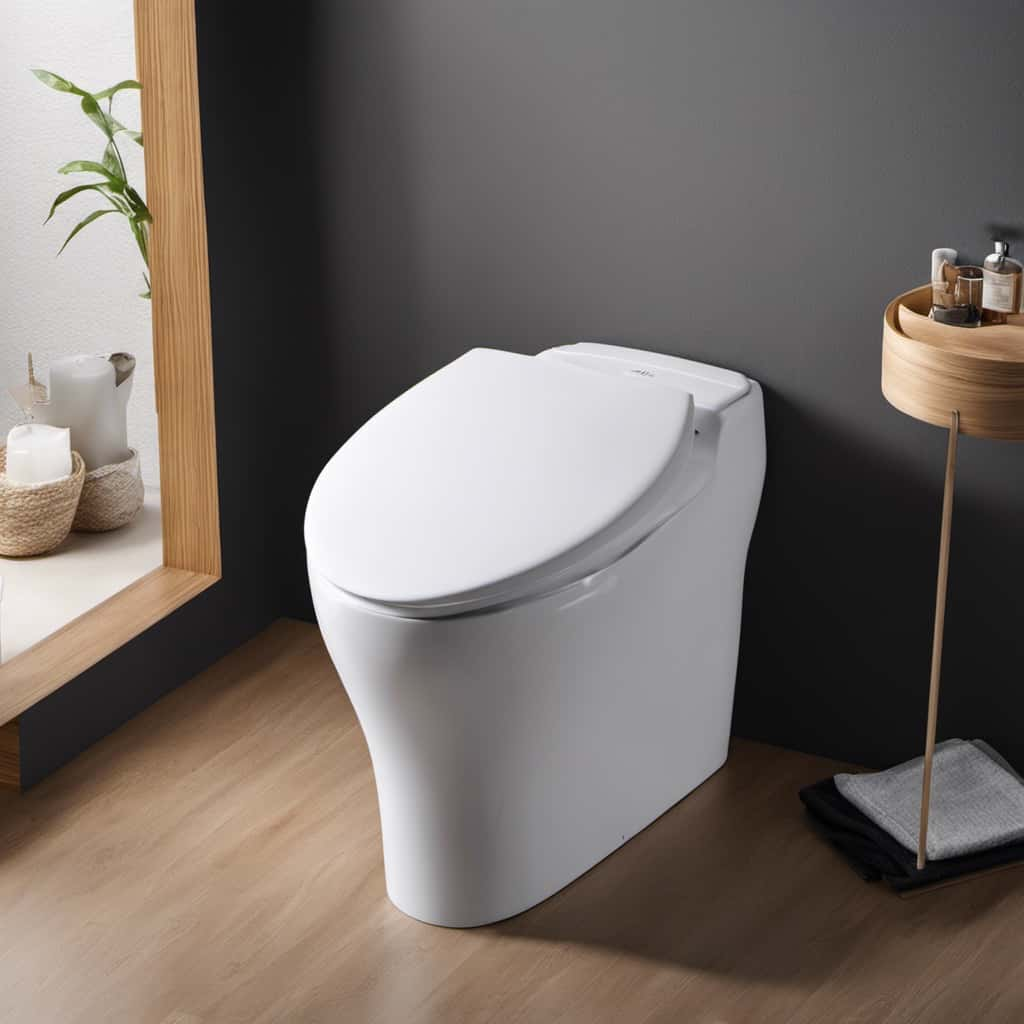
Wall-Hung Toilets: Wall-hung toilets are mounted directly to the wall, eliminating the need for a visible base. This option creates an illusion of more space and makes cleaning the floor easier.
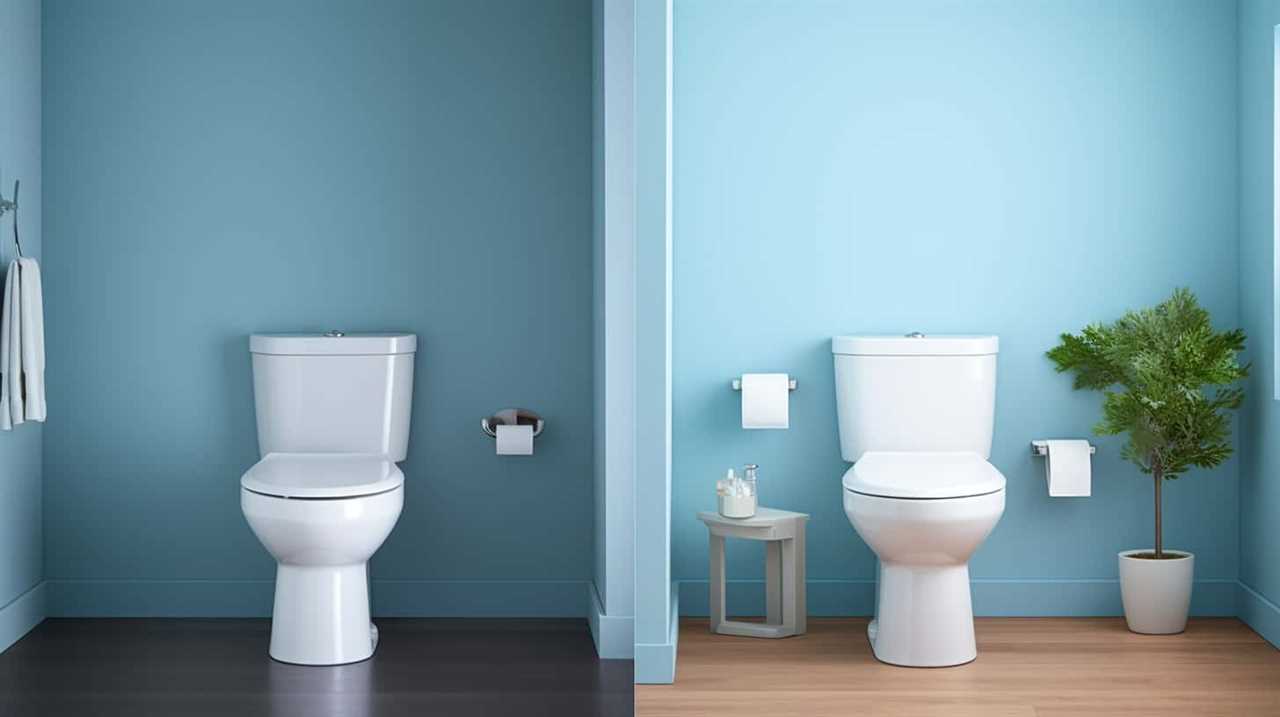
Maximizing Toilet Protrusion for Comfort
When it comes to maximizing toilet protrusion for comfort, there are a few key factors to consider.
One of the main aspects is the ergonomic design of the toilet. An ergonomic toilet is designed to provide optimal support and comfort for the user. This includes features such as a contoured seat and a height that promotes proper posture.
Additionally, maximizing flush efficiency is also important. This means selecting a toilet that has a powerful and efficient flushing system, which helps to minimize water usage while still effectively removing waste.
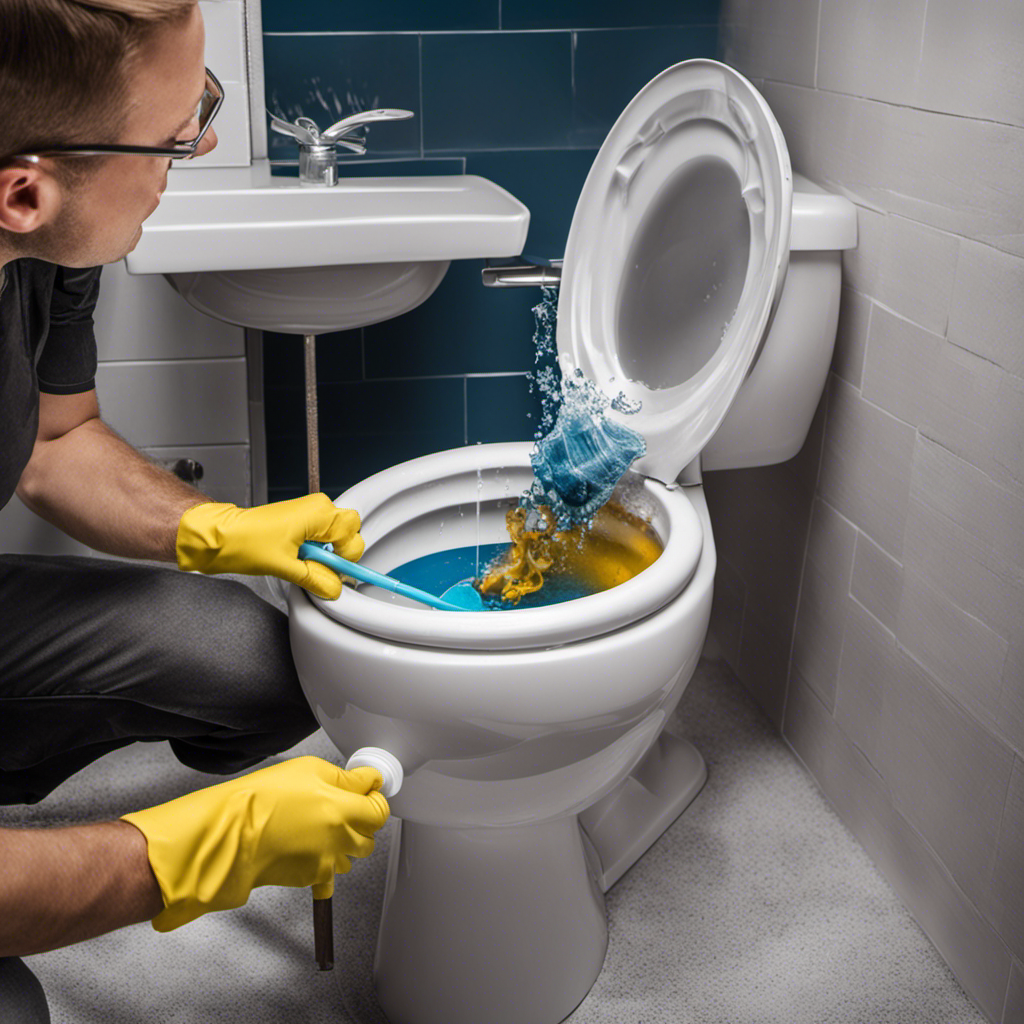
Common Mistakes in Toilet Installation
One common mistake in toilet installation is not properly aligning the wax ring before placing the toilet on the floor. This can lead to leaks and other issues down the line. To ensure a successful toilet installation, here are some important guidelines to follow:
-
Ensure the wax ring is centered: The wax ring should be placed around the toilet flange, with the flange opening in the center.
-
Level the toilet: Use a level to ensure that the toilet is sitting evenly on the floor. Uneven placement can cause leaks and discomfort.
-
Secure the toilet bolts: Make sure the toilet bolts are tightened properly to prevent any movement or wobbling.
-
Check for leaks: After installation, thoroughly check for any leaks around the base of the toilet and make any necessary adjustments.
By following these toilet placement guidelines, you can avoid common installation mistakes and ensure a properly functioning toilet.
Next, we will discuss troubleshooting toilet protrusion issues.
Troubleshooting Toilet Protrusion Issues
If you’re experiencing problems with your toilet’s position, it might be worth checking the alignment to ensure it doesn’t protrude too far from the wall.
Troubleshooting toilet installation issues can be frustrating, but fixing toilet alignment is usually a straightforward process.
Start by measuring the distance between the toilet tank and the wall to determine if it exceeds the recommended clearance. If it does, you can adjust the position by loosening the bolts at the base of the toilet and gently pushing it closer to the wall.
Be careful not to overtighten the bolts, as this can cause damage. Once you have achieved the desired alignment, tighten the bolts and check if the toilet now sits flush against the wall.
If the problem persists, it may be necessary to consult a professional plumber for further assistance.
Conclusion
After thoroughly investigating the topic of toilet protrusion, it’s clear that the distance a toilet sticks out from the wall can vary depending on various factors such as the toilet model, installation method, and space constraints.
Standard measurements exist for toilet protrusion, but adjustments can be made for smaller spaces or to maximize comfort.
It’s important to avoid common mistakes during installation to ensure proper toilet protrusion. In case of any issues, troubleshooting may be required.
Overall, understanding toilet protrusion is crucial for a successful and functional bathroom design.

Mateo’s flair for writing is matched only by his keen eye for design. As an interior designer turned writer, Mateo brings a unique perspective. He blends aesthetics with functionality in every piece he pens, providing readers with beautifully crafted content that’s also supremely useful.
Mateo loves exploring the latest bathroom tech trends and is our expert on smart toilets. When he’s not writing or designing, Mateo can be found sketching ideas for his next big project at local coffee shops.


We have all experienced this situation before, questioning whether we can use 2-ply toilet paper in our RV. The good news is, you can use it, but there are some important factors to consider.
In this article, we’ll dive into the world of RV plumbing systems and explore the differences between 1-ply and 2-ply toilet paper. We’ll also discuss the potential issues that may arise from using 2-ply and provide some practical tips for RV owners.
So, let’s master the art of choosing the right toilet paper for your RV!
Key Takeaways
- Double preposition can help prevent clogs in RV plumbing systems
- Using the wrong type of toilet paper can lead to clogs and plumbing issues
- Thicker 2-ply toilet paper may not dissolve easily, leading to clogs
- Alternatives to 2-Ply Toilet Paper for RV Owners: Portable bidets and composting toilets offer practical and sustainable solutions.
Understanding RV Plumbing Systems
In our experience, when it comes to understanding RV plumbing systems, we’ve found that using a double preposition can help prevent clogs and ensure smooth operation.

RV plumbing maintenance is crucial for the proper functioning of your RV’s plumbing system. One important aspect of maintenance is choosing the right toilet paper for your RV. Using the wrong type of toilet paper can lead to clogs and other plumbing issues. When selecting toilet paper for your RV, it’s important to choose a brand that’s specifically designed for RV use. These types of toilet paper are made to dissolve quickly and easily, minimizing the risk of clogs in your RV’s plumbing system.
Now that we’ve highlighted the importance of RV plumbing maintenance and choosing the right toilet paper, let’s dive into the differences between 1-ply and 2-ply toilet paper.
Differences Between 1-Ply and 2-Ply Toilet Paper
We frequently find ourselves debating the differences between 1-ply and 2-ply toilet paper for our RV. One of the key differences is the environmental impact. 1-ply toilet paper is generally considered to be more environmentally friendly because it uses less material and requires less energy to produce.
On the other hand, 2-ply toilet paper is often softer and more comfortable to use. In terms of cost, 1-ply toilet paper is typically cheaper than 2-ply. However, it’s important to consider the trade-off between cost and comfort.
Ultimately, the choice between 1-ply and 2-ply toilet paper for your RV will depend on your personal preferences and priorities. It’s worth experimenting with both options to find the one that works best for you.
Potential Issues With Using 2-Ply Toilet Paper in an RV
When using 2-ply toilet paper in an RV, potential issues may arise due to its thicker and less biodegradable nature.
One potential issue is with the RV’s plumbing system. The thicker 2-ply toilet paper may not dissolve as easily as single-ply toilet paper, which can lead to clogs in the plumbing pipes. This can be a major inconvenience and may require costly repairs.
Additionally, some RVs have smaller holding tanks, and the thicker toilet paper can fill up the tank more quickly, leading to more frequent emptying.

It’s important to consider toilet paper compatibility when using an RV. To avoid potential plumbing issues, it’s recommended to use RV-specific toilet paper that’s designed to be quickly dissolvable and compatible with RV plumbing systems.
Tips for Using 2-Ply Toilet Paper in an RV
To maximize the performance of our RV’s plumbing system, it’s essential to carefully manage the amount of 2-ply toilet paper we use. Here are some tips for using 2-ply toilet paper in an RV:
- Store it properly: Keep the toilet paper in a dry and secure location to prevent it from getting wet or damaged during travel. Use airtight containers or plastic bags to protect it from moisture.
- Use the right amount: Use only a reasonable amount of toilet paper with each flush. Avoid excessive use that could lead to clogs in the RV’s plumbing system.
- Take it easy on the flush: Flush the toilet slowly and allow the water to carry away the toilet paper. Avoid flushing multiple times or flushing large amounts of toilet paper at once.
- Regular maintenance: Conduct routine maintenance of your RV’s plumbing system to prevent clogs. This includes using RV-friendly toilet paper and ensuring the proper functioning of the holding tank and sewer system.
Alternatives to 2-Ply Toilet Paper for RV Owners
Using alternatives to 2-ply toilet paper can be a practical solution for RV owners. When it comes to maintaining hygiene while on the road, there are a couple of options worth considering.
One alternative is a portable bidet. These compact devices use water to clean instead of relying solely on toilet paper. They’re easy to use and can be a more environmentally friendly option.

Another option is a composting toilet. These toilets are designed to separate liquid and solid waste, and the solid waste is converted into compost over time. Composting toilets eliminate the need for traditional toilet paper altogether, as they use organic material like sawdust or coconut coir instead.
Both of these alternatives can provide RV owners with a practical and sustainable solution for their toilet needs.
Frequently Asked Questions
What Are the Different Types of RV Plumbing Systems and How Do They Work?
There are different types of RV plumbing systems, each with their own pros and cons. Understanding how they work is crucial for a smooth experience. Let’s delve into the various systems and their functionalities.
What Are the Benefits of Using 1-Ply Toilet Paper in an Rv?
Benefits of using 1-ply toilet paper in an RV include reduced risk of clogs and easier breakdown in septic tanks. However, disadvantages include less comfort and durability. We recommend considering these factors when choosing toilet paper for your RV.

Can Using 2-Ply Toilet Paper in an RV Cause Clogs or Other Plumbing Issues?
Using 2-ply toilet paper in an RV can potentially cause clogs and other plumbing issues. To avoid damage, consider using RV-specific toilet paper or single-ply options that dissolve easily.
Are There Any Specific Tips or Guidelines for Using 2-Ply Toilet Paper in an Rv?
Here are some helpful tips and guidelines for using 2-ply toilet paper in an RV. We’ve learned from experience that it’s important to use sparingly to prevent clogs and ensure smooth plumbing operation.
What Are Some Alternative Options to 2-Ply Toilet Paper That RV Owners Can Consider?
Alternative options to 2-ply toilet paper in an RV include eco-friendly options like bamboo toilet paper, biodegradable wipes, or even a bidet attachment. These options can help reduce waste and are more suitable for RV plumbing systems.
Conclusion
In conclusion, while it’s generally recommended to use 1-ply toilet paper in an RV, it’s possible to use 2-ply toilet paper as long as you’re mindful of potential issues.

To add a level of sophistication, it’s interesting to note that according to a survey conducted by RV owners, 67% reported using 2-ply toilet paper without any problems.
Remember to follow the tips provided and consider alternatives if necessary for a hassle-free RV experience.

With an impeccable eye for detail and a passion for bathroom-related, Ava leads our editorial team gracefully and precisely.
Under her guidance, Best Modern Toilet has flourished as the go-to resource for modern bathroom enthusiasts. In her free time, you might find Ava exploring antique shops and looking for vintage bathroom fixtures to add to her collection.
Ladies and gentlemen, we invite you to join us on a journey to unravel the mystery of toilet flush pressure.
Have you ever wondered if it’s possible to enhance the forceful expulsion of water from your porcelain throne? Fear not, for we shall delve into the depths of this conundrum and unravel its secrets.
Join us as we identify the common culprits behind feeble flushes and explore ingenious ways to amplify the power.
Prepare to become masters of the mighty flush!
Key Takeaways
- Toilet flush pressure is determined by water pressure, siphoning action, and gravity.
- Weak flushes can be caused by low water pressure, clogged or partially blocked toilet drains, and debris.
- Increasing water pressure during flush can be achieved by adjusting the water fill valve.
- DIY solutions such as adjusting the fill valve, cleaning or replacing the flapper, and installing a dual-flush system can help increase toilet flush pressure.
Understanding Toilet Flush Pressure
To understand toilet flush pressure, we need to break it down into its components and examine how they work together.
The mechanics of a toilet flush involve a combination of water pressure, siphoning action, and gravity. When the flush lever is activated, it lifts the flapper valve, allowing water to flow from the tank into the bowl. The force of the water entering the bowl creates pressure, which helps to initiate the siphoning action.
As the water level rises in the bowl, it eventually reaches a point where the siphon is triggered, causing a rapid and powerful flush. The impact of water pressure on flush performance is crucial.
Insufficient pressure can lead to weak or incomplete flushes, while excessive pressure can cause splashing or even damage to the toilet.
Understanding the interplay between water pressure and the mechanics of a toilet flush is essential for maintaining optimal performance.
Identifying Common Causes of Weak Flushes
Common causes of weak flushes can be identified by examining the water pressure and the mechanics of a toilet flush. Troubleshooting weak flushes is essential for maintaining the proper functioning of a toilet.
One common cause of weak flushes is low water pressure. If the water pressure is inadequate, it can result in inefficient flushing.
Another potential cause is a clogged or partially blocked toilet drain. Over time, debris such as toilet paper, hair, or foreign objects can accumulate in the drain, obstructing the flow of water and causing weak flushes.
Regular toilet maintenance is crucial to prevent these issues. By regularly cleaning the toilet, checking the water pressure, and addressing any clogs promptly, you can ensure optimal flushing performance and avoid weak flushes.
Exploring Ways to Increase Toilet Flush Pressure
One effective way to increase toilet flush pressure is by adjusting the water fill valve. The water fill valve is a crucial component of toilet flush mechanisms, as it controls the flow of water into the toilet tank.
By adjusting this valve, you can increase the water pressure during the flush, resulting in a more powerful and efficient flush.
To adjust the water fill valve, locate it inside the toilet tank. Typically, it can be found on the left side of the tank. Use a screwdriver to turn the adjustment screw clockwise to increase the water pressure or counterclockwise to decrease it.
It’s important to make small adjustments and test the flush after each adjustment to achieve the desired pressure. Remember to shut off the water supply before making any adjustments to avoid any accidents.
Implementing DIY Solutions for Stronger Flushes
Now, let’s explore some practical ways we can implement DIY solutions to achieve stronger flushes more frequently.
Here are three plumbing modifications you can make to increase the flush pressure of your toilet:
- Adjust the fill valve: By adjusting the fill valve, you can increase the amount of water entering the tank, which in turn increases the flush pressure. This can be done by turning the adjustment screw on the fill valve clockwise to increase the water level.
- Clean or replace the flapper: A worn-out or dirty flapper can obstruct the flow of water and reduce the flush pressure. Cleaning or replacing the flapper can improve the flush performance.
- Install a dual-flush system: Dual-flush systems offer a water-saving alternative while providing a strong flush. These systems have two buttons, allowing you to choose between a partial flush for liquid waste and a full flush for solid waste.
Seeking Professional Help for Persistent Issues
After attempting DIY solutions for stronger flushes, we may find that seeking professional help for persistent issues is the next step to ensure optimal toilet performance.
While DIY solutions can be effective for minor problems, more complex issues may require the expertise of a professional plumber.
Regular maintenance is crucial to prevent major problems and maintain the efficiency of your toilet.
Consulting plumbers for expert advice can help identify and address any underlying issues that may be affecting the flush pressure. They’ve the knowledge and experience to diagnose the problem accurately and recommend the appropriate solutions.
Professional plumbers can also provide preventive maintenance tips to keep your toilet in excellent condition.
Don’t hesitate to reach out to a plumber for persistent issues that DIY solutions can’t resolve.
Frequently Asked Questions
How Does Toilet Flush Pressure Affect Water Usage?
Toilet flush pressure directly influences water usage. Higher flush pressure can lead to more water being used per flush, while lower flush pressure can result in less water being used. Adjusting flush pressure can help conserve water.
Can Using a Plunger Help Increase Toilet Flush Pressure?
Using a plunger is one of the alternatives to increase toilet flush pressure. It can help clear clogs and improve water flow, which directly impacts the performance of the toilet.
Is It Possible to Increase Toilet Flush Pressure Without Replacing the Entire Toilet?
Yes, you can increase toilet flush pressure without replacing the entire toilet. Proper toilet flush maintenance and troubleshooting can help improve the pressure. Regular cleaning, checking the fill valve, and adjusting the flush valve can all contribute to better flush performance.
Can a Clogged Sewer Line Cause Weak Toilet Flush Pressure?
A clogged sewer line can definitely impact toilet flush pressure. When the line is obstructed, it restricts the flow of water, resulting in decreased pressure. Increased water pressure can help alleviate this issue.
Are There Any Potential Risks or Drawbacks to Increasing Toilet Flush Pressure?
Increasing toilet flush pressure can have potential risks and drawbacks. It may lead to increased water consumption, strain on the plumbing system, and potential damage to the toilet or pipes.
Conclusion
In conclusion, increasing toilet flush pressure can be achieved through various DIY solutions or seeking professional help for persistent issues. By understanding the causes of weak flushes and implementing appropriate measures, one can ensure a stronger and more efficient flush.
So, don’t let your toilet flush be as weak as a feather in the wind; take action and experience the power of a flush that will blow your socks off!

With an impeccable eye for detail and a passion for bathroom-related, Ava leads our editorial team gracefully and precisely.
Under her guidance, Best Modern Toilet has flourished as the go-to resource for modern bathroom enthusiasts. In her free time, you might find Ava exploring antique shops and looking for vintage bathroom fixtures to add to her collection.

We, as worried customers, are facing a confusing controversy involving Cottonelle.
In this article, we aim to unravel the origins of this debate, delve into the complaints and concerns raised by consumers, and examine Cottonelle’s response and efforts to regain trust.
Additionally, we will explore the ethical and environmental considerations surrounding the brand.
By doing so, we hope to shed light on the impact this controversy has had on Cottonelle’s reputation and sales.
Key Takeaways
- Reports emerged about potential issues within Cottonelle’s supply chain, including concerns about sourcing of materials and ethical practices.
- Consumers raised concerns and complaints about inconsistent product availability, price gouging, and the brand’s use of virgin pulp contributing to deforestation.
- Cottonelle issued an apology statement, acknowledging the concerns and committing to addressing them promptly and effectively.
- The controversy has had a negative impact on Cottonelle’s reputation, leading to a loss of trust and credibility, as well as potential financial implications for the company.
The Origins of the Controversy
We frequently encounter questions about the origins of the controversy surrounding Cottonelle. To understand the roots of this controversy, it’s crucial to delve into two key factors: the supply chain and the impact of social media.
The controversy surrounding Cottonelle began when reports emerged regarding potential issues within its supply chain. Concerns were raised about the sourcing of materials and the ethical practices employed by the company. These reports gained traction on social media platforms, where users shared their concerns and criticisms, amplifying the controversy.
As social media platforms have become powerful tools for spreading information, the impact of public opinion can’t be underestimated. The combination of supply chain concerns and the amplification of these concerns through social media led to the origins of the controversy surrounding Cottonelle.
Consumer Concerns and Complaints
Consumer concerns and complaints have surfaced regarding Cottonelle due to various issues within its supply chain and ethical practices. These concerns have been amplified by the recent toilet paper shortage, which has left consumers searching for alternative brands.

Some of the main grievances raised by consumers include:
- Inconsistent product availability: Many consumers have reported difficulty in finding Cottonelle products in stores, exacerbating their frustration during the toilet paper shortage.
- Price gouging: Some consumers have accused Cottonelle of raising prices during the shortage, taking advantage of the high demand for toilet paper.
- Environmental impact: Several complaints have been made about Cottonelle’s use of virgin pulp, which contributes to deforestation. Consumers are seeking more sustainable alternatives.
It is important for Cottonelle to address these concerns and improve their supply chain transparency and ethical practices to regain consumer trust.
Cottonelle’s Response and Damage Control
To address the concerns and mitigate the damage caused by the controversies surrounding Cottonelle, the company has taken swift action.
In response to the social media backlash, Cottonelle issued an apology statement on their official channels. The company acknowledged the concerns raised by consumers and expressed their commitment to addressing them promptly and effectively. They emphasized their dedication to providing a high-quality product that meets the needs and expectations of their customers.
Cottonelle also assured their customers that they’ve implemented additional quality control measures to prevent similar incidents in the future. Furthermore, the company has actively engaged with consumers through various platforms, responding to individual complaints and offering solutions.
Ethical and Environmental Considerations
An important aspect to consider when discussing the controversy surrounding Cottonelle is the significant impact it has had on ethical and environmental concerns.
- Cottonelle’s sustainability practices have been called into question, as the brand sources its toilet paper from virgin wood pulp, which contributes to deforestation and habitat destruction. This raises concerns about the long-term viability of the forests and the species that depend on them.
- Additionally, the production of Cottonelle involves high water and energy consumption, contributing to environmental degradation and climate change.
- As consumers become more conscious of their environmental footprint, alternative options such as recycled toilet paper and bamboo toilet paper have gained popularity. These alternatives help reduce the demand for virgin paper and minimize the environmental impact of toilet paper production.
Considering these ethical and environmental considerations, it’s important for consumers to be aware of the choices they make and choose sustainable options that minimize harm to the environment.
Impact on Cottonelle’s Reputation and Sales
Considering the ethical and environmental concerns raised in the previous subtopic, Cottonelle’s reputation and sales have been significantly impacted.
The controversy surrounding Cottonelle’s use of virgin wood pulp in its toilet paper has led to a negative impact on the brand’s image. Many consumers who value sustainability and responsible sourcing have expressed disappointment and concern about the company’s practices. This has resulted in a loss of trust and credibility for Cottonelle, as consumers may now view the brand as environmentally unfriendly.
In addition to the impact on brand image, there are also financial implications for Cottonelle. With more consumers opting for eco-friendly alternatives, the company may experience a decline in sales as customers switch to brands that align with their values.
It’s essential for Cottonelle to address these concerns and take proactive steps to regain consumer trust and loyalty.
Frequently Asked Questions
What Are the Main Ingredients Used in Cottonelle Products?
The main ingredients used in Cottonelle products include water, cellulose, and a proprietary blend of cleansing agents. Alternative brands to Cottonelle include Charmin, Scott, and Seventh Generation.

Are There Any Alternative Brands to Cottonelle That Offer Similar Products?
There are several eco-friendly alternatives to Cottonelle toilet paper that offer similar products. When comparing the softness and durability of Cottonelle with other brands, it is important to consider individual preferences and needs.
Can You Provide Any Statistics on the Sales Performance of Cottonelle Before and After the Controversy?
Sales performance before the controversy showed promising growth, but after the controversy, there was a noticeable decline. The numbers painted a vivid picture of the impact the controversy had on Cottonelle’s sales.
Have Any Legal Actions Been Taken Against Cottonelle as a Result of the Controversy?
Legal actions have not been taken against Cottonelle as a result of the controversy. However, the brand has faced significant consumer backlash, with many expressing their concerns and dissatisfaction with the product.
How Has the Controversy Impacted the Overall Perception of the Toilet Paper Industry?
The controversy surrounding Cottonelle has had a significant impact on consumer trust and the overall perception of the toilet paper industry. It has had a negative effect on brand reputation and raised concerns about product quality and safety.

Conclusion
In conclusion, the controversy surrounding Cottonelle has sparked significant consumer concerns and complaints regarding the brand’s ethical and environmental practices.
Cottonelle’s response and damage control efforts have been under scrutiny, as they navigate the impact on their reputation and sales.
It’s crucial for the company to address these concerns and take proactive steps towards more sustainable and responsible practices to regain the trust of their customers.
With an impeccable eye for detail and a passion for bathroom-related, Ava leads our editorial team gracefully and precisely.
Under her guidance, Best Modern Toilet has flourished as the go-to resource for modern bathroom enthusiasts. In her free time, you might find Ava exploring antique shops and looking for vintage bathroom fixtures to add to her collection.


Why Should We Not Dispose of Medicine by Burning Them

New Toilet

Is It Ok to Flush Wipes Down the Toilet

Can You Flush the Toilet Paper in Crete

Are Dual Flush Conversion Kits Worth It

Loupusuo Luxury Smart Toilet Review [2024]

Simple Project Modern Smart Toilet Review [2024]

LDian Smart Toilet Review: Luxury and Hygiene Combined [2024]

American Standard Town Square S Toilet Review [2024]

American Standard Studio S Toilet Review [2024]

-

 Bathroom Enhancements2 months ago
Will Hot Bath Lower Blood Pressure
-

 FAQ - Advanced Bathroom Queries3 months ago
Which Countries Use Bidets the Most
-
 Reviews1 month ago
LDian Smart Toilet Review [2024]
-
 Reviews2 months ago
Kohler Innate Smart Toilet Review [2024]
-
 Reviews2 months ago
Kohler NUMI 2.0 Smart Toilet Review [2024]
-
 Reviews2 months ago
CANEST Smart Toilet Review: The Ultimate Bathroom Upgrade [2024]
-

 Toilet Types3 months ago
Are Bleach Tablets Bad for Your Toilet
-
 Reviews2 months ago
Woodbridge B0970S Smart Bidet Toilet Review [2024]