Guides
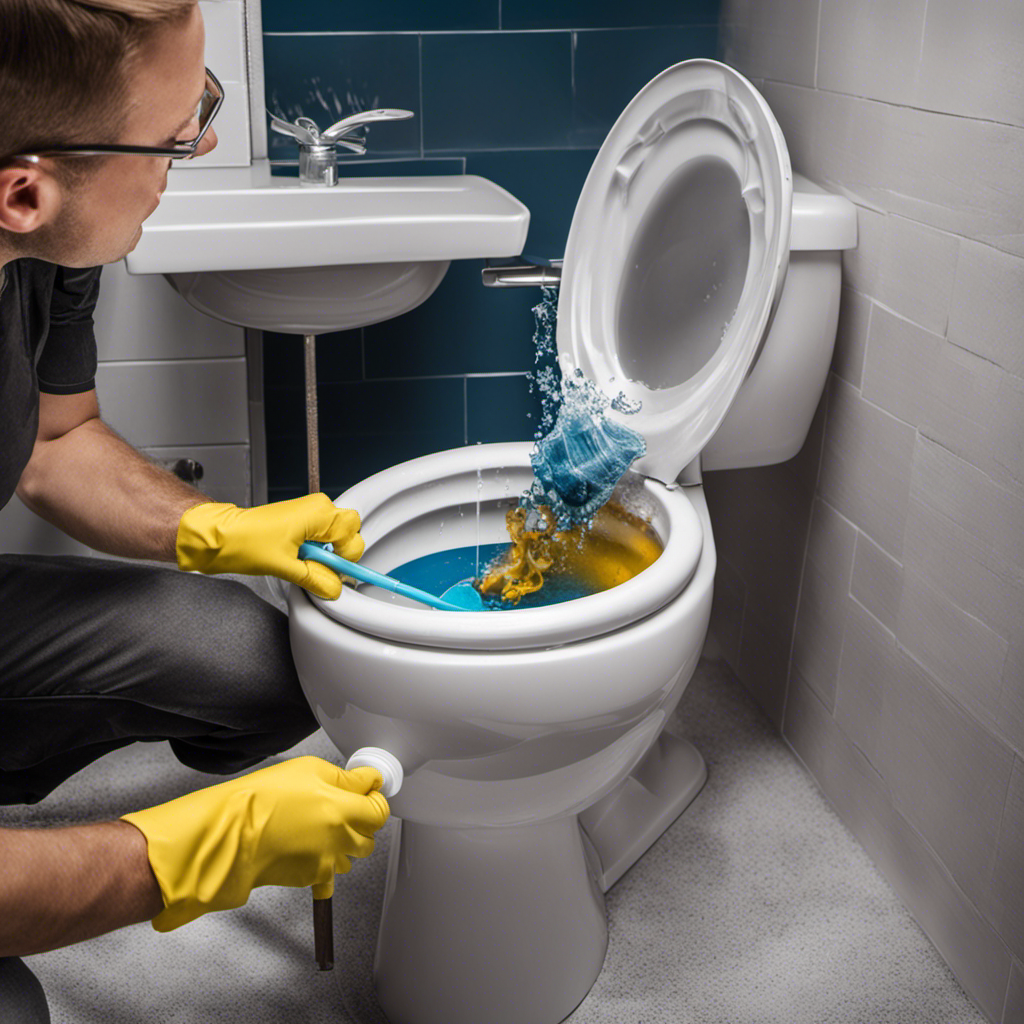
How to Change a Toilet Seal
Have you ever noticed a leaky toilet and wondered how to fix it?
Well, I’ve got you covered! In this step-by-step guide, I’ll show you exactly how to change a toilet seal.
With just a few tools and materials, you’ll be able to remove the old seal, clean and prepare the toilet flange, and install a new seal to ensure a watertight connection.
Say goodbye to those pesky leaks and hello to a properly functioning toilet!
Let’s get started.
Key Takeaways
- Turn off the water supply and disconnect the water supply line before removing the old toilet seal.
- Clean and prepare the toilet flange by wiping away dirt and debris, inspecting for damage, and applying a thin layer of plumber’s putty or silicone sealant.
- Position the wax ring on the flange, aligning with the toilet’s waste outlet, and lower the toilet bowl onto the wax ring to create a watertight seal.
- Test for leaks, inspect connections, flush the toilet multiple times, and ensure the toilet is securely bolted to the floor.
Tools and Materials Needed
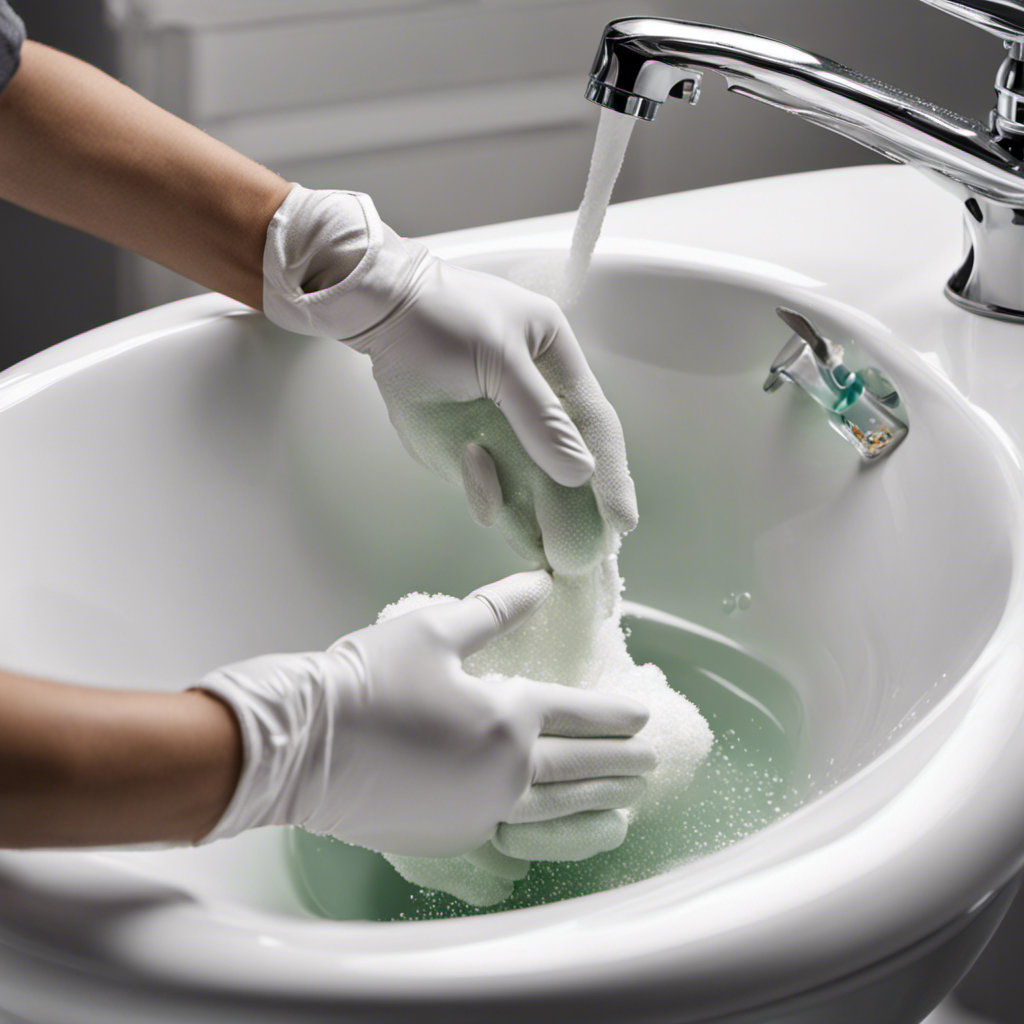
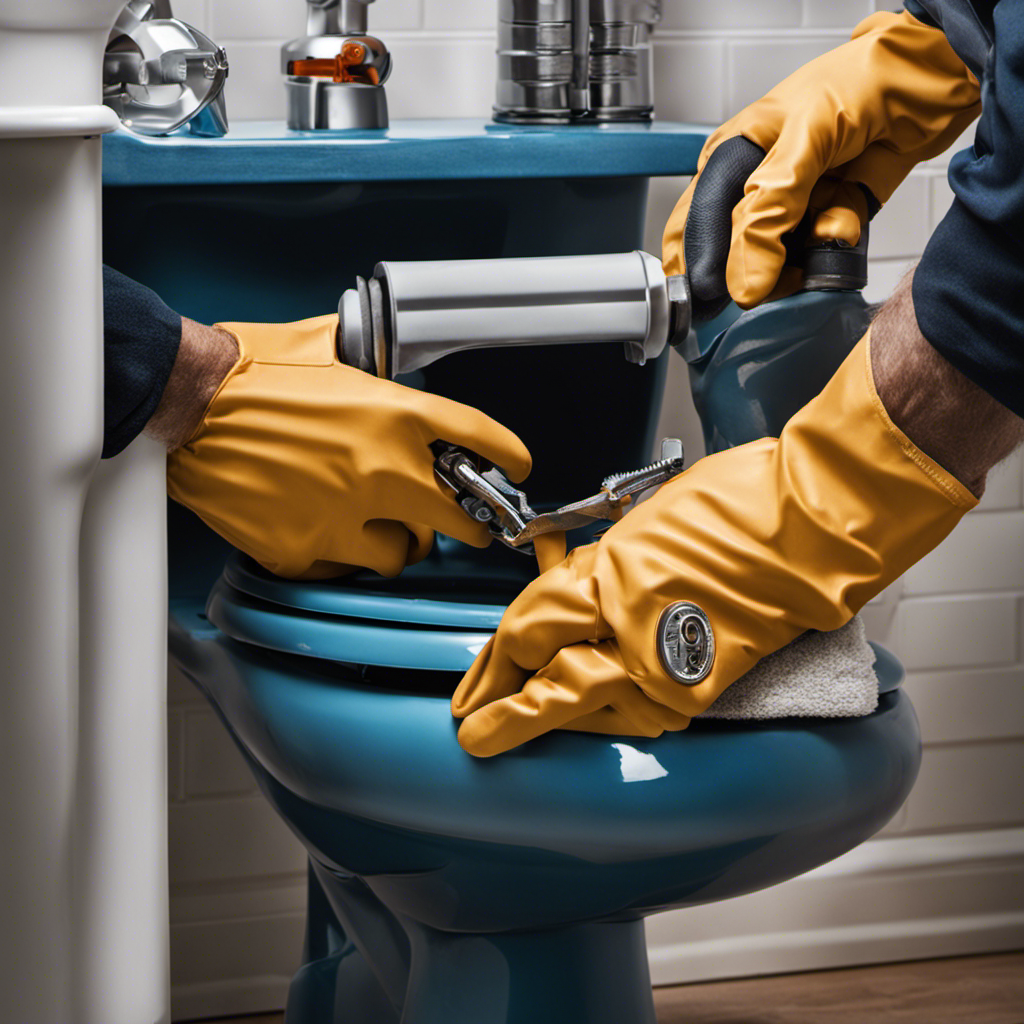
To change the toilet seal, you’ll need a few tools and materials. First, gather a pair of gloves, a wrench, a putty knife, and a new wax or rubber seal. These materials are essential for a successful seal replacement.
If you prefer alternatives to wax seals, consider using a rubber gasket or a foam seal. These options offer a reliable and long-lasting seal.
Before starting the replacement process, troubleshoot any common issues such as leaks or loose toilets. Make sure the toilet is securely fastened to the floor and that there are no cracks or damage to the toilet or flange.
Removing the Old Toilet Seal
First, make sure to turn off the water supply to avoid any leaks while removing the old seal.
To begin the process of replacing the toilet seal, you will need to remove the toilet tank lid and set it aside.
Next, flush the toilet to drain any remaining water. Use a wrench to disconnect the water supply line from the bottom of the toilet tank.
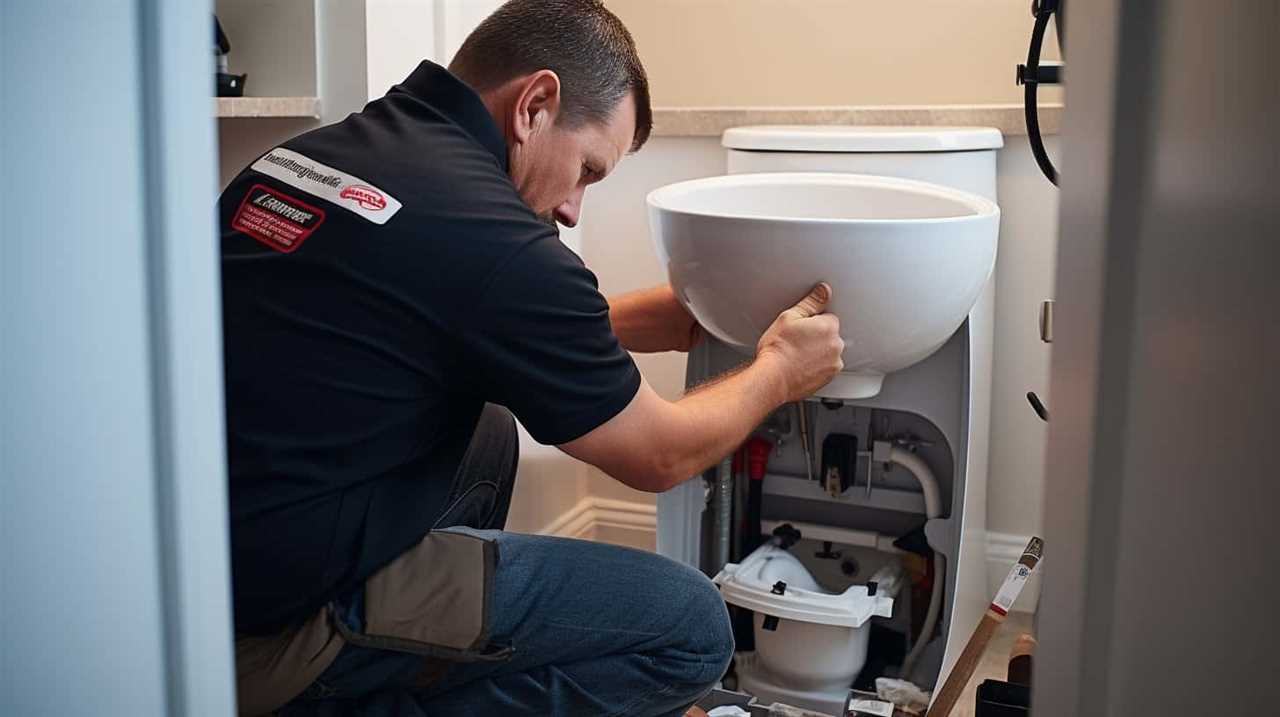
Now, remove the nuts from the bolts securing the toilet to the floor. Carefully lift the toilet straight up and set it on a tarp or old towel to prevent any mess.
With the toilet removed, you can now see the old seal. Gently scrape off any remnants of the old seal using a putty knife or scraper. Be cautious not to damage the toilet or the flange.
Once the old seal is completely removed, you can move on to the next step of installing the new seal.
Cleaning and Preparing the Toilet Flange
To clean and prepare the toilet flange, start by using a damp cloth to wipe away any dirt or debris. Make sure the area is clean and free from any obstructions.
Next, inspect the toilet flange for any cracks or damage. If you notice any issues, it may be necessary to perform a toilet flange repair before proceeding with the toilet seal replacement.
Once the flange is clean and in good condition, you can move on to preparing it for the new seal. Apply a thin layer of plumber’s putty or silicone sealant around the edge of the flange. This will help create a watertight seal between the flange and the toilet base.
After applying the sealant, let it dry according to the manufacturer’s instructions before installing the new toilet seal.
Installing the New Toilet Seal
Now that the flange is clean and prepared, it’s time to install the new seal. Here are the steps to ensure a secure and leak-free toilet seal installation:
-
Gather the necessary tools: wax ring, adjustable wrench, and a putty knife.
-
Position the wax ring on the flange, making sure it aligns with the toilet’s waste outlet.
-
Carefully lower the toilet bowl onto the wax ring, ensuring it sits evenly.
-
Apply pressure to compress the wax ring, creating a watertight seal.
-
Tighten the toilet bolts evenly using the adjustable wrench.
-
Reconnect the water supply line and turn the water back on.
-
Flush the toilet to check for any leaks.
-
Troubleshooting tips for a secure and leak-free installation:
-
Avoid over-tightening the toilet bolts, as it can crack the toilet base.
-
Ensure the toilet bowl sits evenly on the floor to prevent rocking and potential leaks.
Testing and Finishing Touches
Once you’ve completed the installation, don’t forget to test the toilet for leaks and add any finishing touches.
To test for leaks, follow these step-by-step techniques:
-
Turn on the water supply: Slowly turn the water supply valve counterclockwise to allow water to flow into the tank.
-
Check the base: Inspect the base of the toilet for any signs of water leakage. If you notice water pooling around the base, it may indicate a faulty seal.
-
Inspect the connections: Check the connections between the tank and the bowl. Ensure that the bolts are tightened securely and there are no water drips.
-
Flush the toilet: Flush the toilet several times to ensure proper water flow and drainage. Observe for any unusual sounds or slow flushing.
-
Finishing touches: Finally, clean up any excess silicone or wax from the installation process and ensure the toilet is securely bolted to the floor.
Conclusion
After successfully changing the toilet seal, I stood back and admired my handiwork. The bathroom was now free from any leaks or unpleasant odors.
The juxtaposition of the old, worn-out seal and the new, pristine one was striking. It was a satisfying feeling knowing that I had tackled this technical task with precision and step-by-step instructions.
With the right tools and materials, anyone can change a toilet seal and achieve a flawless result.
Liam’s journey with us started as a consumer. Having faced challenges while setting up his own modern bathroom, he delved deep into research.
Recognizing his knack for simplifying complex information and his authentic writing style, we were thrilled to welcome him aboard. Liam’s articles often merge practicality with style, ensuring readers find the perfect fit for their homes. Liam is an avid hiker off-duty and often jokes about finding the best “natural toilets” Mother Earth has to offer.
Guides
Can You Increase Toilet Flush Pressure
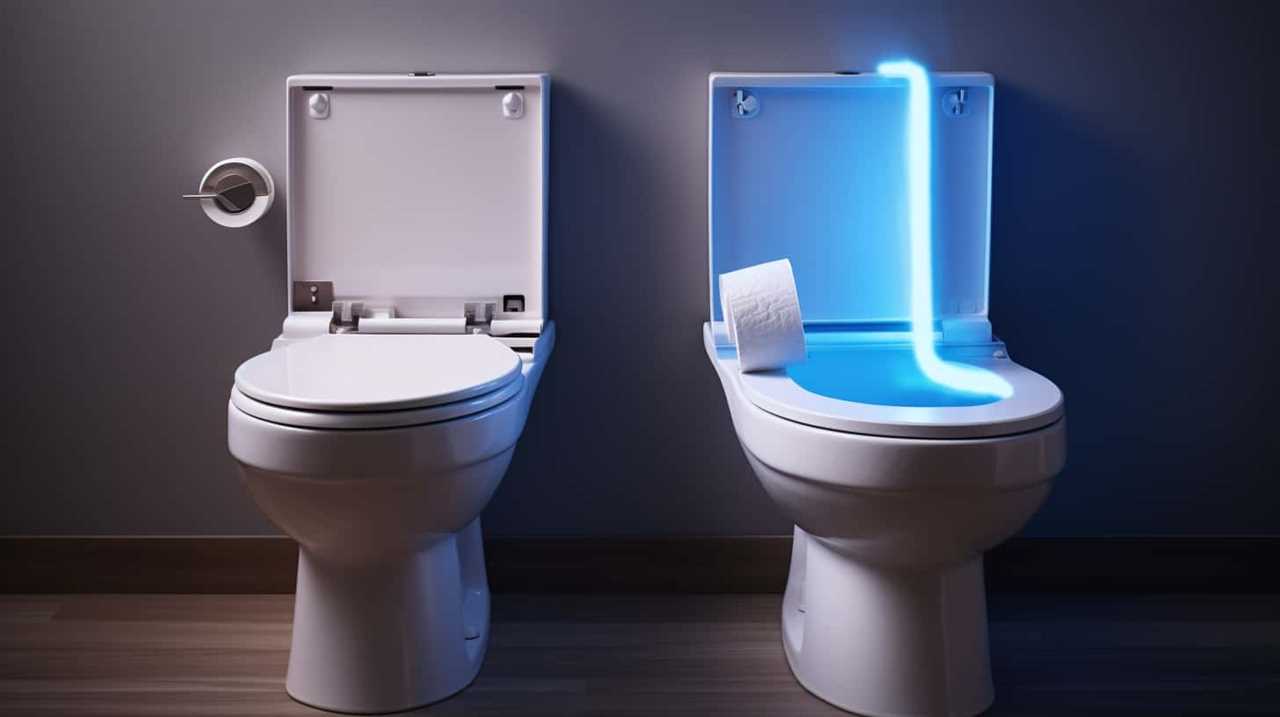
Ladies and gentlemen, we invite you to join us on a journey to unravel the mystery of toilet flush pressure.
Have you ever wondered if it’s possible to enhance the forceful expulsion of water from your porcelain throne? Fear not, for we shall delve into the depths of this conundrum and unravel its secrets.
Join us as we identify the common culprits behind feeble flushes and explore ingenious ways to amplify the power.
Prepare to become masters of the mighty flush!
Key Takeaways
- Toilet flush pressure is determined by water pressure, siphoning action, and gravity.
- Weak flushes can be caused by low water pressure, clogged or partially blocked toilet drains, and debris.
- Increasing water pressure during flush can be achieved by adjusting the water fill valve.
- DIY solutions such as adjusting the fill valve, cleaning or replacing the flapper, and installing a dual-flush system can help increase toilet flush pressure.
Understanding Toilet Flush Pressure
To understand toilet flush pressure, we need to break it down into its components and examine how they work together.
The mechanics of a toilet flush involve a combination of water pressure, siphoning action, and gravity. When the flush lever is activated, it lifts the flapper valve, allowing water to flow from the tank into the bowl. The force of the water entering the bowl creates pressure, which helps to initiate the siphoning action.
As the water level rises in the bowl, it eventually reaches a point where the siphon is triggered, causing a rapid and powerful flush. The impact of water pressure on flush performance is crucial.
Insufficient pressure can lead to weak or incomplete flushes, while excessive pressure can cause splashing or even damage to the toilet.
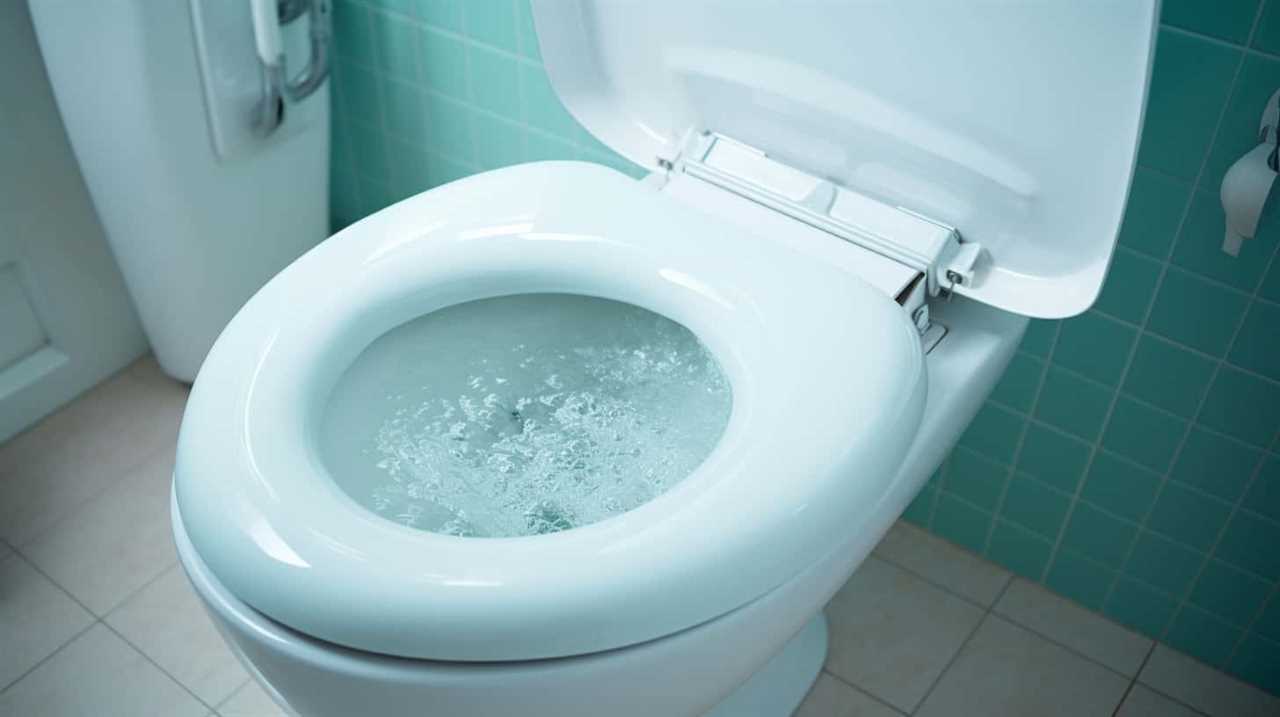
Understanding the interplay between water pressure and the mechanics of a toilet flush is essential for maintaining optimal performance.
Identifying Common Causes of Weak Flushes
Common causes of weak flushes can be identified by examining the water pressure and the mechanics of a toilet flush. Troubleshooting weak flushes is essential for maintaining the proper functioning of a toilet.
One common cause of weak flushes is low water pressure. If the water pressure is inadequate, it can result in inefficient flushing.
Another potential cause is a clogged or partially blocked toilet drain. Over time, debris such as toilet paper, hair, or foreign objects can accumulate in the drain, obstructing the flow of water and causing weak flushes.

Regular toilet maintenance is crucial to prevent these issues. By regularly cleaning the toilet, checking the water pressure, and addressing any clogs promptly, you can ensure optimal flushing performance and avoid weak flushes.
Exploring Ways to Increase Toilet Flush Pressure
One effective way to increase toilet flush pressure is by adjusting the water fill valve. The water fill valve is a crucial component of toilet flush mechanisms, as it controls the flow of water into the toilet tank.
By adjusting this valve, you can increase the water pressure during the flush, resulting in a more powerful and efficient flush.
To adjust the water fill valve, locate it inside the toilet tank. Typically, it can be found on the left side of the tank. Use a screwdriver to turn the adjustment screw clockwise to increase the water pressure or counterclockwise to decrease it.
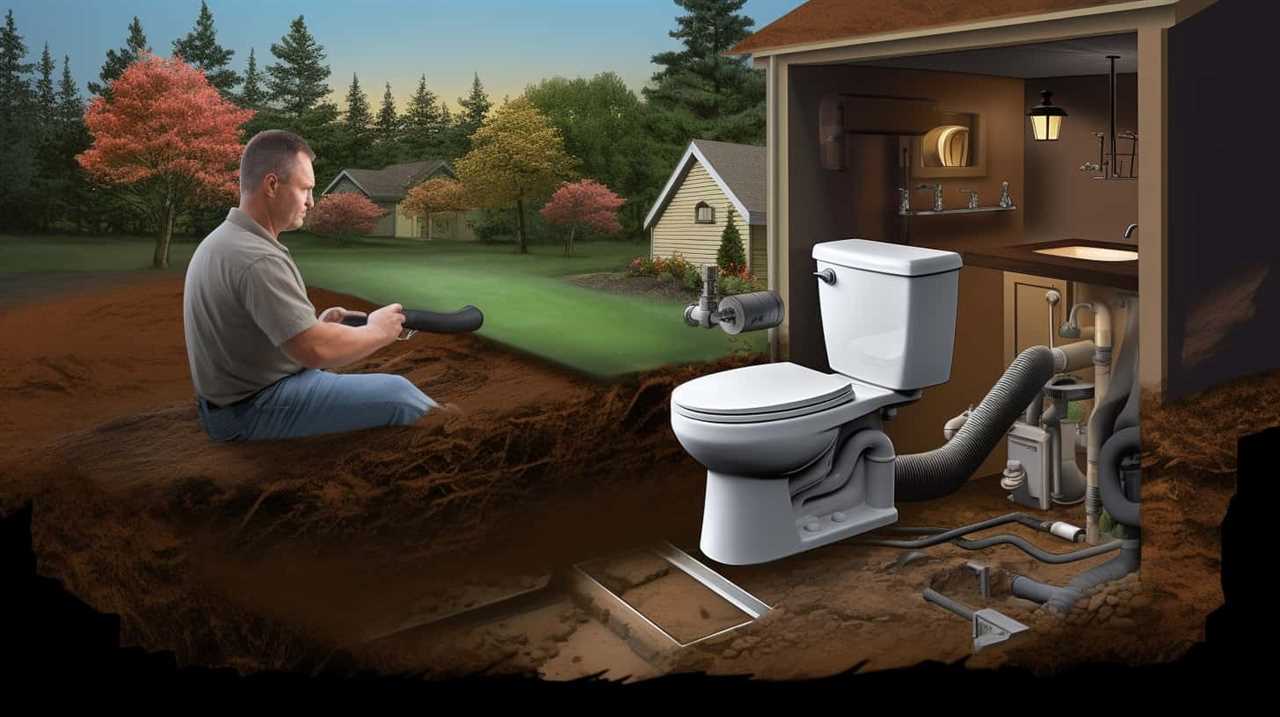
It’s important to make small adjustments and test the flush after each adjustment to achieve the desired pressure. Remember to shut off the water supply before making any adjustments to avoid any accidents.
Implementing DIY Solutions for Stronger Flushes
Now, let’s explore some practical ways we can implement DIY solutions to achieve stronger flushes more frequently.
Here are three plumbing modifications you can make to increase the flush pressure of your toilet:
- Adjust the fill valve: By adjusting the fill valve, you can increase the amount of water entering the tank, which in turn increases the flush pressure. This can be done by turning the adjustment screw on the fill valve clockwise to increase the water level.
- Clean or replace the flapper: A worn-out or dirty flapper can obstruct the flow of water and reduce the flush pressure. Cleaning or replacing the flapper can improve the flush performance.
- Install a dual-flush system: Dual-flush systems offer a water-saving alternative while providing a strong flush. These systems have two buttons, allowing you to choose between a partial flush for liquid waste and a full flush for solid waste.
Seeking Professional Help for Persistent Issues
After attempting DIY solutions for stronger flushes, we may find that seeking professional help for persistent issues is the next step to ensure optimal toilet performance.
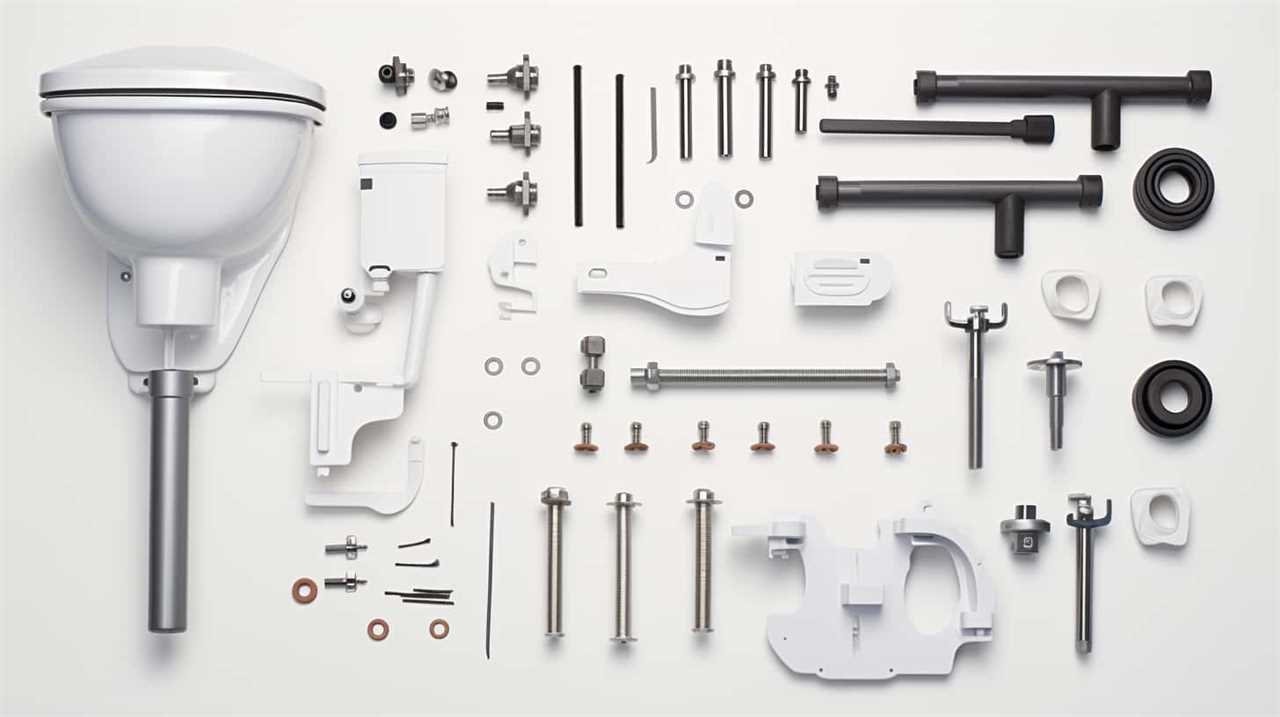
While DIY solutions can be effective for minor problems, more complex issues may require the expertise of a professional plumber.
Regular maintenance is crucial to prevent major problems and maintain the efficiency of your toilet.
Consulting plumbers for expert advice can help identify and address any underlying issues that may be affecting the flush pressure. They’ve the knowledge and experience to diagnose the problem accurately and recommend the appropriate solutions.
Professional plumbers can also provide preventive maintenance tips to keep your toilet in excellent condition.
Don’t hesitate to reach out to a plumber for persistent issues that DIY solutions can’t resolve.
Frequently Asked Questions
How Does Toilet Flush Pressure Affect Water Usage?
Toilet flush pressure directly influences water usage. Higher flush pressure can lead to more water being used per flush, while lower flush pressure can result in less water being used. Adjusting flush pressure can help conserve water.
Can Using a Plunger Help Increase Toilet Flush Pressure?
Using a plunger is one of the alternatives to increase toilet flush pressure. It can help clear clogs and improve water flow, which directly impacts the performance of the toilet.
Is It Possible to Increase Toilet Flush Pressure Without Replacing the Entire Toilet?
Yes, you can increase toilet flush pressure without replacing the entire toilet. Proper toilet flush maintenance and troubleshooting can help improve the pressure. Regular cleaning, checking the fill valve, and adjusting the flush valve can all contribute to better flush performance.
Can a Clogged Sewer Line Cause Weak Toilet Flush Pressure?
A clogged sewer line can definitely impact toilet flush pressure. When the line is obstructed, it restricts the flow of water, resulting in decreased pressure. Increased water pressure can help alleviate this issue.
Are There Any Potential Risks or Drawbacks to Increasing Toilet Flush Pressure?
Increasing toilet flush pressure can have potential risks and drawbacks. It may lead to increased water consumption, strain on the plumbing system, and potential damage to the toilet or pipes.
Conclusion
In conclusion, increasing toilet flush pressure can be achieved through various DIY solutions or seeking professional help for persistent issues. By understanding the causes of weak flushes and implementing appropriate measures, one can ensure a stronger and more efficient flush.
So, don’t let your toilet flush be as weak as a feather in the wind; take action and experience the power of a flush that will blow your socks off!

With an impeccable eye for detail and a passion for bathroom-related, Ava leads our editorial team gracefully and precisely.
Under her guidance, Best Modern Toilet has flourished as the go-to resource for modern bathroom enthusiasts. In her free time, you might find Ava exploring antique shops and looking for vintage bathroom fixtures to add to her collection.
Guides
What Is the Controversy With Cottonelle

We, as worried customers, are facing a confusing controversy involving Cottonelle.
In this article, we aim to unravel the origins of this debate, delve into the complaints and concerns raised by consumers, and examine Cottonelle’s response and efforts to regain trust.
Additionally, we will explore the ethical and environmental considerations surrounding the brand.
By doing so, we hope to shed light on the impact this controversy has had on Cottonelle’s reputation and sales.
Key Takeaways
- Reports emerged about potential issues within Cottonelle’s supply chain, including concerns about sourcing of materials and ethical practices.
- Consumers raised concerns and complaints about inconsistent product availability, price gouging, and the brand’s use of virgin pulp contributing to deforestation.
- Cottonelle issued an apology statement, acknowledging the concerns and committing to addressing them promptly and effectively.
- The controversy has had a negative impact on Cottonelle’s reputation, leading to a loss of trust and credibility, as well as potential financial implications for the company.
The Origins of the Controversy
We frequently encounter questions about the origins of the controversy surrounding Cottonelle. To understand the roots of this controversy, it’s crucial to delve into two key factors: the supply chain and the impact of social media.
The controversy surrounding Cottonelle began when reports emerged regarding potential issues within its supply chain. Concerns were raised about the sourcing of materials and the ethical practices employed by the company. These reports gained traction on social media platforms, where users shared their concerns and criticisms, amplifying the controversy.
As social media platforms have become powerful tools for spreading information, the impact of public opinion can’t be underestimated. The combination of supply chain concerns and the amplification of these concerns through social media led to the origins of the controversy surrounding Cottonelle.
Consumer Concerns and Complaints
Consumer concerns and complaints have surfaced regarding Cottonelle due to various issues within its supply chain and ethical practices. These concerns have been amplified by the recent toilet paper shortage, which has left consumers searching for alternative brands.
Some of the main grievances raised by consumers include:
- Inconsistent product availability: Many consumers have reported difficulty in finding Cottonelle products in stores, exacerbating their frustration during the toilet paper shortage.
- Price gouging: Some consumers have accused Cottonelle of raising prices during the shortage, taking advantage of the high demand for toilet paper.
- Environmental impact: Several complaints have been made about Cottonelle’s use of virgin pulp, which contributes to deforestation. Consumers are seeking more sustainable alternatives.
It is important for Cottonelle to address these concerns and improve their supply chain transparency and ethical practices to regain consumer trust.
Cottonelle’s Response and Damage Control
To address the concerns and mitigate the damage caused by the controversies surrounding Cottonelle, the company has taken swift action.
In response to the social media backlash, Cottonelle issued an apology statement on their official channels. The company acknowledged the concerns raised by consumers and expressed their commitment to addressing them promptly and effectively. They emphasized their dedication to providing a high-quality product that meets the needs and expectations of their customers.
Cottonelle also assured their customers that they’ve implemented additional quality control measures to prevent similar incidents in the future. Furthermore, the company has actively engaged with consumers through various platforms, responding to individual complaints and offering solutions.
Ethical and Environmental Considerations
An important aspect to consider when discussing the controversy surrounding Cottonelle is the significant impact it has had on ethical and environmental concerns.
- Cottonelle’s sustainability practices have been called into question, as the brand sources its toilet paper from virgin wood pulp, which contributes to deforestation and habitat destruction. This raises concerns about the long-term viability of the forests and the species that depend on them.
- Additionally, the production of Cottonelle involves high water and energy consumption, contributing to environmental degradation and climate change.
- As consumers become more conscious of their environmental footprint, alternative options such as recycled toilet paper and bamboo toilet paper have gained popularity. These alternatives help reduce the demand for virgin paper and minimize the environmental impact of toilet paper production.
Considering these ethical and environmental considerations, it’s important for consumers to be aware of the choices they make and choose sustainable options that minimize harm to the environment.
Impact on Cottonelle’s Reputation and Sales
Considering the ethical and environmental concerns raised in the previous subtopic, Cottonelle’s reputation and sales have been significantly impacted.
The controversy surrounding Cottonelle’s use of virgin wood pulp in its toilet paper has led to a negative impact on the brand’s image. Many consumers who value sustainability and responsible sourcing have expressed disappointment and concern about the company’s practices. This has resulted in a loss of trust and credibility for Cottonelle, as consumers may now view the brand as environmentally unfriendly.
In addition to the impact on brand image, there are also financial implications for Cottonelle. With more consumers opting for eco-friendly alternatives, the company may experience a decline in sales as customers switch to brands that align with their values.
It’s essential for Cottonelle to address these concerns and take proactive steps to regain consumer trust and loyalty.
Frequently Asked Questions
What Are the Main Ingredients Used in Cottonelle Products?
The main ingredients used in Cottonelle products include water, cellulose, and a proprietary blend of cleansing agents. Alternative brands to Cottonelle include Charmin, Scott, and Seventh Generation.
Are There Any Alternative Brands to Cottonelle That Offer Similar Products?
There are several eco-friendly alternatives to Cottonelle toilet paper that offer similar products. When comparing the softness and durability of Cottonelle with other brands, it is important to consider individual preferences and needs.
Can You Provide Any Statistics on the Sales Performance of Cottonelle Before and After the Controversy?
Sales performance before the controversy showed promising growth, but after the controversy, there was a noticeable decline. The numbers painted a vivid picture of the impact the controversy had on Cottonelle’s sales.
Have Any Legal Actions Been Taken Against Cottonelle as a Result of the Controversy?
Legal actions have not been taken against Cottonelle as a result of the controversy. However, the brand has faced significant consumer backlash, with many expressing their concerns and dissatisfaction with the product.
How Has the Controversy Impacted the Overall Perception of the Toilet Paper Industry?
The controversy surrounding Cottonelle has had a significant impact on consumer trust and the overall perception of the toilet paper industry. It has had a negative effect on brand reputation and raised concerns about product quality and safety.

Conclusion
In conclusion, the controversy surrounding Cottonelle has sparked significant consumer concerns and complaints regarding the brand’s ethical and environmental practices.
Cottonelle’s response and damage control efforts have been under scrutiny, as they navigate the impact on their reputation and sales.
It’s crucial for the company to address these concerns and take proactive steps towards more sustainable and responsible practices to regain the trust of their customers.
With an impeccable eye for detail and a passion for bathroom-related, Ava leads our editorial team gracefully and precisely.
Under her guidance, Best Modern Toilet has flourished as the go-to resource for modern bathroom enthusiasts. In her free time, you might find Ava exploring antique shops and looking for vintage bathroom fixtures to add to her collection.
Guides
Why Can’t You Flush Toilet Paper in Turkey

Have you ever questioned why it’s not possible to flush toilet paper in Turkey? Well, get ready because we’re going to dive into the distinct plumbing system, environmental issues, and cultural practices that contribute to this interesting bathroom custom.
Join us as we uncover the practical alternatives for disposing of toilet paper and explore the fascinating reasons behind this age-old question.
Get ready to dive deep into the world of Turkish sanitation and discover a whole new level of bathroom etiquette.
Key Takeaways
- Turkish plumbing system cannot handle flushing toilet paper due to narrower and more prone to clogging pipes.
- Disposing of toilet paper in a separate bin helps maintain a clean and sanitary environment, minimizing strain on waste management infrastructure.
- Aging sewer systems in Turkey contribute to the ban on flushing toilet paper, as flushing can cause blockages and backups.
- Understanding cultural norms and historical roots is important in explaining the practice of not flushing toilet paper in Turkey.
Unique Plumbing Infrastructure
In Turkey, the unique plumbing infrastructure necessitates that we refrain from flushing toilet paper. This may seem unusual to those accustomed to the convenience of flushing away used toilet paper, but it’s a necessary practice in Turkey.
The reason behind this restriction lies in the country’s plumbing system, which isn’t designed to handle the disposal of toilet paper. The pipes in Turkey are narrower and more susceptible to clogging, and flushing toilet paper can lead to blockages and backups.
In the past, this issue was exacerbated by a toilet paper shortage, which further emphasized the need to find alternative solutions. However, with the advancements in technology and the availability of better toilet paper alternatives, such as wet wipes and bidets, the inconvenience of not being able to flush toilet paper has been mitigated to some extent.
Environmental Concerns
Additionally, we should consider the environmental concerns related to not being able to flush toilet paper in Turkey.
Waste management regulations play a significant role in this issue. When toilet paper is flushed, it can cause blockages in the sewage system, leading to costly repairs and maintenance.

By not flushing toilet paper, Turkey is able to minimize the strain on their waste management infrastructure, ensuring that it operates efficiently and effectively.
Furthermore, public health concerns also come into play. Flushing toilet paper can contribute to the spread of bacteria, viruses, and other harmful pathogens, posing a risk to public health.
By disposing of toilet paper in a separate bin, Turkey is able to mitigate this risk and maintain a clean and sanitary environment.
Aging Sewer Systems
As we delve into the issue of ‘Aging Sewer Systems’, it’s important to consider the impact of outdated infrastructure on the inability to flush toilet paper in Turkey. The aging sewer systems in the country face maintenance issues that contribute to this problem.
Over time, these systems deteriorate and become less effective in handling waste and transporting it to treatment plants. As a result, flushing toilet paper can cause blockages and backups in the sewer pipes. This not only creates inconveniences for individuals, but also poses a significant impact on public health.
The accumulation of waste in the sewer system can lead to the spread of diseases and contamination of water sources. Therefore, addressing the maintenance and modernization of aging sewer systems is crucial in ensuring the overall well-being of the population.
Cultural Norms and Hygiene Practices
To understand the reason behind the inability to flush toilet paper in Turkey, it’s important to explore the cultural norms and hygiene practices of the country.
In Turkey, there’s a social stigma associated with throwing toilet paper into the toilet. This belief has its historical roots, as older sewer systems weren’t designed to handle toilet paper and could easily get clogged. As a result, the practice of disposing toilet paper in a separate bin next to the toilet became the norm. This cultural norm and hygiene practice has been passed down through generations.
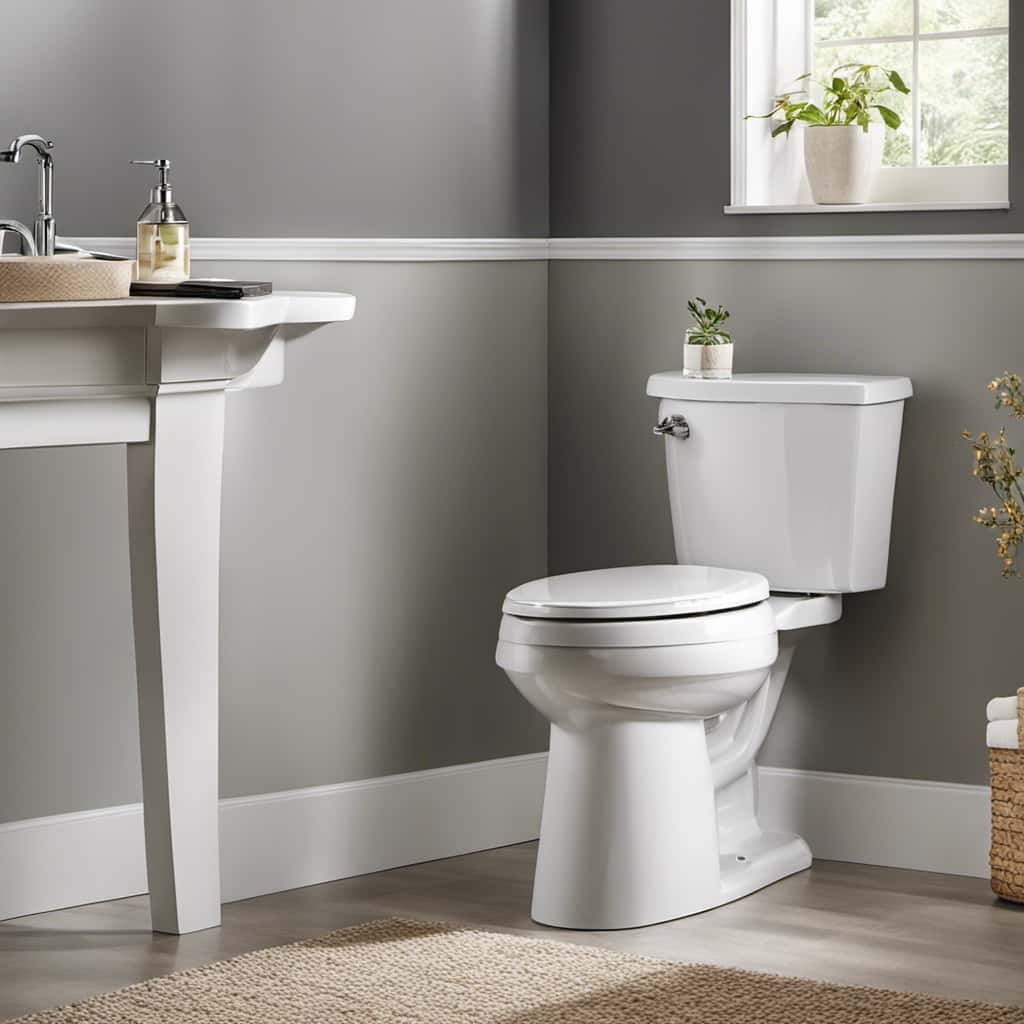
Understanding these cultural norms and historical roots is crucial in comprehending why flushing toilet paper isn’t a common practice in Turkey.
Now, let’s explore the practical alternatives for disposing toilet paper.
Practical Alternatives for Disposing Toilet Paper
Now, let’s explore our practical alternatives for disposing of toilet paper.
One option is to use reusable cloth instead of toilet paper. This involves using a piece of soft cloth to clean yourself after using the toilet, which can then be washed and reused. Reusable cloth is a more sustainable option as it reduces waste and eliminates the need for toilet paper.
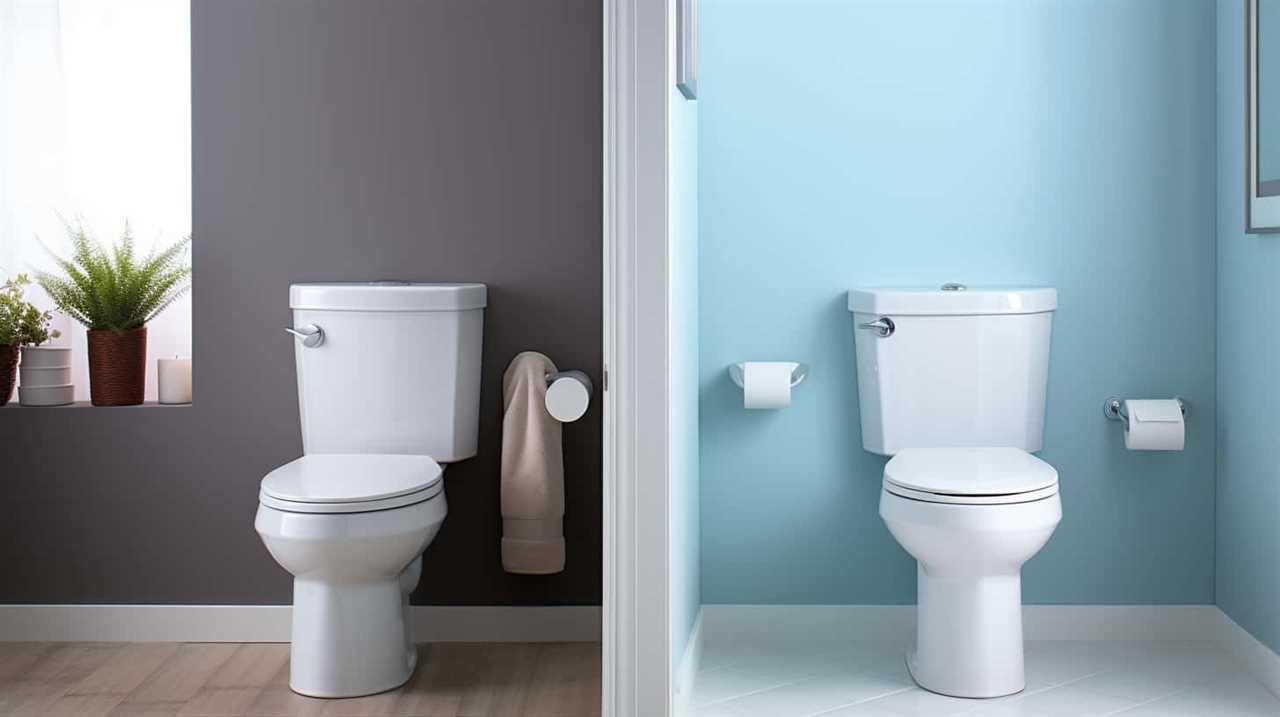
Another alternative is to use a bidet attachment. A bidet attachment is a device that can be installed on your toilet and sprays water to clean your bottom. This eliminates the need for toilet paper altogether. Bidet attachments are becoming increasingly popular due to their hygienic and eco-friendly nature.
Both reusable cloth and bidet attachments provide practical alternatives for disposing of toilet paper, reducing waste, and promoting sustainability.
Frequently Asked Questions
Are There Any Health Risks Associated With Not Being Able to Flush Toilet Paper in Turkey?
There are potential health implications and an environmental impact associated with not being able to flush toilet paper in Turkey. It’s important to properly dispose of it to prevent clogged pipes and maintain sanitation.
How Do Turkish People Dispose of Their Toilet Paper if They Can’t Flush It?
We can’t flush toilet paper in Turkey. Turkish people use alternative solutions like trash bins to dispose of it. This practice reduces environmental impact and prevents plumbing issues.
Are There Any Specific Regulations or Laws in Place Regarding the Disposal of Toilet Paper in Turkey?
There are regulations in place regarding toilet paper disposal in Turkey. Due to concerns about environmental impact, alternative methods are used. Flushing toilet paper can lead to plumbing issues, so it is important to follow the guidelines.
Are There Any Exceptions or Special Circumstances Where It Is Allowed to Flush Toilet Paper in Turkey?
In certain cases, such as when toilet paper alternatives are used, it may be allowed to flush toilet paper in Turkey. However, this can still have a negative impact on sewage systems.
Is the Inability to Flush Toilet Paper a Common Issue Only in Turkey or Are There Other Countries With Similar Restrictions?
In many countries, flushing toilet paper is common, but cultural differences can lead to restrictions. For example, in Turkey, it’s not allowed due to older plumbing systems and the environmental impact.
Conclusion
So, there you have it. In Turkey, the simple act of flushing toilet paper is a no-go.

It’s a unique plumbing infrastructure combined with environmental concerns, aging sewer systems, and cultural norms that have led to this peculiar practice.
But fear not, dear traveler, for there are practical alternatives available.
Just remember, when in Turkey, do as the Turks do, and dispose of your toilet paper in the bin provided.
Happy flushing!
With an impeccable eye for detail and a passion for bathroom-related, Ava leads our editorial team gracefully and precisely.
Under her guidance, Best Modern Toilet has flourished as the go-to resource for modern bathroom enthusiasts. In her free time, you might find Ava exploring antique shops and looking for vintage bathroom fixtures to add to her collection.
-

 Bathroom Enhancements2 months ago
Will Hot Bath Lower Blood Pressure
-

 FAQ - Advanced Bathroom Queries3 months ago
Which Countries Use Bidets the Most
-
 Reviews1 month ago
LDian Smart Toilet Review [2024]
-
 Reviews2 months ago
Kohler Innate Smart Toilet Review [2024]
-
 Reviews2 months ago
Kohler NUMI 2.0 Smart Toilet Review [2024]
-
 Reviews2 months ago
CANEST Smart Toilet Review: The Ultimate Bathroom Upgrade [2024]
-

 Toilet Types3 months ago
Are Bleach Tablets Bad for Your Toilet
-
 Reviews2 months ago
Woodbridge B0970S Smart Bidet Toilet Review [2024]


