
Bathtub
How to Clean a Cast Iron Bathtub
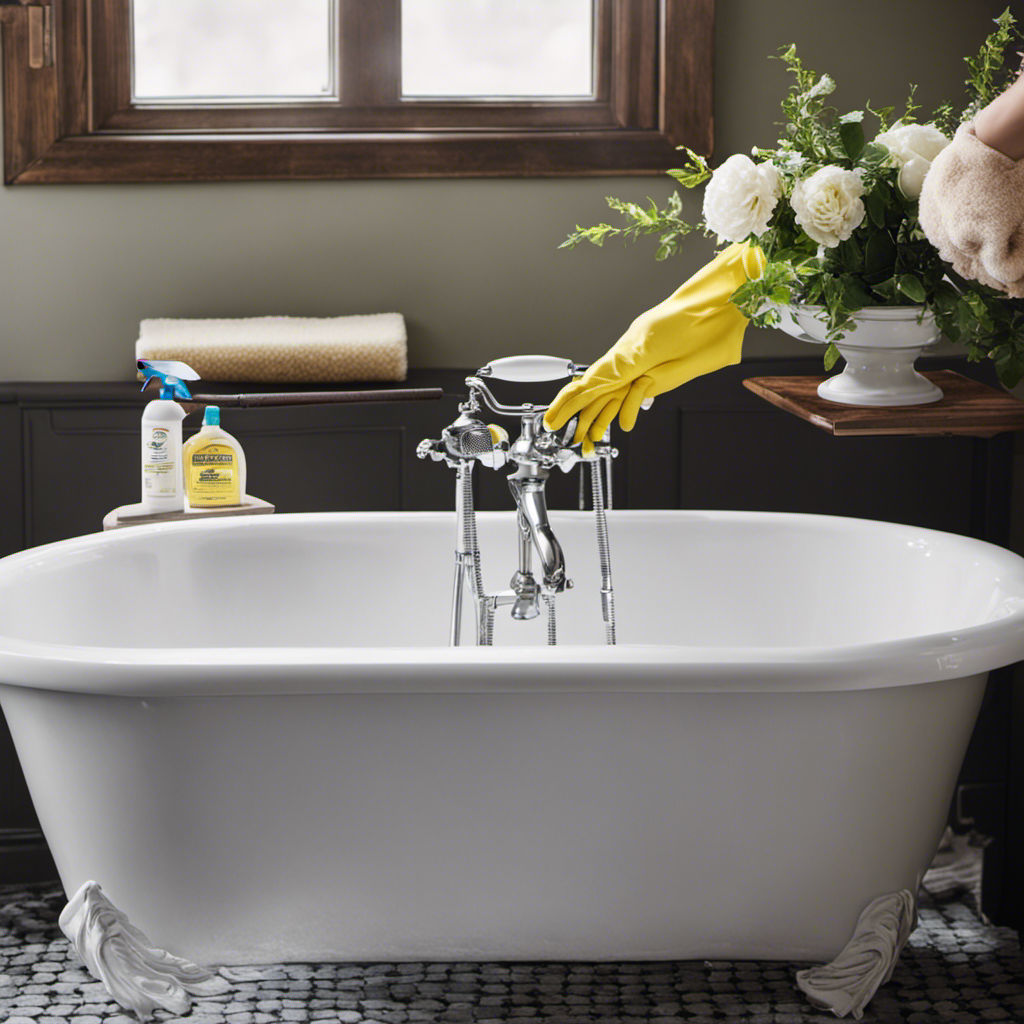
I’ve always loved the luxurious feel of soaking in a cast iron bathtub, but let’s face it – keeping it clean can be a real challenge.
That’s why I’ve put together this comprehensive guide on how to clean a cast iron bathtub.
From selecting the right cleaning products to tackling stubborn stains and rust, I’ll walk you through each step to ensure your bathtub shines like new.
So, let’s roll up our sleeves and get that cast iron tub sparkling again!
Key Takeaways
- Select eco-friendly cleaning products that are biodegradable and free from harsh chemicals
- Use vinegar and baking soda as budget-friendly alternatives for cleaning
- Ensure the cleaning products are safe for both you and the environment
- Regularly maintain the cleanliness of the tub and take preventive measures to avoid rust and mineral deposits.
Selecting the Right Cleaning Products

To clean your cast iron bathtub effectively, you’ll need to choose the right cleaning products.
When it comes to selecting the best options, there are a few things to consider.
First, it’s important to choose eco-friendly options that are safe for both you and the environment. Look for products that are labeled as biodegradable and free from harsh chemicals. Not only will this help protect your health, but it will also minimize the impact on the planet.
Additionally, finding budget-friendly alternatives can save you money in the long run. Instead of purchasing expensive commercial cleaners, you can opt for natural alternatives like vinegar and baking soda. These household items are not only effective in removing stains and grime, but they are also affordable and readily available.
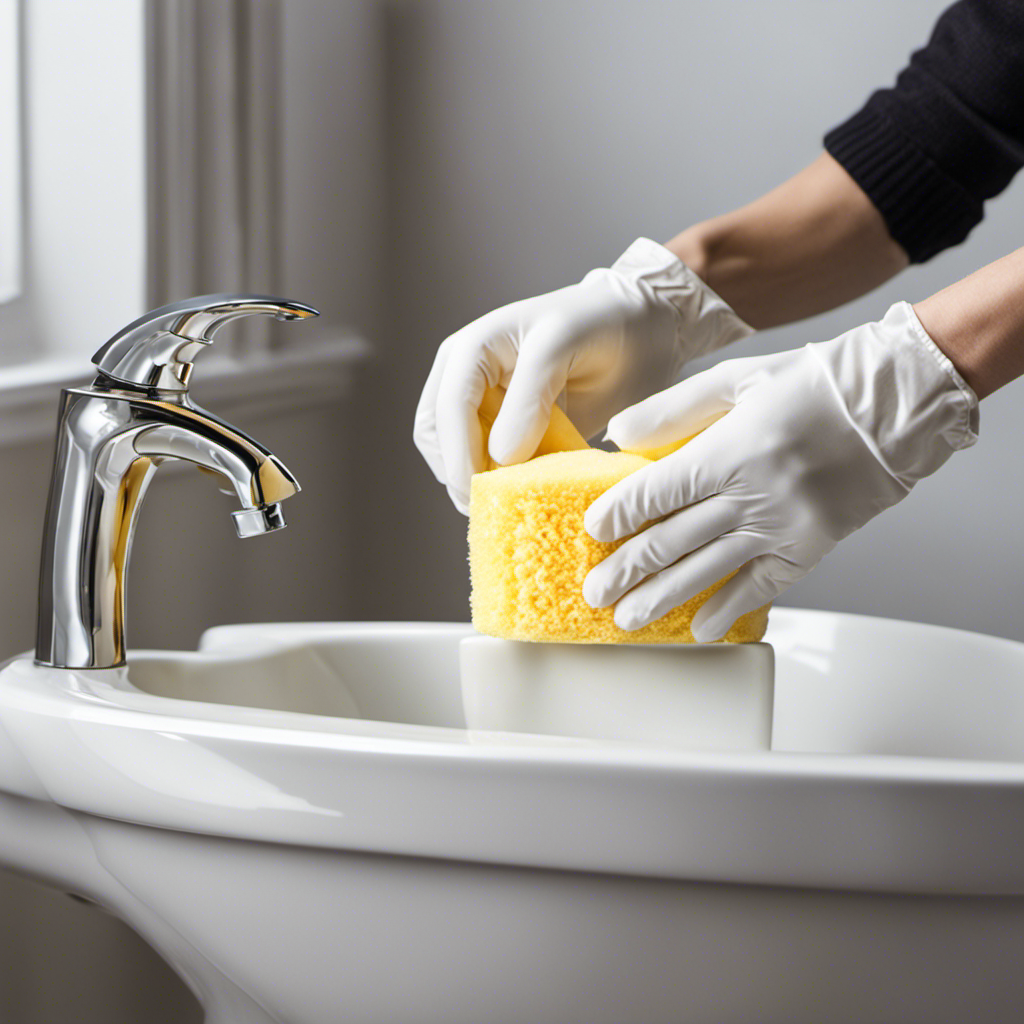
Preparing the Bathtub for Cleaning
Before you start, make sure you’ve gathered all the necessary supplies for preparing your tub for cleaning. The pre-cleaning steps are crucial to ensure a successful deep clean.
First, remove any items or accessories from the bathtub, such as soap dishes or shower curtains.
Next, give the tub a thorough rinse with warm water to remove any loose dirt or debris.
Then, apply a cleaning solution specifically designed for cast iron tubs, focusing on areas with grime buildup. Allow the solution to sit for a few minutes to penetrate the dirt.
Finally, scrub the tub using a non-abrasive sponge or brush, paying extra attention to stubborn stains. Rinse the tub thoroughly to remove any residue.
Following these steps will effectively remove grime and prepare your cast iron bathtub for a thorough cleaning.
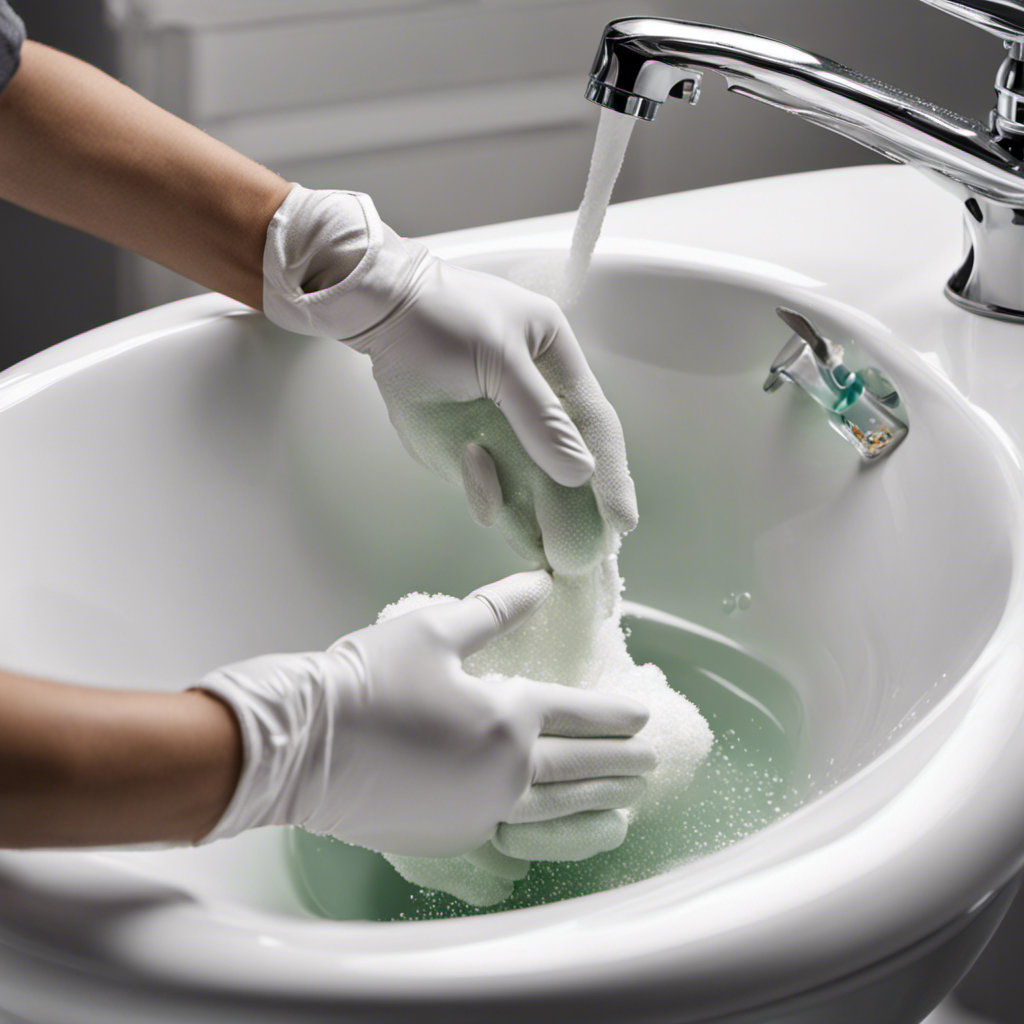
Removing Soap Scum and Stains
You can easily remove soap scum and stains from your tub by using a mixture of vinegar and baking soda. Here are the steps to follow for effective cleaning:
-
Create a paste by mixing equal parts vinegar and baking soda in a bowl. The vinegar helps break down soap scum while the baking soda acts as a gentle abrasive.
-
Apply the paste to the affected areas of the tub, focusing on soap scum buildup and stains. Use a sponge or cloth to spread the mixture evenly.
-
Let the paste sit for about 15 minutes to allow it to work its magic on the soap scum and stains.
-
Finally, scrub the tub using a non-abrasive sponge or brush. Rinse thoroughly with water to remove any residue.
By using these cleaning techniques, you can effectively remove soap scum and stains from your tub, preventing them from building up over time.
Now, let’s move on to tackling rust and hard water deposits.
Tackling Rust and Hard Water Deposits
If you’re dealing with rust and hard water deposits in your bathtub, try using a mixture of lemon juice and salt to effectively remove them. I have found this method to be highly effective in tackling rust and mineral deposits in my own cast iron bathtub. The acidity of the lemon juice helps to break down the rust, while the salt acts as a gentle abrasive to scrub away the deposits. To use this method, simply mix equal parts lemon juice and salt to create a paste. Apply the paste to the affected areas and let it sit for a few minutes before scrubbing it away with a soft brush or sponge. Rinse thoroughly afterwards to remove any residue. This is a great natural solution for rust prevention and removing mineral deposits in your bathtub.
| Lemon Juice and Salt Mixture |
|---|
| Ingredients: |
| – Lemon juice |
| – Salt |
| Instructions: |
| 1. Mix equal parts lemon juice and salt to create a paste. |
| 2. Apply the paste to the rust and mineral deposits. |
| 3. Let it sit for a few minutes. |
| 4. Scrub the mixture away with a soft brush or sponge. |
| 5. Rinse thoroughly to remove any residue. |
Polishing and Restoring the Bathtub’s Shine
To restore the shine of your tub, try using a mixture of baking soda and vinegar. Here’s how:
- Create a paste by mixing equal parts baking soda and vinegar.
- Apply the paste to the surface of the tub and let it sit for about 15 minutes.
- Use a soft cloth or sponge to gently scrub the tub in circular motions, focusing on areas with stains or dullness.
- Rinse the tub thoroughly with warm water to remove any residue.
This simple buffing technique can help restore the luster of your cast iron bathtub, leaving it looking clean and shiny. By using the power of baking soda and vinegar, you can remove any built-up grime or soap scum, revealing the natural beauty of your tub.
Now that your tub is shining, let’s move on to the next section on maintaining and preventing future build-up.
Maintaining and Preventing Future Build-up
Once the shine is restored, it’s important to regularly maintain and prevent future build-up in order to keep your bathtub looking clean and shiny.
To prevent rust and remove mineral deposits, there are a few steps you can take.
First, make sure to wipe down the bathtub after each use to remove any soap scum or residue. This will help prevent the build-up of minerals and keep the surface of the bathtub smooth.
Additionally, using a mild cleanser specifically designed for cast iron bathtubs can help remove any stubborn mineral deposits.
Finally, consider using a rust inhibitor or sealant to protect the bathtub from rust and corrosion.
Additional Tips and Tricks for Cleaning a Cast Iron Bathtub
Here are some extra tips and tricks to help you keep your cast iron bathtub looking its best.
-
Use a deep cleaning solution: To remove stubborn stains and build-up, mix equal parts baking soda and hydrogen peroxide to form a thick paste. Apply the paste to the affected areas and let it sit for 15-20 minutes before scrubbing with a soft brush. Rinse thoroughly afterwards.
-
Try natural cleaning solutions: For a gentler approach, you can use lemon juice or vinegar mixed with water to clean your cast iron bathtub. These natural ingredients help to dissolve soap scum and mineral deposits without damaging the surface.
-
Avoid abrasive cleaners: Harsh chemicals and abrasive cleaners can scratch and dull the finish of your cast iron bathtub. Stick to gentle, non-abrasive cleaners to maintain its shine and longevity.
-
Regular maintenance: To prevent build-up and maintain the cleanliness of your cast iron bathtub, make it a habit to wipe it down after each use and dry it thoroughly to prevent water spots and soap scum from forming.
Conclusion
After following these steps, your cast iron bathtub will be sparkling clean and ready for use.
Remember, just like any relationship, keeping your bathtub clean requires time and effort. It’s like tending to a garden, where you need to nurture and maintain it to see it thrive.
By regularly cleaning and preventing future build-up, you will ensure that your cast iron bathtub remains a luxurious sanctuary for relaxation and rejuvenation.
So, roll up your sleeves and give your bathtub the love and care it deserves.

Liam’s journey with us started as a consumer. Having faced challenges while setting up his own modern bathroom, he delved deep into research.
Recognizing his knack for simplifying complex information and his authentic writing style, we were thrilled to welcome him aboard. Liam’s articles often merge practicality with style, ensuring readers find the perfect fit for their homes. Liam is an avid hiker off-duty and often jokes about finding the best “natural toilets” Mother Earth has to offer.


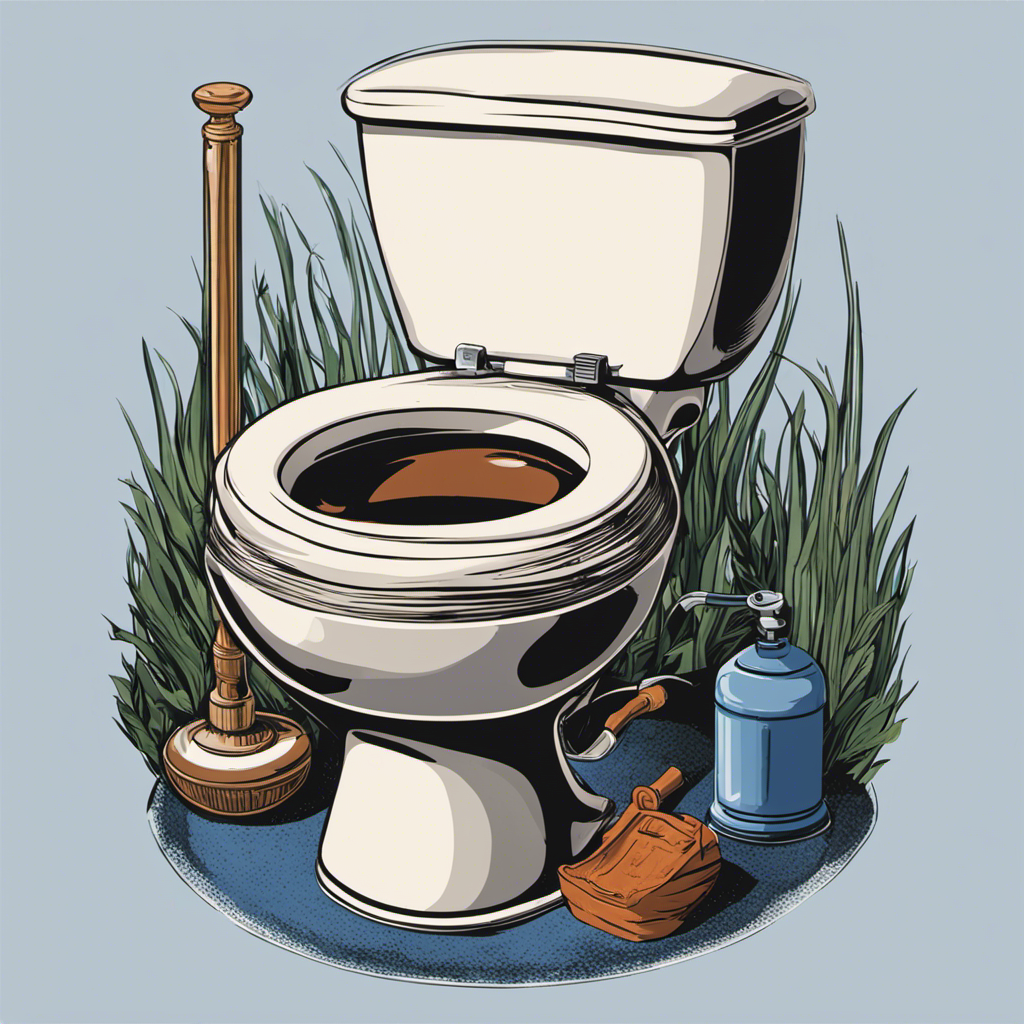
Have you ever been to Crete, Greece and wondered about the toilet paper disposal situation? We have all the information you need!
In this article, we’ll dive into the plumbing system in Crete and explore the do’s and don’ts of toilet paper disposal. We’ll also discuss the environmental impact of flushing toilet paper and provide some alternative options.
So, grab a seat and get ready to learn all about the best ways to handle your toilet paper experience in Crete. Let’s get started!
Key Takeaways
- The plumbing system in Crete operates efficiently, but specific regulations are in place for toilet paper disposal.
- Flushing toilet paper can cause plumbing issues and may not be suitable for older infrastructure.
- Toilet paper should be placed in a separate bin in Crete, and plastic bags are commonly used to line the bins for easy disposal.
- Flushing toilet paper has significant environmental consequences, including clogged pipes, water pollution, and negative impacts on forests and ecosystems.
Plumbing System in Crete
The plumbing system in Crete, Greece, operates efficiently, allowing us to flush toilet paper without any concerns. In Greece, there are specific plumbing regulations in place that dictate the standards for the country’s plumbing infrastructure. These regulations ensure that the plumbing system can handle the disposal of toilet paper without any issues.

However, it’s important to note that there are cultural differences in toilet paper usage in Greece compared to other countries. While it’s common practice in many places to dispose of toilet paper in the toilet, in Greece it’s often recommended to dispose of it in a separate bin provided in the bathroom. This cultural difference is due to the older infrastructure in some parts of Greece, which may not be able to handle large amounts of toilet paper.
Transitioning into the subsequent section about ‘toilet paper disposal in Crete’, let’s explore the proper methods for disposing of toilet paper in this region.
Toilet Paper Disposal in Crete
We can dispose of toilet paper in Crete, Greece, by placing it in a separate bin provided in the bathroom. It’s a common practice in Crete to not flush toilet paper down the toilet due to the plumbing system’s sensitivity. Instead, you’ll find small bins specifically designated for toilet paper disposal in most bathrooms. These bins are usually lined with plastic bags for easy disposal.
It’s important to adhere to this local custom to avoid any plumbing issues. While it may seem unusual for some visitors, it’s a necessary step to ensure the proper functioning of the plumbing system. By disposing of toilet paper in these bins, we can minimize the risk of clogs and maintain the overall cleanliness and hygiene of the bathroom facilities.

Now that we know how to dispose of toilet paper correctly, let’s delve into the environmental impact of flushing toilet paper.
Environmental Impact of Flushing Toilet Paper
As we consider the environmental impact of flushing toilet paper in Crete, Greece, it’s important to recognize the significant amount of waste that can accumulate in the plumbing system. Flushing toilet paper can have a detrimental impact on sewage systems, as the paper can clog pipes and cause blockages. This not only leads to costly repairs, but also contributes to the pollution of our waterways.
Additionally, the sustainability of toilet paper production is a concern. The production of toilet paper requires the cutting down of trees and the use of chemicals, which can have a negative impact on our forests and ecosystems.
Considering these environmental consequences, it’s crucial to explore alternatives to flushing toilet paper in Crete.

Alternatives to Flushing Toilet Paper in Crete
Toilet paper alternatives in Crete include bidets, which can be a more sustainable option for personal hygiene. In addition to bidets, there are several other cultural practices and alternatives to flushing toilet paper in Crete that you may find interesting:
- Water containers: Many households in Crete have water containers next to the toilet. After using the toilet, instead of using toilet paper, you can pour water from the container to clean yourself.
- Handheld bidet sprayers: These devices are similar to a shower head attached to a hose. With a simple press of a button, you can direct a stream of water for cleaning purposes.
- Wet wipes: While not as sustainable as the previous options, wet wipes are commonly used as an alternative to toilet paper in Crete. However, it’s important to dispose of them properly to prevent clogging the plumbing system.
Tips for a Smooth Toilet Paper Experience in Crete
To ensure a smooth toilet paper experience in Crete, it’s advisable to stock up on an ample supply of toilet paper before your trip. While there are toilet paper brands available in Crete, it’s always better to be prepared, especially if you have specific preferences.
Some popular toilet paper brands in Crete include Papernet, Softline, and Katrin. These brands offer a range of options, from standard to extra soft, ensuring comfort during your bathroom visits.
Additionally, it’s important to adhere to proper public restroom etiquette in Crete. Always remember to flush the toilet paper in the provided bins, as the plumbing systems in Crete may not be able to handle flushing it down the toilet.

Frequently Asked Questions
What Is the Average Cost of Plumbing Services in Crete?
The average cost of plumbing services in Crete can vary depending on the specific needs of the project. It is best to contact local plumbing companies for accurate pricing information.
Can I Flush Wet Wipes Down the Toilet in Crete?
Yes, we can flush wet wipes down the toilet in Crete, Greece. However, it is important to note that only flushable wipes should be used. Alternatively, there are other toilet paper options available.
Are Bidets Commonly Found in Crete Homes?
Bidets, a common fixture in European bathrooms, offer a different approach to personal hygiene. In some countries, like Crete, they are commonly found in homes. Cultural differences in bathroom habits make bidets a popular choice.
Is It Safe to Flush Feminine Hygiene Products in Crete?
Yes, it is safe to flush feminine hygiene products in Crete. However, it is important to consider the disposal methods and the environmental impact of flushing these products.

Are There Any Specific Regulations or Restrictions on Toilet Paper Usage in Crete?
In Crete, Greece, there are no specific regulations or restrictions on toilet paper usage. However, it’s worth considering toilet paper alternatives like bidets or wet wipes to minimize the environmental impact of toilet paper usage.
Conclusion
In conclusion, when visiting Crete, it’s important to remember that the plumbing system may not be able to handle flushing toilet paper. Instead, it’s recommended to dispose of it in the provided waste bin.
This practice not only prevents clogs and damage to the plumbing, but also helps protect the beautiful environment of Crete.
So, let’s take the plunge and adapt to this unique aspect of Crete’s toilet etiquette, ensuring a smooth and sustainable experience for all.


With an impeccable eye for detail and a passion for bathroom-related, Ava leads our editorial team gracefully and precisely.
Under her guidance, Best Modern Toilet has flourished as the go-to resource for modern bathroom enthusiasts. In her free time, you might find Ava exploring antique shops and looking for vintage bathroom fixtures to add to her collection.

Oh, it’s incredible how we often overlook the little things! It’s astonishing to think about the significant impact that something as basic as flushing a toilet can have on our health and the environment.
In this article, we delve into the importance of flushing with the lid on. We’ll explore the potential health risks of flushing without the lid, how it protects your bathroom, and the environmental consequences.
So, buckle up and get ready to master the art of proper toilet etiquette.
Key Takeaways
- Flushing with the lid on prevents the release of bacteria and viruses into the air.
- Flushing without the lid increases the risk of airborne transmission of pathogens.
- Closing the lid before flushing helps maintain a fresh and clean environment.
- Flushing without the lid can lead to increased water wastage and higher utility bills.
The Importance of Flushing With the Lid on
To maximize hygiene and minimize the spread of germs, it’s essential to always flush the toilet with the lid on.

There are several advantages to this practice. First and foremost, closing the lid prevents the release of a plume of bacteria and viruses into the air. When the toilet is flushed without the lid, these microorganisms can reach surfaces in the bathroom, increasing the risk of contamination.
Additionally, keeping the lid closed helps contain odors, maintaining a more pleasant environment.
However, there are also a few disadvantages to consider. Closing the lid requires an extra step and may inconvenience some individuals. Furthermore, if the lid isn’t properly cleaned, it can become a breeding ground for bacteria.
Therefore, while there are some drawbacks, the advantages of flushing with the lid on far outweigh them in terms of hygiene and preventing the spread of germs.

Potential Health Risks of Flushing Without the Lid
Flushing the toilet without the lid poses potential health risks. Here are four reasons why:
- Potential Contamination: When you flush without the lid, tiny water droplets containing bacteria and other microorganisms can be propelled into the air. These droplets can then settle on surfaces in your bathroom, potentially leading to contamination.
- Spread of Bacteria: Flushing without the lid allows bacteria to spread throughout your bathroom. Bacteria from fecal matter can become airborne and settle on items such as toothbrushes, towels, or even your hands, increasing the risk of illness.
- Increased Aerosolization: The force of the flush can cause a higher level of aerosolization, resulting in a greater dispersion of potentially harmful particles. This can be especially concerning if someone in your household is already sick.
- Potential for Airborne Transmission: Certain bacteria and viruses can survive in the air for extended periods. Flushing without the lid increases the chances of these pathogens becoming airborne, leading to potential respiratory infections.
How Flushing With the Lid on Protects Your Bathroom
By keeping the lid on when we flush, we can effectively protect our bathroom from potential contamination and the spread of bacteria.
The benefits of using a toilet lid are numerous. Firstly, it prevents the release of harmful bacteria and viruses into the air. When we flush without the lid, microscopic particles containing fecal matter and urine are dispersed, settling on surfaces and increasing the risk of contamination.
Secondly, the lid creates a barrier that prevents odors from escaping, maintaining a fresh and clean bathroom environment.

Additionally, using the toilet lid reduces the amount of water that splashes out during flushing, minimizing the need for frequent cleaning.
Alternatives to flushing without the lid include closing the lid before flushing or using a bidet, which eliminates the need for flushing altogether.
Environmental Impact of Flushing Without the Lid
Using the toilet without the lid can have negative environmental impacts, especially in terms of water wastage and energy consumption. Here are four reasons why flushing without the lid can be detrimental to the environment:
- Water Conservation: When the lid is left off, water can easily evaporate, leading to unnecessary water loss. This not only wastes a precious resource but also increases the demand on water treatment facilities.
- Sanitation Standards: Flushing without the lid can result in the spread of harmful bacteria and pathogens. The lid acts as a barrier, preventing these microorganisms from escaping into the air and potentially contaminating surfaces in the bathroom.
- Energy Consumption: Without the lid, air can freely circulate in the toilet bowl, causing the water to evaporate more quickly. As a result, the toilet tank needs to refill more frequently, increasing energy usage and contributing to higher utility bills.
- Odor Control: The lid plays a crucial role in containing unpleasant odors. By leaving it off, foul smells can permeate the bathroom, leading to discomfort and the need for additional air fresheners, which can have their own environmental impact.
Tips for Proper Toilet Etiquette
To ensure proper toilet etiquette, we should always remember to close the lid before leaving the bathroom. This simple act not only keeps the bathroom clean and tidy, but also prevents the spread of germs and bacteria. Etiquette reminders can help maintain a hygienic environment for everyone.

Firstly, it’s important to flush the toilet after every use to remove waste and eliminate any unpleasant odors. Additionally, it’s courteous to use toilet paper sparingly and to properly dispose of it in the provided receptacle.
Furthermore, washing hands thoroughly with soap and water is essential to maintain good hygiene. Lastly, it’s considerate to replenish toilet paper and hand soap if necessary, ensuring the next person has a pleasant experience.
Following these etiquette reminders promotes bathroom cleanliness and a positive experience for all.
Frequently Asked Questions
Can Flushing a Toilet Without the Lid on Cause Damage to the Plumbing System?
Flushing a toilet without the lid on can potentially cause plumbing damage and pose health risks. It is important to keep the lid on to prevent objects from falling in, reduce odors, and minimize the spread of bacteria and germs.

Is It True That Flushing Without the Lid Can Lead to the Spread of Bacteria and Germs?
Yes, flushing without the lid can lead to the spread of bacteria and germs. To prevent this, it is important to always flush with the lid down and practice proper sanitation methods.
What Are the Potential Health Risks Associated With Flushing Without the Lid?
Potential contamination and bacterial transmission are the main health risks associated with flushing without the lid. Without the lid, droplets containing bacteria and germs can be propelled into the air, increasing the chances of spreading illness.
How Does Flushing With the Lid on Protect the Bathroom From Unpleasant Odors?
Flushing without the lid can lead to unpleasant bathroom odors. The lid acts as a barrier, preventing the release of odorous gases into the air. It’s important to keep the lid on to maintain a fresh and odor-free bathroom environment.
Are There Any Environmental Consequences of Flushing Without the Lid?
There are environmental consequences to flushing without the lid on. It can lead to the release of unpleasant odors, which negatively impact air quality. Additionally, it can result in water wastage, reducing our efforts for water conservation.

Conclusion
In conclusion, it’s crucial to always flush the toilet with the lid on to maintain proper hygiene and protect our health. Flushing without the lid can lead to the spread of harmful bacteria and viruses, posing potential health risks.
Additionally, keeping the lid closed helps prevent any unwanted odors from escaping and maintains a clean and pleasant bathroom environment.
Let’s remember to practice proper toilet etiquette by always flushing with the lid securely in place.
With an impeccable eye for detail and a passion for bathroom-related, Ava leads our editorial team gracefully and precisely.
Under her guidance, Best Modern Toilet has flourished as the go-to resource for modern bathroom enthusiasts. In her free time, you might find Ava exploring antique shops and looking for vintage bathroom fixtures to add to her collection.

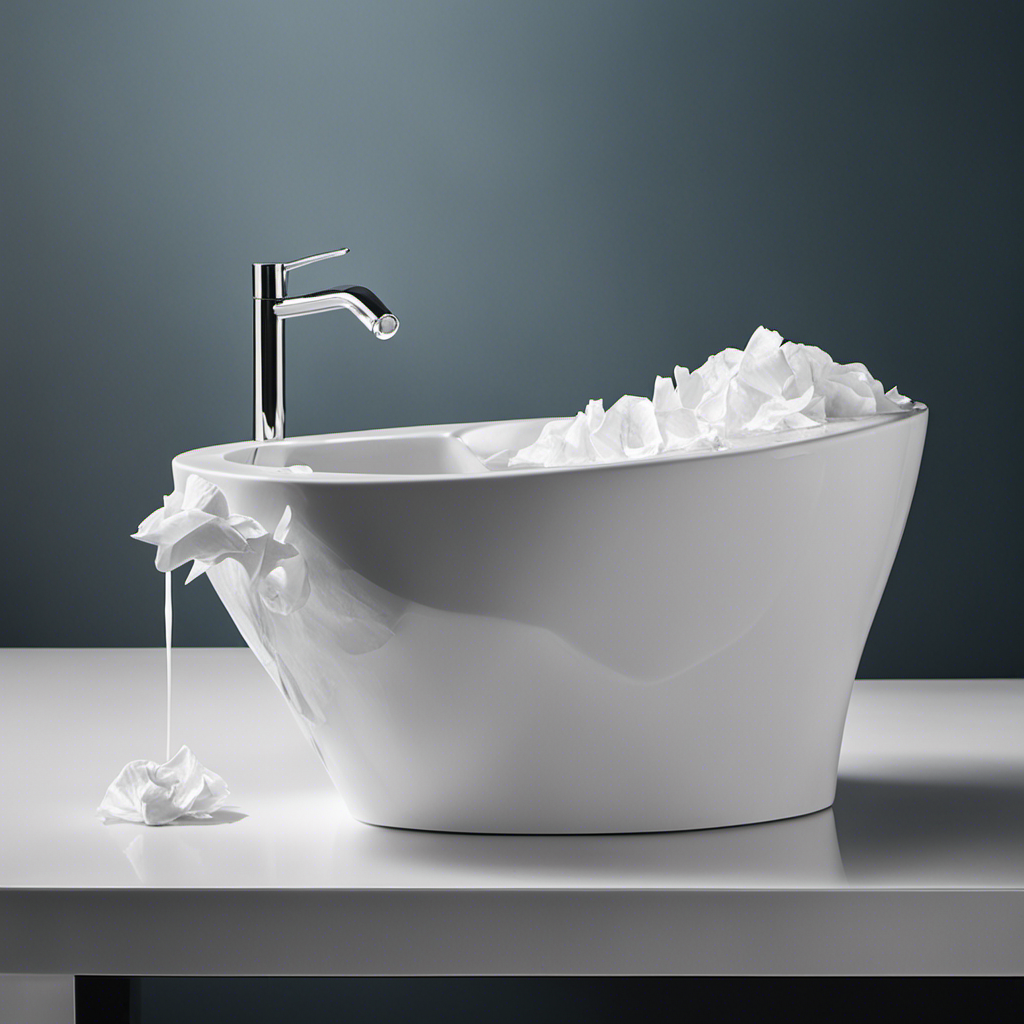
Are you aware that flushing tissues down the toilet can cause major issues with your plumbing system? It can result in clogs, blockages, and even sewer backups.
Not only is this inconvenient, but it can also have environmental consequences.
In this article, we will explore the impact of flushing tissues and provide you with proper disposal alternatives.
So, let’s dive in and learn how to keep our plumbing systems running smoothly and protect the environment at the same time.

Key Takeaways
- Flushing tissues can cause clogs, blockages, and sewer backups, leading to costly repairs and potential damage to plumbing systems.
- Sewer backups resulting from flushing tissues can contaminate water sources, expose individuals to disease-causing pathogens, and cause infrastructure damage.
- Flushing tissues contributes to water pollution and ecosystem disruption, harming aquatic organisms and impacting biodiversity.
- Proper disposal alternatives, such as recycling or using biodegradable tissues, are crucial to mitigate the environmental consequences of flushing tissues.
The Impact on Your Plumbing System
The improper disposal of tissues by flushing them down the toilet can have detrimental effects on our plumbing system. When tissues are flushed, they can easily clog the pipes, leading to water damage and costly repairs.
Tissues are designed to be absorbent, and when they come into contact with water, they expand and become mushy. This makes them more likely to get stuck in the narrow pipes, causing blockages.
The accumulation of tissues in the plumbing system can also lead to reduced water flow, which can further damage the pipes and create a breeding ground for bacteria and mold.
To avoid these issues, it’s important to dispose of tissues properly in the trash, rather than flushing them down the toilet.

Potential Clogs and Blockages
When we flush tissues down the toilet, it can potentially cause clogs and blockages in the plumbing system. This is because tissues aren’t designed to break down easily in water like toilet paper. Here are some potential consequences of flushing tissues:
- Increased risk of clogs: Tissues can accumulate in pipes and create blockages, leading to slow drains or complete backups.
- Expensive repairs: Clearing clogs caused by tissues may require professional help and can be costly.
- Impact on septic systems: Flushing tissues can overload septic tanks, disrupting the natural breakdown of waste and potentially leading to system failure.
- Environmental impact: Tissues that end up in wastewater treatment plants can strain the system and increase the likelihood of pollution.
To avoid these problems, it’s important to stick to using toilet paper or explore eco-friendly toilet paper alternatives that are designed to dissolve easily and not cause plumbing issues.
Risks of Sewer Backups
Our studies have shown that flushing a significant amount of tissues down the toilet can greatly increase the likelihood of experiencing sewer backups. Not only can this lead to potential clogs and blockages, but it also poses risks of contamination and health hazards. When sewers become backed up, the waste can overflow and contaminate both public and private properties. This can result in the spread of harmful bacteria and viruses, putting individuals at risk of developing various illnesses. To illustrate the severity of these risks, consider the following table:
| Risks of Sewer Backups |
|---|
| Contamination of water sources |
| Exposure to disease-causing pathogens |
| Damage to infrastructure |
| Expensive cleanup and repairs |
As you can see, the consequences of sewer backups extend beyond inconvenience and can have significant health and financial implications. Now, let’s explore the environmental consequences of flushing tissues down the toilet.

Environmental Consequences
Flushing a significant amount of tissues down the toilet can have detrimental environmental consequences, specifically in terms of water pollution and ecosystem disruption.
When tissues are flushed, they can end up in our marine environments, contributing to marine pollution. This pollution can have severe consequences on marine life, including fish, turtles, and other marine animals, as they may mistake the tissues for food and consume them.
Moreover, the decomposition of tissues in water can lead to water contamination, affecting the overall water quality and potentially harming aquatic organisms.
Additionally, the accumulation of tissues in water bodies can disrupt the balance of ecosystems, impacting the biodiversity and ecological function.

To mitigate these environmental consequences, it’s crucial to explore proper disposal alternatives that ensure the tissues are disposed of in an environmentally responsible manner.
Proper Disposal Alternatives
To address the environmental consequences mentioned earlier, we need to explore proper disposal alternatives for tissues.
One option is to consider recycling options for tissues. While tissues are typically made from mixed fibers, some recycling facilities do accept them. However, it’s important to note that the recycling process for tissues can be challenging due to their low quality and potential contamination.
Another alternative is to use biodegradable tissues. These tissues are made from materials that break down naturally over time, reducing their impact on the environment. Biodegradable tissues are often made from plant-based materials such as bamboo or sugarcane.

Frequently Asked Questions
Can Flushing Tissues Down the Toilet Lead to a Sewage Backup in My Home?
Flushing tissues down the toilet can cause a sewage backup in our home. It’s important to consider toilet paper alternatives to avoid this issue. Additionally, flushing tissues has a negative environmental impact, clogging pipes and contributing to water pollution.
Are There Any Biodegradable Tissue Options That Are Safe to Flush?
Compostable tissue options exist, but flushing tissues down the toilet still has an environmental impact. While some tissues may break down in the sewage system, others can clog pipes and contribute to sewage backups.
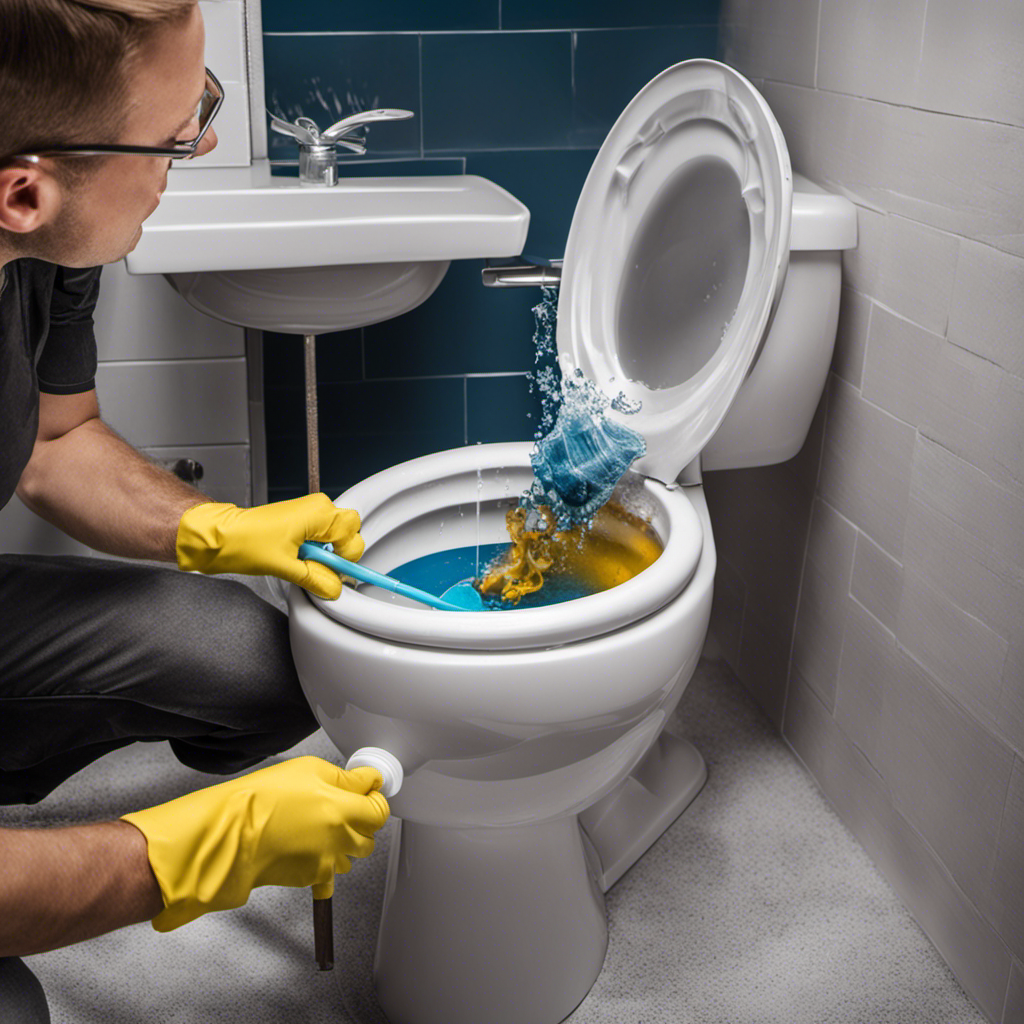
What Should I Do if My Toilet Becomes Clogged Due to Flushing Tissues?
If our toilet becomes clogged due to flushing tissues, there are various toilet unclogging methods we can try, such as using a plunger or a toilet auger. If these methods fail, it may be necessary to seek professional plumbing assistance.
Is It Safe to Flush Tissues in Septic Tank Systems?
Flushing tissues down the toilet is not safe for septic tank systems. It can cause clogs and damage to the system. It’s important to use alternative disposal methods to avoid environmental impact and maintain the septic tank’s functionality.

Can Flushing Tissues Down the Toilet Contribute to Water Pollution?
Flushing tissues down the toilet can have potential health risks and contribute to water pollution. By polluting our water sources, we jeopardize the environment and our well-being. Proper disposal methods are crucial.
Conclusion
In conclusion, flushing tissues down the toilet can have serious consequences for your plumbing system, including potential clogs, blockages, and even sewer backups. Not only can it cause inconvenience and costly repairs, but it also has environmental implications.
It’s crucial to dispose of tissues properly by using alternative methods, such as throwing them in the trash. Remember, taking the time to properly dispose of tissues can save you from a messy and expensive situation down the line.
With an impeccable eye for detail and a passion for bathroom-related, Ava leads our editorial team gracefully and precisely.
Under her guidance, Best Modern Toilet has flourished as the go-to resource for modern bathroom enthusiasts. In her free time, you might find Ava exploring antique shops and looking for vintage bathroom fixtures to add to her collection.


Which Is More Hygienic Toilet Paper or Water

Where Can You Not Flush Toilet Paper
How Do You Flush the Toilet in Italy

Best Toilet Brand

Flush Toilet Price

Loupusuo Luxury Smart Toilet Review [2024]

Simple Project Modern Smart Toilet Review [2024]

LDian Smart Toilet Review: Luxury and Hygiene Combined [2024]

American Standard Town Square S Toilet Review [2024]

American Standard Studio S Toilet Review [2024]

-

 Bathroom Enhancements2 months ago
Will Hot Bath Lower Blood Pressure
-

 FAQ - Advanced Bathroom Queries3 months ago
Which Countries Use Bidets the Most
-
 Reviews1 month ago
LDian Smart Toilet Review [2024]
-
 Reviews2 months ago
Kohler Innate Smart Toilet Review [2024]
-
 Reviews2 months ago
Kohler NUMI 2.0 Smart Toilet Review [2024]
-
 Reviews2 months ago
CANEST Smart Toilet Review: The Ultimate Bathroom Upgrade [2024]
-

 Toilet Types3 months ago
Are Bleach Tablets Bad for Your Toilet
-

 Reviews2 months ago
Woodbridge B0970S Smart Bidet Toilet Review [2024]