
FAQ - Advanced Bathroom Queries
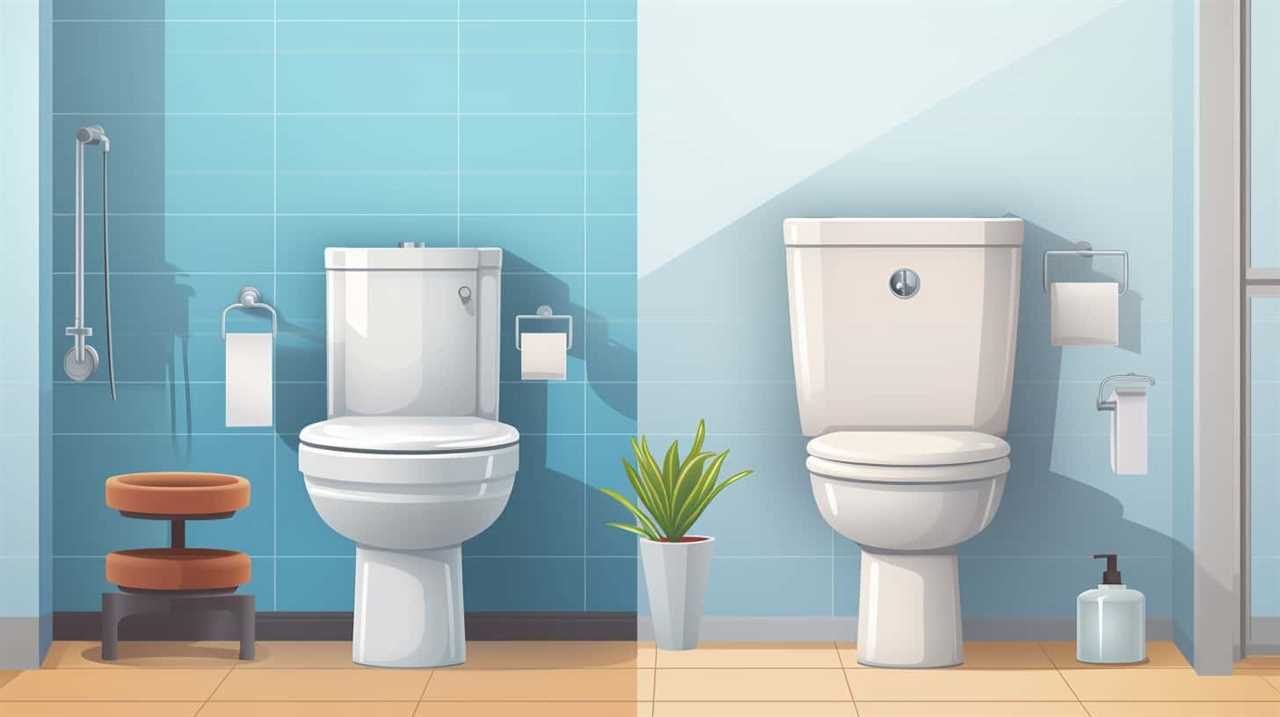
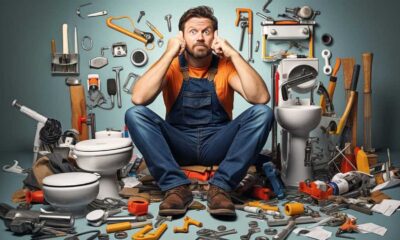
How to Fix a Toilet Seat
I’ve got a problem that needs fixing – my toilet seat is loose and wobbly. But fear not, because I’m here to show you step-by-step how to fix it.
With just a few tools and a little bit of know-how, you’ll have that toilet seat securely in place in no time.
So, let’s grab our tools and get started on this simple yet essential repair. Don’t worry, I’ve got you covered every step of the way.
Key Takeaways
- Inspect the hinges, screws, and seat for looseness, damage, and cracks
- Use the appropriate tools like a screwdriver, adjustable wrench, Allen wrench, and pliers for removal and installation
- Choose the right seat based on size, shape, material, and additional features
- Secure the seat tightly using screws, bolts, rubber washers, or adhesive pads to prevent wobbling or detachment
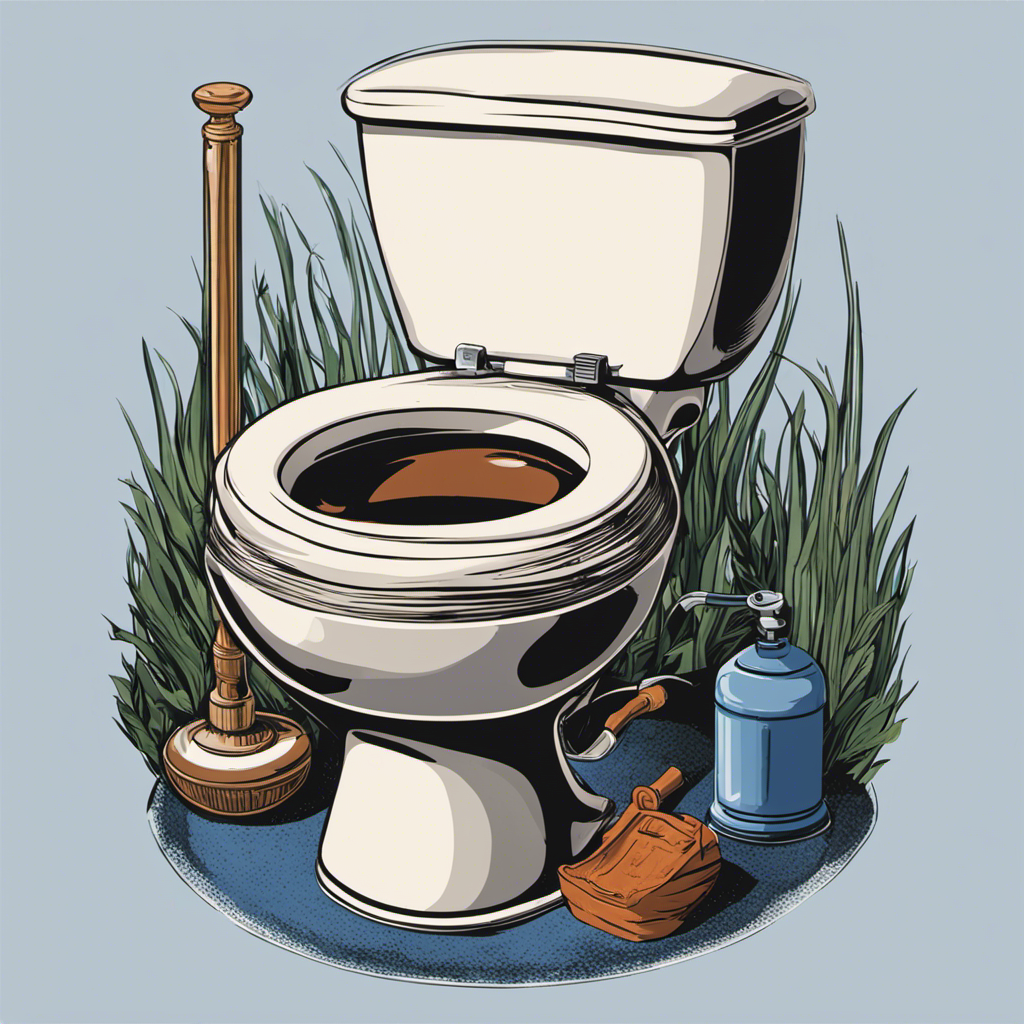
Assessing the Problem

First, you’ll need to take a closer look at the toilet seat to figure out what’s wrong. Start by inspecting the hinges and screws to see if they’re loose or damaged. If the seat wobbles or moves when you sit on it, tightening the screws might solve the problem.
Another common issue is a cracked or broken seat. Carefully examine the seat for any visible cracks or damage. If you find any, it’s best to replace the seat entirely.
Additionally, check if the seat is properly aligned with the bowl. If it’s misaligned, it can cause discomfort or difficulty in closing the seat.
Once you’ve assessed the problem, you can move on to gathering the necessary tools for the repair.
Gathering the Necessary Tools
Next, you’ll need to grab the tools you’ll need for the task at hand. Maintaining and troubleshooting toilet seat issues requires a few essential tools. Here’s what you’ll need:
- Screwdriver: This will be used to tighten or remove screws that hold the seat in place.
- Adjustable wrench: Useful for loosening and tightening nuts and bolts.
- Allen wrench: Sometimes, toilet seats are secured with Allen screws, so having this tool on hand is essential.
- Pliers: These come in handy when dealing with stubborn bolts or nuts that are difficult to remove.
With these tools at your disposal, you’ll be well-equipped to tackle any toilet seat maintenance or troubleshooting task. Remember to use caution when working with tools and follow proper safety measures to avoid any accidents.
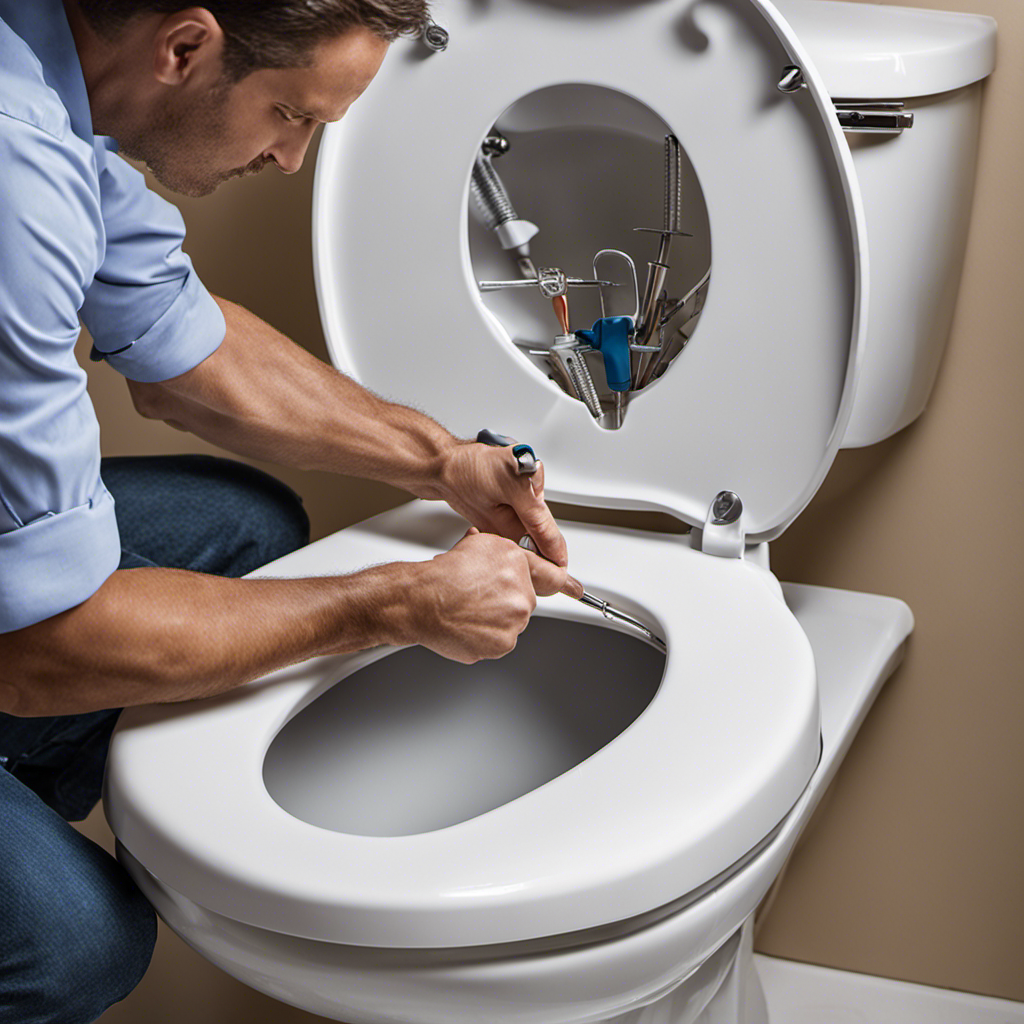
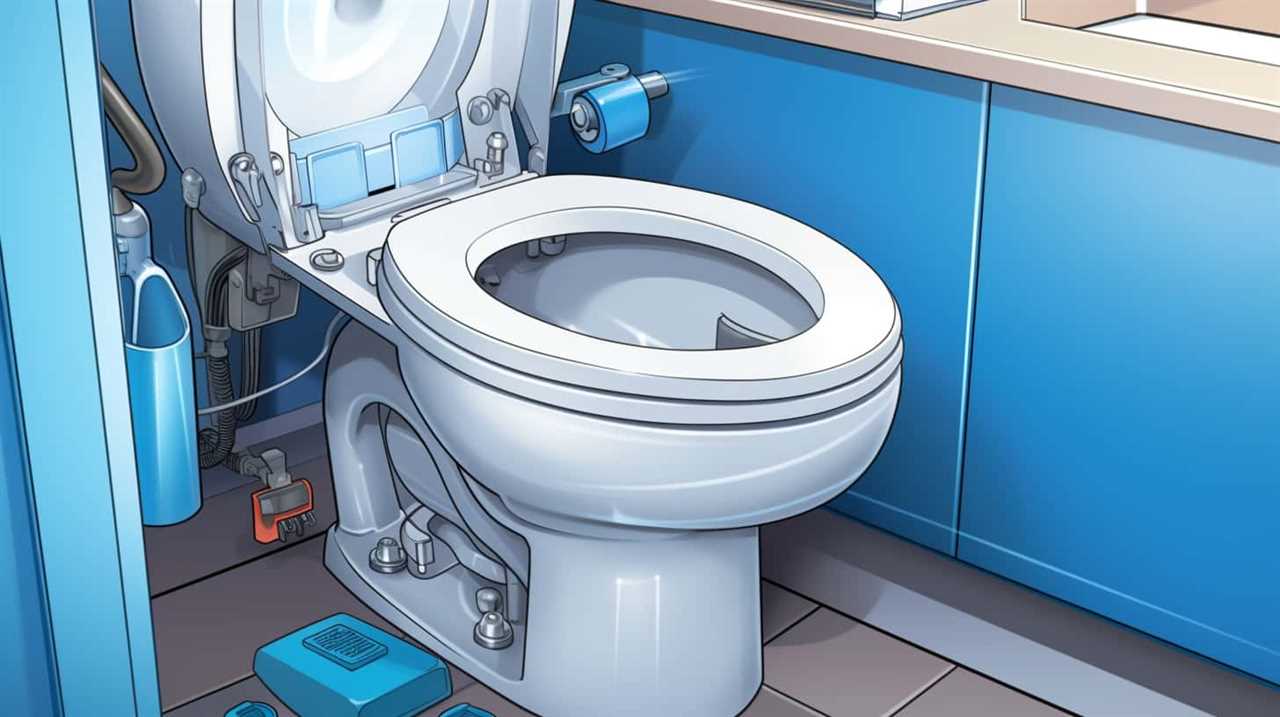
Removing the Old Toilet Seat
To start, locate the screws holding the old seat in place. These screws are usually located at the back of the toilet bowl, near the hinges. Use a screwdriver to loosen and remove them.
Once the screws are removed, lift the old seat off the toilet bowl and set it aside.
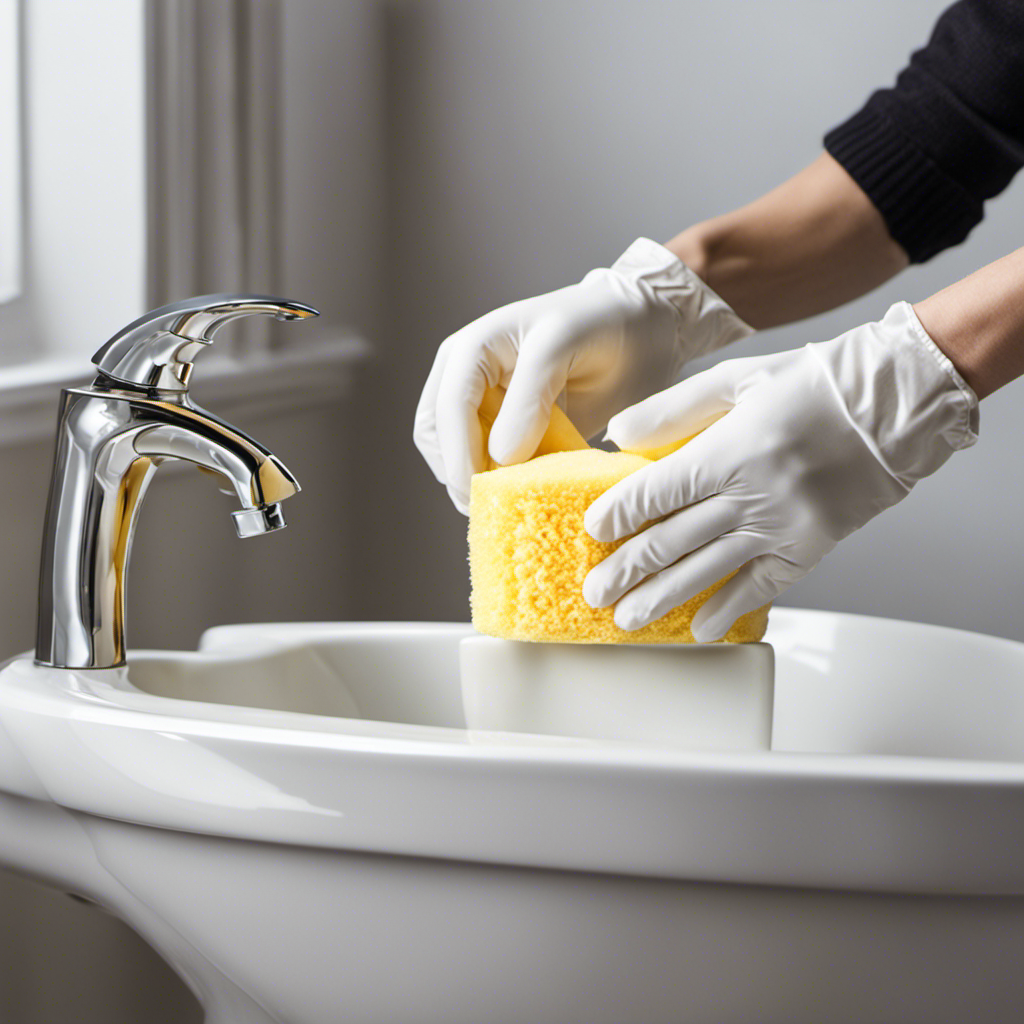
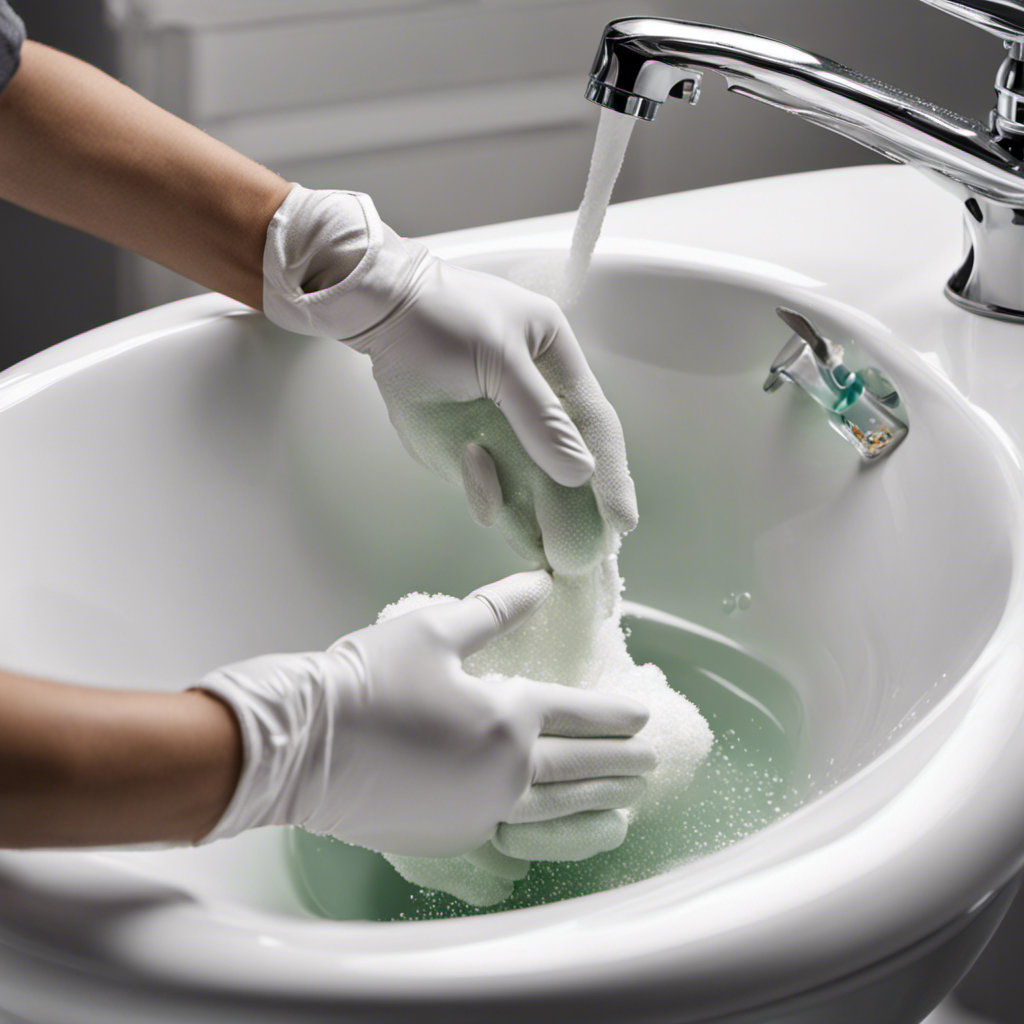
Next, take a moment to clean the toilet bowl and the area where the seat was attached. Use a mild cleaner and a soft cloth to remove any dirt or residue. This will ensure a clean surface for installing the new toilet seat.
With the old seat removed and the toilet bowl clean, you are now ready to move on to installing the new toilet seat.
Installing the New Toilet Seat
When it comes to installing a new toilet seat, there are a few key points to keep in mind.
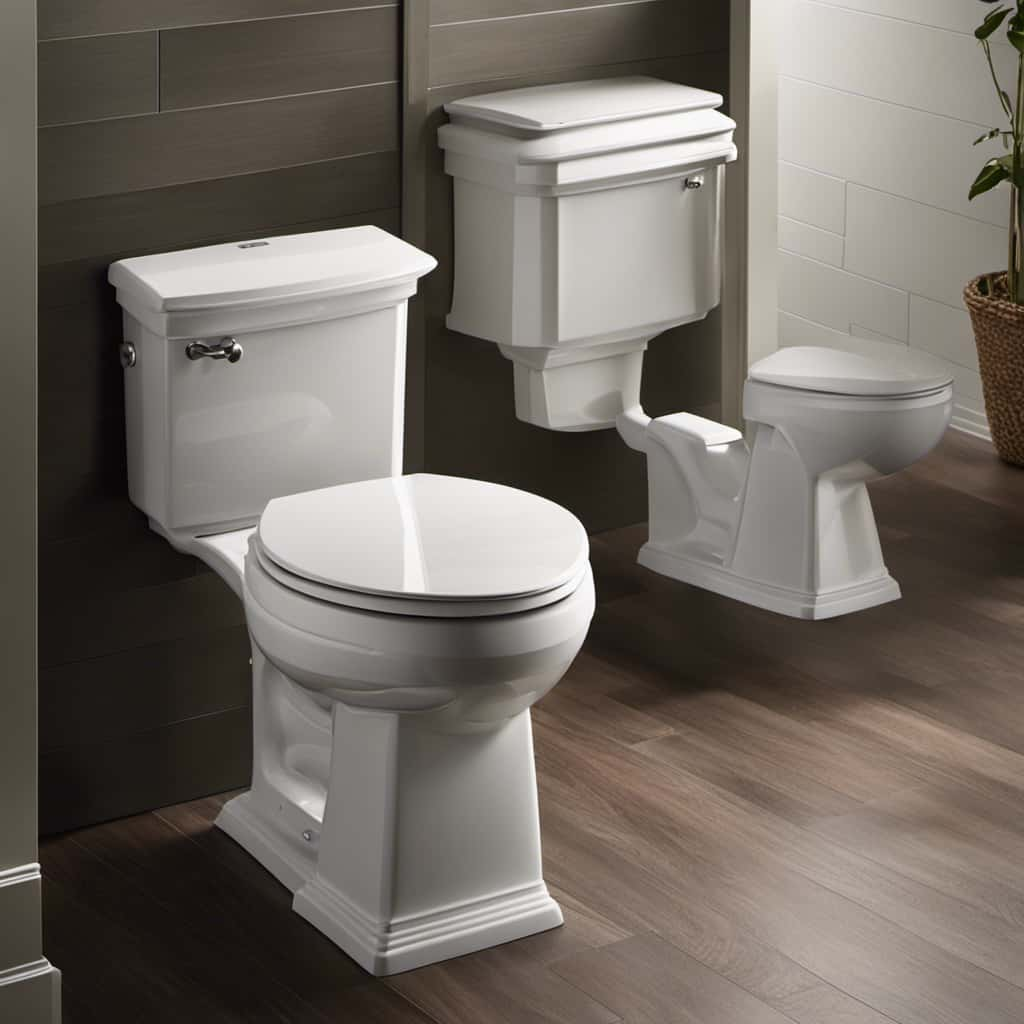
First, it’s important to choose the right seat for your toilet. This means considering factors like size, shape, and material.
Once you have the right seat, proper seat alignment is crucial for a comfortable and functional installation.
Lastly, securing the seat tightly ensures that it stays in place and doesn’t wobble or move when in use.
Choosing the Right Seat
Before you start shopping, make sure you know the measurements of your toilet bowl. This is crucial to ensure that the new toilet seat fits perfectly and functions properly.
When choosing the right seat, there are a few factors to consider. Firstly, consider the material of the toilet seat. Common options include plastic, wood, and cushioned seats. Secondly, think about the color options available. Match the seat color to your bathroom decor or personal preference. Additionally, consider the durability and ease of cleaning of the seat material. Lastly, check if the seat comes with any additional features such as a slow-close mechanism or antimicrobial coating.
Once you have selected the perfect toilet seat, you can move on to the next step of proper seat alignment.
Transition: Now that you have chosen the right toilet seat, let’s move on to properly aligning it on your toilet bowl.
Proper Seat Alignment
Now that you have the perfect toilet seat, aligning it properly on your toilet bowl is essential for comfort and stability. Improper alignment can lead to common toilet seat problems such as wobbling, shifting, or even breakage.
To ensure a properly aligned seat, follow these step-by-step instructions:
-
Start by cleaning the toilet bowl and seat thoroughly.
-
Place the seat on top of the bowl, ensuring that the hinges align with the fixing points on the bowl.
-
Gently lower the seat onto the fixing points, making sure it sits evenly on all sides.
-
Tighten the screws or bolts on the hinges using a screwdriver or wrench, depending on the type of seat.
-
Check for any movement or wobbling. If necessary, adjust the alignment by loosening the screws and repositioning the seat.
-
Once properly aligned, tighten the screws firmly, but be careful not to overtighten and damage the seat or bowl.
Properly aligning your toilet seat offers several benefits, including enhanced comfort, stability, and longevity. It prevents unnecessary movement or shifting, providing a secure and pleasant seating experience. Additionally, a well-aligned seat reduces the risk of breakage or damage, ensuring long-term durability.
Securing the Seat Tightly
To ensure a secure fit, make sure you tighten the screws firmly but be careful not to overtighten and cause damage.
Here are some tips for preventing a loose toilet seat:
- Use a screwdriver or wrench to tighten the nuts or bolts that secure the seat to the toilet bowl.
- Check if the toilet seat hinges are loose and tighten them if necessary.
- Consider replacing the screws or bolts with longer ones for a more secure fit.
- Use rubber washers or adhesive pads between the seat and the toilet bowl to prevent shifting.
Common toilet seat issues include wobbling, sliding, or completely detaching from the bowl. By following these tips, you can prevent these problems and ensure a stable and secure toilet seat.
Now, let’s move on to adjusting the seat for comfort.
Adjusting the Seat for Comfort
Make sure you’re adjusting the toilet seat for maximum comfort by finding the ideal position for your needs.
The first step is to consider the seat material. Most toilet seats are made of either plastic or wood. Plastic seats are easy to clean and maintain, requiring just a wipe with a damp cloth. Wood seats, on the other hand, have a natural look but require more care. They should be cleaned with mild soap and water, avoiding harsh chemicals that can damage the finish.
Once you’ve chosen the right seat material, it’s time to adjust it for comfort. Start by loosening the seat bolts underneath the toilet bowl. Then, adjust the seat position to your liking. Finally, tighten the bolts securely.
With the seat adjusted, you can now move on to securing it in place.
Securing the Seat in Place
Once you’ve adjusted the seat to your liking, you’ll want to make sure it’s securely fastened in place. To do this, follow these steps:
-
Start by checking the size of the seat. If the seat is too small for the toilet bowl, it may not fit properly and could easily become loose over time.
-
Next, inspect the mounting hardware. Look for any signs of damage, such as loose screws or broken bolts. If the hardware is in poor condition, it will need to be replaced.
-
If the seat size and mounting hardware are both in good condition, begin by aligning the seat with the mounting holes on the toilet bowl.
-
Finally, tighten the screws or bolts using a screwdriver or wrench, ensuring that the seat is securely fastened.
Testing and Finalizing the Repair
After securing the seat in place, it’s important to test the repair to ensure it’s properly fixed.
To begin, gently sit on the toilet seat and check for any wobbling or movement. Apply pressure on different areas to test its durability. If there are no issues, proceed to the next step.
Next, flush the toilet multiple times to ensure that the seat remains stable and doesn’t shift. Listen for any unusual noises or vibrations during the flushing process. If everything appears to be working smoothly, it’s time to troubleshoot any potential issues.
Check the hinges and screws for tightness, making sure none are loose. If any issues are detected, tighten the screws or replace any damaged parts. Finally, repeat the testing process to verify that the repair is successful and the toilet seat is secure.
Conclusion
In conclusion, fixing a toilet seat is a straightforward task that can be easily accomplished by following a few simple steps.
First, assess the problem and determine what needs to be fixed.
Next, gather the necessary tools, such as a screwdriver and pliers, to help with the repair.
Then, remove the old seat by unscrewing the bolts that hold it in place.
After that, install the new seat by aligning it with the holes on the toilet bowl and securing it with the bolts.
Once the seat is in place, adjust it for comfort by tightening or loosening the bolts as needed.
Finally, make sure the seat is securely in place by giving it a gentle tug and testing its stability.
By following these steps, you can have your toilet seat back to its original functionality in no time.
Just like a skilled craftsman restoring a masterpiece, you too can restore the comfort and convenience of your bathroom with ease.

Liam’s journey with us started as a consumer. Having faced challenges while setting up his own modern bathroom, he delved deep into research.
Recognizing his knack for simplifying complex information and his authentic writing style, we were thrilled to welcome him aboard. Liam’s articles often merge practicality with style, ensuring readers find the perfect fit for their homes. Liam is an avid hiker off-duty and often jokes about finding the best “natural toilets” Mother Earth has to offer.


Were you aware that inadequate flushing pressure is a frequent issue in commercial restroom facilities? If you’re having trouble getting a proper flush, we have the solution for you.
In this article, we will share expert tips and techniques to increase the flushing pressure on your commercial toilet. From checking water supply issues to adjusting the flapper valve and installing a pressure-assist system, we’ll provide you with the knowledge and tools you need to master the art of a powerful flush.
Key Takeaways
- Check water pressure and flow rate to identify low flushing pressure.
- Adjust the flapper valve to ensure proper opening and closing.
- Clean or replace the flush valve to remove debris and mineral deposits.
- Inspect and clean the rim holes regularly to maintain proper water flow.
Check for Water Supply Issues
We can check for water supply issues by examining the water pressure and flow rate to determine if it’s causing the low flushing pressure on a commercial toilet.
One possible cause of low flushing pressure is clogged pipes, which can restrict the water flow and result in inadequate flushing power. To check for clogged pipes, we can inspect the plumbing system for any signs of blockages or obstructions.

Additionally, it’s crucial to ensure proper water pressure for effective flushing. Insufficient water pressure can lead to weak flushes and unsatisfactory performance. To address this issue, we can check the water pressure regulator and adjust it if necessary.
Adjust the Flapper Valve
To increase the flushing pressure on a commercial toilet, adjusting the flapper valve is essential. The flapper valve is responsible for controlling the release of water from the tank into the bowl during a flush.
By making the following adjustments, you can optimize the performance of the flapper valve and increase the flushing pressure:
- Adjust the chain length: Ensure that the chain connecting the flush lever to the flapper valve is neither too loose nor too tight. A loose chain may prevent the flapper valve from fully opening, while a tight chain may cause the flapper valve to close prematurely.
- Replace the handle: If the handle is worn or damaged, it may not allow the flapper valve to open fully. By replacing the handle with a new one, you can ensure that the flapper valve opens completely, allowing for a stronger flush.
Clean or Replace the Flush Valve
To clean or replace the flush valve, start by shutting off the water supply and flushing the toilet to empty the tank. Once the tank is empty, you can proceed with the cleaning or replacement process.

If you choose to clean the flush valve, use appropriate cleaning methods such as soaking it in a mixture of vinegar and water or using a toilet bowl cleaner. Be sure to scrub the valve thoroughly to remove any built-up debris or mineral deposits.
If cleaning doesn’t resolve the issue, it may be necessary to replace the flush valve. Troubleshooting tips for replacing the flush valve include following the manufacturer’s instructions, ensuring a proper fit, and testing the flush after installation.
Inspect and Clean the Rim Holes
To effectively inspect and clean the rim holes, we need to use a small brush and a mixture of water and vinegar. This process is crucial in troubleshooting water pressure issues and ensuring optimal flushing performance. Here is a step-by-step guide to successfully inspect and clean the rim jets:
- Begin by turning off the water supply to the toilet.
- Take the small brush and dip it into the water and vinegar mixture.
- Gently scrub the rim holes, making sure to remove any mineral deposits or debris that may be obstructing the flow of water.
- Rinse the rim holes thoroughly with clean water to remove any remaining residue.
Inspecting and cleaning the rim holes is an essential task to maintain proper water flow and increase flushing pressure. Once this step is completed, we can move on to considering the installation of a pressure-assist system, which can further enhance the flushing performance of the commercial toilet.
Consider Installing a Pressure-Assist System
Now let’s delve into the benefits of installing a pressure-assist system to further enhance the flushing performance of the commercial toilet. Water pressure control is crucial for efficient flushing, and pressure-assist systems offer a solution to this issue. These systems work by using compressed air to create higher water pressure, resulting in a more forceful flush.
By installing a pressure-assist system, you can ensure consistent and powerful flushing, even with low water pressure.
The benefits of pressure-assist systems in commercial toilets are significant. Firstly, they provide a more thorough and effective flush, reducing the risk of clogs and blockages. Secondly, they use less water per flush compared to traditional gravity-fed toilets, resulting in water savings and lower utility costs.
Additionally, pressure-assist systems are known for their durability and long lifespan, making them a cost-effective investment in the long run. Overall, installing a pressure-assist system in your commercial toilet can improve flushing performance, save water, and enhance overall efficiency.

Frequently Asked Questions
How Much Does It Cost to Install a Pressure-Assist System in a Commercial Toilet?
Cost analysis and benefits comparison are important when considering the installation of a pressure-assist system in a commercial toilet. It’s crucial to assess the expenses involved and weigh them against the advantages it can provide.
What Are the Signs of a Faulty Flapper Valve in a Commercial Toilet?
When troubleshooting flapper valve problems, signs of issues include inconsistent flushing, water leaks, and phantom flushing. Proper maintenance and replacement of faulty flapper valves can restore optimal performance to commercial toilets.
Can a Clogged Rim Hole Affect the Flushing Pressure of a Commercial Toilet?
A clogged rim hole in a commercial toilet can indeed affect the flushing pressure. It is important to ensure that the rim holes are clear of any debris or buildup to maintain optimal flushing performance.
Is It Necessary to Hire a Professional Plumber to Clean or Replace the Flush Valve?
Hiring a professional plumber may not always be necessary for cleaning or replacing the flush valve. With proper guidance and tools, we can tackle the task ourselves, saving time and money.
Are There Any Alternative Methods to Increase Flushing Pressure in a Commercial Toilet Without Installing a Pressure-Assist System?
There are alternative methods to increase flushing pressure in a commercial toilet without installing a pressure-assist system. We can troubleshoot the issue by checking the water supply, adjusting the flush valve, or cleaning the bowl rim holes.
Conclusion
In conclusion, increasing the flushing pressure on a commercial toilet can be achieved by addressing water supply issues. This may involve checking for any restrictions or blockages in the water supply line and ensuring that the valve supplying water to the toilet is fully open.
Another way to increase flushing pressure is by adjusting the flapper valve. The flapper valve controls the release of water from the tank into the bowl during flushing. By adjusting the chain or replacing the flapper valve if necessary, you can ensure a more powerful flush.
Cleaning or replacing the flush valve can also help improve flushing pressure. Over time, mineral deposits or debris may accumulate on the flush valve, affecting its performance. By cleaning or replacing it, you can restore optimal flushing pressure.

Inspecting and cleaning the rim holes is another important step in increasing flushing pressure. The rim holes are located under the rim of the toilet bowl and are responsible for directing water into the bowl during flushing. If these holes are clogged, it can hinder the flow of water and reduce flushing pressure. By inspecting and cleaning them regularly, you can maintain optimal flushing performance.
For more significant pressure improvement, consider installing a pressure-assist system. These systems use pressurized air to enhance flushing power, resulting in a more efficient and forceful flush.
By following these steps, you can ensure a more efficient and powerful flush, leaving your commercial toilet operating at its best. With these methods, your toilet will be as unstoppable as a rushing river, leaving you worry-free.

With an impeccable eye for detail and a passion for bathroom-related, Ava leads our editorial team gracefully and precisely.
Under her guidance, Best Modern Toilet has flourished as the go-to resource for modern bathroom enthusiasts. In her free time, you might find Ava exploring antique shops and looking for vintage bathroom fixtures to add to her collection.
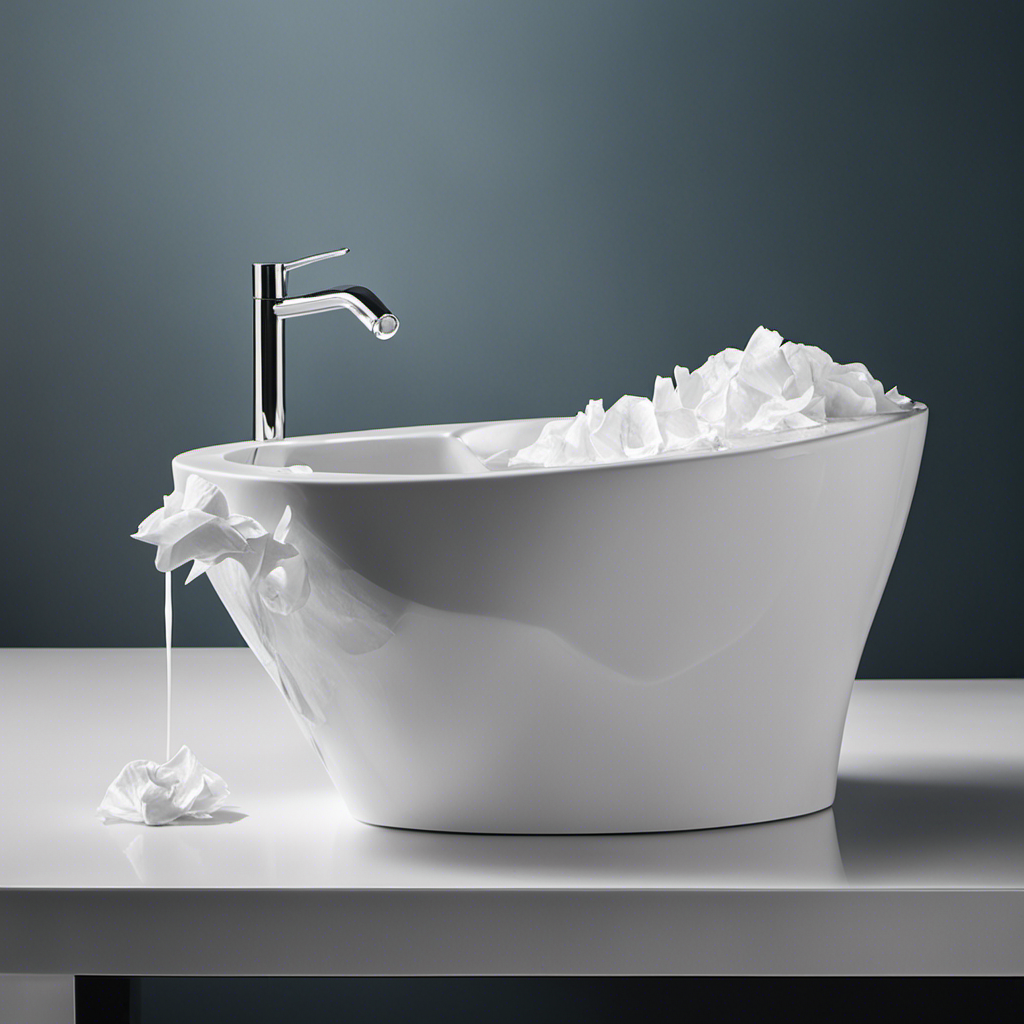
We are all aware that the toilet is a mysterious place where items vanish with a quick flush. However, it is important to remember, my friends, that not everything should be disposed of in this porcelain palace. Oh no.
In fact, there are some items that can cause serious damage to our plumbing and the environment.
So, let’s dive into the depths of toilet wisdom and find out exactly what we should not, I repeat, should not flush in the toilet.
Key Takeaways
- Non-biodegradable items such as plastic waste, disposable diapers, wrappers, bottles, and packaging should not be flushed as they can cause blockages in the sewage system and harm marine life.
- Personal hygiene products like tampons, pads, diapers, wipes, and condoms should not be flushed as they can lead to plumbing system blockages and backups.
- Medications and chemicals should not be flushed as they can contaminate water sources and harm aquatic life. They should be properly disposed of at local pharmacies or waste management facilities.
- Oils, grease, fat, paper towels, and wet wipes should not be flushed as they can cause plumbing system damage, contribute to pollution, and harm the environment. Proper disposal methods should be followed to prevent these issues.
Non-Biodegradable Items
When it comes to non-biodegradable items, we need to be mindful of what we flush down the toilet. Plastic waste and disposable diapers are two common examples that should never be flushed.

Plastic waste, such as wrappers, bottles, or packaging, can clog pipes and cause blockages in the sewage system. These items aren’t designed to break down in water and can lead to costly repairs.
Disposable diapers, although convenient, are made from materials that don’t biodegrade easily. Flushing them can lead to significant environmental problems, as they can end up in water bodies, harming marine life and polluting the ecosystem.
It’s crucial to dispose of these items properly in designated waste bins to prevent negative impacts on our plumbing systems and the environment as a whole.
Personal Hygiene Products
We should not flush personal hygiene products down the toilet. Flushing these products can cause blockages in the plumbing system, leading to costly repairs. Additionally, these products can have a detrimental impact on the environment. Proper disposal methods for personal hygiene products include throwing them in the trash or using designated disposal bins. It is important to remember that even if a product is labeled as "flushable," it does not mean it should be flushed. Flushing personal hygiene products can contribute to clogged sewer lines and sewage backups. To emphasize this point, consider the following table:
| Personal Hygiene Products |
|---|
| Tampons |
| Pads |
| Diapers |
| Wipes |
| Condoms |
Medications and Chemicals
In an article titled ‘What Should You Not Flush in the Toilet’, it’s important to address the issue of medications and chemicals that shouldn’t be flushed. Proper disposal of these substances is crucial to minimize their environmental impact and protect our water resources.
Here are three items that should never be flushed down the toilet:
- Medications: Flushing unused or expired medications can contaminate water sources, harming aquatic life and potentially affecting human health. Instead, take them to a local pharmacy or participating collection site for safe disposal.
- Household chemicals: Cleaning products, solvents, and pesticides should never be flushed as they can disrupt wastewater treatment processes and pollute rivers and lakes. Check with your local waste management facility for proper disposal methods.
- Personal care products containing chemicals: Items like tampons, diapers, and wet wipes shouldn’t be flushed, as they can cause blockages in sewer systems and contribute to pollution. Dispose of them in the trash instead.
Oils, Grease, and Fat
To prevent plumbing issues and protect the environment, it is important to properly dispose of oils, grease, and fat. These substances can cause significant damage to both your plumbing system and the environment when they are flushed down the toilet. When oils, grease, and fat enter the plumbing system, they can solidify and create blockages that can lead to costly repairs. Additionally, these substances can have a detrimental environmental impact when they enter sewage systems and waterways, causing pollution and harm to aquatic life. To help you understand the importance of proper disposal, here is a table outlining the environmental impact and potential plumbing problems caused by flushing oils, grease, and fat.
| Substance | Environmental Impact | Plumbing Problems |
|---|---|---|
| Oils | Can contaminate water sources and harm aquatic life | Clogs pipes and causes backups |
| Grease | Pollutes waterways and can be toxic to marine organisms | Solidifies in pipes and causes blockages |
| Fat | Contributes to water pollution and harms ecosystems | Accumulates in pipes and leads to sewer backups |
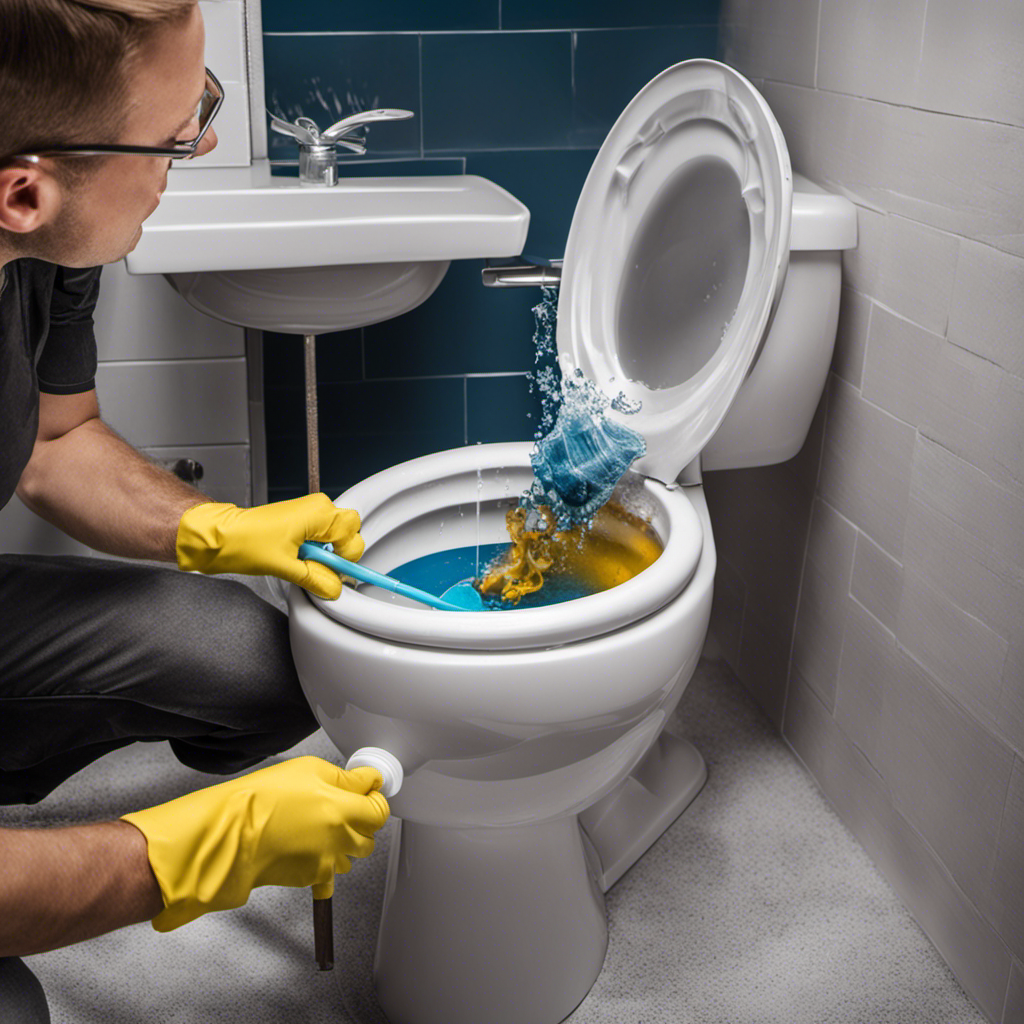
Paper Towels and Wet Wipes
Let’s talk about why flushing paper towels and wet wipes down the toilet is a bad idea. Not only does it have a negative environmental impact, but it can also cause serious plumbing issues.

Here are three reasons why you should never flush paper towels and wet wipes down the toilet:
- Environmental Impact: Flushing paper towels and wet wipes contributes to clogged sewer systems and can lead to sewage spills. These spills can contaminate our water sources and harm aquatic life. Additionally, these materials don’t break down like toilet paper, leading to increased waste in landfills.
- Plumbing Issues: Paper towels and wet wipes aren’t designed to dissolve in water like toilet paper. Flushing them down the toilet can clog pipes and cause blockages, leading to expensive repairs and potential damage to your plumbing system.
- Costly Consequences: Dealing with plumbing issues caused by flushing paper towels and wet wipes can be a costly affair. Not only will you need to hire a professional plumber to fix the problem, but you may also have to deal with water damage and the inconvenience of not having a functioning toilet.
To avoid these problems, dispose of paper towels and wet wipes in the trash instead of flushing them down the toilet.
Frequently Asked Questions
Can I Flush Non-Biodegradable Items Down the Toilet if They Are Small Enough?
We should never flush non-biodegradable items down the toilet, even if they are small. Doing so can cause potential plumbing issues such as clogs and blockages. It’s important to dispose of these items properly.
Why Can’t I Flush Personal Hygiene Products Down the Toilet?
Flushing personal hygiene products can have a negative environmental impact. It’s important not to flush them because they can clog pipes and sewage systems. Instead, dispose of them in the trash to avoid potential problems.
Is It Safe to Flush Medications and Chemicals Down the Toilet?
Flushing expired medications and chemicals down the toilet is not safe. Proper disposal is essential to protect both our environment and our health. Let’s explore the correct ways to dispose of these items.
Can Small Amounts of Oil, Grease, or Fat Be Safely Flushed Down the Toilet?
Flushing oils and chemicals can have a negative impact on the environment and sewage systems. It is important to avoid flushing non-biodegradable items to prevent clogs and contamination.
What Is the Difference Between Flushing Paper Towels and Wet Wipes and Flushing Toilet Paper?
Flushing paper towels and wet wipes may seem similar to flushing toilet paper, but the difference lies in their environmental impact. Non-biodegradable items like these can clog pipes and harm marine life. It’s best to dispose of them properly.
Conclusion
In conclusion, when it comes to flushing items down the toilet, it’s crucial to remember that not everything is meant to go down the drain.

Non-biodegradable items, personal hygiene products, medications and chemicals, oils, grease, fat, and paper towels and wet wipes should never be flushed. These items can cause blockages in the plumbing system and harm the environment.
So, let’s be mindful of what we flush, and keep our toilets and our planet healthy and happy.
With an impeccable eye for detail and a passion for bathroom-related, Ava leads our editorial team gracefully and precisely.
Under her guidance, Best Modern Toilet has flourished as the go-to resource for modern bathroom enthusiasts. In her free time, you might find Ava exploring antique shops and looking for vintage bathroom fixtures to add to her collection.
FAQ - Advanced Bathroom Queries
What Happens if You Flush the Toilet When the Water Softener Is Regenerating
As water softening aficionados, we understand the significance of regular upkeep. But what occurs if we inadvertently flush the toilet while the water softener is regenerating?
Well, let us dive into the technicalities. Flushing the toilet during regeneration can lead to potential damage to the water softener system, reduced effectiveness of water softening, increased water hardness in the plumbing system, risk of clogging or backup, and an extended regeneration process with unnecessary water waste.
It’s vital to understand the consequences and avoid such missteps to ensure a mastery over water softening.
Key Takeaways
- Flushing the toilet during regeneration can cause potential damage to the water softener system.
- Water usage during regeneration reduces the effectiveness of water softening.
- Flushing the toilet during regeneration increases water hardness in the plumbing system.
- Flushing the toilet during regeneration poses a risk of clogging or backup in the plumbing.
Potential Damage to the Water Softener System
When flushing the toilet while the water softener is regenerating, potential damage to the water softener system can occur. This is because the regenerating process involves flushing out the accumulated minerals from the resin tank and replenishing it with fresh salt. Interrupting this process by flushing the toilet can disrupt the delicate balance and cause a potential system malfunction.

The impact on water quality can also be significant. The minerals that were meant to be removed during regeneration mightn’t be fully eliminated, leading to hard water issues. Additionally, the interruption can cause the system to overwork, potentially leading to excessive wear and tear on its components.
To avoid potential damage to the water softener system, it’s advisable to refrain from flushing the toilet during the regeneration process.
Reduced Effectiveness of Water Softening
How does flushing the toilet during water softener regeneration impact the effectiveness of water softening?
When the water softener is regenerating, it’s crucial to avoid using water in order to ensure optimal performance. Flushing the toilet during this process can lead to reduced effectiveness of water softening.

This is because the regeneration process involves flushing out the accumulated minerals and replacing them with new sodium ions. However, when water is used during this time, it disrupts the regeneration process, leading to incomplete removal of minerals from the resin bed.
As a result, the water may still contain hardness minerals, resulting in decreased soap lathering and increased scale buildup. Therefore, it’s important to avoid using water, including flushing the toilet, during the water softener regeneration process to maintain the effectiveness of water softening.
Increased Water Hardness in the Plumbing System
Flushing the toilet during water softener regeneration can result in an elevation of water hardness in the plumbing system. When the water softener is regenerating, it is temporarily unable to remove the minerals that cause water hardness. As a result, these minerals can enter the plumbing system and increase the water hardness. This can have several potential solutions, such as installing a bypass valve to divert water away from the water softener during regeneration. Additionally, it is important to consider the impact on appliances. Increased water hardness can lead to mineral buildup in appliances, reducing their efficiency and lifespan. Regular maintenance and descaling of appliances, such as dishwashers and washing machines, can help mitigate the effects of increased water hardness.
| Potential Solutions | Impact on Appliances |
|---|---|
| Install bypass valve | Mineral buildup |
| Divert water during regeneration | Reduced efficiency |
| Regular appliance maintenance | Decreased lifespan |
Risk of Clogging or Backup in the Plumbing
During water softener regeneration, there’s a risk of clogging or backup in the plumbing system. The water softener goes through a cleaning cycle where it flushes out accumulated minerals. This can cause a temporary increase in water flow and pressure. This increase in pressure can strain weak or damaged pipes, potentially causing leaks or bursts. The high water flow can also dislodge debris or sediment in the pipes, blocking the water flow. To minimize the risk, it’s important to avoid using water-dependent appliances during the regeneration process. Following the recommended maintenance schedule and ensuring proper installation and functioning of the system can help mitigate this risk.

Now, let’s move on to discussing the extended regeneration process and water waste.
Extended Regeneration Process and Water Waste
As we continue our discussion on the risks of clogging or backup in the plumbing system during water softener regeneration, let’s now explore the extended regeneration process and the issue of water waste.
During the extended regeneration process, the water softener goes through several cycles to clean and recharge the resin beads. This process typically takes a couple of hours to complete. However, it’s important to note that during this time, the water softener isn’t able to supply softened water to the household.
Additionally, the extended regeneration process can result in a significant amount of water waste. It’s estimated that for every regeneration cycle, approximately 50-100 gallons of water can be wasted. This not only impacts water bills but also raises concerns about the environmental impact and the overall efficiency of the water softener system.

Therefore, proper water softener maintenance and scheduling can help minimize the impact on water quality and reduce water waste.
Frequently Asked Questions
Can Flushing the Toilet During the Water Softener Regeneration Process Cause Any Harm to the Toilet Itself?
Flushing the toilet during water softener regeneration can potentially cause toilet damage. It is advised to avoid doing so to ensure water softener efficiency and prevent any potential harm to the toilet.
Will the Water Softener Still Work Effectively After Flushing the Toilet During Regeneration?
After flushing the toilet during water softener regeneration, the effectiveness of the softener may be compromised. This can lead to a decrease in water pressure and a potential impact on water quality.
Is There a Risk of Increased Water Hardness in Other Household Appliances, Such as the Dishwasher or Washing Machine, if the Toilet Is Flushed During Regeneration?
Flushing the toilet during water softener regeneration may affect water pressure and potentially shorten the lifespan of the water softener. Increased water hardness in appliances like the dishwasher or washing machine is possible.

Can Flushing the Toilet During Regeneration Lead to Clogging or Backup in Other Areas of the Plumbing System, Such as Sinks or Showers?
When the toilet is flushed during water softener regeneration, it can potentially cause clogging or backup in other areas of the plumbing system, such as sinks or showers. It’s important to prevent this to maintain proper water pressure.
Does Flushing the Toilet During the Regeneration Process Extend the Overall Length of the Regeneration and Result in More Water Waste?
Flushing the toilet during water softener regeneration can impact water pressure. It may result in potential damage to the water softener and increase the length of regeneration, leading to more water waste.
Conclusion
If you flush the toilet during the water softener regeneration process, you could potentially cause damage to the system. This can reduce the effectiveness of water softening and increase water hardness in your plumbing system. Additionally, flushing the toilet during regeneration can risk clogging or backup in your pipes. This can lead to costly repairs and inconvenience. Furthermore, flushing the toilet during regeneration can also result in wasting water. It’s important to be mindful of the regeneration schedule and avoid flushing the toilet during this time to maintain the optimal functioning of your water softener and prevent any potential issues.
With an impeccable eye for detail and a passion for bathroom-related, Ava leads our editorial team gracefully and precisely.
Under her guidance, Best Modern Toilet has flourished as the go-to resource for modern bathroom enthusiasts. In her free time, you might find Ava exploring antique shops and looking for vintage bathroom fixtures to add to her collection.


How Do You Increase the Flushing Pressure on a Commercial Toilet

What Should You Not Flush in the Toilet

What Happens if You Flush the Toilet When the Water Softener Is Regenerating

Which Is More Hygienic Toilet Paper or Water

Where Can You Not Flush Toilet Paper

Loupusuo Luxury Smart Toilet Review [2024]

Simple Project Modern Smart Toilet Review [2024]

LDian Smart Toilet Review: Luxury and Hygiene Combined [2024]

American Standard Town Square S Toilet Review [2024]

American Standard Studio S Toilet Review [2024]

-

 Bathroom Enhancements2 months ago
Will Hot Bath Lower Blood Pressure
-

 FAQ - Advanced Bathroom Queries3 months ago
Which Countries Use Bidets the Most
-
 Reviews1 month ago
LDian Smart Toilet Review [2024]
-
 Reviews2 months ago
Kohler Innate Smart Toilet Review [2024]
-
 Reviews2 months ago
Kohler NUMI 2.0 Smart Toilet Review [2024]
-
 Reviews2 months ago
CANEST Smart Toilet Review: The Ultimate Bathroom Upgrade [2024]
-
 Toilet Types3 months ago
Are Bleach Tablets Bad for Your Toilet
-
 Reviews2 months ago
Woodbridge B0970S Smart Bidet Toilet Review [2024]