
Bathtub
How to Fix Bathtub Leak
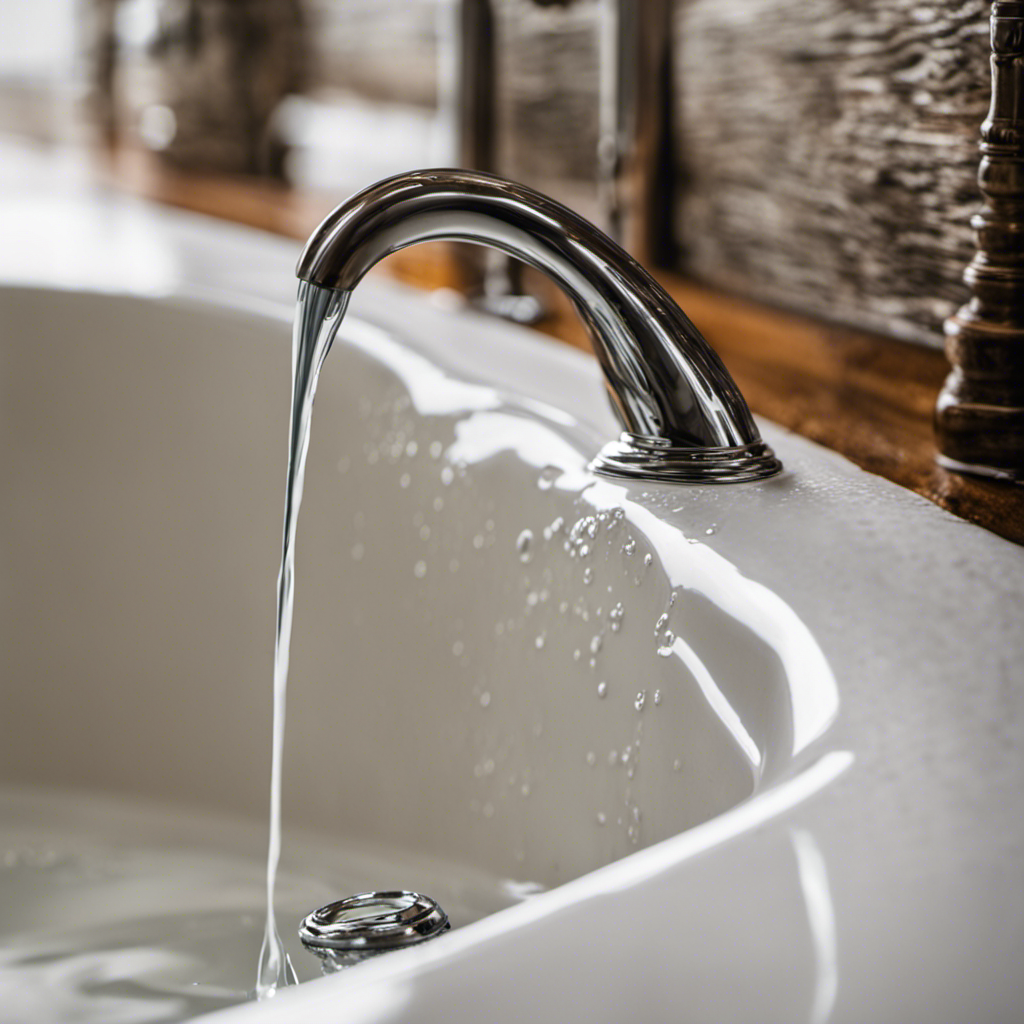
Did you know that a leaking bathtub can waste up to 90 gallons of water per day?
It’s not just a nuisance, but also a significant drain on your resources.
In this article, I will guide you through the step-by-step process of fixing a bathtub leak.
By following these simple instructions and using basic tools, you can save water, money, and prevent further damage to your bathroom.
Let’s get started and put an end to that annoying bathtub leak once and for all.

Key Takeaways
- Assess the damage and identify the source of the leak.
- Gather the necessary tools for the repair.
- Use proper tool selection and maintenance for successful repairs.
- Locate the source of the leak and address any issues promptly.
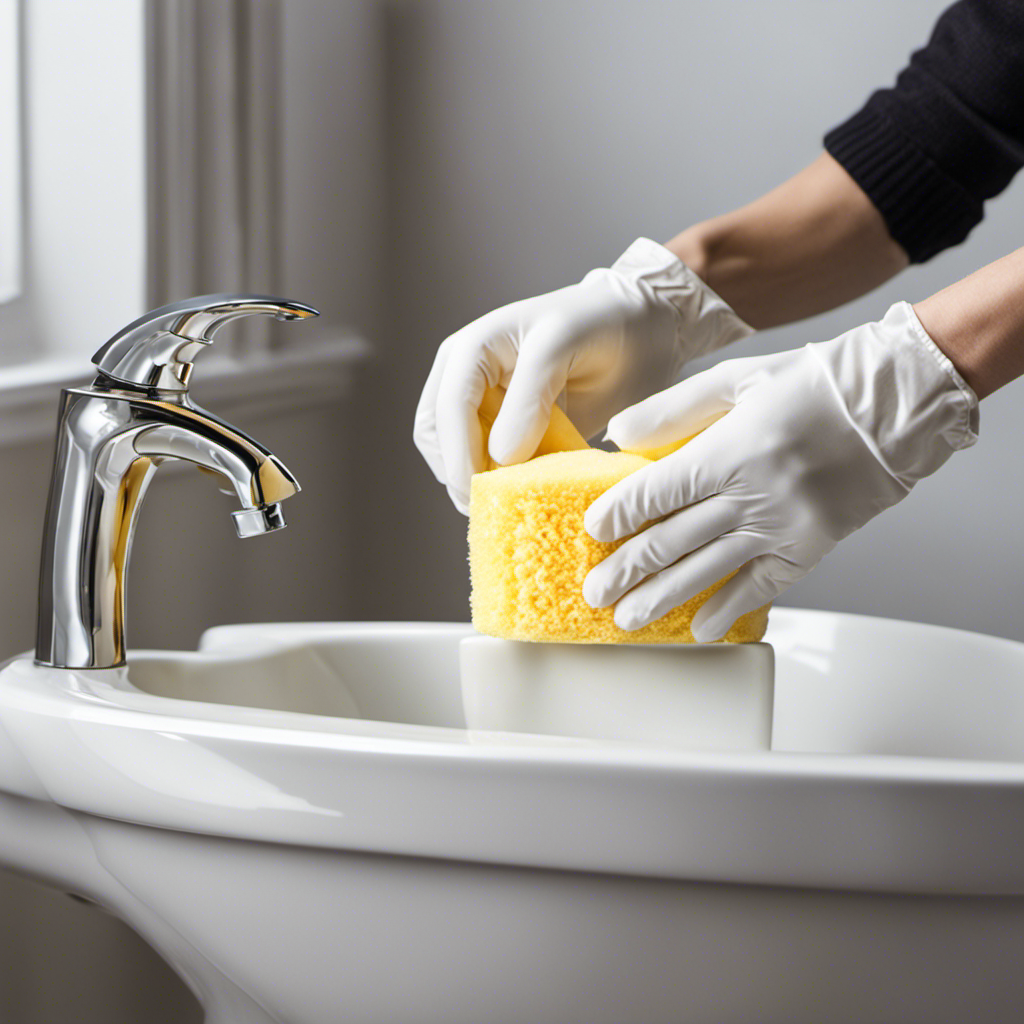
Assess the Leak
First, you’ll need to assess the leak in your bathtub. Assessing the damage is crucial to determine the severity of the problem and the necessary steps for repair.
Start by examining the area around the leak. Look for signs of water damage, such as discoloration or peeling paint. Check for any cracks or gaps in the bathtub itself, as well as in the surrounding tiles or caulking.
Next, try to identify the source of the leak. Is it coming from the faucet, the drain, or the overflow pipe?
Once you have assessed the damage and pinpointed the location of the leak, you can move on to troubleshooting tips to fix it.
Gather the Necessary Tools
When it comes to tackling repair projects, having the right tools is essential. In order to successfully fix any leaks or malfunctions, it is important to have a set of essential repair tools that will allow you to complete the job efficiently and effectively. Proper tool selection is also crucial, as using the wrong tool can lead to further damage or even injury.
Additionally, organizing your tools in a systematic way can save you time and frustration, ensuring that you can easily locate the necessary tools when you need them.
Essential Repair Tools
You’ll need a few essential repair tools to fix a bathtub leak. One of the most important tools is a wrench, which is used to tighten or loosen nuts and bolts. It’s crucial to have a wrench with adjustable jaws to fit various sizes of nuts.
Another essential tool is a plumber’s tape, also known as Teflon tape, which helps create a watertight seal on threaded pipe connections.
Additionally, a caulking gun and silicone caulk are necessary to seal any gaps or cracks around the edges of the bathtub.
When it comes to tool maintenance, it’s vital to keep your tools clean and dry after each use to prevent rust and corrosion.
Lastly, to avoid common repair mistakes, always read the manufacturer’s instructions carefully and take your time to ensure a proper and long-lasting repair.
Proper Tool Selection
Using the correct tools is crucial for ensuring a successful and long-lasting repair. Not only do you need to have the right tools for the job, but you also need to properly maintain them for optimal performance and safety. Regular tool maintenance is essential to keep your tools in good condition and prevent any accidents or malfunctions. This includes cleaning them after each use, lubricating moving parts, and storing them in a dry and secure place. Additionally, it’s important to follow tool safety guidelines to protect yourself and others. Always wear appropriate safety gear, such as goggles and gloves, and use tools as intended. Never use damaged or faulty tools, as they can lead to injury. By taking care of your tools and using them safely, you can ensure a successful repair and protect yourself from any potential harm.
| Tool Maintenance Tips | Tool Safety Guidelines |
|---|---|
| Clean after use | Wear safety gear |
| Lubricate moving parts | Use tools as intended |
| Store in a dry place | Avoid damaged tools |
| Secure storage | Follow safety guidelines |
Tool Organization Tips
To keep your tools organized and easily accessible, it’s important to establish a designated storage area for them. One of the best places to store your tools is in the garage. A well-organized garage can make finding the right tool for the job a breeze.
Invest in sturdy shelves and cabinets to keep your tools off the floor and within reach. Use hooks and pegboards to hang smaller tools, such as wrenches and screwdrivers.
In addition to garage organization, you can also utilize kitchen storage for smaller tools that you frequently use. Magnetic strips on the inside of cabinet doors are a great way to store knives and other metal tools.
By keeping your tools organized in both the garage and kitchen, you’ll always know where to find them when you need them.
Now, let’s move on to locating the source of the leak.
Locate the Source of the Leak
When trying to locate the source of a bathtub leak, there are a few key points to keep in mind.
First, it’s important to inspect the visible plumbing in and around the bathtub to look for any signs of water damage or leaks.
Next, checking the faucet connections is crucial, as loose or worn-out fittings can often be the cause of leaks.
Lastly, testing the drain pipe is essential to ensure it is functioning properly and not contributing to the leak.
Inspect Visible Plumbing
Check if there’s any visible damage or signs of leakage in the plumbing.
Performing a thorough inspection of the visible plumbing in your bathroom can provide numerous benefits. Not only can it help you identify potential issues early on, but it can also save you from costly repairs down the line.
When inspecting your plumbing, pay close attention to the bathtub area as leaks are commonly found there. Look for any signs of water stains, mold, or mildew around the base of the bathtub or on the walls nearby. Additionally, check for any loose or cracked tiles, as these can be indicators of a hidden leak.
Check Faucet Connections
Make sure you examine the faucet connections in your bathroom for any signs of damage or leaks. Proper faucet maintenance is crucial to prevent water wastage and potential damage to your bathtub plumbing.
A quick inspection of the connections can help you identify any issues before they worsen. Look for any visible leaks, loose connections, or signs of corrosion. If you notice any problems, it’s important to address them promptly to avoid costly repairs down the line.
Regularly checking the faucet connections is a simple yet effective way to ensure the proper functioning of your bathtub plumbing. By taking proactive measures, you can maintain the integrity of your plumbing system and enjoy a leak-free bathing experience.
Test Drain Pipe
Ensure you inspect the drain pipe in your bathroom for any signs of clogging or blockage. A clogged drain pipe can lead to leaks and water damage if not addressed promptly. If you notice any slow drainage or unpleasant odors, it’s crucial to take action.
Depending on the severity of the issue, you may need to consider drain pipe repair or even drain pipe replacement. Repairing a drain pipe involves identifying the cause of the clog and removing it using tools like a plunger or drain snake. However, if the pipe is damaged beyond repair or has significant corrosion, it might be necessary to replace the entire pipe.
In such cases, it’s recommended to seek professional assistance to ensure a proper and long-lasting solution.
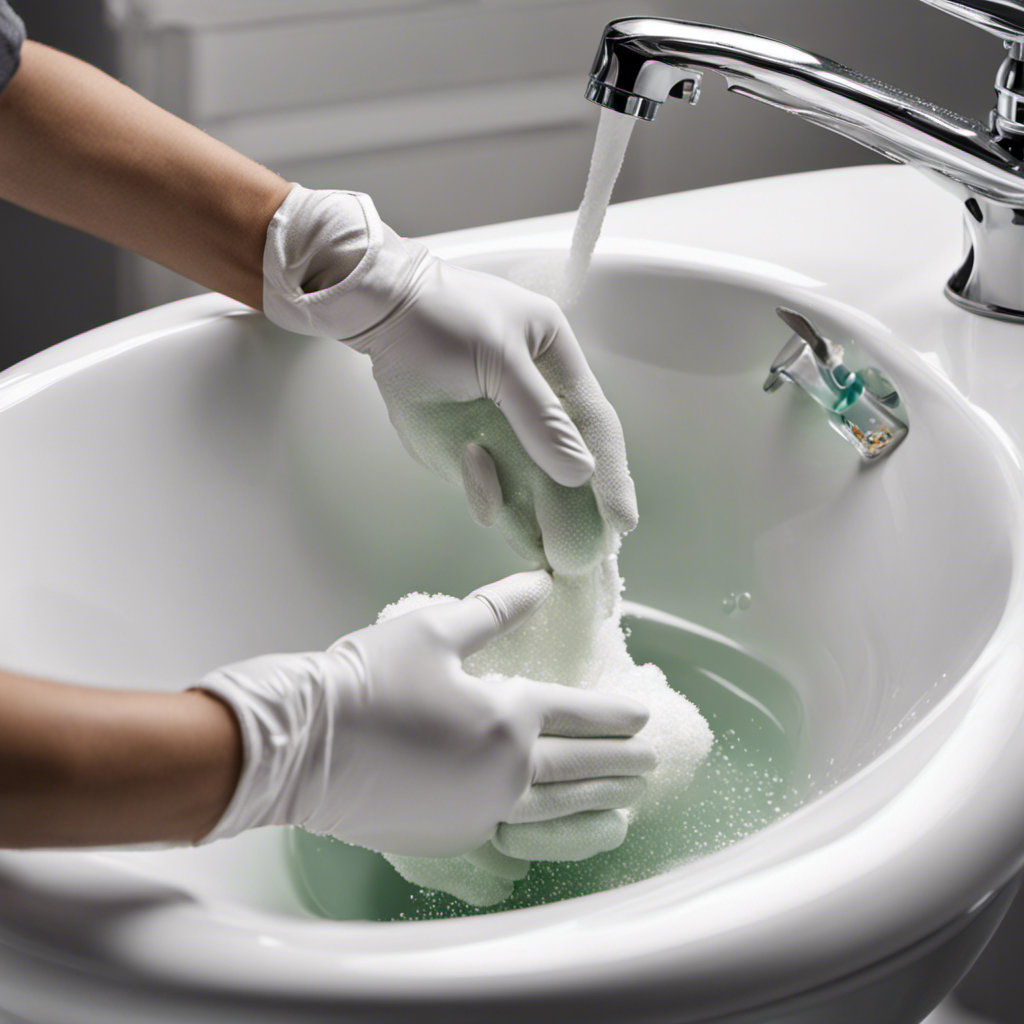
Repair Small Cracks or Holes
To patch up any small cracks or holes in your bathtub, follow these steps:
- Clean the damaged area thoroughly to remove any dirt or debris.
- Mix the epoxy putty according to the manufacturer’s instructions.
- Apply the putty to the cracks or holes, making sure to smooth it out evenly.
- Allow the putty to dry completely before sanding it down to create a smooth surface.
- Once the putty is sanded, apply a layer of fiberglass resin to reinforce the repair.
- This will ensure a strong and durable seal.
- By repairing fiberglass cracks and sealing the bathtub surface, you can prevent any further leaks or damage.
Now, let’s move on to the next step and replace any damaged caulking or sealant.
Replace Damaged Caulking or Sealant
Now that you’ve learned how to repair small cracks or holes in your bathtub, let’s move on to the next step: replacing damaged caulking or sealant.
This is an important part of bathtub leak maintenance and water damage prevention.
Over time, caulking can become worn out or damaged, leading to leaks and potential water damage. To replace the caulking, start by removing the old caulking using a scraper or putty knife. Make sure to clean the area thoroughly and remove any residue.
Next, apply a new bead of silicone or bathtub sealant along the joint between the bathtub and the wall. Use a caulking gun for a precise application. Smooth out the caulking with your finger or a caulk smoothing tool to ensure a tight seal.
Remember to regularly check and maintain the caulking in your bathtub to prevent future leaks and water damage.
Fix Leaking Pipes or Fittings
If your pipes or fittings are leaking, it’s important to address the issue promptly to prevent further water damage. Fixing plumbing leaks is a crucial task that requires attention to detail and knowledge of common causes of bathtub leaks. To assist you in understanding the potential causes, I have compiled a table below:
| Common Causes of Bathtub Leaks | ||
|---|---|---|
| 1. Loose fittings | 2. Corroded pipes | 3. Damaged seals |
| 4. Cracked pipes | 5. Faulty plumbing installation | 6. High water pressure |
| 7. Aging pipes | 8. Improper pipe connections | 9. Structural damage |
| 10. Excessive wear and tear | 11. Clogged drains | 12. Incorrect pipe size |
Test and Ensure the Leak Is Resolved
Once you have addressed the cause of the leak, make sure to test and confirm that the issue has been resolved. It is crucial to ensure that the bathtub leak is fixed properly to prevent any further damage.
To verify the results, there are several testing methods you can use:
-
Visual inspection: Look for any signs of water leakage around the bathtub, such as dampness or discoloration.
-
Water test: Fill the bathtub with water and let it sit for a while to see if any leaks occur.
-
Pressure test: Use a pressure gauge to check if the water pressure remains stable after fixing the leak.
-
Dye test: Add a few drops of food coloring into the bathtub and see if the colored water leaks out.
Conclusion
After following these steps to fix a bathtub leak, I’m relieved to say that the water is no longer escaping.
With the right tools and a little bit of patience, I was able to locate and repair the source of the leak.
The feeling of accomplishment is as refreshing as a cool, soothing bath after a long day.
Now, I can relax knowing that my bathtub is leak-free and ready for me to enjoy.

Mateo’s flair for writing is matched only by his keen eye for design. As an interior designer turned writer, Mateo brings a unique perspective. He blends aesthetics with functionality in every piece he pens, providing readers with beautifully crafted content that’s also supremely useful.
Mateo loves exploring the latest bathroom tech trends and is our expert on smart toilets. When he’s not writing or designing, Mateo can be found sketching ideas for his next big project at local coffee shops.


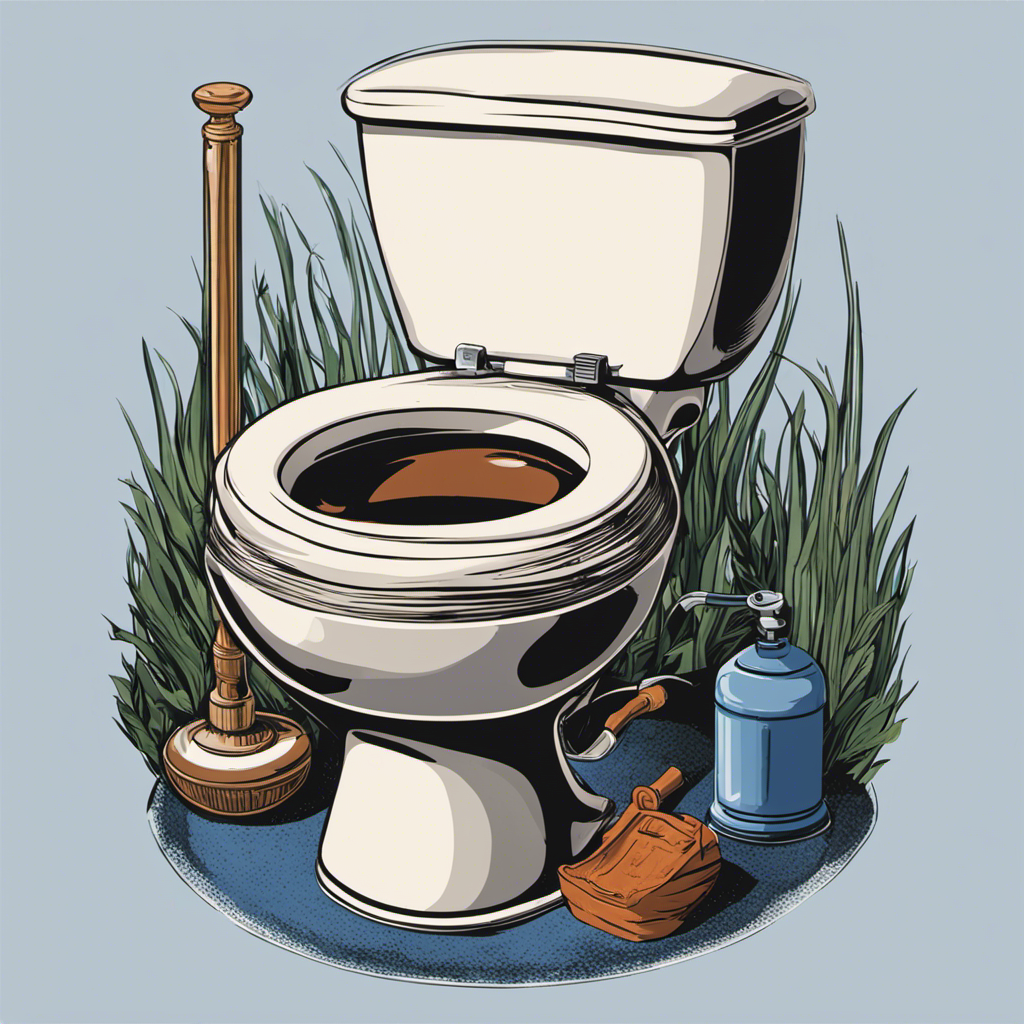
Have you ever been to Crete, Greece and wondered about the toilet paper disposal situation? We have all the information you need!
In this article, we’ll dive into the plumbing system in Crete and explore the do’s and don’ts of toilet paper disposal. We’ll also discuss the environmental impact of flushing toilet paper and provide some alternative options.
So, grab a seat and get ready to learn all about the best ways to handle your toilet paper experience in Crete. Let’s get started!
Key Takeaways
- The plumbing system in Crete operates efficiently, but specific regulations are in place for toilet paper disposal.
- Flushing toilet paper can cause plumbing issues and may not be suitable for older infrastructure.
- Toilet paper should be placed in a separate bin in Crete, and plastic bags are commonly used to line the bins for easy disposal.
- Flushing toilet paper has significant environmental consequences, including clogged pipes, water pollution, and negative impacts on forests and ecosystems.
Plumbing System in Crete
The plumbing system in Crete, Greece, operates efficiently, allowing us to flush toilet paper without any concerns. In Greece, there are specific plumbing regulations in place that dictate the standards for the country’s plumbing infrastructure. These regulations ensure that the plumbing system can handle the disposal of toilet paper without any issues.

However, it’s important to note that there are cultural differences in toilet paper usage in Greece compared to other countries. While it’s common practice in many places to dispose of toilet paper in the toilet, in Greece it’s often recommended to dispose of it in a separate bin provided in the bathroom. This cultural difference is due to the older infrastructure in some parts of Greece, which may not be able to handle large amounts of toilet paper.
Transitioning into the subsequent section about ‘toilet paper disposal in Crete’, let’s explore the proper methods for disposing of toilet paper in this region.
Toilet Paper Disposal in Crete
We can dispose of toilet paper in Crete, Greece, by placing it in a separate bin provided in the bathroom. It’s a common practice in Crete to not flush toilet paper down the toilet due to the plumbing system’s sensitivity. Instead, you’ll find small bins specifically designated for toilet paper disposal in most bathrooms. These bins are usually lined with plastic bags for easy disposal.
It’s important to adhere to this local custom to avoid any plumbing issues. While it may seem unusual for some visitors, it’s a necessary step to ensure the proper functioning of the plumbing system. By disposing of toilet paper in these bins, we can minimize the risk of clogs and maintain the overall cleanliness and hygiene of the bathroom facilities.

Now that we know how to dispose of toilet paper correctly, let’s delve into the environmental impact of flushing toilet paper.
Environmental Impact of Flushing Toilet Paper
As we consider the environmental impact of flushing toilet paper in Crete, Greece, it’s important to recognize the significant amount of waste that can accumulate in the plumbing system. Flushing toilet paper can have a detrimental impact on sewage systems, as the paper can clog pipes and cause blockages. This not only leads to costly repairs, but also contributes to the pollution of our waterways.
Additionally, the sustainability of toilet paper production is a concern. The production of toilet paper requires the cutting down of trees and the use of chemicals, which can have a negative impact on our forests and ecosystems.
Considering these environmental consequences, it’s crucial to explore alternatives to flushing toilet paper in Crete.

Alternatives to Flushing Toilet Paper in Crete
Toilet paper alternatives in Crete include bidets, which can be a more sustainable option for personal hygiene. In addition to bidets, there are several other cultural practices and alternatives to flushing toilet paper in Crete that you may find interesting:
- Water containers: Many households in Crete have water containers next to the toilet. After using the toilet, instead of using toilet paper, you can pour water from the container to clean yourself.
- Handheld bidet sprayers: These devices are similar to a shower head attached to a hose. With a simple press of a button, you can direct a stream of water for cleaning purposes.
- Wet wipes: While not as sustainable as the previous options, wet wipes are commonly used as an alternative to toilet paper in Crete. However, it’s important to dispose of them properly to prevent clogging the plumbing system.
Tips for a Smooth Toilet Paper Experience in Crete
To ensure a smooth toilet paper experience in Crete, it’s advisable to stock up on an ample supply of toilet paper before your trip. While there are toilet paper brands available in Crete, it’s always better to be prepared, especially if you have specific preferences.
Some popular toilet paper brands in Crete include Papernet, Softline, and Katrin. These brands offer a range of options, from standard to extra soft, ensuring comfort during your bathroom visits.
Additionally, it’s important to adhere to proper public restroom etiquette in Crete. Always remember to flush the toilet paper in the provided bins, as the plumbing systems in Crete may not be able to handle flushing it down the toilet.

Frequently Asked Questions
What Is the Average Cost of Plumbing Services in Crete?
The average cost of plumbing services in Crete can vary depending on the specific needs of the project. It is best to contact local plumbing companies for accurate pricing information.
Can I Flush Wet Wipes Down the Toilet in Crete?
Yes, we can flush wet wipes down the toilet in Crete, Greece. However, it is important to note that only flushable wipes should be used. Alternatively, there are other toilet paper options available.
Are Bidets Commonly Found in Crete Homes?
Bidets, a common fixture in European bathrooms, offer a different approach to personal hygiene. In some countries, like Crete, they are commonly found in homes. Cultural differences in bathroom habits make bidets a popular choice.
Is It Safe to Flush Feminine Hygiene Products in Crete?
Yes, it is safe to flush feminine hygiene products in Crete. However, it is important to consider the disposal methods and the environmental impact of flushing these products.

Are There Any Specific Regulations or Restrictions on Toilet Paper Usage in Crete?
In Crete, Greece, there are no specific regulations or restrictions on toilet paper usage. However, it’s worth considering toilet paper alternatives like bidets or wet wipes to minimize the environmental impact of toilet paper usage.
Conclusion
In conclusion, when visiting Crete, it’s important to remember that the plumbing system may not be able to handle flushing toilet paper. Instead, it’s recommended to dispose of it in the provided waste bin.
This practice not only prevents clogs and damage to the plumbing, but also helps protect the beautiful environment of Crete.
So, let’s take the plunge and adapt to this unique aspect of Crete’s toilet etiquette, ensuring a smooth and sustainable experience for all.


With an impeccable eye for detail and a passion for bathroom-related, Ava leads our editorial team gracefully and precisely.
Under her guidance, Best Modern Toilet has flourished as the go-to resource for modern bathroom enthusiasts. In her free time, you might find Ava exploring antique shops and looking for vintage bathroom fixtures to add to her collection.

Oh, it’s incredible how we often overlook the little things! It’s astonishing to think about the significant impact that something as basic as flushing a toilet can have on our health and the environment.
In this article, we delve into the importance of flushing with the lid on. We’ll explore the potential health risks of flushing without the lid, how it protects your bathroom, and the environmental consequences.
So, buckle up and get ready to master the art of proper toilet etiquette.
Key Takeaways
- Flushing with the lid on prevents the release of bacteria and viruses into the air.
- Flushing without the lid increases the risk of airborne transmission of pathogens.
- Closing the lid before flushing helps maintain a fresh and clean environment.
- Flushing without the lid can lead to increased water wastage and higher utility bills.
The Importance of Flushing With the Lid on
To maximize hygiene and minimize the spread of germs, it’s essential to always flush the toilet with the lid on.

There are several advantages to this practice. First and foremost, closing the lid prevents the release of a plume of bacteria and viruses into the air. When the toilet is flushed without the lid, these microorganisms can reach surfaces in the bathroom, increasing the risk of contamination.
Additionally, keeping the lid closed helps contain odors, maintaining a more pleasant environment.
However, there are also a few disadvantages to consider. Closing the lid requires an extra step and may inconvenience some individuals. Furthermore, if the lid isn’t properly cleaned, it can become a breeding ground for bacteria.
Therefore, while there are some drawbacks, the advantages of flushing with the lid on far outweigh them in terms of hygiene and preventing the spread of germs.

Potential Health Risks of Flushing Without the Lid
Flushing the toilet without the lid poses potential health risks. Here are four reasons why:
- Potential Contamination: When you flush without the lid, tiny water droplets containing bacteria and other microorganisms can be propelled into the air. These droplets can then settle on surfaces in your bathroom, potentially leading to contamination.
- Spread of Bacteria: Flushing without the lid allows bacteria to spread throughout your bathroom. Bacteria from fecal matter can become airborne and settle on items such as toothbrushes, towels, or even your hands, increasing the risk of illness.
- Increased Aerosolization: The force of the flush can cause a higher level of aerosolization, resulting in a greater dispersion of potentially harmful particles. This can be especially concerning if someone in your household is already sick.
- Potential for Airborne Transmission: Certain bacteria and viruses can survive in the air for extended periods. Flushing without the lid increases the chances of these pathogens becoming airborne, leading to potential respiratory infections.
How Flushing With the Lid on Protects Your Bathroom
By keeping the lid on when we flush, we can effectively protect our bathroom from potential contamination and the spread of bacteria.
The benefits of using a toilet lid are numerous. Firstly, it prevents the release of harmful bacteria and viruses into the air. When we flush without the lid, microscopic particles containing fecal matter and urine are dispersed, settling on surfaces and increasing the risk of contamination.
Secondly, the lid creates a barrier that prevents odors from escaping, maintaining a fresh and clean bathroom environment.

Additionally, using the toilet lid reduces the amount of water that splashes out during flushing, minimizing the need for frequent cleaning.
Alternatives to flushing without the lid include closing the lid before flushing or using a bidet, which eliminates the need for flushing altogether.
Environmental Impact of Flushing Without the Lid
Using the toilet without the lid can have negative environmental impacts, especially in terms of water wastage and energy consumption. Here are four reasons why flushing without the lid can be detrimental to the environment:
- Water Conservation: When the lid is left off, water can easily evaporate, leading to unnecessary water loss. This not only wastes a precious resource but also increases the demand on water treatment facilities.
- Sanitation Standards: Flushing without the lid can result in the spread of harmful bacteria and pathogens. The lid acts as a barrier, preventing these microorganisms from escaping into the air and potentially contaminating surfaces in the bathroom.
- Energy Consumption: Without the lid, air can freely circulate in the toilet bowl, causing the water to evaporate more quickly. As a result, the toilet tank needs to refill more frequently, increasing energy usage and contributing to higher utility bills.
- Odor Control: The lid plays a crucial role in containing unpleasant odors. By leaving it off, foul smells can permeate the bathroom, leading to discomfort and the need for additional air fresheners, which can have their own environmental impact.
Tips for Proper Toilet Etiquette
To ensure proper toilet etiquette, we should always remember to close the lid before leaving the bathroom. This simple act not only keeps the bathroom clean and tidy, but also prevents the spread of germs and bacteria. Etiquette reminders can help maintain a hygienic environment for everyone.

Firstly, it’s important to flush the toilet after every use to remove waste and eliminate any unpleasant odors. Additionally, it’s courteous to use toilet paper sparingly and to properly dispose of it in the provided receptacle.
Furthermore, washing hands thoroughly with soap and water is essential to maintain good hygiene. Lastly, it’s considerate to replenish toilet paper and hand soap if necessary, ensuring the next person has a pleasant experience.
Following these etiquette reminders promotes bathroom cleanliness and a positive experience for all.
Frequently Asked Questions
Can Flushing a Toilet Without the Lid on Cause Damage to the Plumbing System?
Flushing a toilet without the lid on can potentially cause plumbing damage and pose health risks. It is important to keep the lid on to prevent objects from falling in, reduce odors, and minimize the spread of bacteria and germs.

Is It True That Flushing Without the Lid Can Lead to the Spread of Bacteria and Germs?
Yes, flushing without the lid can lead to the spread of bacteria and germs. To prevent this, it is important to always flush with the lid down and practice proper sanitation methods.
What Are the Potential Health Risks Associated With Flushing Without the Lid?
Potential contamination and bacterial transmission are the main health risks associated with flushing without the lid. Without the lid, droplets containing bacteria and germs can be propelled into the air, increasing the chances of spreading illness.
How Does Flushing With the Lid on Protect the Bathroom From Unpleasant Odors?
Flushing without the lid can lead to unpleasant bathroom odors. The lid acts as a barrier, preventing the release of odorous gases into the air. It’s important to keep the lid on to maintain a fresh and odor-free bathroom environment.
Are There Any Environmental Consequences of Flushing Without the Lid?
There are environmental consequences to flushing without the lid on. It can lead to the release of unpleasant odors, which negatively impact air quality. Additionally, it can result in water wastage, reducing our efforts for water conservation.

Conclusion
In conclusion, it’s crucial to always flush the toilet with the lid on to maintain proper hygiene and protect our health. Flushing without the lid can lead to the spread of harmful bacteria and viruses, posing potential health risks.
Additionally, keeping the lid closed helps prevent any unwanted odors from escaping and maintains a clean and pleasant bathroom environment.
Let’s remember to practice proper toilet etiquette by always flushing with the lid securely in place.
With an impeccable eye for detail and a passion for bathroom-related, Ava leads our editorial team gracefully and precisely.
Under her guidance, Best Modern Toilet has flourished as the go-to resource for modern bathroom enthusiasts. In her free time, you might find Ava exploring antique shops and looking for vintage bathroom fixtures to add to her collection.

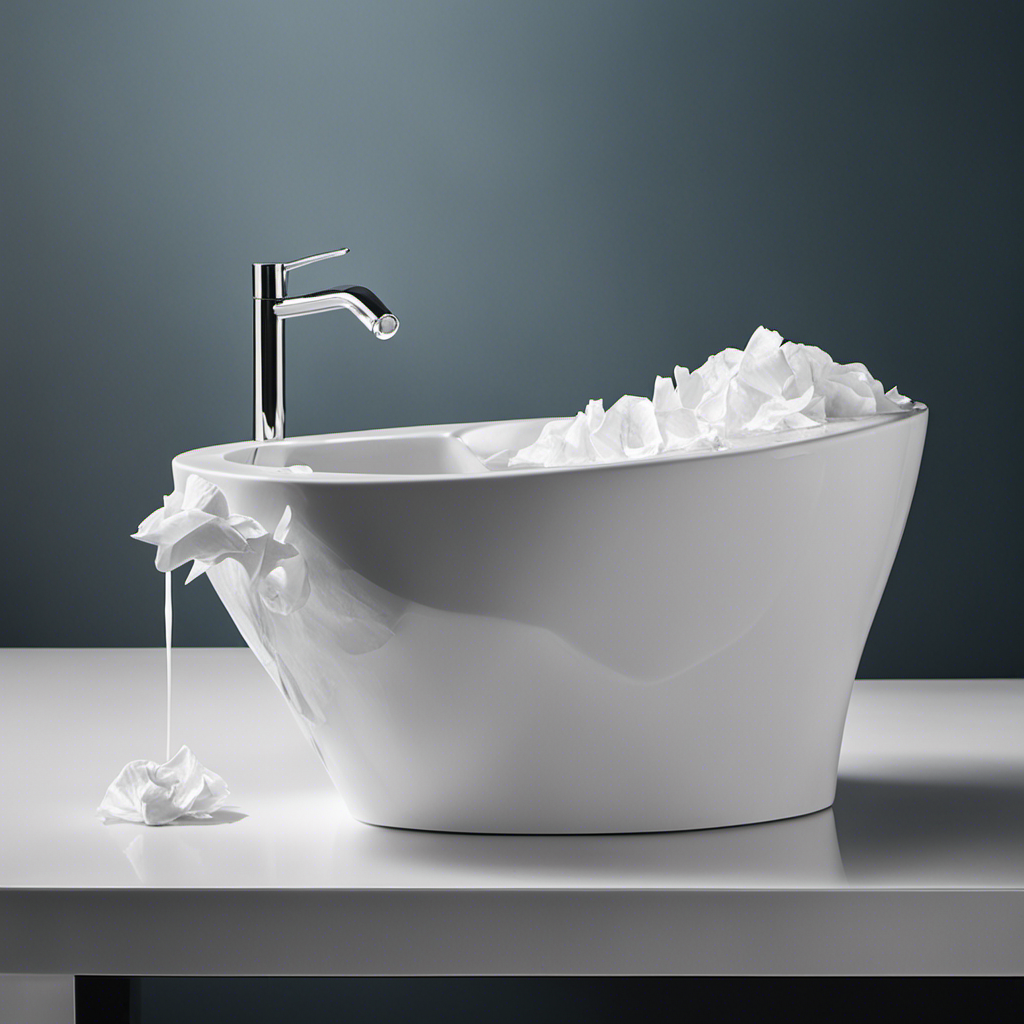
Are you aware that flushing tissues down the toilet can cause major issues with your plumbing system? It can result in clogs, blockages, and even sewer backups.
Not only is this inconvenient, but it can also have environmental consequences.
In this article, we will explore the impact of flushing tissues and provide you with proper disposal alternatives.
So, let’s dive in and learn how to keep our plumbing systems running smoothly and protect the environment at the same time.

Key Takeaways
- Flushing tissues can cause clogs, blockages, and sewer backups, leading to costly repairs and potential damage to plumbing systems.
- Sewer backups resulting from flushing tissues can contaminate water sources, expose individuals to disease-causing pathogens, and cause infrastructure damage.
- Flushing tissues contributes to water pollution and ecosystem disruption, harming aquatic organisms and impacting biodiversity.
- Proper disposal alternatives, such as recycling or using biodegradable tissues, are crucial to mitigate the environmental consequences of flushing tissues.
The Impact on Your Plumbing System
The improper disposal of tissues by flushing them down the toilet can have detrimental effects on our plumbing system. When tissues are flushed, they can easily clog the pipes, leading to water damage and costly repairs.
Tissues are designed to be absorbent, and when they come into contact with water, they expand and become mushy. This makes them more likely to get stuck in the narrow pipes, causing blockages.
The accumulation of tissues in the plumbing system can also lead to reduced water flow, which can further damage the pipes and create a breeding ground for bacteria and mold.
To avoid these issues, it’s important to dispose of tissues properly in the trash, rather than flushing them down the toilet.

Potential Clogs and Blockages
When we flush tissues down the toilet, it can potentially cause clogs and blockages in the plumbing system. This is because tissues aren’t designed to break down easily in water like toilet paper. Here are some potential consequences of flushing tissues:
- Increased risk of clogs: Tissues can accumulate in pipes and create blockages, leading to slow drains or complete backups.
- Expensive repairs: Clearing clogs caused by tissues may require professional help and can be costly.
- Impact on septic systems: Flushing tissues can overload septic tanks, disrupting the natural breakdown of waste and potentially leading to system failure.
- Environmental impact: Tissues that end up in wastewater treatment plants can strain the system and increase the likelihood of pollution.
To avoid these problems, it’s important to stick to using toilet paper or explore eco-friendly toilet paper alternatives that are designed to dissolve easily and not cause plumbing issues.
Risks of Sewer Backups
Our studies have shown that flushing a significant amount of tissues down the toilet can greatly increase the likelihood of experiencing sewer backups. Not only can this lead to potential clogs and blockages, but it also poses risks of contamination and health hazards. When sewers become backed up, the waste can overflow and contaminate both public and private properties. This can result in the spread of harmful bacteria and viruses, putting individuals at risk of developing various illnesses. To illustrate the severity of these risks, consider the following table:
| Risks of Sewer Backups |
|---|
| Contamination of water sources |
| Exposure to disease-causing pathogens |
| Damage to infrastructure |
| Expensive cleanup and repairs |
As you can see, the consequences of sewer backups extend beyond inconvenience and can have significant health and financial implications. Now, let’s explore the environmental consequences of flushing tissues down the toilet.

Environmental Consequences
Flushing a significant amount of tissues down the toilet can have detrimental environmental consequences, specifically in terms of water pollution and ecosystem disruption.
When tissues are flushed, they can end up in our marine environments, contributing to marine pollution. This pollution can have severe consequences on marine life, including fish, turtles, and other marine animals, as they may mistake the tissues for food and consume them.
Moreover, the decomposition of tissues in water can lead to water contamination, affecting the overall water quality and potentially harming aquatic organisms.
Additionally, the accumulation of tissues in water bodies can disrupt the balance of ecosystems, impacting the biodiversity and ecological function.

To mitigate these environmental consequences, it’s crucial to explore proper disposal alternatives that ensure the tissues are disposed of in an environmentally responsible manner.
Proper Disposal Alternatives
To address the environmental consequences mentioned earlier, we need to explore proper disposal alternatives for tissues.
One option is to consider recycling options for tissues. While tissues are typically made from mixed fibers, some recycling facilities do accept them. However, it’s important to note that the recycling process for tissues can be challenging due to their low quality and potential contamination.
Another alternative is to use biodegradable tissues. These tissues are made from materials that break down naturally over time, reducing their impact on the environment. Biodegradable tissues are often made from plant-based materials such as bamboo or sugarcane.

Frequently Asked Questions
Can Flushing Tissues Down the Toilet Lead to a Sewage Backup in My Home?
Flushing tissues down the toilet can cause a sewage backup in our home. It’s important to consider toilet paper alternatives to avoid this issue. Additionally, flushing tissues has a negative environmental impact, clogging pipes and contributing to water pollution.
Are There Any Biodegradable Tissue Options That Are Safe to Flush?
Compostable tissue options exist, but flushing tissues down the toilet still has an environmental impact. While some tissues may break down in the sewage system, others can clog pipes and contribute to sewage backups.
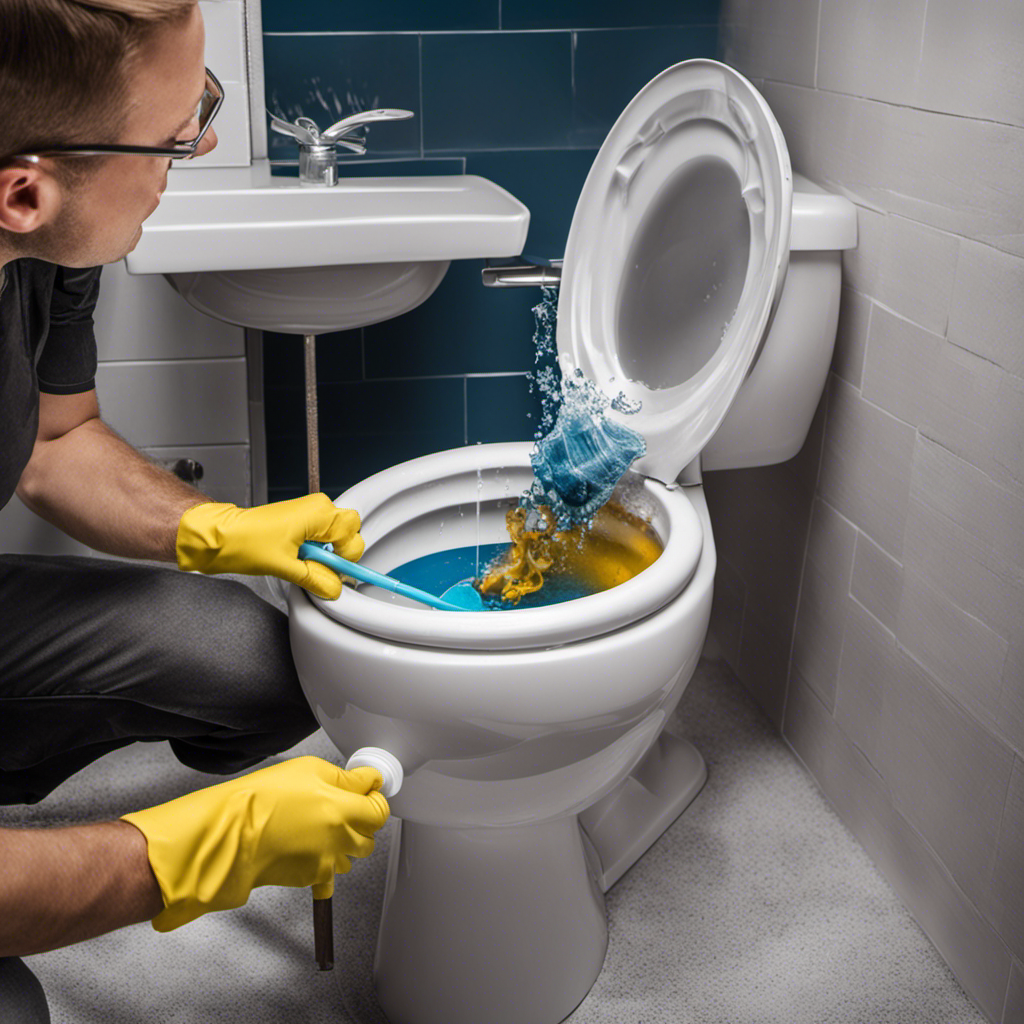
What Should I Do if My Toilet Becomes Clogged Due to Flushing Tissues?
If our toilet becomes clogged due to flushing tissues, there are various toilet unclogging methods we can try, such as using a plunger or a toilet auger. If these methods fail, it may be necessary to seek professional plumbing assistance.
Is It Safe to Flush Tissues in Septic Tank Systems?
Flushing tissues down the toilet is not safe for septic tank systems. It can cause clogs and damage to the system. It’s important to use alternative disposal methods to avoid environmental impact and maintain the septic tank’s functionality.

Can Flushing Tissues Down the Toilet Contribute to Water Pollution?
Flushing tissues down the toilet can have potential health risks and contribute to water pollution. By polluting our water sources, we jeopardize the environment and our well-being. Proper disposal methods are crucial.
Conclusion
In conclusion, flushing tissues down the toilet can have serious consequences for your plumbing system, including potential clogs, blockages, and even sewer backups. Not only can it cause inconvenience and costly repairs, but it also has environmental implications.
It’s crucial to dispose of tissues properly by using alternative methods, such as throwing them in the trash. Remember, taking the time to properly dispose of tissues can save you from a messy and expensive situation down the line.
With an impeccable eye for detail and a passion for bathroom-related, Ava leads our editorial team gracefully and precisely.
Under her guidance, Best Modern Toilet has flourished as the go-to resource for modern bathroom enthusiasts. In her free time, you might find Ava exploring antique shops and looking for vintage bathroom fixtures to add to her collection.


Which Is More Hygienic Toilet Paper or Water

Where Can You Not Flush Toilet Paper
How Do You Flush the Toilet in Italy

Best Toilet Brand

Flush Toilet Price

Loupusuo Luxury Smart Toilet Review [2024]

Simple Project Modern Smart Toilet Review [2024]

LDian Smart Toilet Review: Luxury and Hygiene Combined [2024]

American Standard Town Square S Toilet Review [2024]

American Standard Studio S Toilet Review [2024]

-

 Bathroom Enhancements2 months ago
Will Hot Bath Lower Blood Pressure
-

 FAQ - Advanced Bathroom Queries3 months ago
Which Countries Use Bidets the Most
-
 Reviews1 month ago
LDian Smart Toilet Review [2024]
-
 Reviews2 months ago
Kohler Innate Smart Toilet Review [2024]
-
 Reviews2 months ago
Kohler NUMI 2.0 Smart Toilet Review [2024]
-
 Reviews2 months ago
CANEST Smart Toilet Review: The Ultimate Bathroom Upgrade [2024]
-

 Toilet Types3 months ago
Are Bleach Tablets Bad for Your Toilet
-
 Reviews2 months ago
Woodbridge B0970S Smart Bidet Toilet Review [2024]