When installing a ceiling rain head, don’t overlook height, water pressure, and plumbing details. Aim for a height between 7 to 8 feet to guarantee comfort and aesthetics. Check your water pressure—40 to 60 psi is ideal. Pay attention to pipe sizing and drainage slopes to avoid leaks. Selecting the right angle and diameter maximizes your shower experience. Miss these factors, and you might end up with a disappointing setup. There’s more to take into account for a superior installation.
Key Takeaways
- Ensure the ceiling rain head is installed at a height between 7 to 8 feet for optimal comfort and aesthetics.
- Test water pressure before installation; ideal pressure should be between 40 to 60 psi for effective performance.
- Choose the right diameter; larger sizes create a luxurious effect but require adequate water pressure to perform well.
- Maintain a 15 to 30-degree angle for effective water distribution and to enhance the rain-like experience.
- Regularly clean the rain head and inspect for leaks to prevent mineral buildup and ensure longevity.
Why Height Matters for Your Ceiling Rain Head
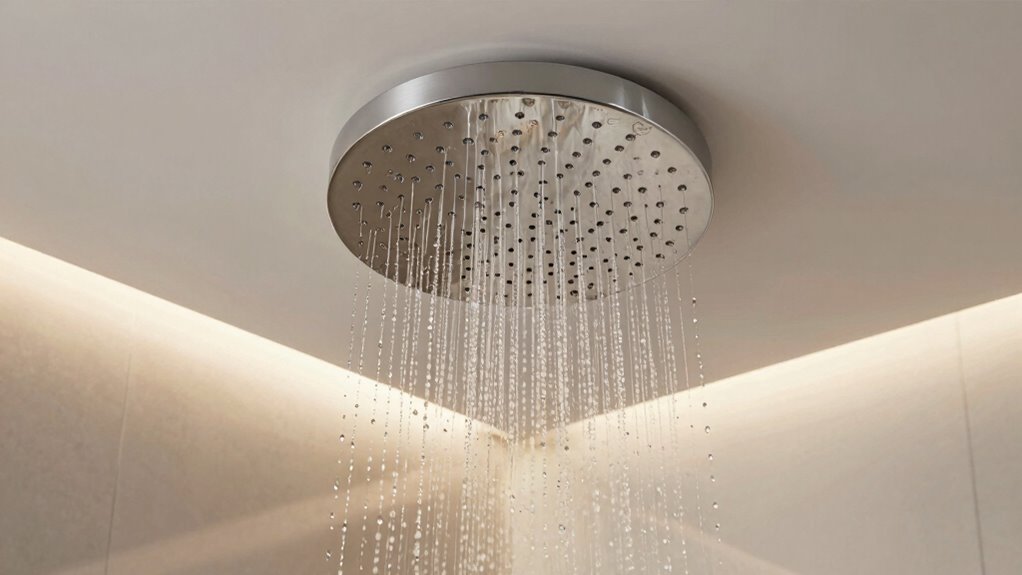
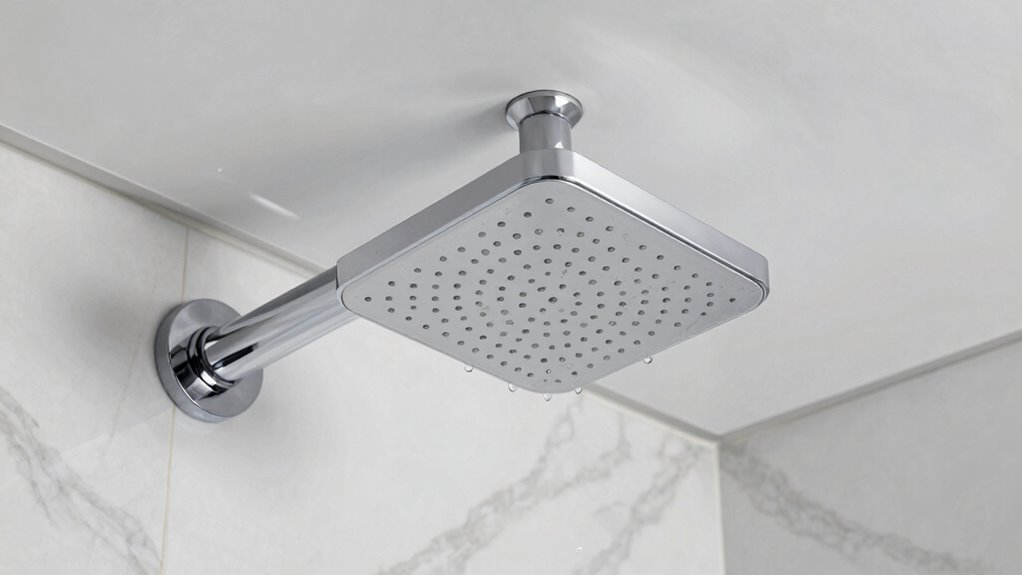
When installing a ceiling rain head, understanding the right height is essential, as it directly impacts your shower experience. You want to achieve the perfect height adjustment to guarantee the water flows comfortably over you without any awkward positioning. Generally, a height between 7 to 8 feet works best for most people, but you should consider your own stature.
Getting this right not only enhances functionality but also creates an aesthetic balance in your bathroom. A rain head positioned too low can feel cramped, while one too high can disrupt the visual harmony of the space. By carefully choosing the height, you’ll create a shower experience that’s inviting, functional, and visually appealing, making your bathroom a true oasis. Additionally, regular maintenance of your shower fixtures ensures optimal performance and longevity. Remember, understanding filtration basics can also improve your water quality, further enhancing your shower experience. A well-installed rain head can significantly impact water flow efficiency, providing a more satisfying shower experience.
How to Optimize Water Flow With Angle
To get the most out of your ceiling rain head, you’ll need to contemplate its angle carefully. An ideal showerhead angle can enhance water flow, while also keeping water pressure in mind. Adjusting these factors will create a more enjoyable shower experience.
Ideal Showerhead Angle
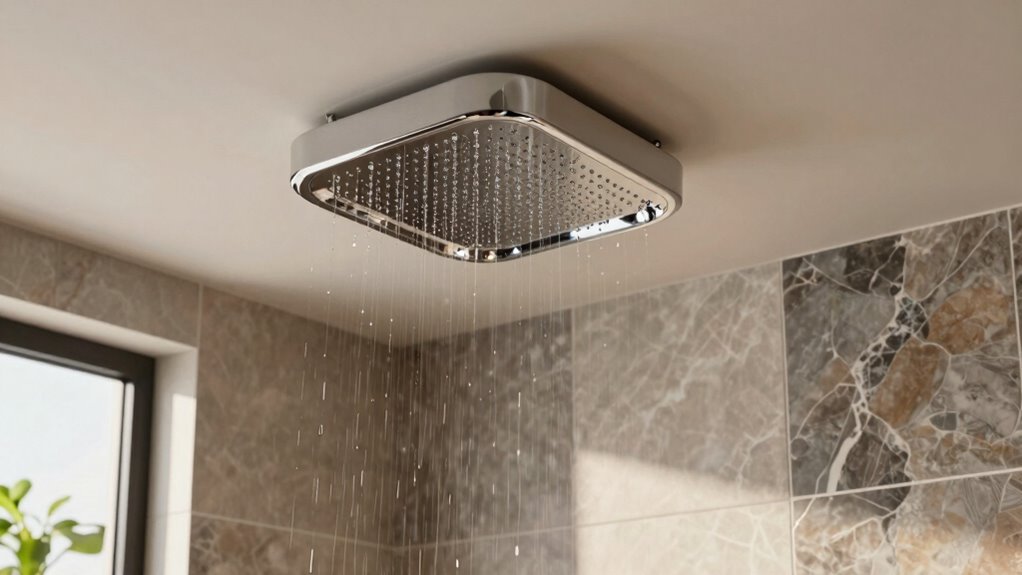
Optimizing the angle of your showerhead can greatly enhance your shower experience. The right showerhead placement is essential for achieving the best water distribution. Ideally, aim for a downward angle of about 15 to 30 degrees. This angle allows water to flow naturally over your body, providing a soothing rain-like effect. If the showerhead is too flat, you might find water spraying unevenly, leaving some areas dry. Conversely, an overly steep angle may result in water splashing out of the shower. Experiment with small adjustments to find what feels best for you. Remember, the goal is to create an even, enveloping flow that makes your shower feel luxurious and invigorating. Additionally, a well-placed showerhead can improve water pressure efficiency in your home plumbing system. Happy showering!
Water Pressure Considerations
While you might not think about it often, water pressure plays an essential role in your shower experience. To enhance water flow with your ceiling rain head, consider the angle of installation. A proper angle guarantees a pressure balance, allowing water to cascade evenly for a relaxing shower.
Here’s a quick reference table to help you understand the impact of angle on water flow:
| Angle (Degrees) | Water Flow Impact |
|---|---|
| 0 | Minimal flow |
| 30 | Moderate flow |
| 45 | Ideal flow |
Adjusting your rain head to around 45 degrees can maximize your water flow while maintaining comfort. Keep these considerations in mind, and you’ll enjoy a rejuvenating shower experience every time.
Is Your Water Pressure Ready for a Rain Head?
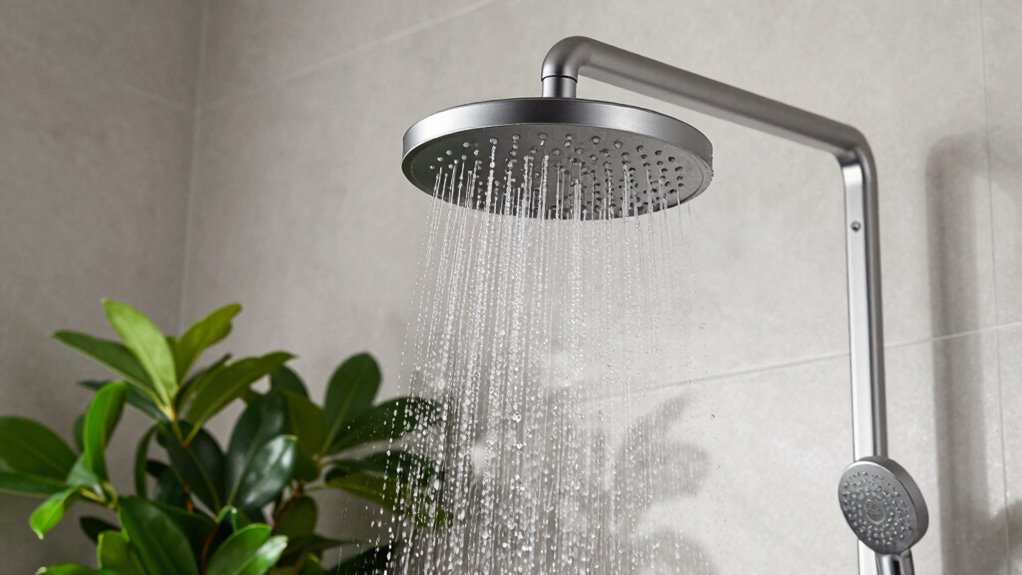
Have you checked your water pressure lately? Ensuring your home’s water pressure is adequate is essential before installing a ceiling rain head. Start with water pressure testing to confirm your system can handle the demands of a rain shower. Ideally, you want a pressure range between 40 and 60 psi for peak performance. Once you’ve established your pressure, conduct a flow rate evaluation. This helps you determine how much water your system can deliver at a given time. If your flow rate is too low, you might experience a disappointing shower experience. So, before you engage in the installation, make sure your water pressure is up to par to enjoy that luxurious rain shower you’re dreaming of!
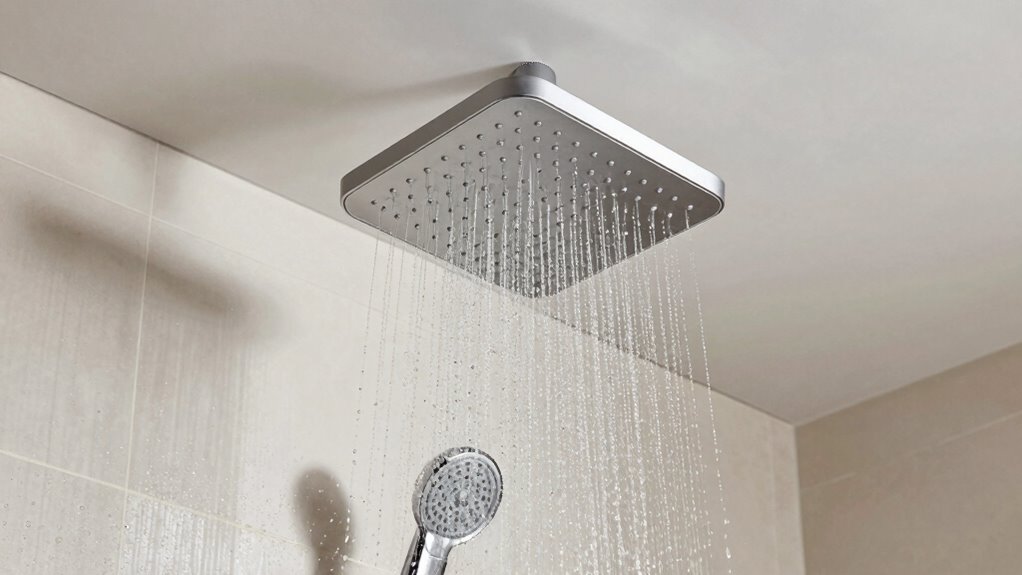
Choosing the Right Diameter for Performance

Choosing the right diameter for your rain head is vital for achieving the best shower experience. Your diameter selection directly influences water flow and coverage, impacting performance markedly. A larger diameter, typically 10 inches or more, creates a luxurious rainfall effect, enveloping you in water and offering a spa-like feel. However, if your water pressure isn’t sufficient, this size can lead to a disappointing trickle instead of a invigorating downpour. On the other hand, smaller diameters may provide focused streams but lack the enveloping sensation. Consider your preferences and water pressure when making this choice. Balancing diameter with performance impact guarantees you’ll enjoy a revitalizing shower that meets your expectations. Don’t overlook this vital aspect of your rain head installation!
Key Plumbing Considerations for Installation
When installing a ceiling rain head, understanding key plumbing considerations is vital to guarantee a seamless experience. First, verify proper pipe sizing; the diameter must accommodate the water flow while minimizing pressure drops. If your pipes are too small, you could end up with a disappointing trickle instead of a luxurious downpour.
Next, think about drainage solutions. An effective drainage system is essential to prevent water pooling and potential leaks. Make sure the slope of your drainage pipes directs water away efficiently. Additionally, consider using a check valve to avoid backflow issues. By addressing these plumbing details upfront, you’ll set the stage for a stunning and functional ceiling rain head that enhances your shower experience. Moreover, incorporating smart home safety features can help monitor for leaks and ensure your installation remains problem-free over time.
Best Materials for Ceiling Rain Heads: A Comparison
While selecting the right material for your ceiling rain head, it’s crucial to evaluate factors like durability, maintenance, and aesthetics. Stainless steel is a popular choice due to its excellent material durability and resistance to corrosion. It often comes in various finish options, from sleek polished to brushed matte, allowing you to match your bathroom’s style. On the other hand, brass offers a classic look and also boasts impressive durability, though it may require more maintenance to prevent tarnishing. If you’re looking for something lightweight, plastic rain heads can be a budget-friendly option, but they may lack longevity. Ultimately, consider how each material aligns with your needs and preferences to guarantee a satisfying installation.
Common Installation Mistakes to Watch Out For
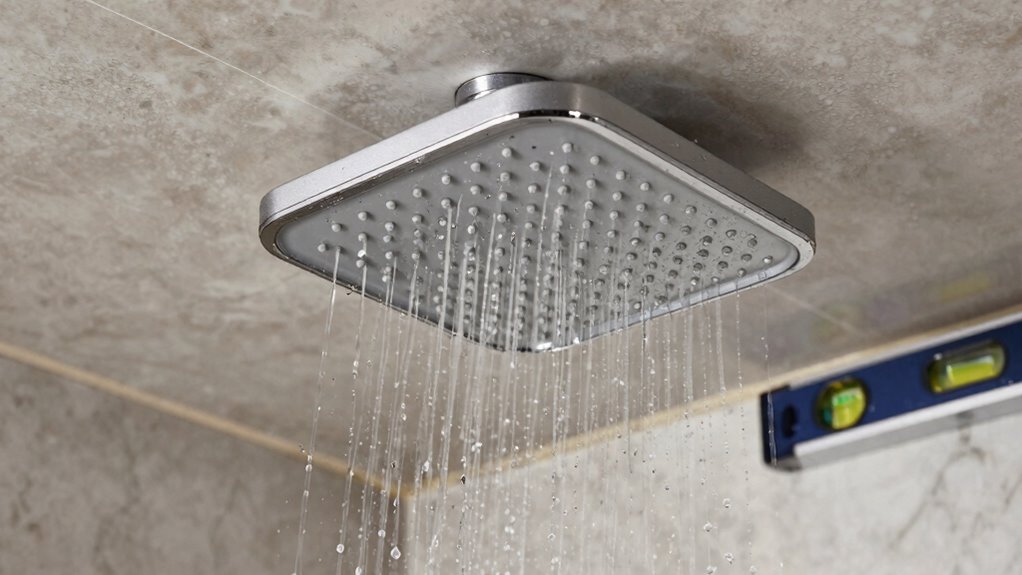
Installing a ceiling rain head can be straightforward, but overlooking key details can lead to costly mistakes. One common error is not verifying the proper ceiling height; if it’s too low, you might end up with a cramped shower experience. Another pitfall is failing to check for adequate water pressure, which can leave your rain head underwhelming. Additionally, neglecting to use the right sealant can lead to leaks, causing damage over time. Pay attention to the alignment as well; improper positioning can result in uneven water flow. To avoid these issues, follow some simple installation tips: double-check measurements, verify water pressure, and confirm a tight seal. By being vigilant, you can enjoy a luxurious shower without the hassle. Furthermore, ensuring you choose a unit with high-performance ratings will enhance your overall shower experience and efficiency. Proper maintenance techniques are essential for keeping your installation working effectively over time. Additionally, smart thermostat settings can help optimize your home’s overall comfort, making your shower experience even more enjoyable. Choosing a high-quality rain head can also improve user satisfaction and efficiency in your daily routine. Furthermore, investing in acoustic treatment solutions can further enhance the overall ambiance of your bathroom space.
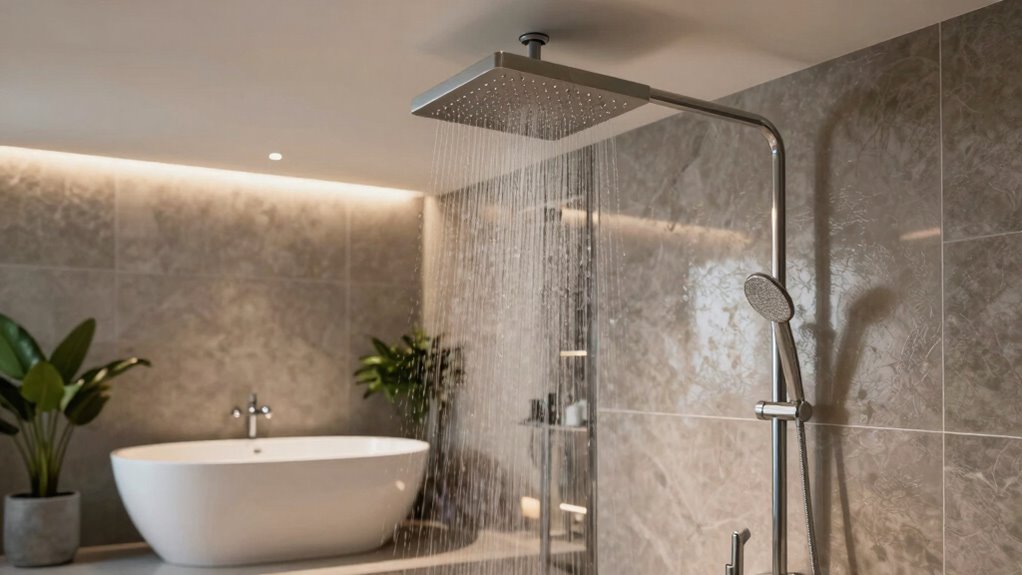
Creating a Spa-Like Atmosphere in Your Shower
Sure! Here’s the revised content with the requested addition:
—
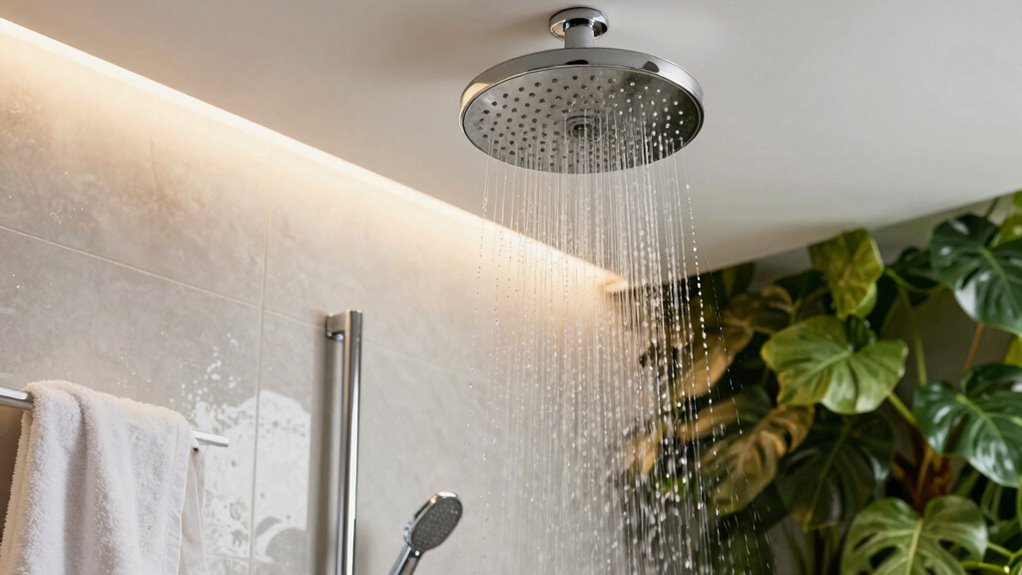
After ensuring your ceiling rain head is properly installed, it’s time to elevate your shower experience into a spa-like retreat. Start by creating a luxurious ambiance with relaxing lighting; consider dimmable fixtures or candles. Introduce soothing scents with essential oils or aromatic candles to calm your senses. Incorporate sound therapy by playing soft music or nature sounds, enhancing your relaxation. Use natural elements like bamboo or stone to add a grounding touch, while tactile materials such as plush towels and a soft bath mat bring comfort. For color therapy, choose calming hues for your shower decor. Additionally, creating a toxin-free space is essential for promoting a healthy environment. Research shows that quality sleep is significantly impacted by the overall atmosphere of your surroundings, so paying attention to these details can enhance your well-being. Furthermore, employing eco-friendly gardening techniques can inspire you to incorporate similar sustainable practices in your home, enhancing your overall relaxation experience. Moreover, using eco-friendly HVAC solutions can help maintain a comfortable temperature in your bathroom while reducing energy consumption. Finally, consider water features, like a small fountain, to add tranquility. Transform your shower into an oasis where you can unwind and rejuvenate. Additionally, incorporating wellness retreats can inspire you to create a more serene environment at home.
—
Let me know if you need any further modifications!
Maintenance Tips for Your Ceiling Rain Head
To keep your ceiling rain head functioning at peak performance, regular maintenance is essential. Here are some effective tips to make certain it stays in top shape:
- Clean Regularly: Use gentle cleaning techniques, like a vinegar-water solution, to remove mineral buildup and grime.
- Check for Leaks: Routinely inspect for any signs of leaks. Addressing them early can prevent water damage.
- Inspect the Showerhead: Confirm the showerhead is securely attached and free from cracks or blockages.
- Flush the System: Periodically run hot water through the system to clear out any debris and keep water flowing smoothly.
Frequently Asked Questions
Can I Install a Rain Head in a Low Ceiling Bathroom?
Yes, you can install a rain head in a low ceiling bathroom, but you need to contemplate a few things. First, measure the height to guarantee you’ll have enough clearance. Installation tips include opting for a smaller rain head or angling it to prevent water splashing. Also, make certain your plumbing can accommodate the rain head’s requirements. With careful planning, you can enjoy a luxurious shower experience even in a compact space.
How Do I Clean Mineral Buildup in My Rain Head?
To clean mineral buildup in your rain head, start by mixing equal parts vinegar and water in a spray bottle. Spray the solution directly onto the rain head, letting it sit for about 15-20 minutes to aid in mineral removal. Afterward, wipe it down with a soft cloth. For regular rain head maintenance, consider doing this monthly to prevent buildup and keep your shower looking and functioning its best.
What Type of Shower Valve Works Best With a Rain Head?
You’d think any valve would do, but not all are created equal! For a rain head, a pressure-balanced or thermostatic valve works best. These valve types guarantee a consistent flow and temperature, making your shower experience heavenly. When installing, remember to check compatibility with your existing plumbing and follow manufacturer guidelines. So, while you might be tempted to choose the first valve you see, a little research goes a long way!
Are There Any Energy-Efficient Rain Head Options Available?
Yes, there are several energy-efficient rain head options available! Look for models that incorporate water-saving features, like low-flow designs that maintain a satisfying shower experience while conserving water. Additionally, many brands use eco-friendly materials in their construction, ensuring you’re making a sustainable choice. By choosing these options, you not only save water but also reduce your energy consumption, making your shower routine both enjoyable and environmentally responsible.
How Often Should I Replace My Ceiling Rain Head?
You should replace your ceiling rain head every 5 to 10 years, depending on its usage and maintenance. Regular cleaning can extend its lifespan, but if you notice reduced water flow or mineral buildup, it might be time for a replacement. Keep an eye on any leaks or corrosion, as these can signal that it’s time for a new one. Staying proactive guarantees your shower experience remains enjoyable and efficient.
Conclusion
Installing a ceiling rain head can transform your shower into a luxurious experience, but it’s essential to get it right. Did you know that a rainfall showerhead can use up to 2.5 gallons per minute? That’s nearly double the flow of standard showerheads! By ensuring proper height, water pressure, and diameter, you’ll enjoy peak performance. Avoid common mistakes, and you’ll create that spa-like atmosphere you’ve always wanted. Don’t forget regular maintenance to keep it flowing smoothly!