To clean shower grout and tile effectively and remove mold, start by inspecting the grout for signs of staining or damage. Gather eco-friendly cleaners like baking soda, vinegar, or commercial options, along with brushes and microfiber cloths. Apply your chosen solution, scrub gently, and rinse thoroughly. Dry the surfaces and consider sealing the grout for added protection. If you’re ready to tackle stubborn mold and keep your shower spotless, explore the expert tips ahead.
Key Takeaways
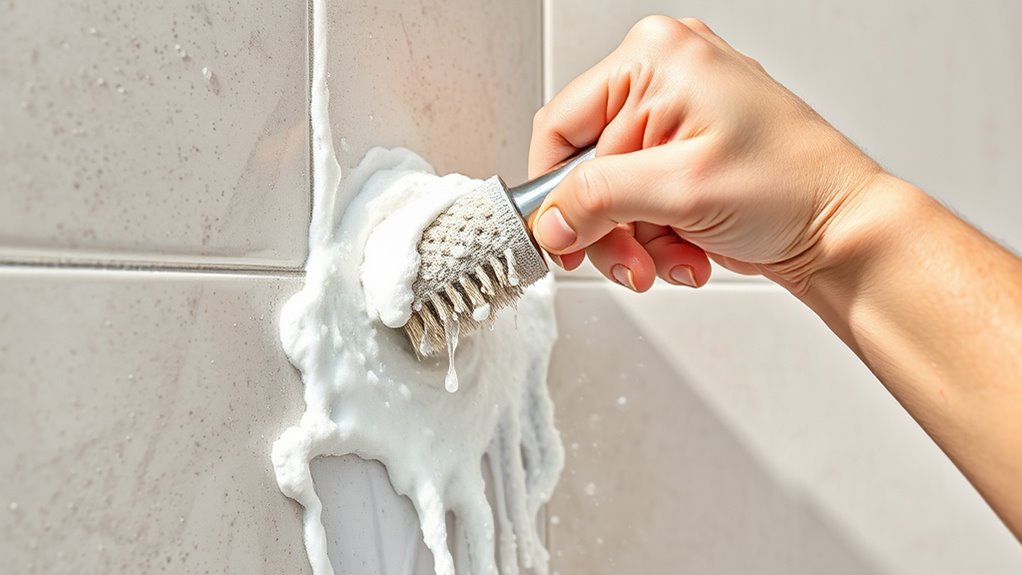
- Use a mixture of baking soda and water or vinegar to gently scrub moldy grout lines with a toothbrush or soft brush.
- Rinse thoroughly with clean water to remove residue and prevent mold regrowth.
- Dry the tiles and grout completely with a microfiber cloth to inhibit mold moisture.
- Apply a grout sealer after cleaning to protect against future stains and mold buildup.
- Ensure proper bathroom ventilation by using exhaust fans and squeegeeing water after showers.

Smart Toilet with Warm Water Sprayer and Dryer, One Piece Bidet Toilet with Auto Dual Flush Foot Sensor Operation,Heated Seat Smart with Built In Fahrenheit LED Display
Powerful Flushing System: Designed with low water consumption (1.26 gallons per flush), this system ensures efficient and thorough...
As an affiliate, we earn on qualifying purchases.
Assessing the Condition of Your Shower Grout and Tiles

Before you begin cleaning, it’s important to assess the condition of your shower grout and tiles. Start with grout color analysis to determine if your grout has darkened, stained, or shows signs of mold. This helps you decide whether a simple cleaning or a more intensive treatment is needed. Next, identify your tile material to select appropriate cleaning methods—ceramic, porcelain, or natural stone all require different care. Check for cracks, chips, or loose tiles that might need repair before cleaning. Inspect the grout lines closely for deterioration or excessive staining. Understanding the current state of your tiles and grout allows you to tailor your cleaning approach effectively, preventing damage and ensuring a thorough, long-lasting result. Incorporating proper cleaning techniques based on your grout and tile condition can significantly improve the longevity and appearance of your shower surfaces, especially considering how sound vibrations can influence cellular regeneration and overall health. Additionally, assessing the rust and mineral deposits on tiles can help determine if specialized cleaning methods are necessary to restore their original appearance. Recognizing the type of air purification technology used in your cleaning tools can also enhance your results and maintain a healthier bathroom environment. Being aware of AI-driven insights can further optimize your cleaning process by providing tailored recommendations for your specific tile and grout types.

WITMYA Smart Toilet with Bidet Built In, One Piece Bidet Toilet with Auto Dual Flush, Foam Shield, Modern Elongated Tankless Toilet with Foot Sensor, Heated Bidet Seat, Warm Water & Dryer,LED Display
【Efficient Flush & Energy-Saving Design】There smart toilets feature a highly efficient 1.28 GPF water-saving dual flush system with...
As an affiliate, we earn on qualifying purchases.
Gathering Effective Cleaning Supplies and Tools
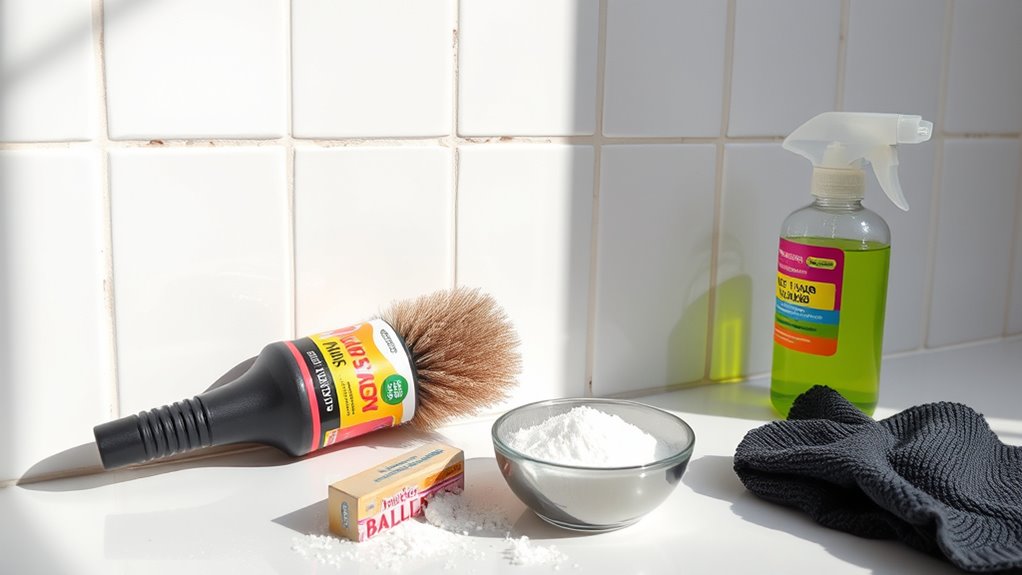
To achieve a thorough clean, you need to gather the right supplies and tools tailored to your shower’s specific needs. Focus on cleaning safety by choosing gloves, masks, and ventilation to protect yourself from mold spores and harsh chemicals. Opt for eco-friendly products like natural cleaners, vinegar, or baking soda to minimize environmental impact and skin irritation. You’ll need soft brushes or old toothbrushes for grout lines, microfiber cloths for wiping surfaces, and spray bottles for applying solutions evenly. Sturdy sponges can help scrub tiles effectively without damaging them. Before starting, ensure all supplies are clean and ready to use. Incorporating eco-friendly cleaning products can further support sustainable cleaning practices and protect indoor air quality. Using eco-friendly products not only keeps your space safe but also supports sustainable cleaning practices. Incorporating automation technologies can further streamline your cleaning process and improve efficiency. Additionally, choosing tools designed for tile and grout cleaning can help achieve better results with less effort. For optimal mold removal, consider using specific mold-resistant cleaning solutions that target stubborn growths effectively.

Loniko Smart Toilet with Bidet Built In, Heated Seat & Dual Auto Flush, Foot Sensor, Tankless Modern Elongated Electric Toilet with Warm Water Wash, Air Dryer, LED Display & 1000g MaP Flush, 1.28 GPF
🧻 [Powerful & Water-Saving Dual Flush System] This one piece smart toilet with bidet built in uses an...
As an affiliate, we earn on qualifying purchases.
Preparing Your Shower for Deep Cleaning
Preparing your shower for deep cleaning guarantees the process goes smoothly and effectively. Begin by ensuring proper shower ventilation; open windows or turn on the exhaust fan to reduce humidity and dry out mold-prone areas. Remove any personal items, such as shampoo bottles and soap dishes, to give yourself clear access to all surfaces. Check the condition of your grout sealing—if it’s cracked or worn, consider resealing after cleaning to prevent future mold buildup. Clear the shower of loose debris or soap scum, which can interfere with cleaning solutions. Taking these steps upfront makes deep cleaning more efficient, allowing your cleaning products to work better and ensuring your shower stays fresh and mold-free longer. Both proper preparation and understanding of mold removal techniques can greatly enhance your cleaning results. Additionally, incorporating effective cleaning methods supported by industry insights can lead to long-lasting cleanliness and prevent recurring issues. Regular inspection for grout deterioration can help identify early signs of mold growth and maintain the overall integrity of your shower surfaces. To further improve your cleaning routine, consider appropriate cleaning tools that facilitate reaching difficult spots and remove stubborn stains effectively. Moreover, using specialized cleaning solutions can target mold and mildew more effectively, extending the life of your grout and tiles.
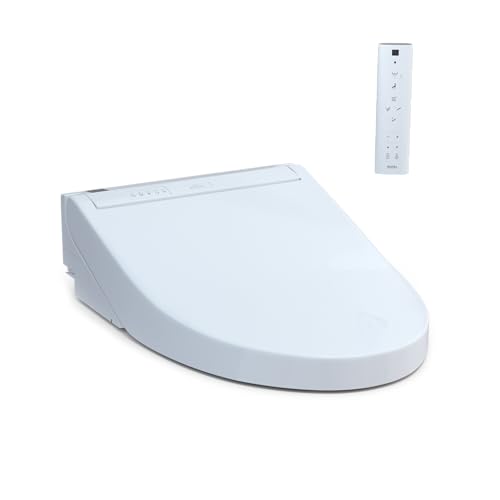
TOTO® WASHLET® C5 Electronic Bidet Toilet Seat with PREMIST and EWATER+ Wand Cleaning, Elongated, Cotton White - SW3084#01
A REFRESHING CLEAN FOR EVERYONE - Gentle yet powerful water spray provides an effective clean; Adjustable warm water...
As an affiliate, we earn on qualifying purchases.
Applying Cleaning Solutions to Remove Dirt and Mold
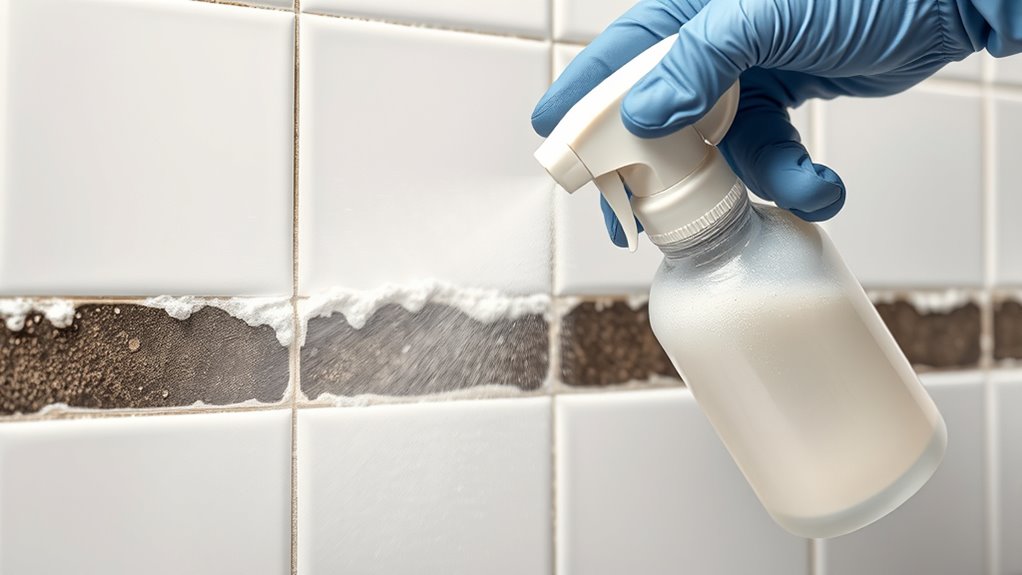
To effectively remove dirt and mold, you need to choose the right cleaning solution for your shower. Proper application techniques guarantee the solution reaches all the affected areas and works efficiently. Let’s explore how to select the best product and apply it correctly for the best results.
Selecting the Right Solution
Are you unsure which cleaning solution will effectively tackle dirt and mold on your shower grout and tiles? Choosing cleaning agents depends on the severity of the grime and your preference for natural remedies. For light dirt and mild mold, a mixture of baking soda and water creates a gentle, eco-friendly option. Vinegar is another natural remedy that works well on mold and soap scum, but avoid using it on natural stone surfaces. For tougher stains, consider commercial cleaners formulated specifically for grout and tile, but always check labels for safety and compatibility. Remember, selecting the right solution is key to effective cleaning without damaging your surfaces. Proper application techniques, including cleaning schedules and methods, can help maintain your tiles and prevent future buildup. Additionally, understanding filtering and pump protection can ensure your cleaning tools operate efficiently during maintenance. Regular inspections and timely reapplications also help prevent mold growth from returning quickly.
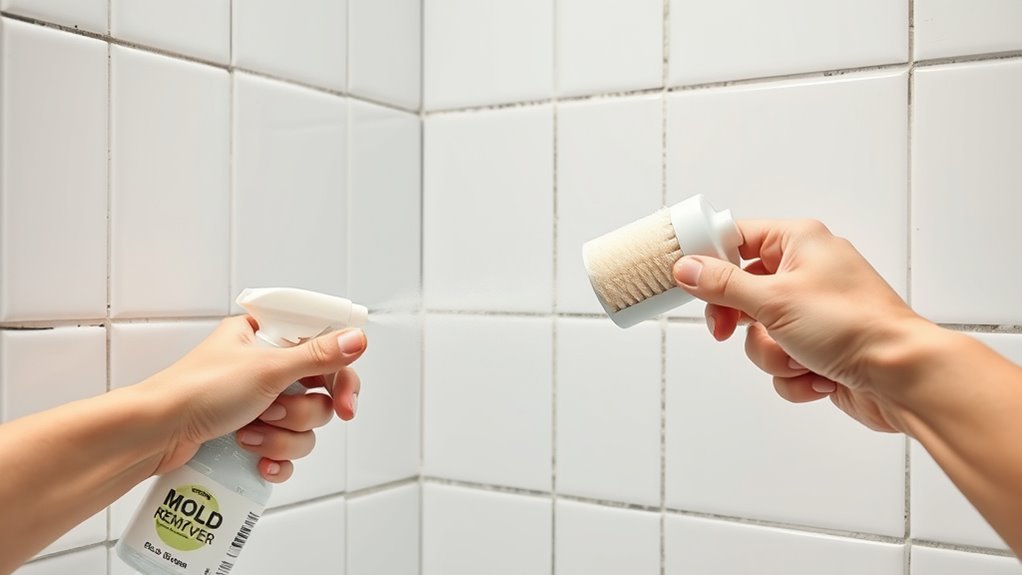
Proper Application Techniques
Once you’ve selected the appropriate cleaning solution, applying it correctly is essential for effective dirt and mold removal. Start by mixing cleaning solutions as directed, ensuring thorough blending. Use applicator brushes to apply the solution evenly to grout lines and tiles, focusing on heavily stained or moldy areas. For best results, let the solution sit for a few minutes before scrubbing. Be sure to use gentle, circular motions with the brushes to avoid damaging grout. Proper application techniques help ensure the cleaning solution penetrates deeply, removing dirt and mold effectively. Additionally, understanding tile and grout materials can help prevent damage during cleaning. Using the correct tools and techniques can also enhance cleaning efficiency, making your maintenance routine more effective. Regularly inspecting your shower for signs of mold growth can help catch issues early and simplify ongoing cleaning efforts.
Scrubbing and Rinsing for a Spotless Finish
After applying your cleaning solution, it’s time to scrub the grout and tiles to lift away dirt and grime. Use a stiff-bristled brush or an old toothbrush to reach into the grout lines, ensuring you remove all built-up residue. As you scrub, focus on areas prone to mold and soap scum. Rinse thoroughly with clean water to wash away loosened debris. Once the surface is clean, consider applying a grout sealing product to protect against future stains and moisture. For tiles, dry and buff with a soft cloth to enhance their shine and achieve a polished look. Proper scrubbing and rinsing leave your shower looking fresh and spotless, setting the stage for long-lasting cleanliness and easy maintenance. Regular cleaning with professional-grade products can further improve results and prevent mold recurrence.
Implementing Preventative Measures to Keep Grout Fresh

Maintaining a clean shower environment involves more than just scrubbing and rinsing; it also requires implementing preventative measures to keep your grout looking fresh over time. One key step is grout sealing, which creates a protective barrier against moisture and mold. Additionally, improving ventilation reduces humidity, preventing mold growth and grout discoloration. Regularly reseal grout every 1-2 years, especially in high-moisture areas. You can also use a squeegee after each shower to remove excess water. To help you stay organized, here’s a quick guide:
| Measure | Benefit | Frequency |
|---|---|---|
| Grout sealing | Prevents stains and mold | Every 1-2 years |
| Ventilation improvements | Reduces humidity and mold growth | Continuous |
| Regular squeegeeing | Keeps grout dry | After each shower |
| Using exhaust fans | Enhances air circulation | During and after shower |
| Cleaning mold-prone areas | Stops mold development | Weekly |
Frequently Asked Questions
How Often Should I Deep Clean My Shower Grout?
You should deep clean your shower grout every 3 to 6 months to keep it mold resistant and prevent buildup. Regular cleaning helps maintain the grout sealing and ensures mold doesn’t develop. Use a mold-resistant cleaner and scrub gently to avoid damaging the grout. Deep cleaning more often, especially in high-moisture areas, keeps your shower fresh and extends the lifespan of your grout sealing, making your bathroom safer and cleaner.
Are Homemade Cleaning Solutions as Effective as Commercial Products?
Imagine a sparkling, mold-free shower—DIY remedies and natural alternatives can often achieve this, but their effectiveness varies. You might find that homemade cleaning solutions with vinegar, baking soda, or lemon tackle surface grime well, giving you a fresh, citrus scent. However, for stubborn mold or deep stains, commercial products might be more reliable. So, while DIY remedies work for routine cleaning, sometimes you need stronger solutions for tougher mold removal.
Can I Use Bleach on Colored Grout Without Discoloration?
You might wonder if bleach safety means avoiding colored grout discoloration. Bleach can lighten or discolor your grout, especially if it’s colored, so use it cautiously. To protect your grout color, consider diluting the bleach and testing on a small area first. If you’re concerned about discoloration, opt for gentler cleaners or oxygen-based bleaches, which are safer for colored grout and effective for mold removal without risking damage.
What Are the Signs of Grout Deterioration Needing Replacement?
Think of your grout as the backbone of your shower’s mosaic. When you notice grout color change, cracked grout lines, or crumbling sections, it’s a sign it’s weakening. These issues indicate deterioration, meaning you likely need to replace the grout to prevent water damage and mold growth. Stay vigilant for these signs, and don’t delay repairs—your shower’s foundation depends on strong, healthy grout.
How Can I Prevent Mold From Returning After Cleaning?
To prevent mold from returning, you should improve ventilation by using an exhaust fan or opening windows after showers. Keep your bathroom dry and well-ventilated to reduce moisture buildup. Also, apply a high-quality sealant to your grout and tiles to create a moisture barrier. Regularly inspect and reapply sealant as needed, and wipe down surfaces to keep mold at bay, ensuring your shower stays clean and mold-free.
Conclusion
With consistent cleaning and care, your shower will stay fresh and mold-free. Remember, a stitch in time saves nine—tackle grime early before it becomes a bigger problem. By following these simple steps, you’ll enjoy a sparkling clean shower that looks great and lasts longer. Stay proactive, and you won’t just clean your tiles—you’ll preserve their beauty for years to come. Keep up the effort, and your bathroom will always be a welcoming retreat.