To install a new shower head, start by turning off the water supply and gathering your tools like an adjustable wrench, plumber’s tape, and a cloth. Remove the old shower head by unscrewing it counterclockwise and clean the shower arm of any debris. Wrap new plumber’s tape around the threads, then screw on the new shower head snugly by hand, tightening with a cloth and wrench if needed. Finally, turn on the water to check for leaks and adjust as necessary to make certain of good flow. If you’d like to learn tips for a smooth upgrade, keep going.
Key Takeaways
- Turn off water supply and remove the old shower head carefully with an adjustable wrench.
- Clean the shower arm and check for damage before installing the new fixture.
- Wrap plumber’s tape around the threads for a secure, leak-free connection.
- Screw the new shower head onto the shower arm clockwise by hand, tightening gently.
- Turn on the water to test for leaks and proper flow, adjusting as needed.
best shower head for low water pressure
As an affiliate, we earn on qualifying purchases.
As an affiliate, we earn on qualifying purchases.
Gather Your Tools and Prepare the Area
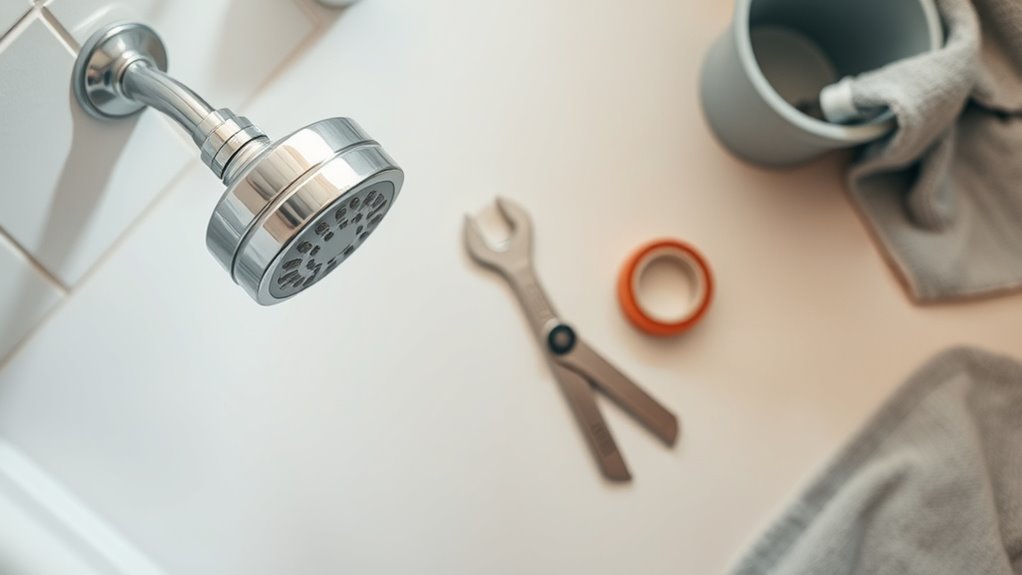
Before you begin installing your new shower head, acquiring all the necessary tools and preparing the area is vital. You’ll want to check the water pressure in your bathroom to guarantee your new fixture will work properly; low water pressure may limit performance. Gather tools like an adjustable wrench, plumber’s tape, and a soft cloth. Inspect your existing shower head’s fixture compatibility—make sure the threads match and that the size is correct to avoid leaks. Turn off the water supply at the valve to prevent any mess. Clear the area around the shower to give yourself space to work comfortably. Having everything ready beforehand makes the process smoother, helping you avoid interruptions and ensuring your upgrade goes seamlessly. Additionally, understanding the best modern toilet options can help you optimize your bathroom upgrade for both style and functionality. It’s also helpful to familiarize yourself with shower head types to choose the best one for your needs. Recognizing the importance of proper installation techniques can prevent future issues and ensure a secure fit. Engaging in thorough security measures during installation, such as checking for leaks, can save you time and effort later. Moreover, considering filtering technologies can enhance the performance and lifespan of your new shower head.

6-Setting Shower Head with Handheld, JDO High Pressure Hand held Shower Head, 4.7 Inch Chrome Detachable Showerhead Set with 59 Inch Stainless Steel Hose and Adjustable Showerhead Holder
Showerhead with 6 Different Shower Options: JDO high pressure hand-held shower head offers 6 different spray patterns, including…
As an affiliate, we earn on qualifying purchases.
As an affiliate, we earn on qualifying purchases.
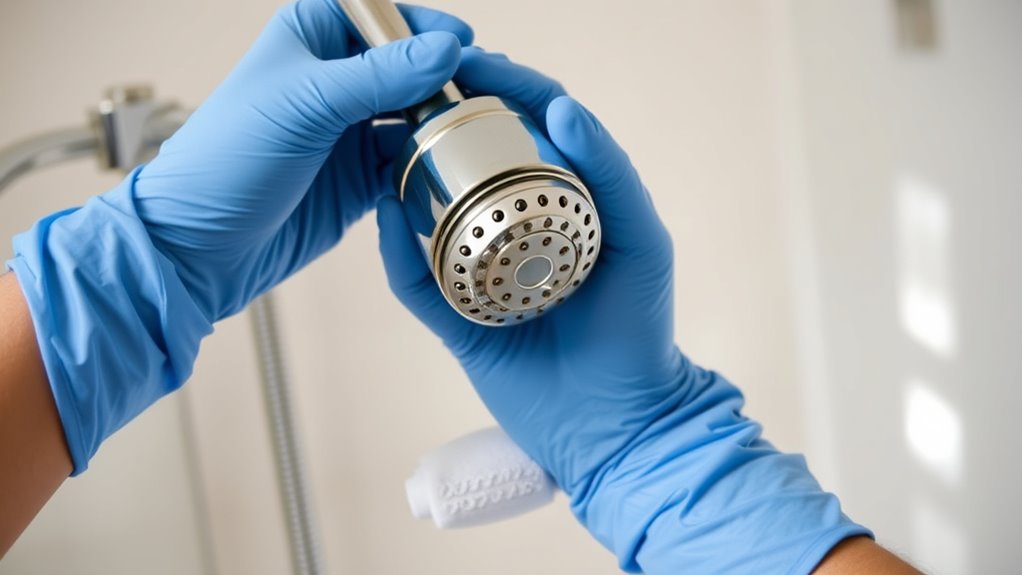
Remove the Old Shower Head
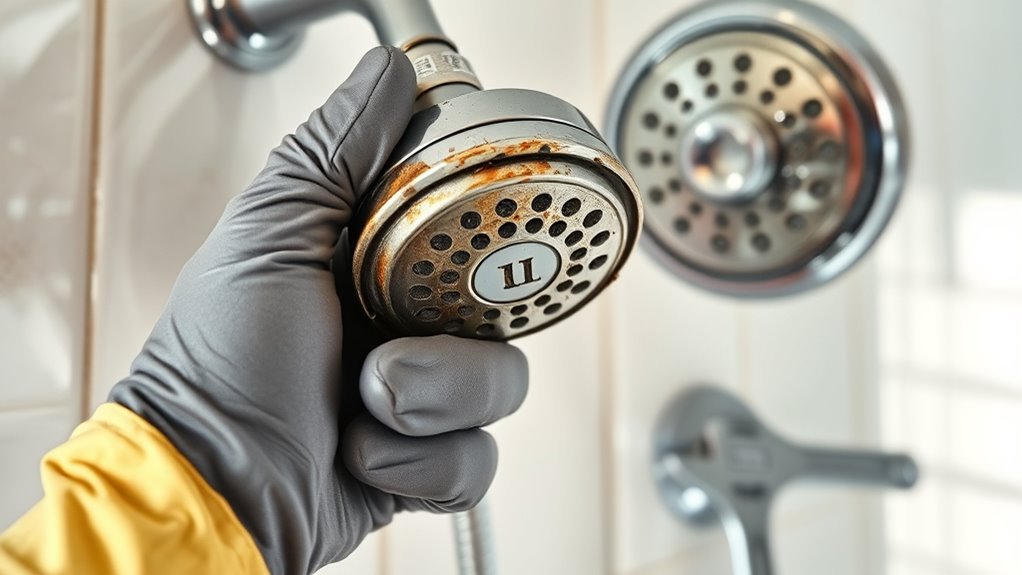
To remove the old shower head, start by wrapping a soft cloth around the pipe thread to protect the finish. Use an adjustable wrench to grip the shower head firmly and turn counterclockwise. If it’s tight, apply gentle force to loosen it without damaging the pipe thread. Be mindful of water pressure; turning off the valve beforehand prevents water from spraying unexpectedly. Once loose, unscrew the shower head completely and inspect the pipe thread for any buildup or damage. If there’s mineral deposit or old plumber’s tape, remove it carefully. Removing the old fixture smoothly prepares you for installing the new shower head, ensuring a secure fit and ideal water flow. Additionally, digital literacy programs are increasingly encouraging seniors to engage with technology, making it easier to find and follow tutorials or seek assistance during upgrades. Understanding plumbing connections can also help in troubleshooting any issues that may arise during installation. Familiarity with common plumbing tools can further streamline the process and prevent damage to your fixtures.
leak-proof shower head
As an affiliate, we earn on qualifying purchases.
As an affiliate, we earn on qualifying purchases.
Clean the Shower Arm and Check for Damage
Cleaning the shower arm guarantees a secure connection and ideal water flow. Begin by removing any mineral buildup or debris with a cloth or a gentle brush. Use vinegar or a commercial cleaner if necessary to dissolve stubborn deposits. Once clean, inspect the shower arm for damage, such as cracks, corrosion, or warped threads. Damage inspection is essential because any flaws can cause leaks or prevent the new shower head from attaching properly. If you notice significant damage, consider replacing the shower arm before proceeding. Ensuring the shower arm is clean and undamaged helps secure a tight fit for your new shower head and guarantees maximum water flow. Recognizing the importance of industry trends can remind you to approach this upgrade with patience and care. Regular maintenance and understanding shower head technology can also extend the lifespan of your fixture and improve overall performance. Additionally, checking for any trust issues or hidden problems can prevent future complications and ensure a smooth upgrade process. Incorporating automation in maintenance techniques can further assist in keeping your shower fixtures in optimal condition.
adjustable shower head with filter
As an affiliate, we earn on qualifying purchases.
As an affiliate, we earn on qualifying purchases.
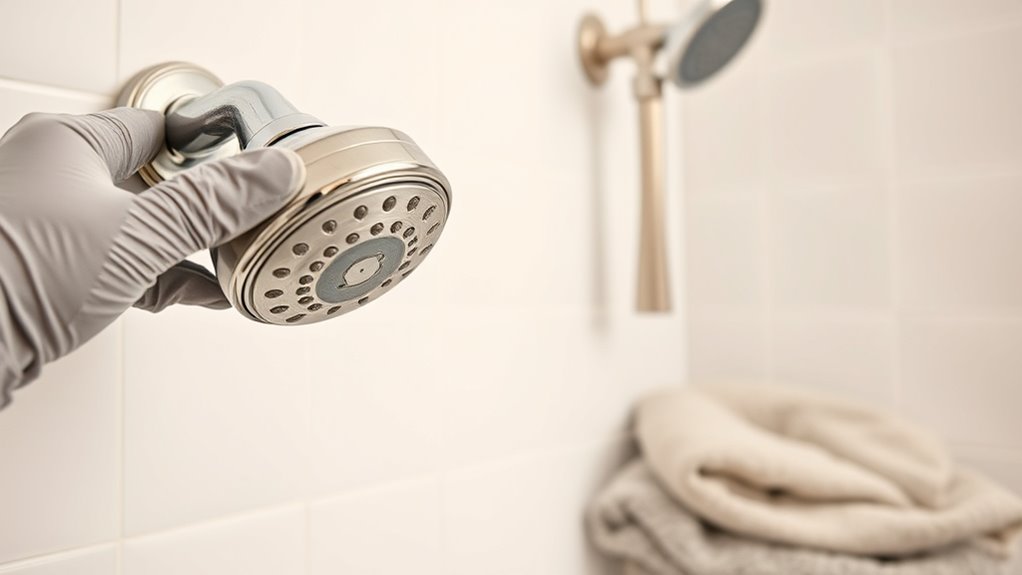
Install the New Shower Head
Once the shower arm is clean and undamaged, you can begin installing the new shower head. Screw the new shower head onto the arm by hand, turning clockwise until it’s snug. Avoid overtightening, as this can damage the threads. If needed, use a wrench, but protect the finish with a cloth to prevent scratches. As you tighten, check the water pressure; a properly installed shower head should provide a steady flow without leaks. Also, once installed, run the water to observe the water temperature and ensure it’s consistent. If the flow seems weak or uneven, you might need to adjust the angle or check the connection. A secure fit helps optimize water pressure and ensures you get the desired water temperature during your shower. Additionally, inspecting the shower head’s aerator can improve flow and water efficiency. Understanding the contrast ratio of your shower head can also help you choose models that offer better image quality, similar to home cinema projectors. Furthermore, reviewing the water pressure in your plumbing system can help prevent issues with flow and performance. Properly managing remote work habits can also contribute to a more relaxed and focused environment during your daily routines. Incorporating protective styling benefits can also help extend the lifespan of your fixtures and prevent unnecessary wear.
Test for Leaks and Adjust as Needed

After installing your new shower head, turn on the water to check for leaks. Look closely around the connection points; if you notice dripping, tighten the fitting slightly. Check the water pressure to guarantee it’s consistent with your preferences—low pressure may indicate a blockage or improper sealant application. If you see leaks or experience reduced pressure, apply a small amount of plumber’s sealant or plumber’s tape to the threads before re-tightening. Run the water again to verify the leak is gone and that the flow is steady. Adjust the shower head angle if needed for ideal water coverage. Additionally, inspecting your air purifier maintenance routine can help ensure your overall bathroom environment remains fresh and clean. Keeping your bathroom environment clean and fresh can also contribute to a more relaxing shower experience. Regularly checking indoor air quality can further improve comfort and health in your home. Being aware of signs of leaks or pressure issues can help you address potential problems early before they worsen. Once you’re satisfied with no leaks and proper water pressure, your upgrade is complete.
Frequently Asked Questions
Can I Install a Shower Head Without Turning off the Water Supply?
You can install a new shower head without turning off the water supply, but it’s not ideal. Expect some water to drip, which might affect water pressure and make the process messier. make certain the new fixture is compatible with your existing plumbing, and be prepared for potential water spray. To avoid complications, turning off the water supply is the safest choice, ensuring a smoother installation and preventing any water damage.
What Type of Thread Sealant Is Best for a Shower Head Installation?
As you plan your shower head upgrade, you might notice the variety of thread sealant options available—it’s like choosing between waterproof tape and pipe dope. Generally, waterproof tape, especially Teflon or PTFE tape, works best because it’s easy to apply and provides a reliable seal. Use it to wrap around the threads clockwise before screwing in your shower head, ensuring a leak-proof connection and a smooth installation experience.
How Do I Prevent Mineral Buildup on My New Shower Head?
To prevent mineral buildup on your new shower head, start with mineral prevention by regularly cleaning the nozzles with a vinegar soak to dissolve mineral deposits. Incorporate filtration techniques, like installing a shower filter, which reduces minerals and impurities in the water. You should also wipe the shower head after each use and perform monthly cleanings to keep it free of buildup, ensuring a consistent, high-pressure spray.
Is It Necessary to Replace the Shower Arm When Upgrading the Head?
Did you know that over 60% of homeowners face compatibility concerns when upgrading shower heads? You don’t necessarily need to replace the shower arm unless it’s damaged or incompatible. Check if your new shower head fits the existing shower arm’s threading and size. If it’s compatible, you can skip replacing the arm and save time. Otherwise, replacing the shower arm guarantees a secure, leak-free upgrade.
How Often Should I Clean or Replace My Shower Head for Optimal Performance?
You should follow a regular cleaning schedule, ideally once a month, to keep your shower head free of mineral buildup and guarantee ideal performance. Replacement frequency depends on usage and water quality, but generally, consider replacing your shower head every 1-2 years or if you notice persistent clogs or reduced water flow. Regular maintenance keeps your shower functioning smoothly and extends its lifespan.
Conclusion
Once you’ve successfully installed your new shower head, you’ll enjoy a refreshed shower experience. For instance, imagine upgrading to a high-efficiency model and noticing a significant drop in your water bill while still enjoying strong, consistent pressure. With just a few simple steps, you’ve enhanced your bathroom’s functionality and comfort. Now, every shower feels like a mini spa session—proof that a small upgrade can make a big difference in your daily routine.