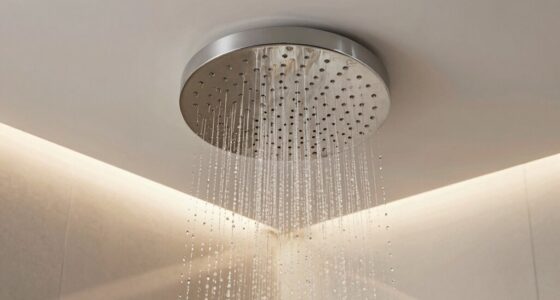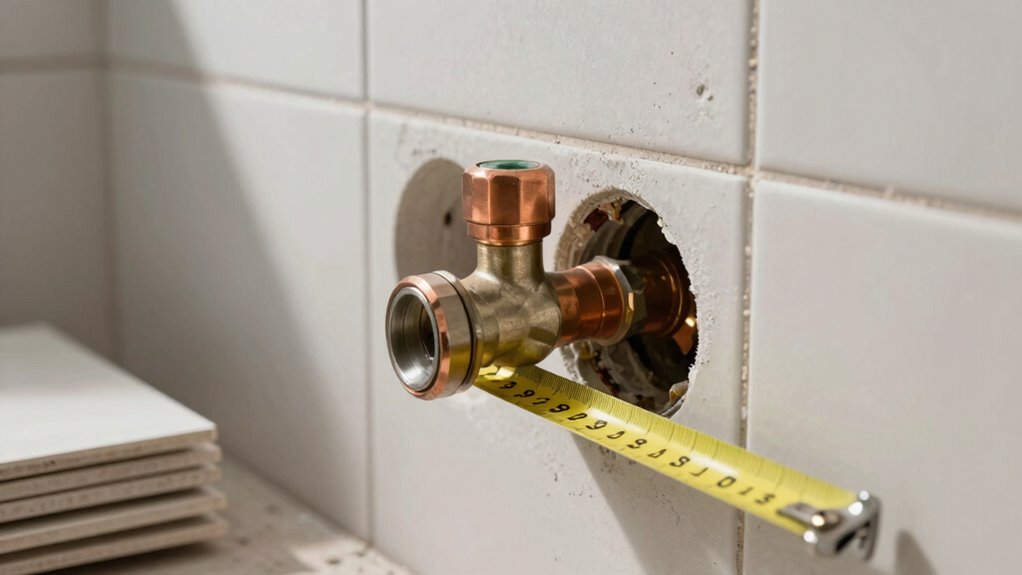
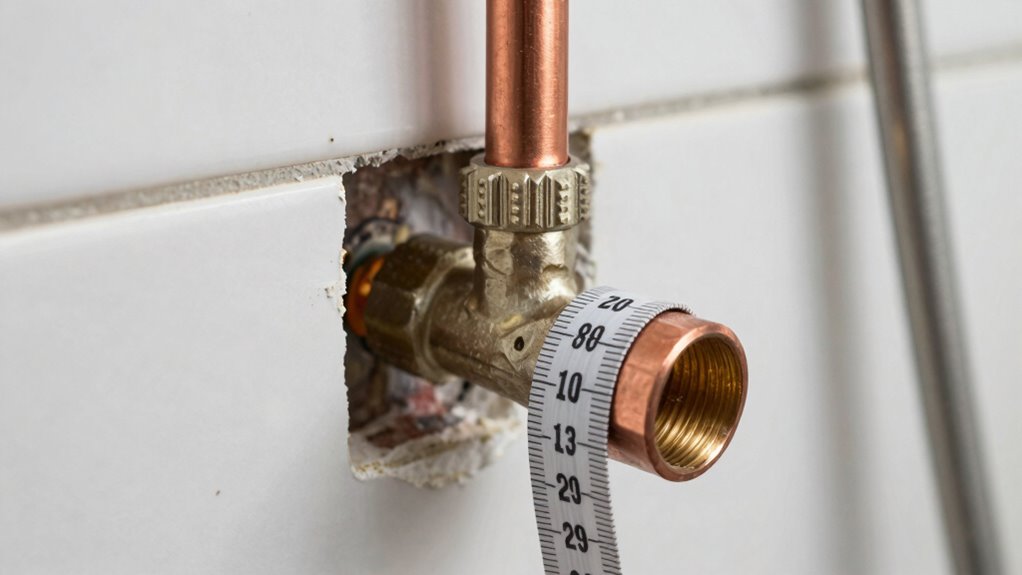
Getting the shower valve rough-in depth right’s essential for a flawless tile job. If your measurements are off, you might face leaks, aesthetic issues, or costly rework. Always measure from the finished wall surface and account for wall thickness to avoid mistakes. Using quality tools and double-checking your work can save headaches. Remember, the right depth enhances the shower’s look and function. You’ll want to know more about best practices and common pitfalls to avoid.
Key Takeaways
- Correct rough-in depth ensures seamless alignment of fixtures with tiles, enhancing both aesthetics and functionality.
- Misalignment can lead to leaks, costly repairs, and project delays, impacting overall satisfaction.
- Always measure from the finished wall surface to account for wall thickness accurately.
- Double-check measurements and consult reference tables to prevent common mistakes.
- Consider plumbing variations and invest in quality tools for precise measurements to avoid future issues.

LuckQi Shower Faucet Installation Tool Accessories Mixing Valve Positioning Wrench Repair Level Ruler Hole Measurer Balancer, Black
Prepare a curved foot level and a marker.
As an affiliate, we earn on qualifying purchases.
As an affiliate, we earn on qualifying purchases.
Why the Right Rough-In Depth Matters
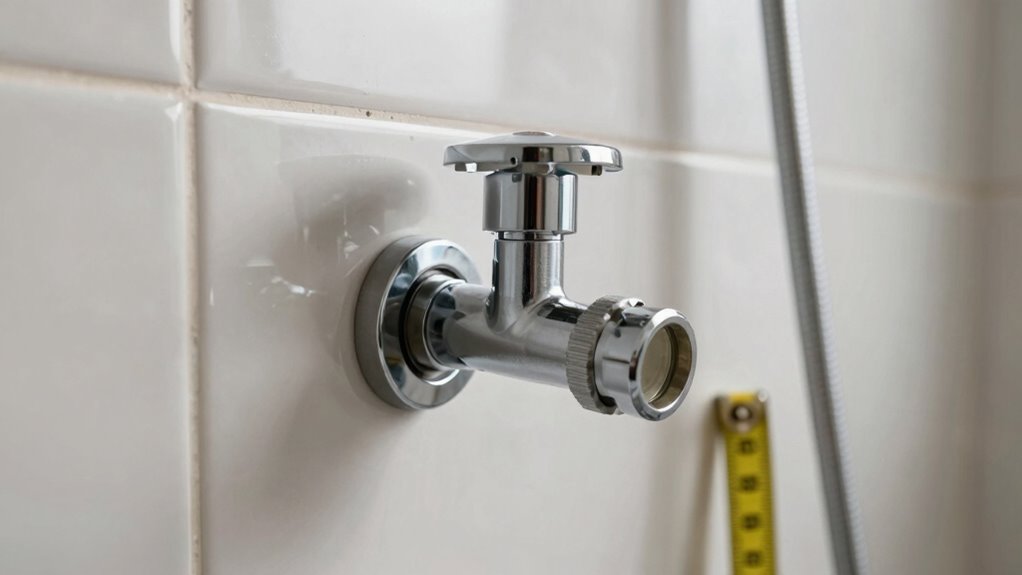
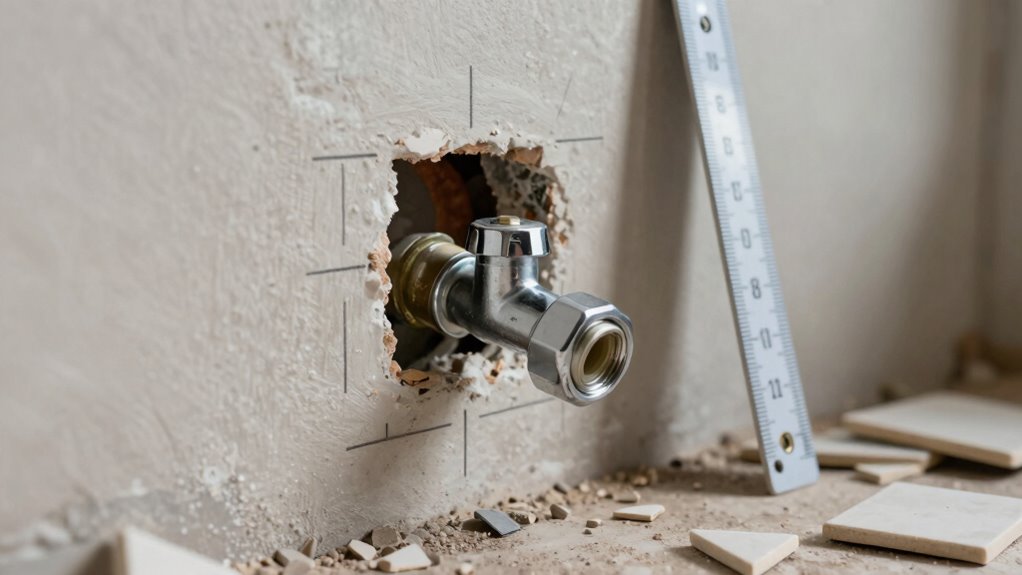
When you’re planning a shower installation, getting the rough-in depth right is vital. If you don’t, you could run into serious issues down the line. Proper rough-in depth guarantees that your fixtures align perfectly with your tiles and walls, creating a seamless look. Misalignment can lead to leaks or even costly repairs. Plus, maintaining code compliance is important; failing to do so might result in fines or require rework. You want to avoid any headaches during inspections, right? By measuring accurately and considering the required depths, you set yourself up for success. This attention to detail not only enhances the aesthetics of your shower but also ensures it functions as intended, making your investment worthwhile. Additionally, understanding filtration/suction basics can help you choose the right cleaning tools to maintain your shower efficiently.

SharkBite Shower and Tub Connection Kit, Push to Connect Brass Plumbing Fittings, PEX Pipe, Copper, CPVC, PE-RT, HDPE, 25567
SHARKBITE SHOWER AND TUB CONNECTION KIT: This installation kit includes (2) universal female connectors, (2) universal female elbows,…
As an affiliate, we earn on qualifying purchases.
As an affiliate, we earn on qualifying purchases.
Best Practices for Rough-In Depth
Getting the rough-in depth right not only prevents future headaches but also sets the stage for your shower’s overall success. To guarantee accuracy, follow these best practices:
- Choose the Right Shower Valve Types: Different types have specific rough-in requirements, so confirm compatibility early on.
- Use Reliable Measuring Tools: Invest in a quality level and tape measure for precise measurements.
- Double-Check Your Measurements: Always measure twice before cutting to avoid costly errors.
Here’s a handy reference table:
| Shower Valve Type | Recommended Depth | Measuring Tool |
|---|---|---|
| Pressure Balance | 2-3 inches | Tape Measure |
| Thermostatic | 3-4 inches | Level |
| Manual Control | 2-3 inches | Laser Level (optional) |
With these tips, you’ll be on your way to a successful installation!
Delta Faucet R10000-UNBXHF MultiChoice Universal Shower Valve Body for Shower Faucet Trim Kits
COMPLETE FLEXIBILITY: Delta's MultiChoice Universal Valve gives you the flexibility to upgrade or change your shower trim without…
As an affiliate, we earn on qualifying purchases.
As an affiliate, we earn on qualifying purchases.
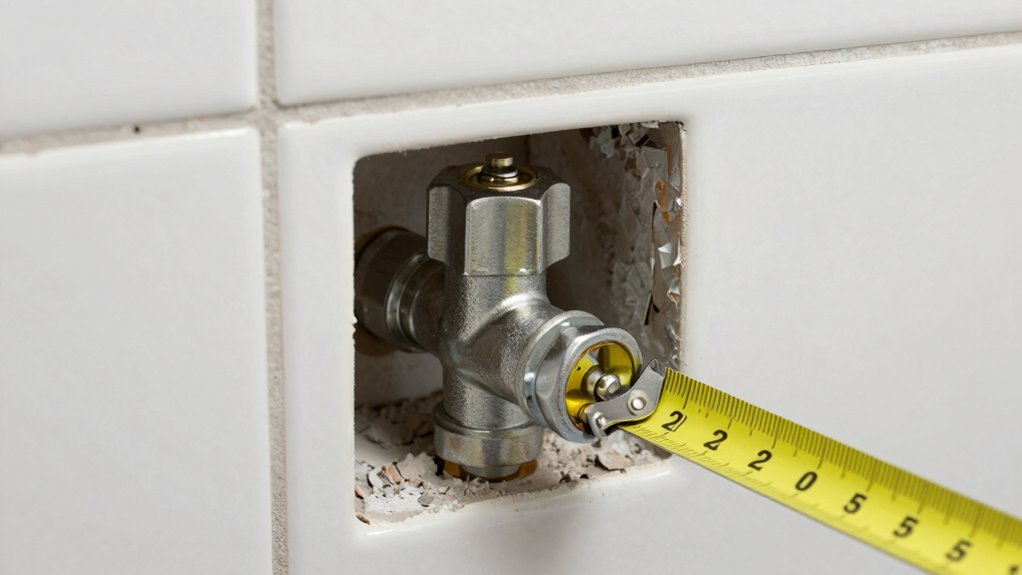
Top Measuring Mistakes to Avoid for Rough-In Depth
Measuring for rough-in depth can make or break your shower installation, so it’s vital to steer clear of common mistakes. First, verify you’re using the right measuring tools; a tape measure or level is essential for accuracy. Many people forget to account for wall thickness, leading to incorrect depth adjustments. Always measure from the finished wall surface, not the studs, to avoid miscalculations. Don’t skip double-checking your measurements; even a slight error can lead to significant issues later. Additionally, using essential DIY tools can enhance your accuracy in these measurements. Incorporating smart storage solutions can also help organize your tools and materials efficiently. Understanding proper kitchen ventilation techniques can help prevent moisture issues in your shower area, and utilizing scientific measuring methods can further improve the precision of your installations. Integrating smart home technology can also streamline tasks and enhance overall project efficiency. Finally, remember to take plumbing variations into account; check for any existing pipes that might affect your rough-in depth. By avoiding these pitfalls, you’ll set yourself up for a successful shower installation.

DURATECH 10-Piece Shower Valve Socket Wrench Set with Bar Handles, Metric, 6-22mm, for Removing Tub & Shower Valve, Home Plumbing Repairs
This dual-ended wrench with two sizes in one wrench offers more versatility for various tasks. The hex-shaped bodies…
As an affiliate, we earn on qualifying purchases.
As an affiliate, we earn on qualifying purchases.
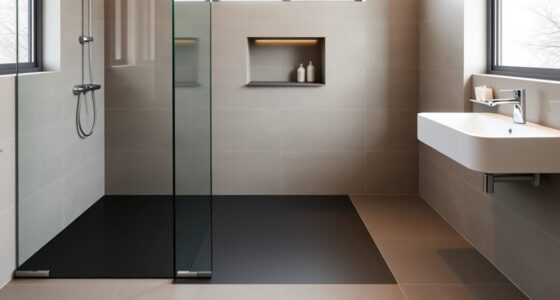
Impact of Incorrect Rough-In Depth on Tile Installation
Incorrect rough-in depth can severely impact tile installation, causing alignment issues and aesthetic problems. If your valve isn’t positioned correctly, you may face several challenges during your project. Here are three key impacts:
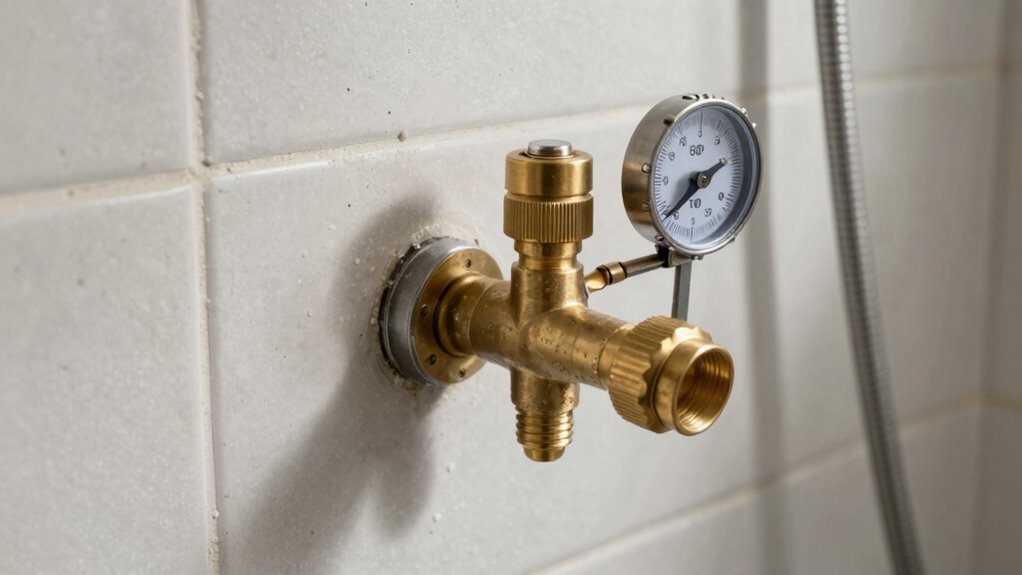
- Water Pressure Issues: Misalignment can affect how water flows, leading to inconsistent pressure that disrupts your shower experience.
- Aesthetic Concerns: Tiles may not line up properly around the valve, creating visible gaps or uneven edges that detract from your design.
- Installation Timing Delays: If you need to adjust the rough-in depth after starting, it can considerably delay your project, pushing your timeline back.
Getting the rough-in depth right from the start guarantees a smooth installation process and a beautifully finished shower.
Fixing Common Rough-In Depth Mistakes
Fixing Common Rough-In Depth Mistakes****
When tackling rough-in depth mistakes, it’s essential to act quickly to avoid further complications. First, revisit the rough-in guidelines to verify you understand the proper depth for your shower valve. Use reliable measurement tools to double-check your installation; a slight error can lead to major issues down the line. If you find the valve too deep or shallow, it may require repositioning. Follow installation tips, like adjusting the framing or using extension kits if needed. Additionally, understanding proper tool usage can enhance your accuracy during installation. Regularly checking your measurements can ensure a seamless integration of your plumbing with comfort and safety features in your home. Consider incorporating smart automation for enhanced monitoring of your plumbing systems, which can alert you to any issues before they escalate. Remember that maintaining indoor air quality is also crucial, as poor air conditions can affect your productivity and focus while working on these projects. Don’t hesitate to seek contractor advice if you’re unsure; experienced professionals can provide valuable insights to correct your mistakes. Remember, addressing these issues promptly can save you time, money, and frustration in the long run. Additionally, regular maintenance of HEPA filters can help ensure your home remains in top condition while you tackle these plumbing projects.
Frequently Asked Questions
What Tools Are Needed for Measuring Rough-In Depth?
To measure rough-in depth accurately, you’ll need a few vital tools. Start with a tape measure for precise length checks. A level guarantees your measurements are straight. A stud finder can help locate wall studs, which is critical for placement. Using a marking pencil, you can note measurements clearly. Combine these tools with good measuring techniques, and you’ll make certain everything fits perfectly, avoiding any costly mistakes down the line.
How Can I Verify the Rough-In Depth After Installation?
After installation, you can verify the rough-in depth by measuring from the finished wall to the valve’s face. Think of it as a treasure hunt; if the depth matches your plans, you’ve struck gold! If not, you’re facing installation challenges. Use a level and tape measure for accuracy. Troubleshooting tips include adjusting the valve or consulting the manufacturer’s guidelines. Keep your tools handy, and you’ll navigate this quest with ease!
Are There Different Rough-In Depths for Various Shower Valve Brands?
Yes, there are different rough-in depths for various shower valve brands. To guarantee valve compatibility, always check the manufacturer’s specifications before purchasing. Installation tips include measuring the wall thickness and confirming the valve’s depth requirement. If you’re mixing brands, be cautious, as mismatched depths can lead to problems. Always consult the installation manual for precise measurements to avoid complications during your project. Your attention to detail will pay off in the end!
Can Rough-In Depth Impact Water Pressure in the Shower?
You know what they say: “A stitch in time saves nine.” Rough-in depth can definitely impact your shower’s water flow. If it’s off, you might face installation errors that lead to reduced pressure. When the valve sits too deep or shallow, it can disrupt how water moves through the pipes, causing a weak stream. So, make certain you measure correctly to enjoy a powerful, invigorating shower experience every time.
What Is the Standard Rough-In Depth for Residential Showers?
The standard rough-in depth for residential showers is usually between 1.5 to 2 inches from the finished wall. When planning your shower installation, keep this measurement in mind to avoid complications later. Proper rough-in depth is one of those plumbing essentials that can make or break your project. Always double-check your plans and consult with a professional if you’re unsure; it’ll save you headaches down the line!
Conclusion
Getting the rough-in depth right is essential to a successful tile job. Remember, “measure twice, cut once”—it’s a lesson that can save you time and money. By following best practices and avoiding common mistakes, you can guarantee your shower valve installation goes smoothly. Don’t underestimate the impact of those hidden measurements; they can make or break your project. So, take the time to double-check your rough-in depth and enjoy a flawless finish!