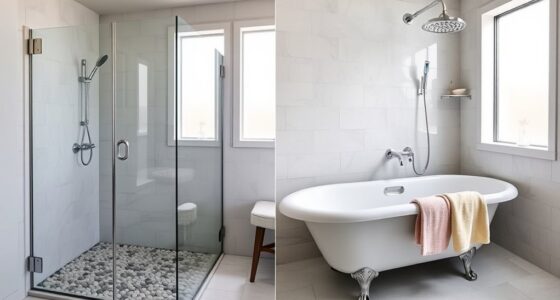
Introduction
When tackling home improvement tasks, putting in a shower is a major project that can greatly improve both the usefulness and beauty of a bathroom. A properly installed shower not only boosts the value of your home but also offers a revitalizing and invigorating experience. Whether you want to upgrade your current shower or install a brand new one, having a good grasp of the process for installing a shower step-by-step is essential for a positive result.
Embarking on a do-it-yourself (DIY) approach to shower installation allows homeowners to take control of the project, customize the design, and potentially save on installation costs. However, it’s essential to approach this task with careful planning, attention to detail, and adherence to safety standards to ensure a professional and long-lasting result.

DIY shower installation kit
As an affiliate, we earn on qualifying purchases.
As an affiliate, we earn on qualifying purchases.
Planning and Preparation
Before diving into the shower installation process, thorough planning and preparation are essential to ensure a smooth and successful project. Researching local building codes and regulations is the first crucial step. Different regions may have specific requirements regarding plumbing, structural modifications, and waterproofing, so it’s imperative to be well-informed to avoid any legal or safety issues.
Additionally, gathering the necessary tools and materials is fundamental for a DIY shower installation. This includes items such as a level, tape measure, drill, screwdriver, pipe wrench, waterproofing membrane, backer board, tiles, grout, and sealant. Ensuring that all required materials are on hand before commencing the installation process can prevent delays and interruptions.

shower pan waterproofing membrane
As an affiliate, we earn on qualifying purchases.
As an affiliate, we earn on qualifying purchases.
Assessing the Space
Prior to initiating the shower installation, it is imperative to accurately measure the shower area and determine the layout. This involves assessing the dimensions of the space to ensure that the chosen shower components, such as the shower pan, walls, and fixtures, fit seamlessly within the designated area. Taking precise measurements is crucial for avoiding potential fitment issues during the installation process.
Furthermore, it is essential to thoroughly inspect the shower area for any existing plumbing or structural issues that may impact the installation. This includes checking for leaks, water damage, or compromised structural integrity. Identifying and addressing these issues beforehand can prevent complications and ensure a solid foundation for the new shower installation.
shower tile grout and sealant
As an affiliate, we earn on qualifying purchases.
As an affiliate, we earn on qualifying purchases.
Preparing the Shower Area
Prior to commencing the installation of a new shower, it is essential to prepare the designated area to ensure a smooth and successful process. This involves removing any existing fixtures, such as the old shower enclosure, bathtub, or outdated tiling, to create a clean canvas for the new installation. Clearing the space allows for a comprehensive assessment of the underlying structure and facilitates the identification of any necessary repairs or modifications.
Once the area is cleared, it is crucial to inspect the walls and flooring for any damage or deterioration. Addressing issues such as water damage, mold, or compromised surfaces is imperative before proceeding with the installation. Making the necessary repairs ensures a solid foundation for the new shower and prevents potential issues in the future.
shower backer board for tiling
As an affiliate, we earn on qualifying purchases.
As an affiliate, we earn on qualifying purchases.
Installing the Shower Pan
The installation of the shower pan is a critical step in creating a watertight foundation for the shower. Proper positioning and securement of the shower pan are essential to prevent water leakage and structural damage. The shower pan should be placed meticulously to ensure a level and stable base for the shower enclosure.
Connecting the drain to the shower pan is a crucial aspect of the installation process. Ensuring a watertight connection and proper alignment of the drain is imperative to prevent water seepage and potential damage to the surrounding areas. Additionally, implementing effective waterproofing measures, such as applying a waterproof membrane or sealant, further enhances the integrity of the shower pan installation.
Setting Up the Walls
Installing a moisture-resistant backer board is a crucial step in preparing the walls for the shower enclosure. The backer board serves as a sturdy and waterproof substrate for the tile or wall covering, effectively preventing moisture penetration and mold growth. It provides a solid foundation for the subsequent waterproofing and tiling processes, ensuring the longevity and durability of the shower walls.
Waterproofing the walls is essential to safeguard the underlying structure from water damage and to maintain a hygienic and mold-free environment. Applying a waterproofing membrane or utilizing a comprehensive waterproofing system creates a protective barrier that prevents water from seeping into the walls and causing deterioration. This step is vital in ensuring the integrity and longevity of the shower installation.
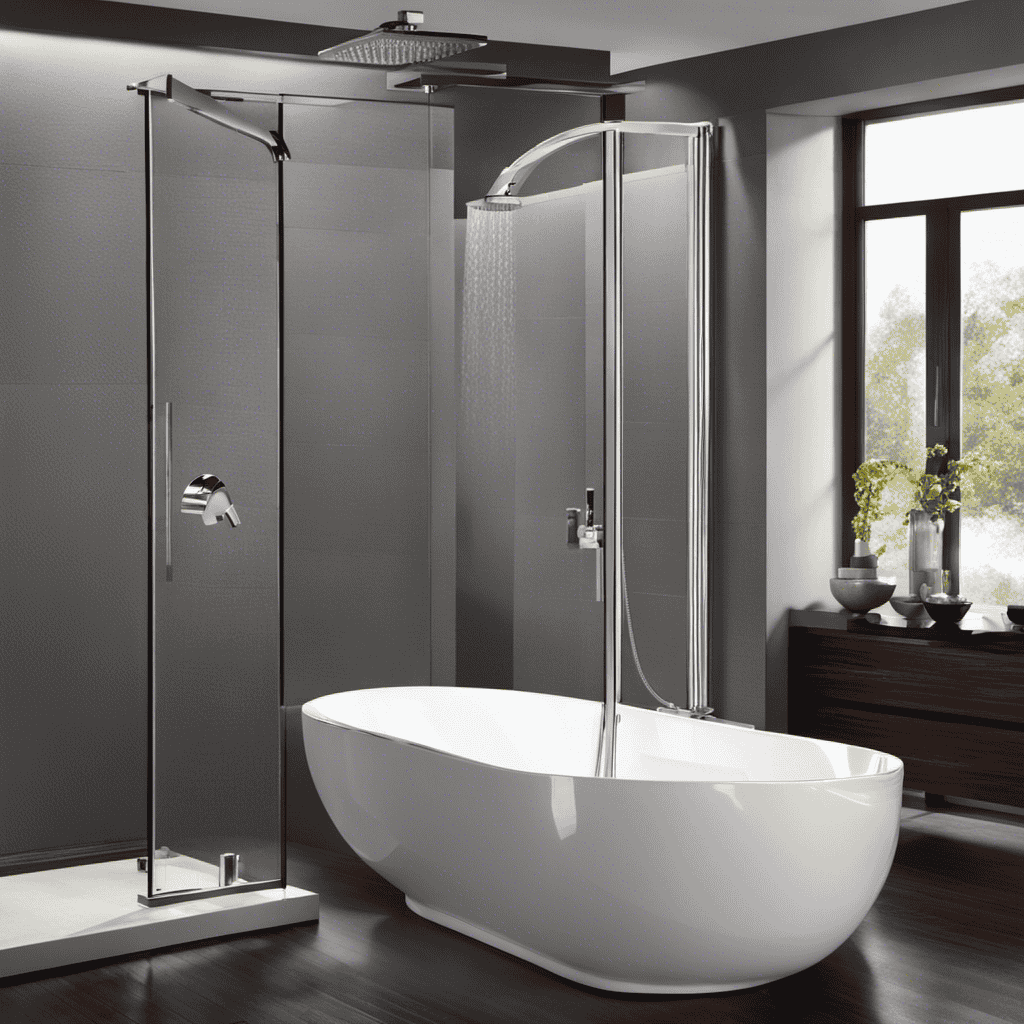
Installing the Shower Fixtures
Mounting the shower valve and head is a pivotal aspect of the shower installation process. Proper positioning and secure attachment of the shower valve and head ensure optimal functionality and water flow control. Careful consideration of the placement and alignment of these fixtures contributes to the overall comfort and usability of the shower.
Connecting the plumbing to the installed shower fixtures is a critical step that requires precision and attention to detail. Thoroughly testing the connections for leaks and ensuring the proper functioning of the plumbing system is essential to prevent water wastage and potential water damage. This meticulous approach guarantees the reliability and efficiency of the installed shower fixtures.
Finishing Touches
Applying grout and sealant to the tile is the final step in completing the shower installation. Grout not only enhances the aesthetic appeal of the tiled surfaces but also provides crucial protection against water infiltration and mold growth. Proper application of sealant further fortifies the waterproofing of the shower, ensuring long-term durability and ease of maintenance.
Installing additional accessories, such as shelves or grab bars, adds functionality and convenience to the shower space. Strategically positioned shelves offer storage for shower essentials, while grab bars enhance safety and accessibility, especially for individuals with mobility challenges. These finishing touches elevate the overall usability and comfort of the shower.
Conclusion
In conclusion, the DIY shower installation process involves meticulous planning, precise execution, and attention to detail. From the initial preparation and assessment of the space to the final touches, each step contributes to the creation of a functional and aesthetically pleasing shower. By following the outlined steps and leveraging the right tools and materials, homeowners can embark on this project with confidence, knowing that they have the potential to achieve professional results.
Embarking on a DIY shower installation not only allows homeowners to customize their space according to their preferences but also presents an opportunity to save on installation costs. With the right approach and a commitment to quality, homeowners can transform their bathrooms with a newly installed shower that meets their specific needs and enhances the overall value of their homes.