Buying Guides
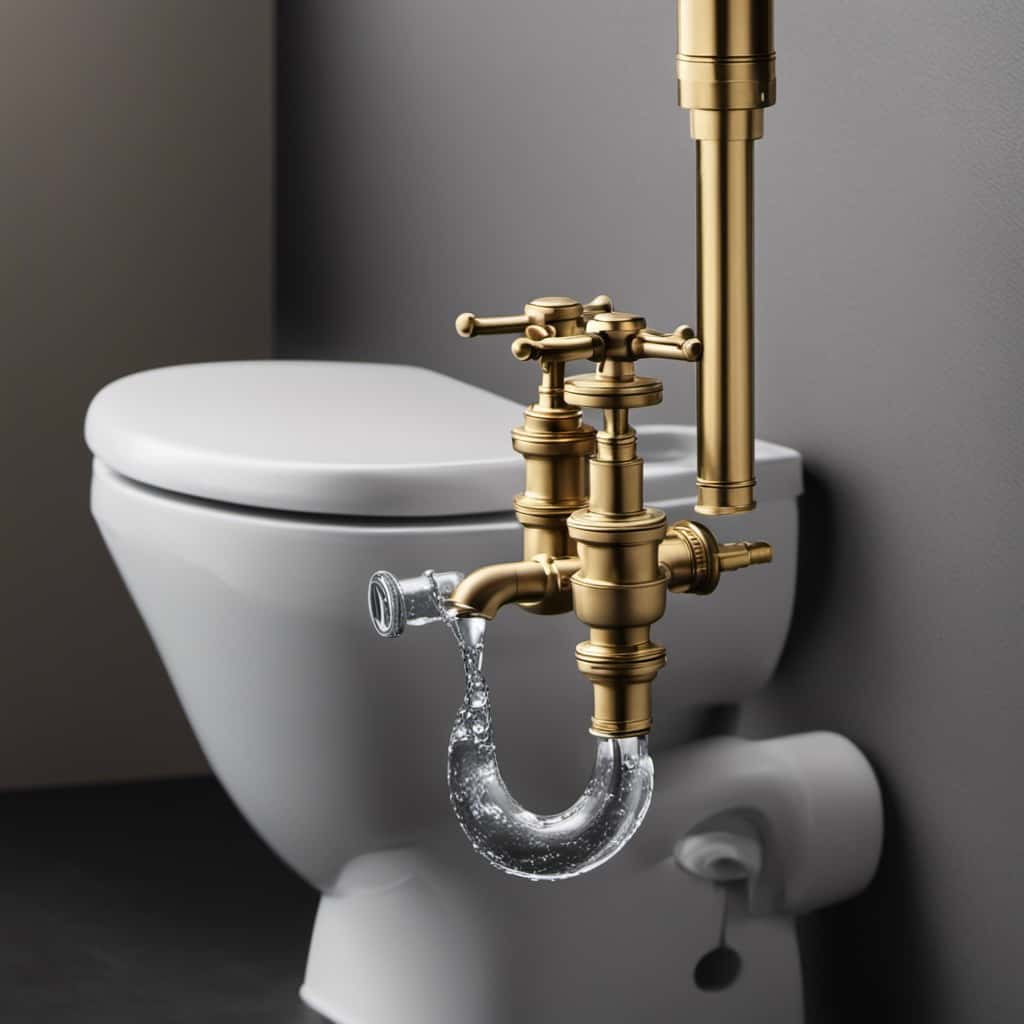
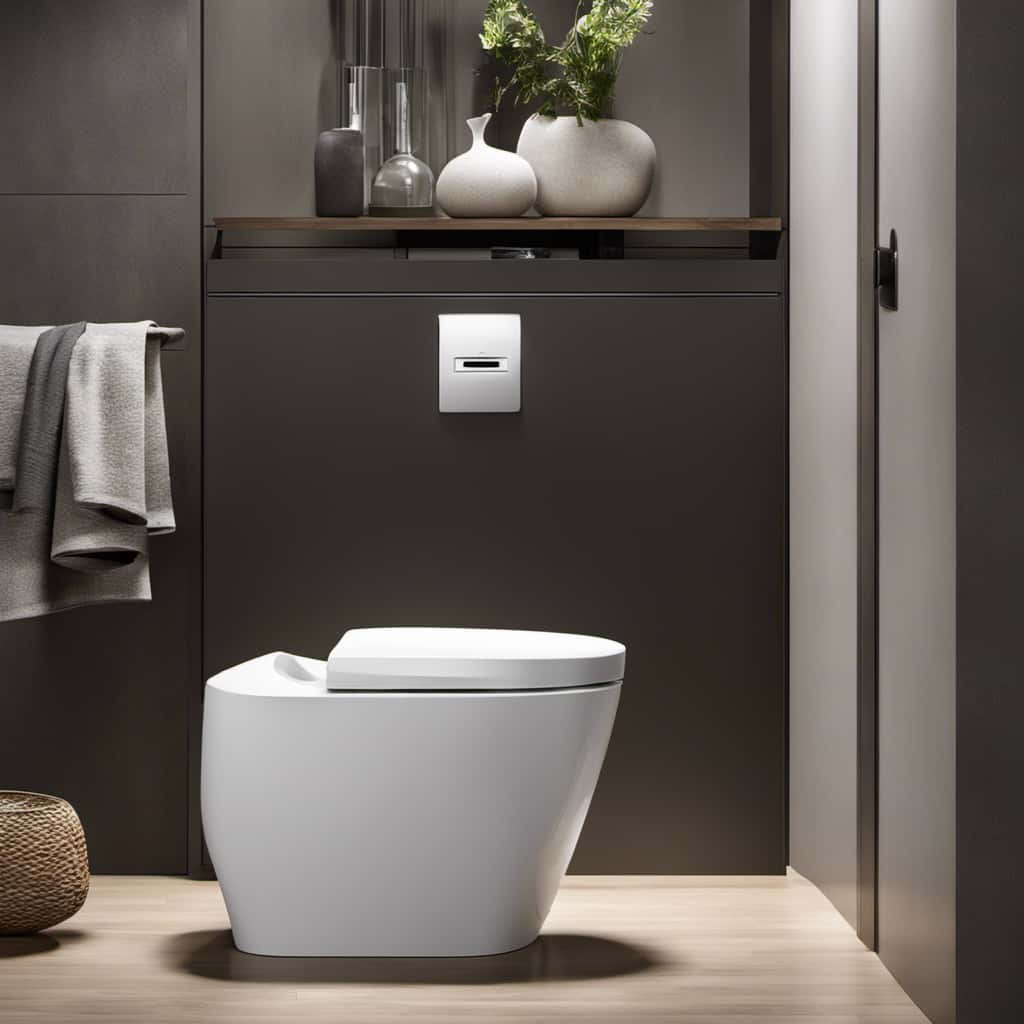
Sloan Control Stop
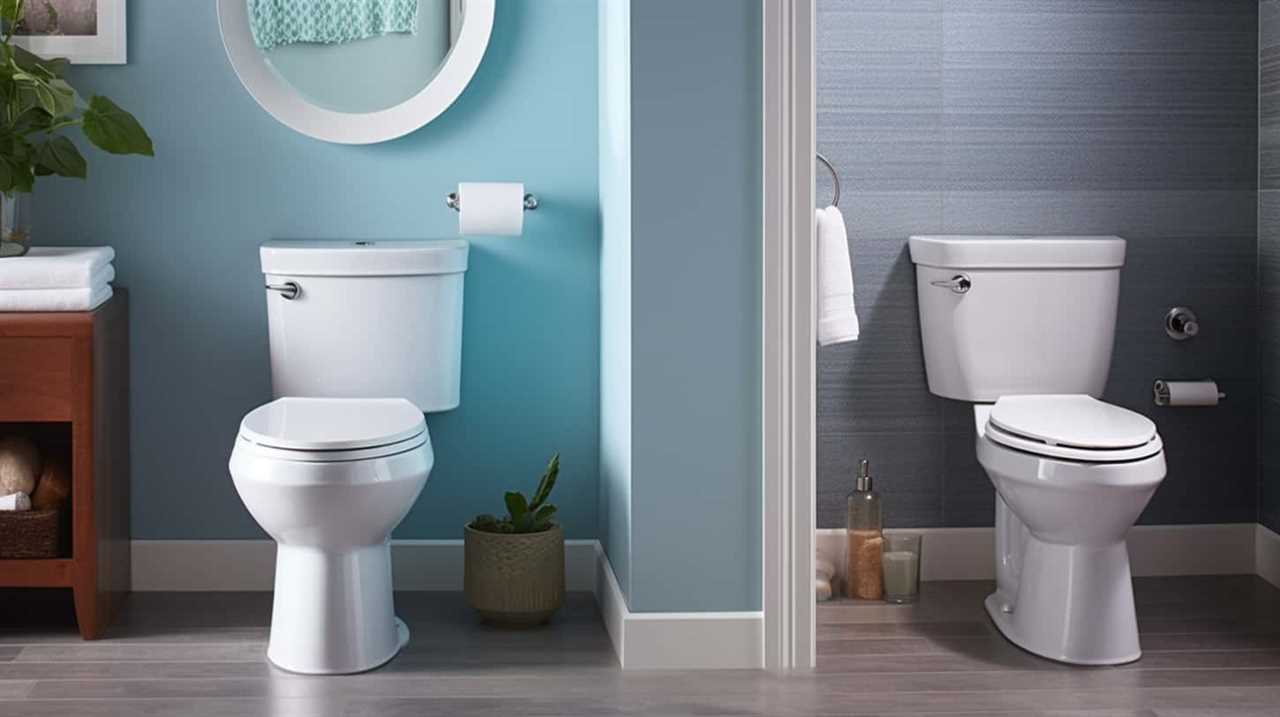
As a bathroom enthusiast, I’ve always sought the perfect control over my water flow. Enter the Sloan Control Stop – a true game-changer.
This ingenious device allows me to effortlessly manage the water supply, ensuring optimal efficiency and conservation. Say goodbye to wastefulness and hello to a greener future.
In this article, I’ll delve into the benefits, functionality, installation, and maintenance of the Sloan Control Stop. Prepare to master the art of water control like a pro.
Key Takeaways
- The Sloan Control Stop significantly reduces water wastage and promotes conservation.
- It ensures efficient water usage and cost savings for residential and commercial users.
- The Control Stop uses advanced technology and precise control mechanisms to regulate water flow.
- Regular maintenance and prompt replacement of the Control Stop assembly can prevent water damage, improve water efficiency, and prolong the lifespan of the plumbing system.
Benefits of the Sloan Control Stop
The Sloan Control Stop offers significant advantages in terms of water conservation and efficiency. With its advanced technology and precise control mechanisms, it ensures that water is used efficiently, reducing wastage and promoting conservation.
By accurately regulating the flow of water, the Sloan Control Stop minimizes unnecessary usage, resulting in substantial cost savings for both residential and commercial users. This innovative device allows for precise adjustment of water flow rates, ensuring that only the necessary amount of water is used for each task.

By optimizing water usage, the Sloan Control Stop not only helps protect the environment but also helps users save money on their water bills.
Now, let’s delve into how the Sloan Control Stop works to achieve these remarkable benefits.
How the Sloan Control Stop Works
To achieve its remarkable benefits in water conservation and efficiency, the Sloan Control Stop operates by precisely regulating the flow of water. By understanding its working mechanism, users can troubleshoot any issues that may arise.

Here are some key points to help you understand how the Sloan Control Stop works:
- The control stop is a valve that controls the flow of water in a plumbing system.
- It uses an adjustable diaphragm to regulate the flow rate.
- The diaphragm responds to changes in water pressure, opening or closing the valve accordingly.
- The control stop can be adjusted to achieve the desired flow rate and conserve water.
Some troubleshooting tips for the Sloan Control Stop include checking for any leaks, ensuring proper installation, and cleaning or replacing the diaphragm if necessary.
Installation and Setup of the Sloan Control Stop
For installing and setting up the Sloan Control Stop, I recommend following these steps:
- Shut off the water supply to the fixture.
- Disconnect the existing control stop, if applicable.
- Clean the threads on the fixture to ensure a proper seal.
- Apply plumber’s tape to the threads of the Sloan Control Stop.
- Screw the control stop onto the fixture until it’s hand tight.
- Use a wrench to tighten the control stop an additional quarter turn.
- Turn the water supply back on and check for any leaks.
- Adjust the control stop’s flow rate using the adjustment screw if necessary.
Troubleshooting common issues with the Sloan Control Stop may include checking for any loose connections, ensuring proper installation, and verifying that the water supply is fully opened.
When comparing the Sloan Control Stop with other control stop models, it’s important to consider factors such as durability, ease of installation, and overall performance. The Sloan Control Stop is known for its reliable performance and easy maintenance, making it a popular choice among professionals in the industry.
Maintenance Tips for the Sloan Control Stop
To maintain the Sloan Control Stop, I recommend regularly inspecting and cleaning the control stop for any debris or buildup. This will help prevent common issues and ensure optimal performance.
Here are some troubleshooting tips to keep in mind:
- Check for debris or sediment: Remove the control stop cover and inspect for any debris or sediment that may be blocking the flow. Use a soft brush or cloth to clean it thoroughly.
- Test the control stop valve: Turn on the water supply and check if the control stop valve is functioning properly. If there are any leaks or irregularities, it may require adjustment or replacement.
- Lubricate moving parts: Apply a small amount of silicone-based lubricant to the control stop’s moving parts to ensure smooth operation.
- Check for leaks: Inspect the surrounding area for any signs of leaks, such as puddles or water stains. If leaks are detected, tighten any loose connections or replace faulty components.
Frequently Asked Questions About the Sloan Control Stop
Now, let’s address some frequently asked questions about the Sloan Control Stop. Below is a troubleshooting guide that provides answers to common issues related to the Sloan Control Stop:
| Common Issues | Troubleshooting Guide |
|---|---|
| Water flow is weak or inconsistent | 1. Check for any clogs or debris in the control stop or water supply line. 2. Ensure that the control stop valve is fully open. 3. Verify that the water pressure is within the recommended range. |
| Water continues to run after flushing | 1. Inspect the control stop diaphragm for any damage or wear. 2. Replace the diaphragm if necessary. 3. Check the control stop solenoid for proper functioning. |
| Control stop is leaking | 1. Tighten any loose connections. 2. Replace any worn-out seals or gaskets. 3. If the leak persists, consider replacing the control stop assembly. |
Frequently Asked Questions
Can the Sloan Control Stop Be Used With Any Type of Plumbing System?
Yes, the Sloan control stop can be used with any type of plumbing system. It is a versatile product that outperforms other similar products on the market due to its reliability and efficient control.
Are There Any Specific Tools or Equipment Required for the Installation of the Sloan Control Stop?
To install the Sloan Control Stop, you will need specific tools and equipment. The installation process requires precision and technical expertise. It is crucial to have the necessary tools and follow the proper steps for a successful installation.
How Long Does It Typically Take to Install the Sloan Control Stop?
Typically, it takes me less than an hour to install the Sloan Control Stop. The installation process is straightforward and requires basic tools. It’s like a puzzle – once you figure it out, it’s smooth sailing.
Is It Necessary to Hire a Professional Plumber for the Installation of the Sloan Control Stop?
Yes, it is necessary to hire a professional plumber for the installation of the Sloan Control Stop. They have the expertise to ensure proper installation, avoiding common mistakes and maximizing the benefits over traditional plumbing valves.

Are There Any Specific Maintenance Tasks That Need to Be Performed Regularly to Ensure the Proper Functioning of the Sloan Control Stop?
Regular maintenance tasks are crucial for the proper functioning of the Sloan Control Stop. It is important to regularly inspect, clean, and test the stop to ensure optimal performance and prevent any potential issues.
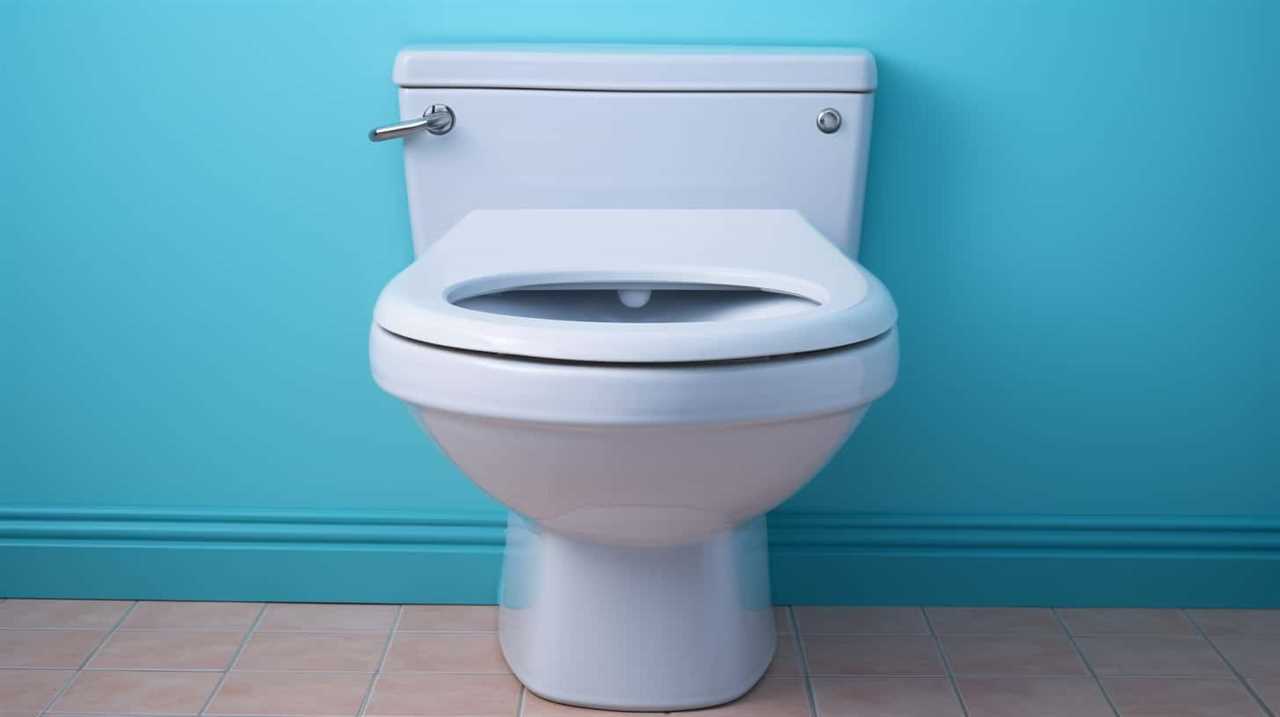
Conclusion
In conclusion, the Sloan Control Stop offers numerous benefits such as water conservation, improved hygiene, and reduced maintenance costs.
With its innovative design, this control stop effectively regulates water flow in commercial restrooms. Installation and setup are straightforward, and regular maintenance ensures optimal performance.
Did you know that the Sloan Control Stop can save up to 30% of water usage compared to traditional flush valves? This impressive statistic highlights the significant impact this device can have on water conservation efforts.

With an impeccable eye for detail and a passion for bathroom-related, Ava leads our editorial team gracefully and precisely.
Under her guidance, Best Modern Toilet has flourished as the go-to resource for modern bathroom enthusiasts. In her free time, you might find Ava exploring antique shops and looking for vintage bathroom fixtures to add to her collection.

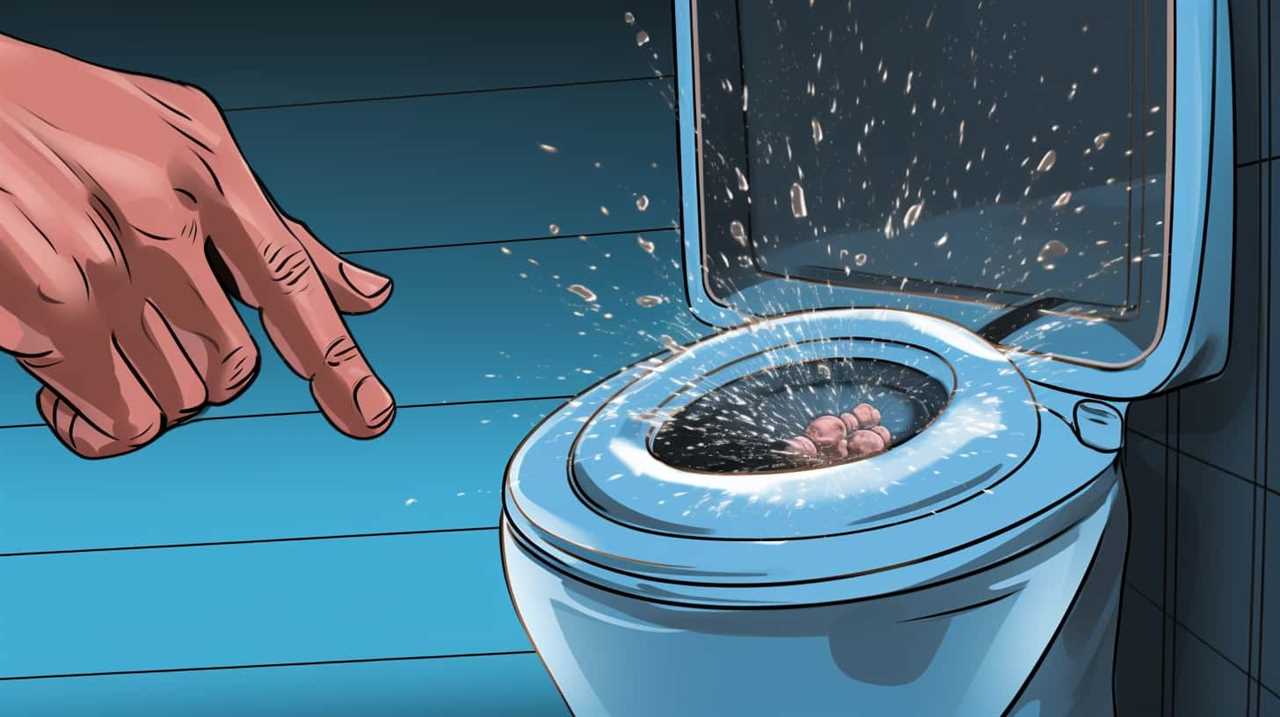
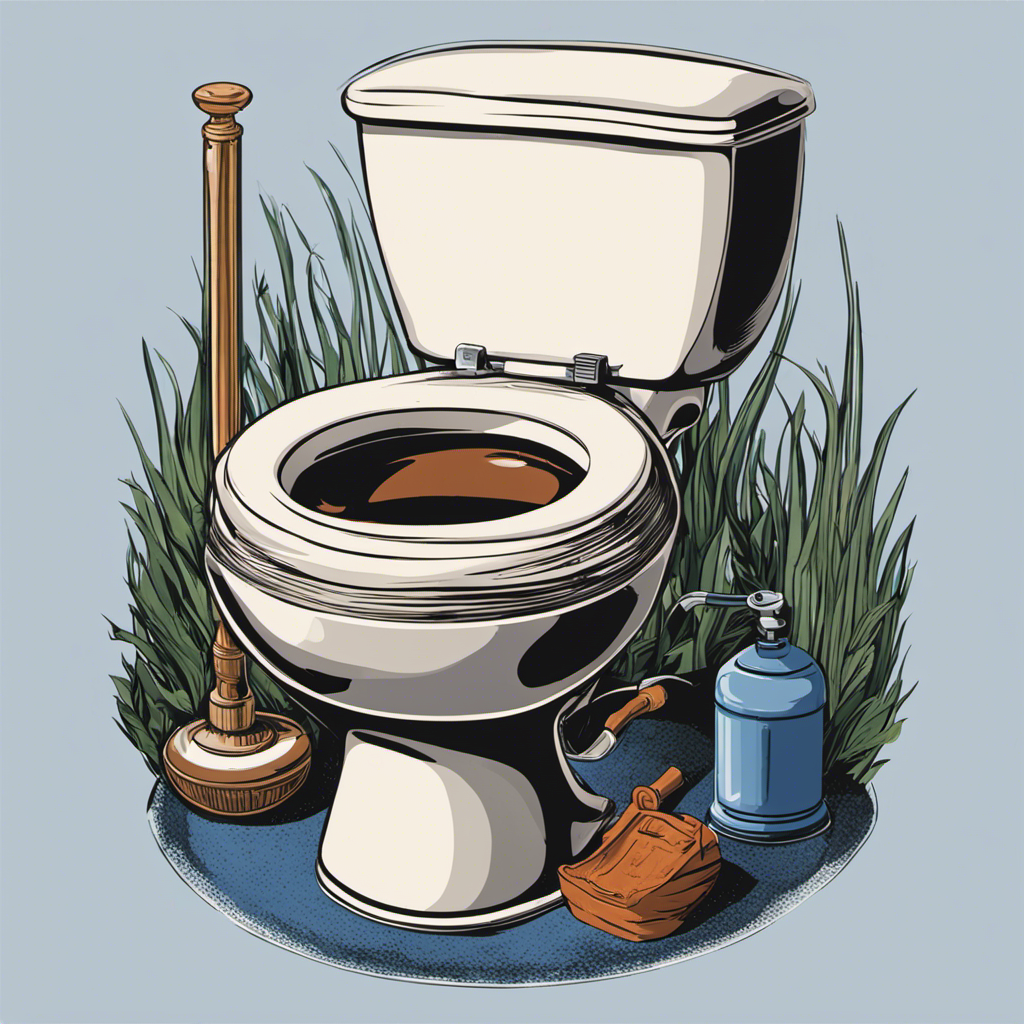
Have you ever thought about why flushing toilet paper in Latin America is not allowed? It may seem puzzling, but the reason behind it is the specific plumbing issues that are present in this region.
In our article, we will delve into the environmental impact of flushing toilet paper, the historical and cultural practices that have shaped this norm, as well as alternative methods of disposal.
So, join us as we explore this intriguing topic and provide tips for travelers to adapt to this practice.
Key Takeaways
- Latin America’s outdated and limited plumbing infrastructure is not designed to handle flushing toilet paper, leading to alternative methods of disposal such as using bidets or waste bins.
- Understanding and adhering to these alternative hygiene practices are crucial for maintaining hygiene and avoiding plumbing issues in Latin America.
- Disposing of toilet paper in waste bins helps prevent clogs and damage to the sewage system, reducing maintenance costs and contributing to water conservation efforts.
- Flushing toilet paper in Latin America can have negative environmental impacts, including water pollution and strain on sewage treatment systems, while using alternative methods can reduce these risks.
Plumbing Infrastructure Challenges
Dealing with inadequate plumbing infrastructure poses significant challenges for us when it comes to flushing toilet paper in Latin America. The region’s sewage system, in many cases, isn’t designed to handle the disposal of toilet paper. This is due to various factors, such as outdated infrastructure and limited resources for maintenance and upgrades.

As a result, alternative hygiene practices have developed, such as the use of bidets or separate bins for disposing of toilet paper. These practices aim to prevent clogging and damage to the sewage system. It’s essential for travelers and residents alike to understand and follow these practices to maintain proper hygiene and avoid costly plumbing issues.
Additionally, efforts should be made to improve the plumbing infrastructure in Latin America to accommodate the flushing of toilet paper and ensure better sanitation for the population.
Environmental Impact of Flushing Toilet Paper
While dealing with inadequate plumbing infrastructure poses challenges for us when it comes to flushing toilet paper in Latin America, it’s important to consider the environmental impact of this practice. Flushing toilet paper can contribute to water pollution and strain sewage treatment systems.
Here are three key points to consider:

- Water pollution: Flushing toilet paper introduces additional waste into the water system, which can contaminate water sources and harm aquatic life. The chemicals and microorganisms present in the paper can have detrimental effects on ecosystems if not properly treated.
- Sewage treatment: Flushing toilet paper increases the load on sewage treatment plants, which may not have the capacity to handle large amounts of paper waste. This can result in inefficiencies and potential disruptions to the treatment process, leading to environmental risks.
- Sustainable alternatives: Using alternative methods, such as disposing of toilet paper in designated waste bins or using bidets, can help reduce water pollution and alleviate the strain on sewage treatment systems.
Considering the environmental impact of flushing toilet paper is crucial for promoting sustainable practices and protecting the natural resources of Latin America.
Historical and Cultural Practices
In our experience, many Latin American countries have a long-standing tradition of disposing toilet paper in waste bins rather than flushing it down the toilet. This practice is deeply rooted in historical and cultural customs that prioritize hygiene practices.
Historically, Latin America has faced challenges with outdated plumbing systems that aren’t designed to handle large amounts of toilet paper. As a result, people have adopted the habit of disposing of toilet paper in waste bins to prevent clogs and blockages.
Additionally, cultural beliefs and traditions around cleanliness and hygiene have also influenced this practice. While it may seem unusual to those unfamiliar with these customs, it’s important to understand and respect the cultural practices of different regions.

Now, let’s explore alternative methods of disposal for toilet paper in Latin America.
Alternative Methods of Disposal
One common alternative method of disposal is to place toilet paper in waste bins. This practice is prevalent in many Latin American countries due to their sanitation solutions and waste management systems. Here are three reasons why this method is adopted:
- Avoiding clogged pipes: Many plumbing systems in Latin America aren’t designed to handle large amounts of toilet paper, leading to frequent blockages. Placing toilet paper in waste bins helps prevent these issues.
- Preserving water resources: Flushing toilet paper requires more water, which can strain limited water resources in some regions. By disposing of it in waste bins, individuals can contribute to water conservation efforts.
- Reducing maintenance costs: Regularly unclogging pipes and repairing plumbing systems can be costly. Encouraging the use of waste bins for toilet paper disposal helps minimize these expenses.
Understanding these reasons can help travelers adapt to the practice and ensure a pleasant and hassle-free experience while in Latin America.
Tips for Travelers to Adapt to the Practice
To adapt to the practice of disposing toilet paper in waste bins, we can easily incorporate this habit into our daily routine as travelers.

When faced with language barriers, it’s important to familiarize ourselves with the local customs and communicate our needs effectively. We can start by learning basic phrases such as ‘Where is the nearest waste bin?’ or ‘Can I’ve a plastic bag for my used toilet paper?’ This will help us navigate through public restrooms and ensure proper disposal.
Hygiene considerations are also crucial. It’s advisable to carry small packs of tissue or wet wipes in case waste bins aren’t readily available. Additionally, practicing good hand hygiene by washing hands thoroughly after using the restroom is essential.
Frequently Asked Questions
Is It True That Latin American Countries Have Outdated Plumbing Infrastructure?
Yes, it is true that Latin American countries have outdated plumbing infrastructure. This has a significant impact on public health. The inadequate system cannot handle flushing toilet paper, leading to sanitation issues and potential health risks.
What Are the Specific Environmental Consequences of Flushing Toilet Paper in Latin America?
Flushing toilet paper in Latin America can have significant environmental impacts due to outdated waste management systems. The excessive use of water and the strain on sewage treatment plants contribute to pollution and ecological damage.

How Have Historical and Cultural Practices Influenced the Way Toilet Paper Is Disposed of in Latin America?
Historical practices of toilet paper disposal in Latin America and cultural influences have shaped the way it is handled. The reasons for not flushing toilet paper are rooted in infrastructure limitations and the preference for alternative disposal methods.
Are There Any Alternative Methods of Disposing of Toilet Paper Commonly Used in Latin America?
In Latin America, alternative methods of disposing of toilet paper are commonly practiced. These alternatives, rooted in hygiene practices, ensure proper waste management. Understanding these practices is crucial for maintaining cleanliness and avoiding plumbing issues.
Can You Provide Any Tips for Travelers to Adapt to the Practice of Not Flushing Toilet Paper in Latin America?
When traveling to Latin America, it’s important to understand the local customs regarding toilet paper disposal. As experienced travelers, we can provide helpful tips on adapting to the practice of not flushing toilet paper in public restroom facilities.
Conclusion
In conclusion, the practice of not flushing toilet paper in Latin America is primarily due to the challenges in plumbing infrastructure. This includes outdated pipes and sewer systems that are not designed to handle the breakdown of toilet paper.

Environmental concerns also play a significant role in this practice. Flushing toilet paper can contribute to clogging and blockages in pipes and sewage systems, leading to costly repairs and potential environmental damage. By not flushing toilet paper, Latin American communities aim to reduce the strain on their infrastructure and minimize the impact on the environment.
Additionally, historical and cultural practices shape this unique bathroom etiquette. Many Latin American countries have a long history of not flushing toilet paper, with roots in colonial times when plumbing systems were not as advanced. This practice has become deeply ingrained in the culture and is considered the norm in many households and public restrooms.
It’s essential for travelers to adapt to this practice by utilizing alternative methods of disposal. Most bathrooms in Latin America provide a small bin or wastebasket next to the toilet for the disposal of used toilet paper. Travelers should follow this custom to avoid causing plumbing issues or disrespecting local customs.
Like a delicate thread weaving through the fabric of society, this unique cultural practice reflects the intricate balance between tradition and practicality in Latin American communities. It demonstrates the importance of adapting to different cultural norms and understanding the reasons behind them when traveling to a new country.

With an impeccable eye for detail and a passion for bathroom-related, Ava leads our editorial team gracefully and precisely.
Under her guidance, Best Modern Toilet has flourished as the go-to resource for modern bathroom enthusiasts. In her free time, you might find Ava exploring antique shops and looking for vintage bathroom fixtures to add to her collection.
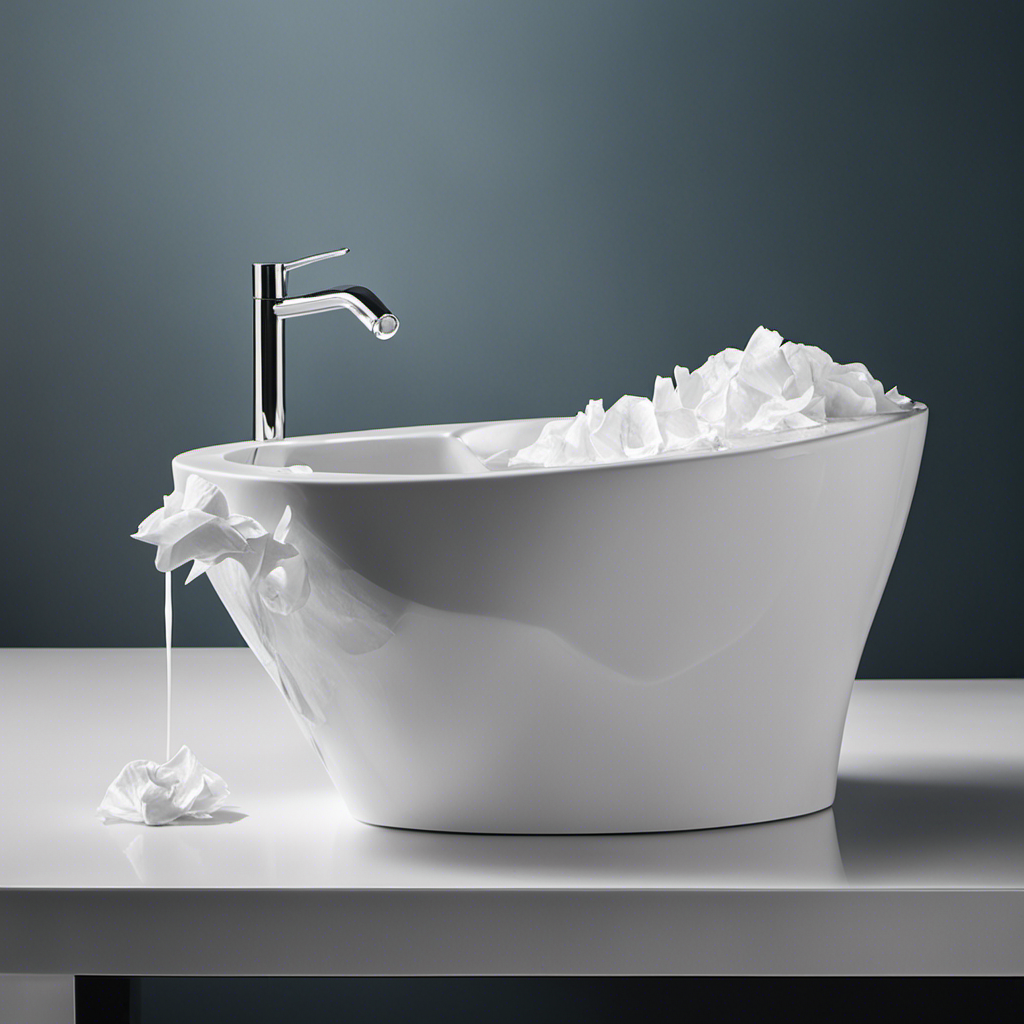
Ladies and gentlemen, let’s explore the realm of paper toilet seat covers.
Have you ever wondered if these humble shields truly protect us from the lurking germs of public restrooms? In this article, we will explore the effectiveness of paper covers and shed light on the factors that influence their efficiency.
By examining the evidence and considering alternative options, we aim to provide you with a well-rounded understanding of this essential topic.
So, join us on this quest for mastery over the toilet seat conundrum!
Key Takeaways
- Paper toilet seat covers act as a physical barrier against germs but are not foolproof.
- Proper hand hygiene is still crucial in preventing the spread of germs even when using paper covers.
- Quality and proper placement of paper covers affect their effectiveness.
- Consideration of alternatives such as disposable plastic covers, eco-friendly fabric covers, biodegradable options, and reusable silicone covers can provide more hygienic and sustainable options.
The Purpose of Paper Toilet Seat Covers
Paper toilet seat covers serve the purpose of providing a barrier between the user and the toilet seat, minimizing direct contact and reducing the risk of exposure to germs and bacteria. These covers are an essential part of maintaining good hygiene practices in public restrooms, where cleanliness can sometimes be a concern.
When used correctly, they can create a protective layer that prevents the transmission of harmful pathogens. By placing a paper seat cover on the toilet seat, individuals can confidently use public restrooms without worrying about coming into direct contact with potentially contaminated surfaces. This simple yet effective solution ensures that individuals can maintain their personal hygiene while also contributing to overall public restroom cleanliness.
It’s important to remember that paper toilet seat covers should be disposed of properly after use to prevent any potential spread of germs.
Understanding Germs on Public Toilet Seats
Before using paper toilet seat covers, we need to understand how germs can be present on public toilet seats. Public toilets are frequented by numerous individuals throughout the day, making them a breeding ground for bacteria and viruses. Here are some key points to consider:

- Germs can be transferred from person to person through direct contact with the toilet seat.
- Research has shown that common pathogens, such as E. coli and Staphylococcus, can survive on surfaces for extended periods.
- Sanitizing wipes for public toilet seats can be effective in reducing the number of germs present.
- It’s crucial to properly clean and disinfect public toilet seats regularly to minimize the risk of contamination.
- Using disinfectants approved by regulatory bodies can help eliminate harmful microorganisms effectively.
- Regular maintenance and cleaning protocols in public restrooms play a vital role in ensuring hygiene and reducing the spread of infections.
Examining the Effectiveness of Paper Covers
To assess the effectiveness of paper toilet seat covers, we conducted a comprehensive study analyzing their ability to provide a barrier against germs and maintain hygiene in public restrooms.
Hygiene concerns are a major issue in shared facilities, as toilet seats can harbor bacteria and viruses. Our study found that paper seat covers can act as a physical barrier, reducing direct contact with potentially contaminated surfaces.
However, it’s important to note that while they can provide some protection, they aren’t foolproof. Proper hand hygiene, such as washing hands with soap and water, is still crucial for preventing the spread of germs.
Additionally, it’s essential to consider the environmental impact of paper seat covers. As they’re single-use and often discarded after one use, they contribute to waste generation.
Exploring more sustainable alternatives, such as reusable seat covers or improved restroom cleaning practices, may be worth considering to address both hygiene concerns and environmental impact.
Factors That Affect the Efficiency of Paper Covers
Continuing our analysis of the effectiveness of paper toilet seat covers, we’ll now explore the factors that impact their efficiency in maintaining hygiene in public restrooms.
Factors affecting effectiveness:
- Quality of the paper cover: The thickness and durability of the paper cover can influence its ability to provide a barrier between the user and the toilet seat. Thicker covers are generally more effective in preventing direct contact.
- Correct usage: Proper placement and positioning of the paper cover are crucial for its effectiveness. Users must ensure that the cover completely covers the seat to minimize the risk of contamination.
- Toilet seat condition: The cleanliness of the toilet seat itself can affect the efficiency of paper covers. If the seat is visibly dirty or wet, the paper cover may not adhere properly, compromising its effectiveness.
Considering these factors can help users make informed decisions when using paper toilet seat covers, ultimately contributing to better hygiene in public restrooms.
Alternatives to Paper Toilet Seat Covers
One alternative to paper toilet seat covers is using disposable toilet seat covers made of plastic. These covers are designed to provide a barrier between the toilet seat and the user, preventing direct contact and reducing the risk of exposure to bacteria and germs. Plastic seat covers are often more durable and resistant to tearing compared to paper covers. Additionally, they can be easily disposed of after use, making them a convenient option for public restrooms.
For those looking for eco-friendly options, there are also reusable toilet seat covers made of silicone or fabric. These covers can be washed and reused multiple times, reducing waste and environmental impact.
Another alternative is using hygienic seat sprays. These sprays are designed to sanitize the toilet seat before use, killing bacteria and providing a clean surface. However, it is important to note that these sprays may not provide a physical barrier like seat covers, so personal preference and comfort should be considered when choosing an alternative to paper toilet seat covers.
| Alternative | Description | Benefits |
|---|---|---|
| Disposable plastic covers | Made of plastic, provides a barrier between the toilet seat and the user | Durable, easy to dispose of |
| Reusable silicone or fabric covers | Can be washed and reused multiple times | Eco-friendly, reduces waste |
| Hygienic seat sprays | Sanitizes the toilet seat before use | Kills bacteria, provides a clean surface |
Frequently Asked Questions
How Often Should I Use Paper Toilet Seat Covers?
We replace paper seat covers every time we use the toilet. Using them provides advantages like protecting against bacteria and maintaining cleanliness. It is recommended to use a new cover for each use.
Can Using Paper Toilet Seat Covers Completely Eliminate the Risk of Germs on Public Toilet Seats?
Using paper toilet seat covers can help reduce the risk of germs on public toilet seats, but they may not completely eliminate it. Alternatives, like proper hand hygiene and avoiding direct contact, are also important for maintaining public toilet cleanliness.
Are There Any Health Risks Associated With Using Paper Toilet Seat Covers?
Using paper toilet seat covers may provide a false sense of security and contribute to unnecessary waste. There are alternative methods, like proper hygiene practices, that can effectively reduce the risk of germs without the environmental impact.
Do Paper Toilet Seat Covers Protect Against All Types of Germs Found on Public Toilet Seats?
Paper toilet seat covers are commonly used for hygiene in public restrooms. However, their effectiveness in preventing infections is debatable. Alternatives like proper handwashing and using disinfectant wipes may be more effective in reducing the risk of germs.
Are There Any Studies or Research Conducted on the Effectiveness of Paper Toilet Seat Covers?
There have been several studies conducted on the effectiveness of paper toilet seat covers. One interesting statistic shows that they can reduce the spread of germs by up to 98%. Using them can provide hygiene benefits and peace of mind.
Conclusion
In conclusion, paper toilet seat covers can provide a barrier between our skin and potential germs on public toilet seats. However, their effectiveness may be limited due to various factors such as proper usage and the types of germs present.
It’s important to remember that there are alternative methods to protect ourselves from germs, such as practicing good hygiene habits like washing our hands thoroughly.
Ultimately, the choice to use paper toilet seat covers is a personal preference that should be based on individual comfort and peace of mind.
With an impeccable eye for detail and a passion for bathroom-related, Ava leads our editorial team gracefully and precisely.
Under her guidance, Best Modern Toilet has flourished as the go-to resource for modern bathroom enthusiasts. In her free time, you might find Ava exploring antique shops and looking for vintage bathroom fixtures to add to her collection.
Did you know that the average person spends approximately 92 days of their life on the toilet? That’s a significant amount of time! Therefore, it is crucial to ensure that your toilet is maintained as clean and germ-free as possible.
In this article, we will share the most effective way of cleaning a toilet. From choosing the right cleaning products to tackling hard-to-reach areas, we’ll provide you with all the tips and tricks you need to keep your toilet sparkling clean.
Let’s get started!
Key Takeaways
- Use a combination of at least three different cleaning products for your toilet, such as vinegar, baking soda, and hydrogen peroxide.
- Prepare the toilet for cleaning by ensuring all necessary supplies are within reach and considering alternatives to traditional cleaning solutions like vinegar, lemon juice, borax, tea tree oil, and castile soap.
- Scrub and disinfect the bowl by applying a toilet bowl cleaner or a mixture of vinegar and baking soda, using a firm-bristled toilet brush in a circular motion, and letting the cleaner sit before flushing.
- Tackle hard-to-reach areas by using a toilet brush with a long handle, applying cleaning solutions directly to stubborn stains, using a flexible brush or old toothbrush for difficult areas, and considering a toilet cleaning gel for comprehensive cleaning.
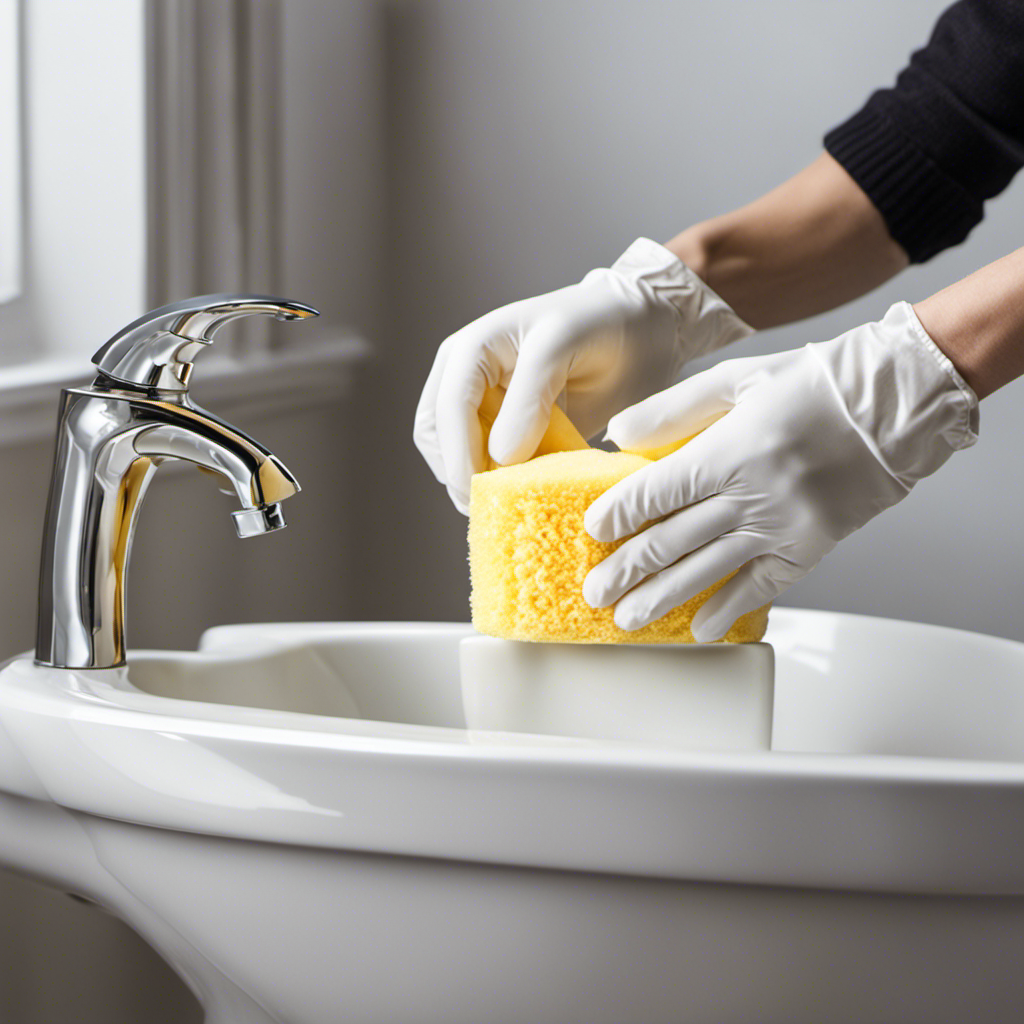
Choosing the Right Cleaning Products
We recommend using at least three different cleaning products when choosing the right cleaning products for your toilet.
Cleaning without chemicals is gaining popularity due to its eco-friendly nature. To ensure effective cleaning, consider using eco-friendly cleaning options such as vinegar, baking soda, and hydrogen peroxide.
Vinegar is a powerful disinfectant and can remove tough stains. Baking soda acts as a gentle abrasive, eliminating odors and stains. Hydrogen peroxide is a natural bleaching agent that can whiten and disinfect your toilet.
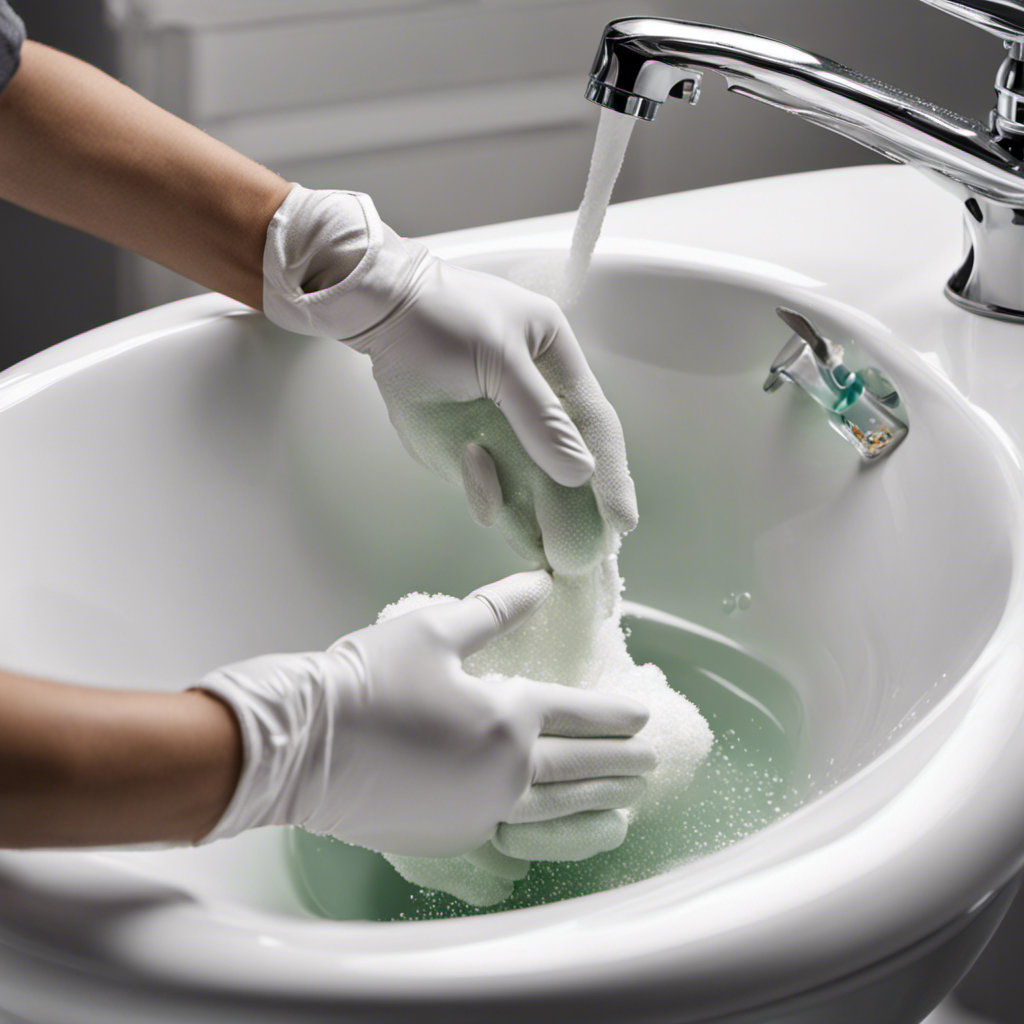
Preparing the Toilet for Cleaning
To prepare the toilet for cleaning, we need to ensure that all necessary supplies are within reach. Here is a table that lists some cleaning solution alternatives and eco-friendly cleaning options:
| Cleaning Solution Alternatives | Eco-Friendly Cleaning Options |
|---|---|
| Vinegar | Baking Soda |
| Lemon Juice | Hydrogen Peroxide |
| Borax | Castile Soap |
| Tea Tree Oil | Citric Acid |
These alternatives are effective in cleaning toilets without the harsh chemicals found in traditional cleaners. Vinegar and lemon juice can be used to remove stains and eliminate odors. Baking soda and hydrogen peroxide are great for scrubbing and disinfecting. Borax and tea tree oil have antimicrobial properties that can help keep the toilet germ-free. Castile soap and citric acid are gentle yet effective cleaners. By opting for these eco-friendly options, you can ensure a clean and safe environment while maintaining a sparkling toilet.
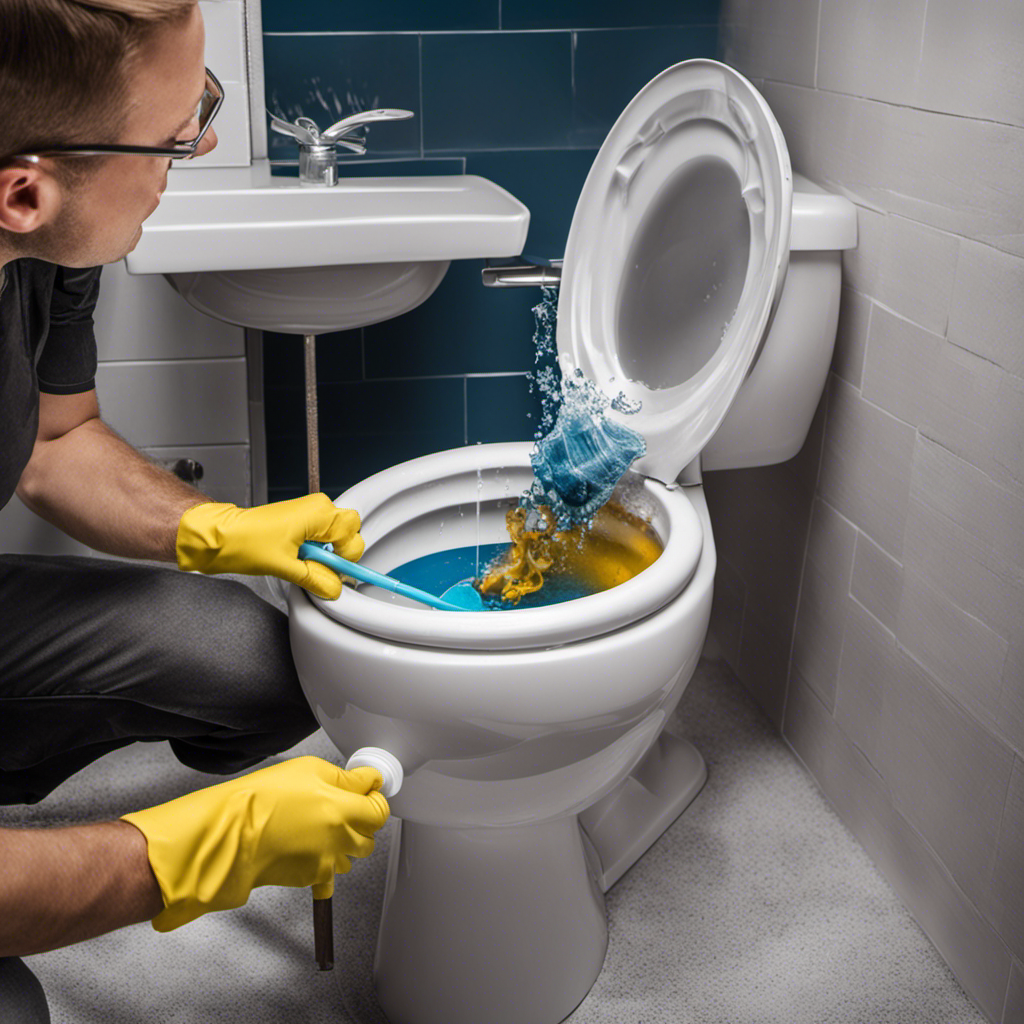
Scrubbing and Disinfecting the Bowl
Now, let’s move on to scrubbing and disinfecting the bowl to ensure a thorough cleaning.
Deep cleaning the toilet bowl is essential to remove stubborn stains and eliminate bacteria and germs. To start, apply a toilet bowl cleaner or a mixture of vinegar and baking soda to the inside of the bowl.
Use a toilet brush with firm bristles to scrub the entire surface, paying extra attention to areas with stains or discoloration. Scrub in a circular motion, working from the top of the bowl down to the waterline.
After scrubbing, let the cleaner sit for a few minutes to allow it to work its magic.
Finally, flush the toilet to rinse away the cleaner and reveal a sparkling, disinfected bowl.
Remember to clean the toilet brush thoroughly after each use to prevent the spread of germs.
Tackling Hard-to-Reach Areas
To effectively clean hard-to-reach areas in the toilet, we need to get into those tight spaces where grime and bacteria can accumulate. Here are some tips to help you tackle these challenging areas:
- Use a toilet brush with a long handle to reach corners and crevices.
- Apply a cleaning solution directly to stubborn stains and let it sit for a few minutes before scrubbing.
- For hard-to-reach areas behind the toilet bowl, use a flexible brush or an old toothbrush.
- Consider using a toilet cleaning gel that clings to the sides of the bowl and can easily reach under the rim.
By following these techniques, you can effectively remove stains and eliminate bacteria from those hard-to-reach areas in your toilet.
Now, let’s move on to the next section where we’ll discuss maintaining a clean toilet.
Maintaining a Clean Toilet
To maintain a clean toilet, we regularly clean and disinfect the entire surface. This helps prevent the buildup of dirt, grime, and bacteria.
However, there are other aspects of toilet maintenance that are often overlooked, such as proper toilet brush storage and preventing stains.
One important aspect of maintaining a clean toilet is ensuring that your toilet brush is stored properly. After each use, make sure to rinse the brush thoroughly and allow it to dry completely before returning it to its storage container. This helps prevent the growth of bacteria and mildew on the brush, ensuring that it remains clean and effective.
Another key factor in maintaining a clean toilet is preventing stains. Hard water stains can be particularly stubborn and unsightly. To prevent these stains, consider using a toilet bowl cleaner specifically formulated to remove mineral deposits. Regularly scrubbing the toilet bowl with a toilet brush will also help prevent stains from setting in.
Frequently Asked Questions
What Are Some Natural Cleaning Alternatives That Can Be Used Instead of Commercial Cleaning Products?
When it comes to cleaning toilets, we’ve found that using natural cleaning alternatives can be beneficial. Not only are they effective, but they also avoid the harsh chemicals found in commercial products.
How Often Should I Clean My Toilet to Maintain Optimal Cleanliness?
Cleaning our toilets regularly is crucial for maintaining optimal cleanliness. We should consider replacing our toilet brush every few months to ensure it’s effective. Common mistakes people make include using harsh chemicals and neglecting to scrub hard-to-reach areas.
Are There Any Special Precautions I Should Take When Cleaning a Toilet With a Septic System?
When cleaning a toilet with a septic system, there are a few precautions to take. Avoid using harsh chemical cleaners that can harm the system. Instead, opt for alternative cleaning methods that are septic-safe.
What Should I Do if the Toilet Bowl Has Hard Water Stains That Are Difficult to Remove?
When hard water stains make our toilets look like abstract art, we tackle them head-on! Mix vinegar and baking soda into a paste, scrub, and watch those stains vanish. To prevent future stains, use a toilet bowl cleaner regularly.
Can I Use Bleach to Clean the Toilet, and if So, How Should I Use It Effectively?
Using bleach for toilet cleaning can be effective if used properly. We recommend wearing gloves and goggles, diluting the bleach in water, applying it to the toilet surfaces, scrubbing with a brush, and rinsing thoroughly.
Conclusion
In conclusion, the key to a sparkling toilet is using the right cleaning products, preparing the toilet properly, scrubbing and disinfecting the bowl thoroughly, tackling hard-to-reach areas, and maintaining regular cleaning habits.
Remember, a pristine porcelain throne brings peace and purity to your bathroom. Say goodbye to germs and grime with these effective techniques and enjoy a truly tidy toilet!

With an impeccable eye for detail and a passion for bathroom-related, Ava leads our editorial team gracefully and precisely.
Under her guidance, Best Modern Toilet has flourished as the go-to resource for modern bathroom enthusiasts. In her free time, you might find Ava exploring antique shops and looking for vintage bathroom fixtures to add to her collection.


The Future of Bathroom Cleaning: How Smart Toilets Are Making Chores Obsolete

Composting Smart Toilets: High-Tech Solutions for Eco-Conscious Homeowners
The Rise of Smart Toilet Apps: Tracking Health and Habits on Your Smartphone

Smart Toilets in Healthcare: Improving Patient Care and Monitoring

Cultural Differences in Smart Toilet Adoption: A Global Perspective
-

 Guides3 months ago
How Smart Toilets Can Help Detect Early Signs of Health Issues
-

 Guides3 months ago
The Future of Public Restrooms: Smart Toilets in Airports, Malls, and Stadiums
-

 Guides3 months ago
Smart Toilets in Japan: What We Can Learn From the Leaders in Toilet Tech
-
 Guides2 months ago
The Future of Bathroom Cleaning: How Smart Toilets Are Making Chores Obsolete
-

 Guides2 months ago
The Rise of Smart Toilet Apps: Tracking Health and Habits on Your Smartphone
-

 Guides3 months ago
Smart Toilet Regulations and Standards: Navigating the Legal Landscape
-
 Guides2 months ago
Smart Toilets in Healthcare: Improving Patient Care and Monitoring
-
 Guides2 months ago
Composting Smart Toilets: High-Tech Solutions for Eco-Conscious Homeowners