Don’t be intimidated by the idea of replacing a toilet flapper – I’m here to help you through it with a step-by-step guide. With the right tools and materials, your toilet will be working perfectly in no time.
Say goodbye to those annoying leaks and hello to a seamless flush. Get ready to become a master of toilet maintenance as we dive into the world of toilet flapper replacement.
Let’s get started!
Key Takeaways
- Inspect the toilet flapper for wear or damage, such as cracks or tears.
- Check the flapper’s seal for any leakage.
- Test the flapper’s responsiveness when flushing.
- Regular maintenance and troubleshooting of flapper issues are important for a well-functioning toilet.

Korky Ultra Standard 2-Inch Universal Toilet Flapper – Long Lasting Rubber – Easy to Install – Made in USA, 100BP
TOILET FLAPPER VALVE FITS MOST POPULAR 2 inch toilet brands including, but not limited to: American Standard, Kohler,…
As an affiliate, we earn on qualifying purchases.
As an affiliate, we earn on qualifying purchases.
Assessing the Toilet Flapper
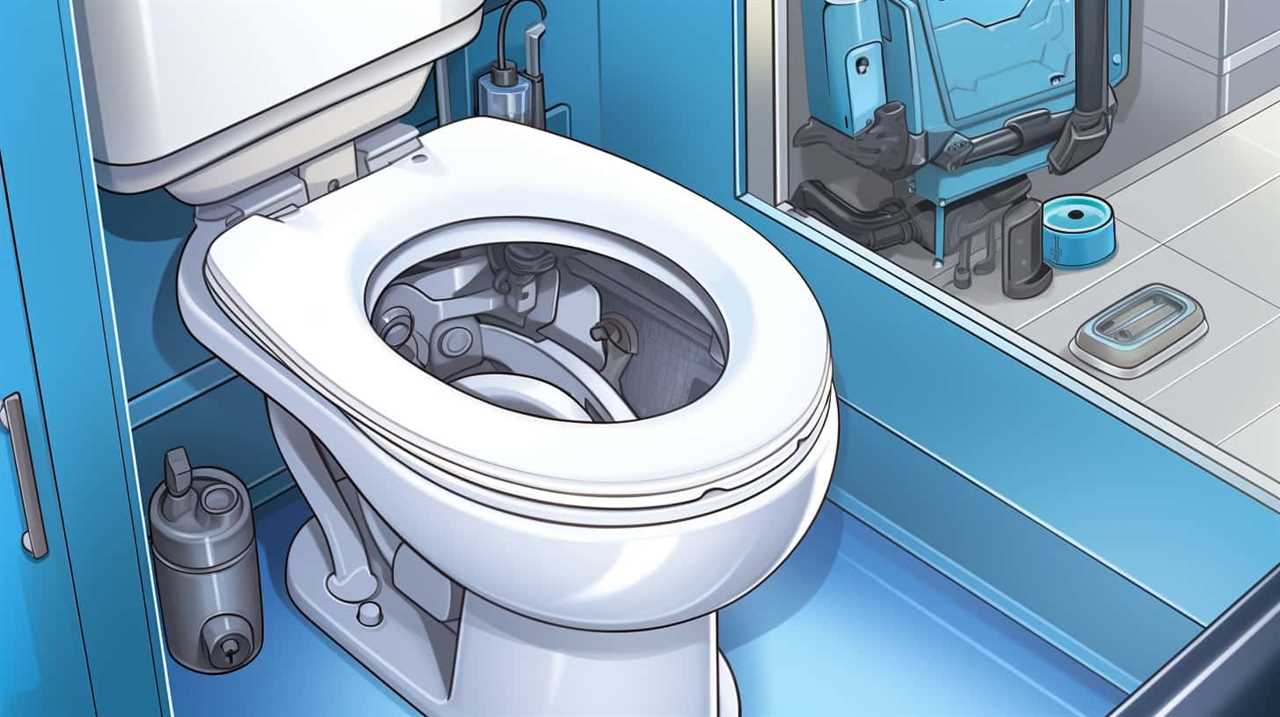
To assess the toilet flapper, I carefully examined its condition and functionality using a flashlight and my fingers. Assessing flapper performance is crucial in troubleshooting flapper issues.

Firstly, I inspected the flapper for any signs of wear or damage, such as cracks or tears.
Next, I checked the flapper’s seal by placing my fingers around the edges to feel for any leakage. A tight seal is essential for proper functioning.
Additionally, I tested the flapper’s responsiveness by flushing the toilet and observing how quickly it closed and reopened. If the flapper closes too slowly or fails to reopen fully, it may need adjustments or replacement.

Fluidmaster K-400H-039 High Performance Toilet Fill Valve with 2-Inch Adjustable Toilet Flapper Kit
The PerforMAX fill valve and 2 in. Flapper Kit is the premium solution to make your 2 in….
As an affiliate, we earn on qualifying purchases.
As an affiliate, we earn on qualifying purchases.
Gathering the Necessary Tools and Materials
After assessing the toilet flapper, I determined that gathering the necessary tools and materials is the next step in replacing it.

To ensure a smooth replacement process, here are the essential items you’ll need:
- New toilet flapper: Choose a flapper that matches the make and model of your toilet to ensure compatibility.
- Adjustable wrench: This tool will be used to disconnect the water supply line from the toilet tank.
- Sponge or towel: To catch any excess water that may spill during the replacement process.
Troubleshooting common toilet flapper issues can help you identify the cause of the problem. If your toilet is running constantly or not flushing properly, it could be due to a faulty flapper. Regular maintenance is also crucial for a well-functioning flapper. Ensure that the chain is properly adjusted and free from any tangles or obstructions. Additionally, periodically check for mineral build-up and clean the flapper if necessary.
Korky Ultra Standard 2-Inch Universal Toilet Flapper – Long Lasting Rubber – Easy to Install – Made in USA, 100BP
TOILET FLAPPER VALVE FITS MOST POPULAR 2 inch toilet brands including, but not limited to: American Standard, Kohler,…
As an affiliate, we earn on qualifying purchases.
As an affiliate, we earn on qualifying purchases.
Removing the Old Toilet Flapper
I will remove the old toilet flapper.
To begin, shut off the water supply to the toilet by turning the shut-off valve clockwise.

Next, flush the toilet to empty the tank.
Now, locate the flapper chain and disconnect it from the flush lever. This can typically be done by unhooking the chain from the lever or removing the link that connects them.
Once the chain is detached, carefully lift the old flapper out of the tank, taking note of its position and orientation.
Inspect the flapper for any signs of wear or damage, such as cracks or warping.
If you notice any issues, it’s recommended to replace the flapper to prevent future leaks.
Korky Ultra Standard 2-Inch Universal Toilet Flapper – Long Lasting Rubber – Easy to Install – Made in USA, 100BP
TOILET FLAPPER VALVE FITS MOST POPULAR 2 inch toilet brands including, but not limited to: American Standard, Kohler,…
As an affiliate, we earn on qualifying purchases.
As an affiliate, we earn on qualifying purchases.
Installing the New Toilet Flapper
To install the new toilet flapper, I’ll first position it correctly in the tank. This step is crucial for ensuring proper functionality and avoiding any potential issues in the future. Here are a few tips to help you with the installation process:
- Make sure the flapper is aligned with the flush valve opening in the bottom of the tank.
- Ensure that the chain connecting the flapper to the flush handle is neither too loose nor too tight. This will prevent the flapper from getting stuck or not sealing properly.
- Double-check that the flapper sits flat against the flush valve seat to create a tight seal and prevent any water leakage.
By following these steps, you can confidently install the new toilet flapper and troubleshoot any common issues that may arise.
Once the flapper is in place, it’s time to move on to testing and adjusting it for proper functionality.
Testing and Adjusting the Flapper for Proper Functionality
To ensure the proper functionality of the flapper, I will now test and make necessary adjustments. Testing the flapper involves checking for proper sealing and adjusting the water flow. Start by flushing the toilet and observing if the flapper closes completely after the tank has emptied. If it doesn’t, adjust the chain connecting the flapper to the flush handle to ensure a tight seal. Next, check for any leaks around the flapper by adding a few drops of food coloring to the tank. If the colored water seeps into the bowl, it indicates a faulty seal that needs adjustment. Troubleshooting common issues with the flapper involves checking for mineral deposits or debris that may hinder its proper functioning. Regular maintenance and adjustment of the flapper will help optimize its performance and prevent water waste.
| Test/Adjustment | Procedure | Purpose |
|---|---|---|
| Flapper sealing | Flush the toilet | Ensure the flapper closes completely |
| Adjust the chain | Achieve a tight seal | |
| Leak detection | Add food coloring | Identify potential sealing issues |
| Observe the bowl | Check for colored water seepage | |
| Troubleshooting | Inspect for debris | Remove any obstructions |
| Check for deposits | Ensure smooth movement of the flapper |
Frequently Asked Questions
How Often Should the Toilet Flapper Be Replaced?
The toilet flapper should be replaced every few years to ensure proper functioning. Regular maintenance of the flapper extends its lifespan and prevents leaks, saving water and reducing the risk of damage.
Can a Toilet Flapper Be Repaired Instead of Replaced?
Repairing a toilet flapper can be done, but it has its pros and cons. Some repair techniques include adjusting the chain or cleaning the flapper. However, replacing it is often more effective and longer-lasting.
What Are the Signs That Indicate a Faulty Toilet Flapper?
When troubleshooting toilet flapper problems, it’s important to look out for common signs of a faulty flapper. These can include water leaks, phantom flushes, and a constantly running toilet.
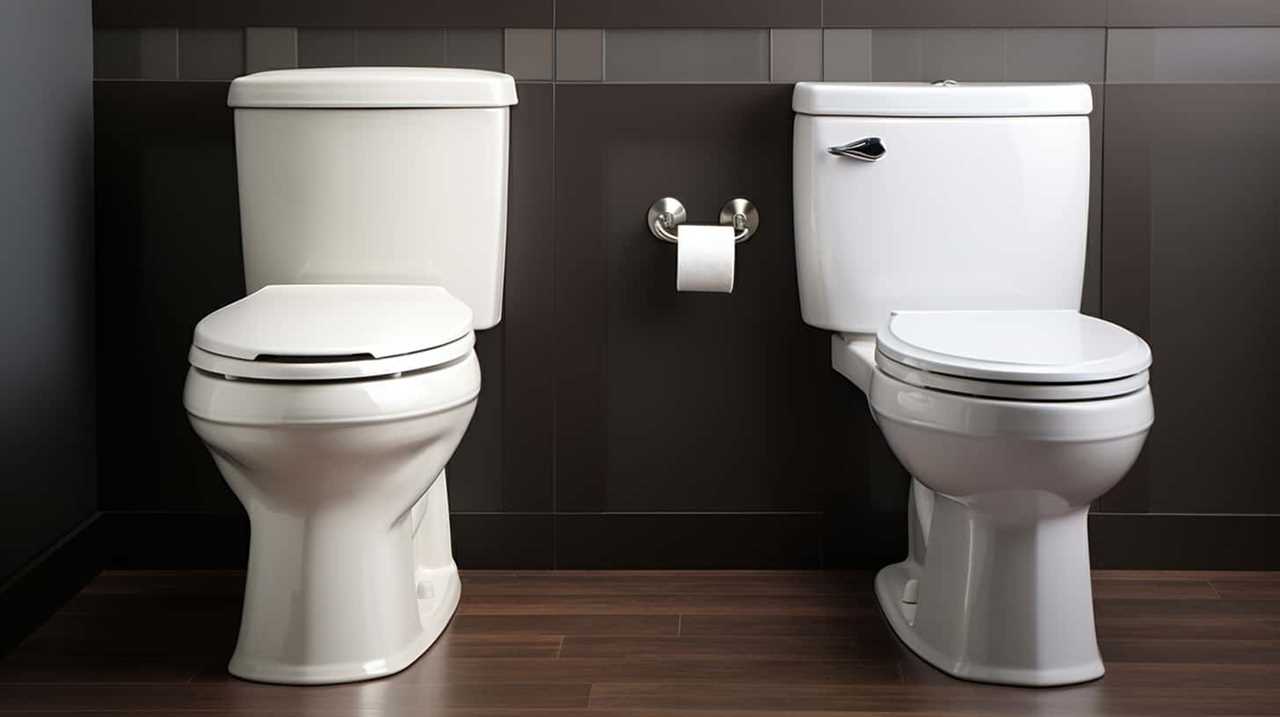
Are There Different Types of Toilet Flappers Available in the Market?
Yes, there are different types of toilet flappers available in the market. They vary in size, material, and design. Proper toilet flapper maintenance is essential for optimal performance. Additionally, using a dual flush toilet flapper can provide water-saving benefits.
What Are the Potential Causes of a Toilet Flapper Not Sealing Properly?
When troubleshooting common toilet flapper problems, a toilet flapper not sealing properly can be caused by issues such as wear and tear, misalignment, or debris accumulation. Regular maintenance and cleaning can help prevent these issues.
Conclusion
In conclusion, replacing a toilet flapper is a simple and cost-effective solution for resolving common toilet flushing issues.
By assessing the flapper, gathering the necessary tools and materials, removing the old flapper, and installing the new one, you can ensure proper functionality of your toilet.

For example, John had been experiencing inconsistent flushing in his bathroom. After replacing the flapper, he noticed an immediate improvement in the flushing performance, saving him from costly repairs or replacements.