
We have discovered that replacing a toilet tank with a different brand is indeed possible, provided certain compatibility factors are taken into consideration. In this article, we will guide you through the steps of removing your existing tank, selecting a compatible replacement, and installing the new tank.
Additionally, we will provide you with maintenance and troubleshooting tips to ensure a successful transition. With our experienced expertise, you can confidently master the art of replacing your toilet tank.
Key Takeaways
- Consider the compatibility factors such as toilet tank dimensions, flushing mechanism compatibility, brand reputation, and customer reviews when replacing a toilet tank with a different brand.
- Follow the steps to remove the existing tank, including turning off the water supply, disconnecting the water supply line, and removing the nuts and bolts securing the tank to the bowl.
- When selecting a compatible replacement, research and evaluate the brand reputation and customer reviews, check the warranty and customer support services, and consult with professionals or experts in the field.
- During the installation process for the new tank, confirm compatibility with the existing toilet bowl, gather necessary installation tools, turn off the water supply, disconnect the water supply line, and securely attach the new tank to the bowl.

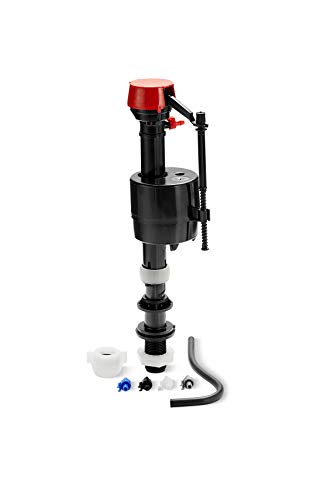
Fluidmaster K-400H-039 High Performance Toilet Fill Valve with 2-Inch Adjustable Toilet Flapper Kit
Made in Mexico
As an affiliate, we earn on qualifying purchases.
As an affiliate, we earn on qualifying purchases.
Compatibility Factors to Consider
When replacing a toilet tank with a different brand, we need to consider compatibility factors.
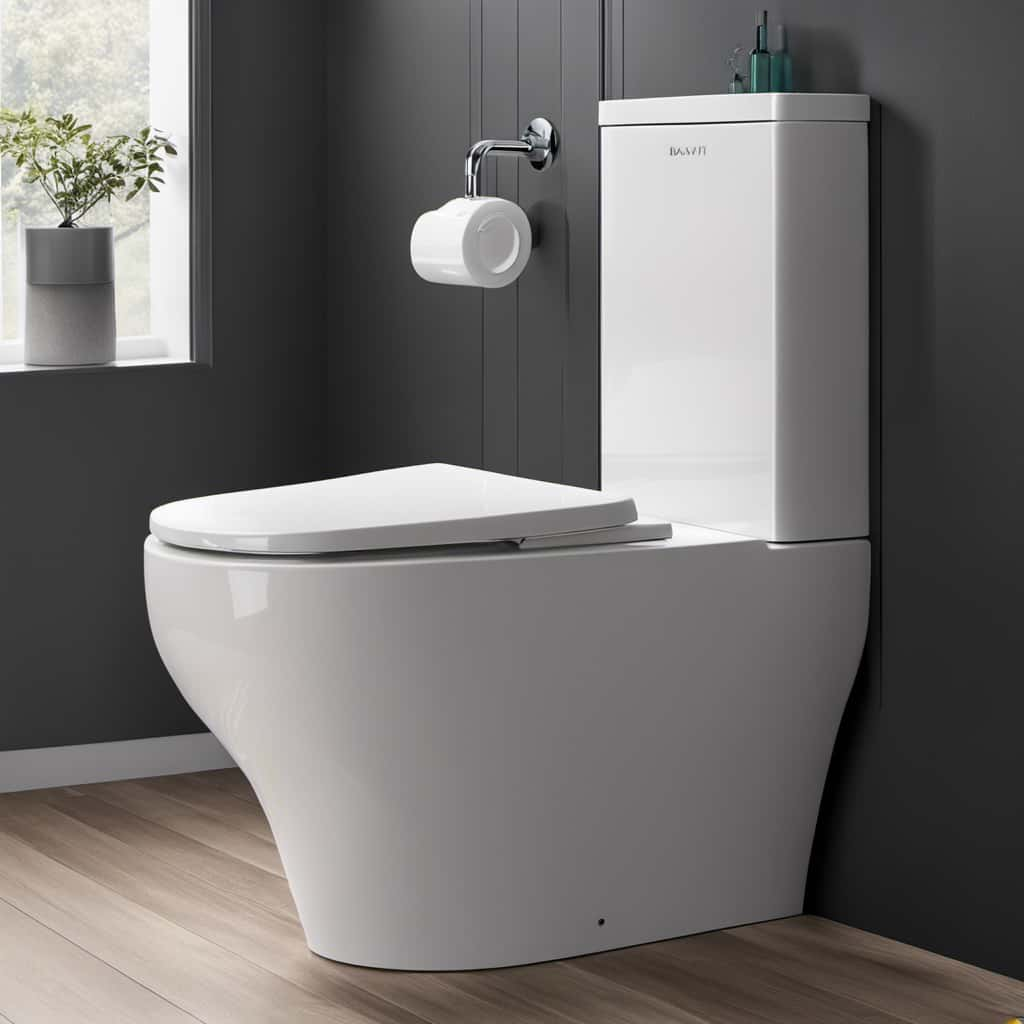
The first factor to consider is the toilet tank dimensions. Each brand may have different dimensions for their tanks, so it’s crucial to ensure that the new tank will fit properly on the existing toilet bowl. This includes measuring the width, depth, and height of the tank, as well as the location of the flush valve and water inlet.
The second factor is flushing mechanism compatibility. Different brands may use different flushing mechanisms, such as gravity-fed or pressure-assisted systems. It’s important to ensure that the new tank’s flushing mechanism is compatible with the existing plumbing and toilet bowl to ensure proper flushing and water conservation.
Kohler Genuine Part Gp1083167 Silent Fill Valve Kit For All Kohler Class Five Toilets,12.5" x 3.5" x 3"
Protect the warranty on KOHLER products, always look for the KOHLER GENUINE PARTS logo
As an affiliate, we earn on qualifying purchases.
As an affiliate, we earn on qualifying purchases.
Steps to Remove the Existing Tank
To begin removing the existing tank, we will need to gather the necessary tools and materials. Here is a list of items you will need:
| Tools and Materials |
|---|
| Adjustable wrench |
| Bucket |
| Towel |
| Sponge |
| Plumber’s tape |
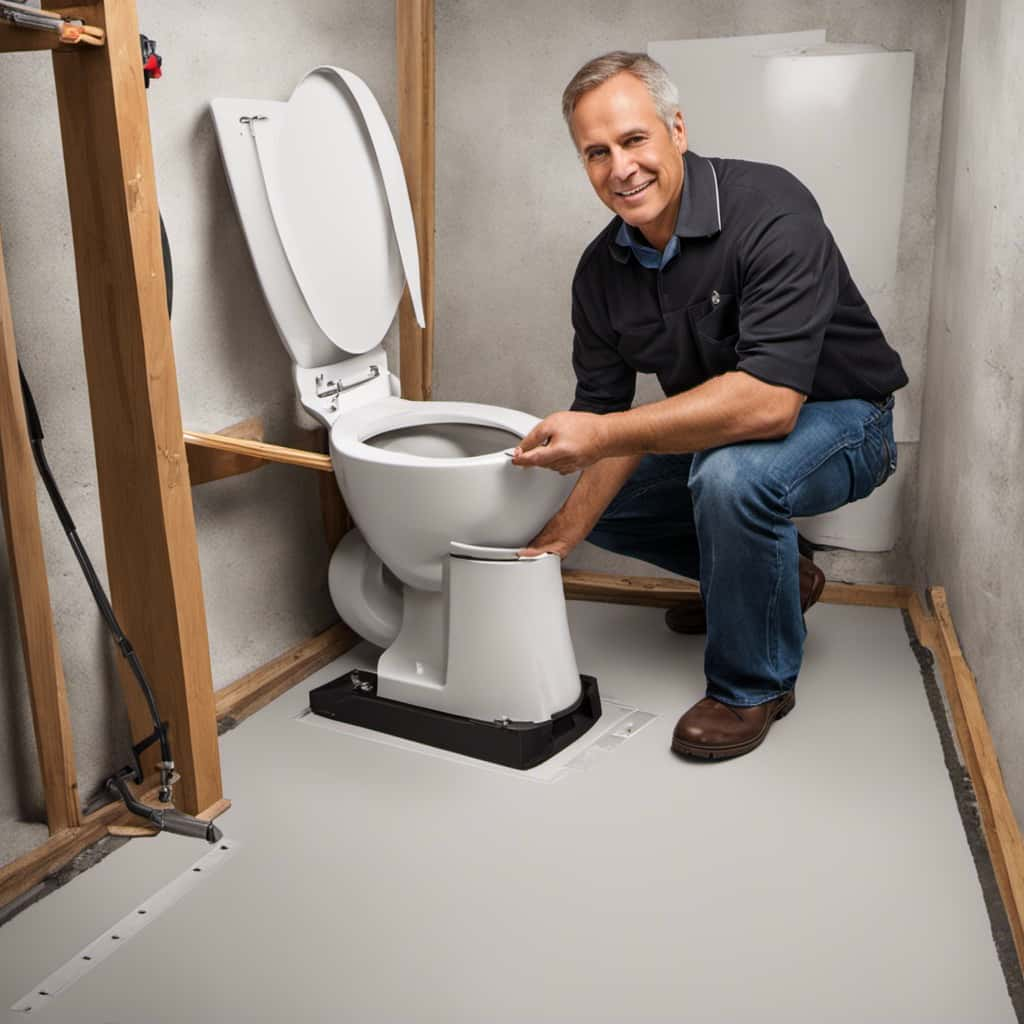
Before we proceed, make sure to turn off the water supply to the toilet. Locate the shut-off valve, usually located on the wall behind the toilet, and turn it clockwise until it is fully closed. Flush the toilet to remove as much water as possible from the tank. Use a sponge or towel to soak up any remaining water.
Next, disconnect the water supply line from the bottom of the tank using an adjustable wrench. Place a bucket under the connection to catch any water that may drip out. Once the water supply line is disconnected, remove the nuts and bolts that secure the tank to the bowl. Carefully lift the tank off the bowl and place it aside.
Lastly, dispose of the old tank responsibly. Check with your local waste management facility for proper disposal methods.

Fluidmaster 400H-002 Performax Universal Toilet Fill Valve High Performance Tank and Bowl Water Control, 1-Pack, Multicolor
Fix noisy, or slow filling fill valves with the quietest, most powerful toilet fill valve available
As an affiliate, we earn on qualifying purchases.
As an affiliate, we earn on qualifying purchases.
Tips for Selecting a Compatible Replacement
How can we ensure that we select a compatible replacement for the toilet tank?
When choosing a replacement toilet tank, it’s crucial to consider several factors to ensure compatibility and functionality.
Firstly, it’s important to research and evaluate the brand reputation and customer reviews. This will provide insights into the quality and reliability of the product.
Additionally, it’s essential to check the warranty and customer support services offered by the brand. A comprehensive warranty will give you peace of mind and protection against any defects or issues with the tank.
Lastly, it’s recommended to consult with professionals or experts in the field who can provide guidance and recommendations based on their experience.
Following these tips will help you make an informed decision and select a compatible replacement toilet tank.

Fluidmaster Universal Install/Uninstall Toilet Repair Tool
Fluidmaster’s universal install and uninstall toilet tool makes any toilet repair job simple
As an affiliate, we earn on qualifying purchases.
As an affiliate, we earn on qualifying purchases.
Installation Process for the New Tank
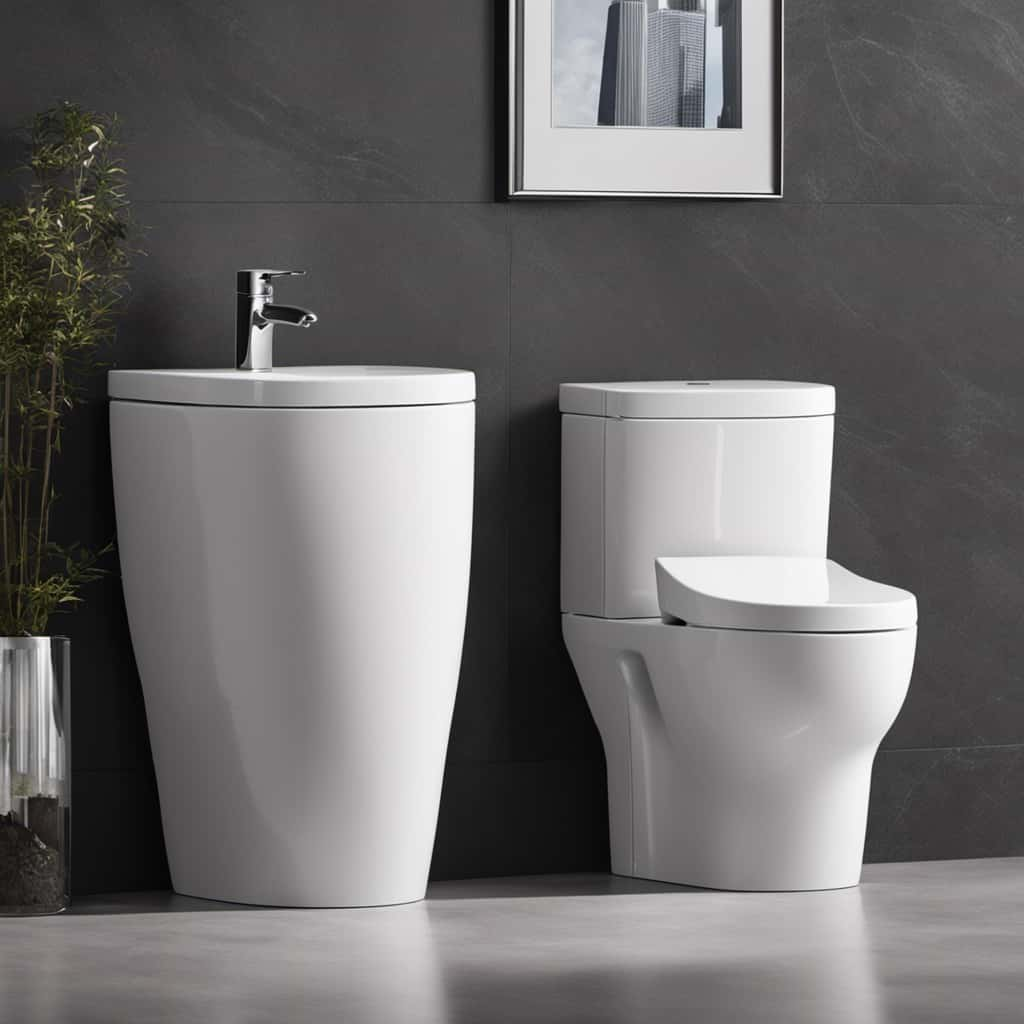
To successfully install the new tank, we’ll need to use a compound preposition. Before beginning the installation process, it’s essential to ensure that the new toilet tank dimensions match the existing toilet bowl. This will ensure a proper fit and prevent any leaks or other issues.
Once you have confirmed the compatibility, gather the necessary toilet tank installation tools, which typically include an adjustable wrench, a screwdriver, and a level. Start by turning off the water supply to the toilet and flushing it to empty the tank.
Next, disconnect the water supply line and remove the old tank by unscrewing the bolts. Carefully place the new tank onto the bowl, aligning the bolt holes, and secure it in place using the provided nuts and bolts.
Maintenance and Troubleshooting Tips for the New Tank
After successfully installing the new toilet tank, let’s now delve into the maintenance and troubleshooting tips to keep it in optimal condition. Proper maintenance is key to ensure the longevity and functionality of your new tank. Here are some troubleshooting techniques and maintenance recommendations to help you in this endeavor:
- Regular Cleaning:
- Use a mild cleaner to clean the tank and bowl.
- Remove any mineral deposits or stains using a gentle scrub brush.
- Avoid using abrasive cleaners or tools that may damage the tank’s surface.
- Checking for Leaks:
- Inspect the tank and connections for any signs of leaks.
- Tighten any loose fittings or connections.
- Replace any worn-out gaskets or seals.
- Water Level Adjustment:
- Ensure the water level in the tank is set at the appropriate level, as indicated by the manufacturer.
- Adjust the fill valve if necessary to achieve the desired water level.
Frequently Asked Questions
What Are the Potential Risks or Issues That Can Arise From Replacing a Toilet Tank With a Different Brand?
Replacing a toilet tank with a different brand can pose risks and compatibility issues. It is important to consider factors such as size, mounting mechanism, and water supply connections to ensure a proper fit and functioning system.

Are There Any Specific Tools or Equipment Required for Removing the Existing Tank?
Tools needed to remove an existing toilet tank include adjustable pliers, a wrench, and a bucket. First, shut off the water supply and flush the toilet. Then, disconnect the water supply line and unscrew the bolts securing the tank to the bowl.
How Can I Ensure That the Replacement Tank Is the Correct Size for My Toilet?
To ensure the replacement tank is the correct size for your toilet, measure the toilet tank dimensions and compare them with the dimensions of the replacement tank. Checking for toilet tank compatibility is crucial for a successful installation.
Can I Replace a Toilet Tank With a Different Brand if It Is an Older Model?
Yes, we can replace a toilet tank with a different brand, but there are potential compatibility issues to consider. Pros include increased options, while cons include the need for additional modifications.
Are There Any Specific Maintenance Tasks or Troubleshooting Tips That Are Unique to a Replacement Tank From a Different Brand?
When replacing a toilet tank with a different brand, it is important to be aware of any unique maintenance tasks or troubleshooting tips specific to the new tank. This ensures proper functioning and avoids potential issues.
Conclusion
In conclusion, replacing a toilet tank with a different brand is possible, but it’s important to consider compatibility factors and follow the proper steps for removal and installation.
It’s recommended to select a replacement tank that’s compatible with your existing toilet bowl to ensure a proper fit.
Additionally, regular maintenance and troubleshooting can help prolong the lifespan of the new tank.
Fun fact: Did you know that the average lifespan of a toilet tank is around 15-20 years?