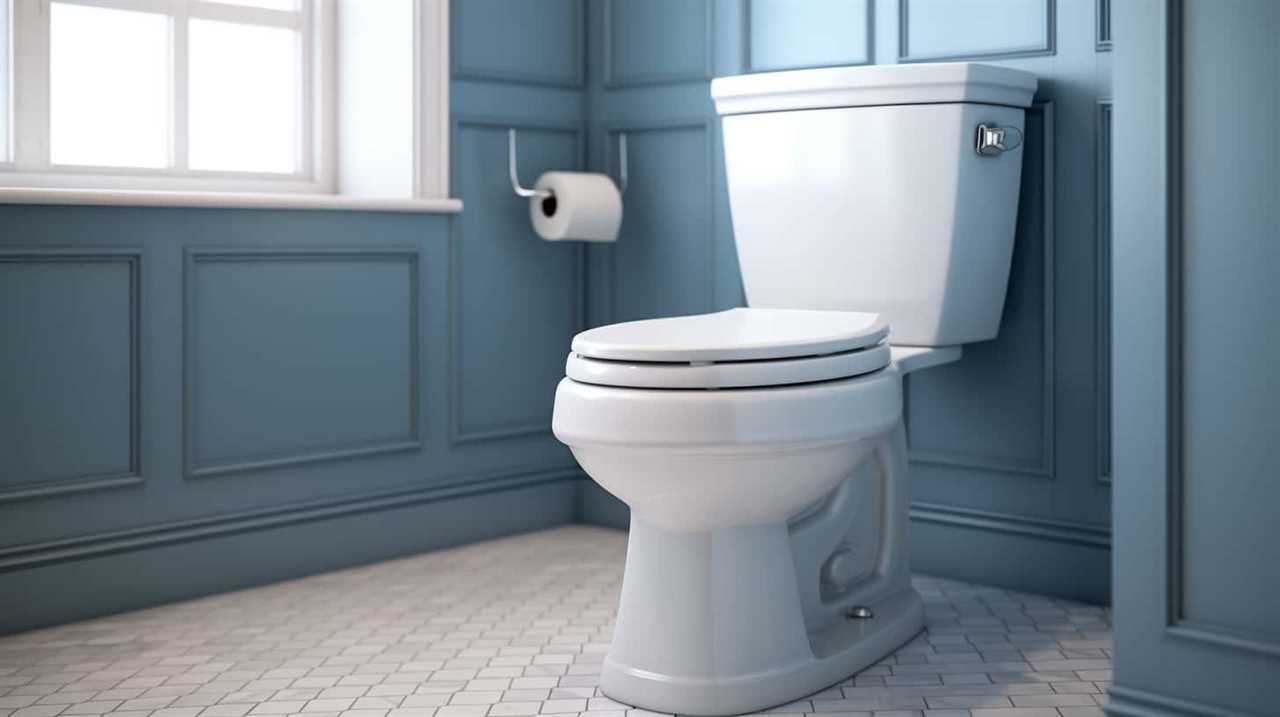
So, you find yourself in a predicament. The toilet won’t flush, and you’re left wondering what to do.
Well, fear not, because I’ve got a little trick up my sleeve: flushing a toilet with a bucket of water. It may sound unconventional, but trust me, it’s a simple and effective solution.
In this article, I’ll walk you through the step-by-step process of how to successfully flush your toilet using nothing more than a bucket of water.
Get ready to become the handyman (or handywoman) of your household!
Key Takeaways
- Flushing a toilet with a bucket of water is a strong and effective solution for clearing clogs or debris.
- It is a simple and cost-effective alternative to traditional flushing, especially during power outages or when the flushing mechanism fails.
- Choosing the right bucket size is important, with small, medium, large, and extra-large options available depending on the flush requirements.
- Proper technique, such as filling the bucket with enough water and aiming for the center of the bowl, ensures optimal results.
Understanding the Basics: Why Flush a Toilet With a Bucket of Water
Why should you flush a toilet with a bucket of water instead of using the regular flushing mechanism?
Well, when it comes to toilet maintenance and troubleshooting common toilet issues, using a bucket of water can be a useful technique.
One common problem people face is a weak or incomplete flush. By pouring a bucket of water directly into the bowl, you can generate a strong force that helps clear any clogs or debris.
Additionally, if you have a power outage or your flushing mechanism fails, having a bucket of water on hand can be a quick and effective solution to ensure proper sanitation.
Remember to pour the water with force, aiming for the center of the bowl, to create the necessary pressure for a thorough flush.
Step 1: Gather the Necessary Supplies
When it comes to flushing a toilet with a bucket of water, there are a few key points to consider.
First, the size of the bucket is important as it will determine the amount of water you can use for each flush.
Next, you need to know the proper water volume needed to effectively flush the toilet and clear away waste.
Lastly, mastering the proper flushing technique is crucial to ensure the water flows smoothly and efficiently, mimicking the action of a traditional flush.
Bucket Size Options
You can choose between different bucket sizes to flush the toilet with water. When it comes to bucket size comparison, it is important to consider the amount of water needed to effectively flush the toilet. Here are some alternative options to consider:
-
Small bucket (1-2 gallons): This size is suitable for conserving water and can be used for light flushes or for flushing liquids.
-
Medium bucket (3-5 gallons): This size provides a moderate amount of water and can be used for regular flushes.
-
Large bucket (6-8 gallons): This size is ideal for heavy flushes or when a stronger flush is required.
-
Extra-large bucket (9+ gallons): This size is suitable for situations where a significant amount of water is needed, such as after a power outage or when the toilet is clogged.
Water Volume Needed
Consider the amount of liquid you need to effectively clean and sanitize the toilet. When it comes to water conservation and alternative flushing methods, it’s important to use just the right amount.
In general, a standard toilet requires about 1.6 gallons of water per flush. However, when using a bucket of water, you can aim for a volume of around 2 to 3 liters, or approximately half a gallon. This should be sufficient to achieve a proper flush and eliminate waste effectively.
Proper Flushing Technique
Using just the right amount of liquid is essential for effectively cleaning and sanitizing the toilet. When flushing a toilet with a bucket of water, it is important to follow the proper technique to ensure optimal results.
Here are some tips to help you flush a toilet with a bucket of water:
-
Fill the bucket with enough water: Make sure to fill the bucket with a sufficient amount of water to create a strong and forceful flush.
-
Pour the water into the bowl: Pour the water into the bowl in one swift motion, aiming for the center of the bowl.
-
Use enough force: Pour the water with enough force to create a strong flush that can effectively remove waste and debris.
-
Repeat if necessary: If the flush is not successful, repeat the process and pour more water into the bowl.
Using alternative methods like flushing with a bucket of water can be a useful troubleshooting tip when facing toilet flushing issues.
Step 2: Open the Toilet Tank
When opening the toilet tank, there are several key points to consider.
First, ensure that the tank water level is at the appropriate height, typically indicated by a marked line or fill valve adjustment.
Next, check the position of the flapper valve to ensure it is properly sealed, preventing any water from leaking into the bowl.
Tank Water Level
To determine if the tank water level is sufficient, you’ll want to check if it reaches the fill line. Here are the steps to check and adjust the water level in the toilet tank:
- Lift the lid of the toilet tank.
- Look for a marked fill line on the inside of the tank.
- If the water level is below the fill line, locate the fill valve.
- Turn the adjustment screw or knob on the fill valve clockwise to increase the water level, or counterclockwise to decrease it.
Adjusting the water level is important to ensure proper flushing and prevent any overflow or leakage. It’s recommended to have the water level around 1 inch below the top of the overflow tube.
Remember to test the flush after making any adjustments to ensure the toilet is functioning properly.
Flapper Valve Position
Make sure the flapper valve is properly positioned over the flush valve opening to prevent any water from leaking into the toilet bowl. The flapper valve is an important component of the toilet’s flushing mechanism, and it ensures that water is released from the tank into the bowl when you flush. However, over time, the flapper valve may become worn or misaligned, leading to issues such as continuous running or incomplete flushing. To troubleshoot these issues, you can perform simple flapper valve maintenance. This may involve cleaning the valve to remove any debris or mineral buildup, adjusting the chain length to ensure proper sealing, or replacing the flapper valve altogether if it is damaged beyond repair. By regularly checking and maintaining the flapper valve, you can ensure a properly functioning toilet and avoid water wastage.
| Problem | Possible Cause | Solution |
|---|---|---|
| Continuous running | Flapper valve not sealing properly | Clean or replace flapper valve |
| Incomplete flushing | Flapper valve closing too quickly | Adjust chain length |
| Water leakage into the bowl | Misaligned flapper valve | Reposition or replace flapper valve |
| Clogged toilet | Debris or mineral buildup on flapper valve | Clean or replace flapper valve |
Refill After Flushing
After flushing, you’ll notice the tank refilling with water. This step is crucial for the proper functioning of the toilet.
Here are some water-saving tips and alternative flushing methods to consider:
-
Install a dual-flush system: This allows you to choose between a full flush for solid waste and a partial flush for liquid waste, reducing water consumption.
-
Use a displacement device: Place a plastic bottle filled with water in the toilet tank. This reduces the amount of water needed for each flush.
-
Adjust the flapper valve: Ensure that the flapper valve closes properly after each flush. A faulty valve can lead to continuous water leakage and waste.
-
Consider a composting toilet: These toilets don’t require water to flush waste and can be a sustainable alternative in areas with water scarcity.
Step 3: Pour the Water Into the Bowl
Simply pour the water into the bowl and watch as the flush is initiated. This method is one of the alternative toilet flushing methods that can be used when there is no working flush mechanism.
It is important to note that bucket cleaning tips should be followed before using the water for flushing. Make sure the bucket is clean and free from any contaminants. Fill the bucket with water, preferably from a clean source, and hold it at a height that will provide enough force to initiate the flush.
Carefully pour the water into the bowl, aiming for the center to create a swirling motion. The water should be poured with enough force to mimic the flushing action.
With this method, you can effectively flush the toilet even without a working flush mechanism.
Step 4: Test and Adjust the Water Level
To test and adjust the water level, you should check the float valve and make sure it is properly regulating the water flow. Here are the steps to test and adjust the water level in your toilet:
- Locate the float valve inside the toilet tank.
- Gently lift the float arm to see if the water stops flowing. If it doesn’t, the valve may need adjustment.
- If the water continues to flow, adjust the float arm by bending it slightly downwards to decrease water pressure.
- If the water stops too soon, adjust the float arm by bending it slightly upwards to increase water pressure.
Testing the efficiency and adjusting the water pressure ensures that your toilet flushes properly. Once you have tested and adjusted the water level, you can move on to the next step of closing the toilet tank and cleaning up any mess.
Step 5: Close the Toilet Tank and Clean Up
Once you’ve finished adjusting the water level, close the tank and tidy up any mess that may have been made.
To ensure a clean and hygienic environment, it’s important to properly clean and sanitize the bucket used for flushing the toilet.
Start by emptying any remaining water from the bucket into the toilet bowl.
Next, rinse the bucket with clean water to remove any residue or debris.
Then, using appropriate cleaning supplies, such as a mild detergent or disinfectant, thoroughly clean the inside and outside of the bucket.
Pay special attention to any areas that may have come into contact with waste or dirty water.
Finally, rinse the bucket again with clean water and allow it to air dry or wipe it dry with a clean cloth.
Conclusion
To conclude, flushing a toilet with a bucket of water can be a quick and efficient solution in case of a plumbing emergency or water shortage. By following the simple steps outlined above, you can easily restore the functionality of your toilet.
Just like a skilled plumber, armed with a bucket of water, you can swiftly tackle any flushing issue that comes your way.
So, don’t let a malfunctioning toilet bring you down, take charge and become the hero of your bathroom!

