Are you tired of dealing with a malfunctioning toilet that constantly causes headaches? Well, look no further because we’ve got you covered.
In this article, we will show you exactly how to get rid of a toilet with ease. By following our step-by-step guide, you’ll be able to:
- Assess the need for removal
- Gather the necessary tools
- Disconnect the toilet
- Remove it from the floor
- Dispose of it properly
Say goodbye to your toilet troubles and hello to a fresh start!
Key Takeaways
- Assess the condition of the toilet and consider alternatives before deciding on removal.
- Gather necessary tools and supplies such as a plunger, rubber gloves, and a bucket.
- Shut off the water supply and disconnect the toilet from the water line and floor.
- Properly dispose of the old toilet by considering eco-friendly options like composting or recycling.
Assessing the Need for Toilet Removal
Before you can decide how to get rid of a toilet, you’ll need to determine if removal is necessary. Evaluating alternatives is crucial in this process.
If your toilet is old, damaged beyond repair, or you simply want to upgrade to a more efficient model, removal may be the best option. However, if the toilet is in good condition and only requires minor repairs, you may consider fixing it instead.
It’s also important to assess your own abilities and resources. If you’re not experienced in plumbing or don’t have the necessary tools and supplies, hiring a professional is recommended. They have the expertise and equipment to safely remove the toilet and handle any potential complications.
Once you’ve evaluated the need for removal and considered alternative options, you can proceed to gather the necessary tools and supplies for the task at hand.
Gathering the Necessary Tools and Supplies
To effectively gather the necessary tools and supplies for this task, you’ll need a plunger, rubber gloves, and a bucket. These toilet removal tools are essential for a smooth and hassle-free process.
The plunger will come in handy to clear any water or debris in the toilet bowl before removal. Rubber gloves are necessary to protect your hands from any potential mess or bacteria. And the bucket will be useful for collecting any excess water or waste during the removal process.
When it comes to toilet disposal options, it is important to check with your local waste management regulations. Some municipalities may have specific guidelines for disposing of toilets, such as taking them to a designated recycling facility.
Now that you have the necessary tools and supplies, it’s time to move on to the next step: shutting off the water supply and disconnecting the toilet.
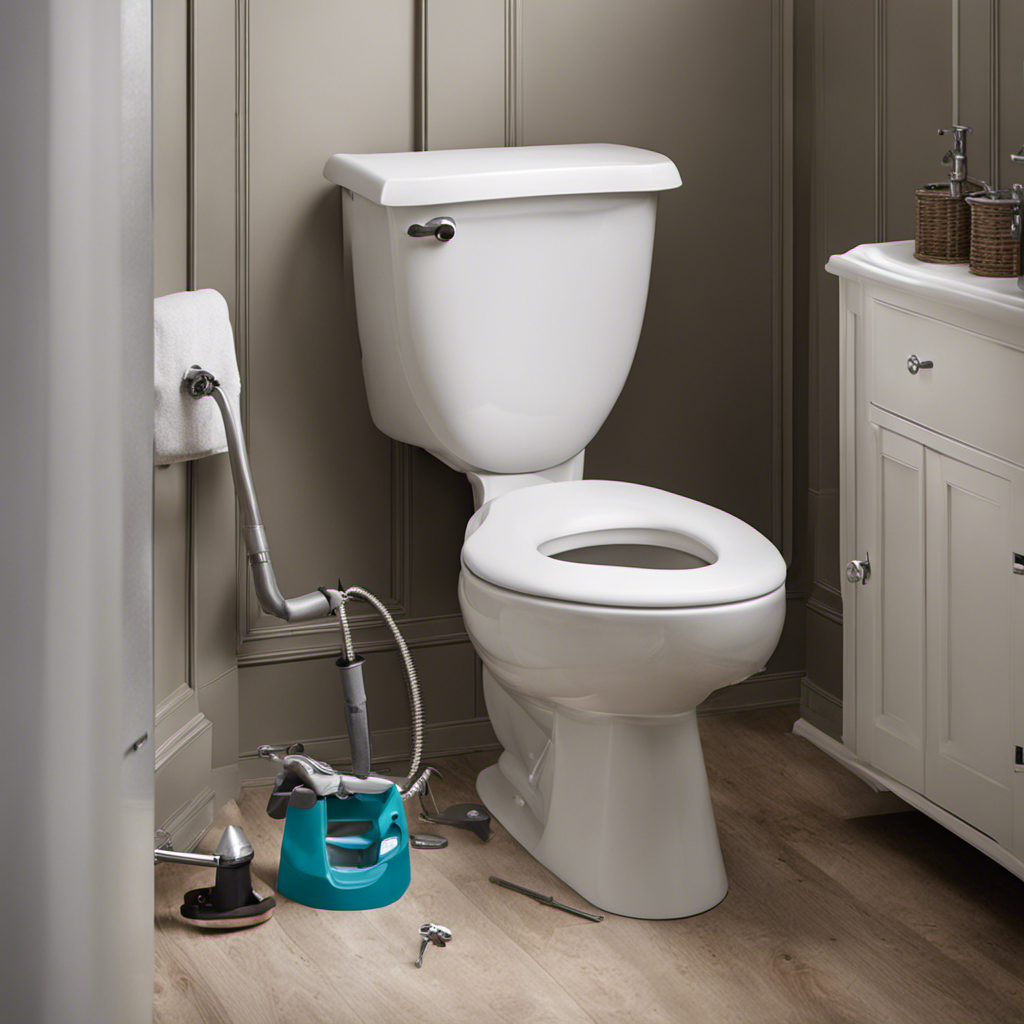
Shutting off the Water Supply and Disconnecting the Toilet
First, locate the water shut-off valve and turn it clockwise to shut off the water supply to the toilet. This valve is typically located on the wall behind the toilet or near the floor. Shutting off the water is important to prevent any leaks or water damage during the removal process.
Once the water is shut off, you can proceed to disconnect the toilet. Start by removing the water supply line that connects the toilet tank to the shut-off valve. Use an adjustable wrench to loosen the nut and then carefully remove the line.
Next, remove the bolts that secure the toilet to the floor. These bolts are typically located at the base of the toilet. Use a wrench to loosen and remove them.
With the connections removed, you are now ready to move on to removing the toilet bowl from the floor.
Removing the Toilet Bowl From the Floor
Once you’ve disconnected the toilet, it’s time to carefully lift and remove the toilet bowl from the floor.
To begin, place a towel or old newspaper on the floor nearby to catch any water or debris that may spill during the process.
Start by gripping the sides of the bowl firmly and lifting it straight up. Take caution as the bowl can be heavy and awkward to handle. Set it down gently on the towel or newspaper.
Now that the bowl is removed, you have the opportunity to clean any stubborn toilet stains that may have been underneath. Use a toilet cleaner and scrub away the stains with a brush.
Additionally, inspect the wax ring on the floor and replace it if necessary. This is an important step in preventing toilet leaks once the new one is installed.
Disposing of the Old Toilet Properly
When it comes to disposing of your old toilet, it’s important to consider eco-friendly options.
There are a few different ways you can go about this, including recycling the components of the toilet.
Eco-Friendly Disposal Options
One option for eco-friendly toilet disposal is to use a composting toilet. Composting toilets are a sustainable alternative to traditional flush toilets as they help reduce water usage and minimize waste. These toilets work by breaking down human waste into compost, which can be used as fertilizer for plants. Composting toilets are designed to separate liquid and solid waste, allowing for proper decomposition and odor control.
To give you a better idea of how composting toilets work, here’s a table that compares them to traditional flush toilets:
| Composting Toilet | Traditional Flush Toilet |
|---|---|
| Uses little to no water | Uses a significant amount of water |
| Produces compost for gardening | Sends waste to sewage treatment plants |
| Requires minimal maintenance | Requires regular cleaning and plumbing |
| Environmentally friendly | Can contribute to water pollution |
Recycling Toilet Components
Now that you’ve learned about eco-friendly disposal options for your old toilet, let’s explore recycling alternatives for its various components.
Recycling toilet components can have a significant environmental impact by reducing waste and conserving resources.
One option is to recycle the porcelain bowl and tank. These can be crushed and used as an aggregate in road construction or as a base for new ceramic products.
Another alternative is recycling the metal hardware, such as the flush handle and bolts. These metals can be melted down and used to create new products.
Additionally, some companies specialize in recycling toilet seats, transforming them into plastic pellets that can be used in the manufacturing of new plastic products.
Cleaning and Preparing the Area for a New Toilet
After removing the old toilet, it’s important to thoroughly clean and prepare the area for the installation of a new toilet. Here are some cleaning techniques and the best cleaning products to ensure a fresh and sanitary space:
-
Start by removing any debris or residue from the old toilet using a toilet brush and disinfectant cleaner. Pay special attention to the areas around the bolts and wax ring.
-
Use a mild abrasive cleaner or vinegar solution to remove any stubborn stains or mineral deposits on the floor or base of the toilet.
-
Scrub the surrounding floor area with a mop or sponge and an all-purpose cleaner to remove any dirt or grime.
-
Finally, sanitize the entire area with a disinfectant spray or wipe to kill any remaining germs and bacteria.
Installing a New Toilet and Ensuring Proper Functionality
When it comes to installing a new toilet, proper installation is crucial to ensure its functionality and performance.
There are several key points to consider, from selecting the right toilet for your needs to properly sealing and securing it in place.
Additionally, it’s essential to ensure leak-free operation, as even a small leak can lead to significant damage over time.
Proper Toilet Installation
To properly install a toilet, make sure you have all the necessary tools and materials ready. Here are four key steps to ensure a successful installation:
-
Start by preparing the area:
- Remove the old toilet
- Clean the floor thoroughly
- Check for any leaks or damages
- Inspect the flange and replace it if necessary
-
Install the wax ring:
- Place the wax ring on the flange, ensuring it is centered
- Gently press down to create a watertight seal
-
Position and secure the toilet:
- Carefully lower the toilet onto the wax ring
- Align it with the flange bolts
- Use a wrench to tighten the bolts, but be cautious not to over-tighten and crack the toilet
-
Connect the water supply:
- Attach the water supply line to the fill valve
- Turn on the water to check for leaks
By following these steps, you can ensure a proper toilet installation that will help avoid future toilet troubleshooting and maintenance issues.
Now, let’s discuss the functionality and performance of your toilet.
Functionality and Performance
Now that you have successfully installed your toilet, it’s important to ensure its functionality and performance. Regular toilet maintenance is key to avoiding common problems that can disrupt its operation. By following a few simple troubleshooting steps, you can keep your toilet running smoothly.
To help you understand and address potential issues, here is a table summarizing common toilet problems and their possible solutions:
| Common Toilet Problems | Possible Solutions |
|---|---|
| Clogging | Use a plunger or a toilet auger to remove the blockage. |
| Weak Flush | Check the water level in the tank and adjust the flapper chain if necessary. |
| Constantly Running | Inspect the flapper valve and replace it if worn out. Adjust the water level if needed. |
| Leaking | Tighten the bolts connecting the tank to the bowl or replace the wax ring seal. |
| Ghost Flushing | Replace the flapper valve or adjust the water level in the tank. |
Ensuring Leak-Free Operation
Regular maintenance and troubleshooting are important for avoiding costly repairs and keeping your bathroom running smoothly. It’s important to regularly check for leaks in your toilet’s operation. By ensuring proper installation and taking preventative measures, you can prevent future leaks and maintain the optimal functioning of your toilet.
Here are four key steps to ensure leak-free operation:
-
Check the water supply line: Inspect the connection between the water supply valve and the toilet tank. Look for any signs of leakage or loose connections. Tighten any loose fittings and replace any damaged parts.
-
Examine the tank components: Inspect the flapper valve, flush valve, and fill valve for any signs of wear or damage. Replace any faulty components to prevent leaks.
-
Inspect the wax ring seal: The wax ring seal is located between the toilet base and the floor. Check for any cracks or gaps in the seal. Replace it if necessary to prevent water leakage.
-
Test the flush mechanism: Ensure that the flush lever, chain, and flapper valve are functioning properly. Adjust or replace any faulty parts to maintain efficient flushing and prevent leaks.
Conclusion
Congratulations! You’ve successfully learned how to get rid of a toilet. By following the step-by-step process outlined in this article, you now have the knowledge and skills to remove an old toilet and prepare the area for a new one.
Did you know that replacing an old toilet with a water-efficient model can save up to 13,000 gallons of water per year, according to a recent study? That’s not only good for the environment but also for your wallet.
So, next time you need to replace a toilet, remember to choose a water-efficient option for maximum benefits.
Happy plumbing!