
So you’ve noticed that your bathtub faucet is starting to show its age and it’s time for a replacement. Don’t worry, I’ve got you covered.
In this article, I’ll guide you through the step-by-step process of how to replace your bathtub faucet. We’ll start by assessing the type of faucet you have, gathering the necessary tools and materials, and shutting off the water supply.
Then, we’ll dive into removing the old faucet and installing the shiny new one.
Let’s get started!
Key Takeaways
- There are four main types of bathtub faucets: compression, ball, cartridge, and disc.
- Gathering the right tools and materials is essential for replacing a bathtub faucet.
- Shutting off the water supply is an important step before replacing the faucet.
- Removing the old faucet properly is crucial in the replacement process.
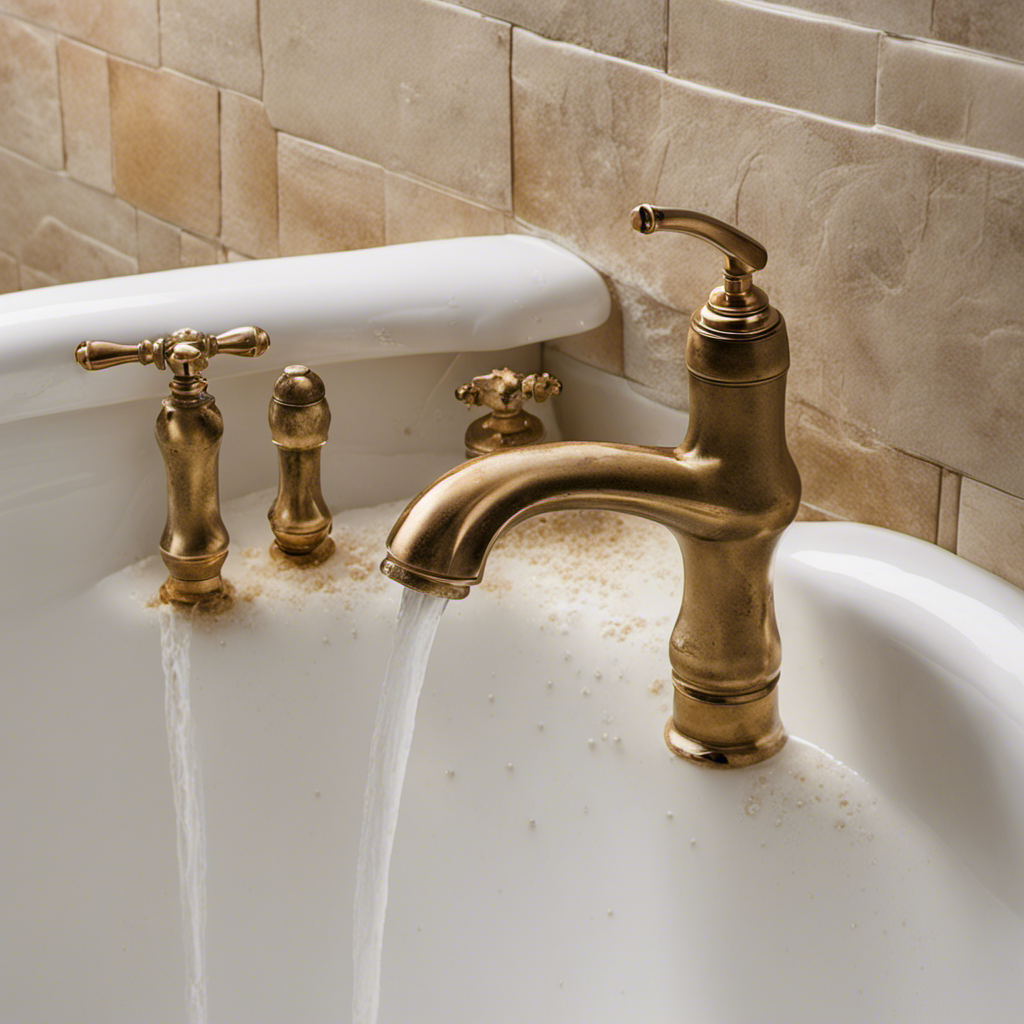
Assessing the Faucet Type
First, you’ll need to figure out what type of faucet you have. Differentiating faucet types is crucial in order to troubleshoot common faucet problems effectively.
There are four main types of bathtub faucets: compression faucets, ball faucets, cartridge faucets, and disc faucets. To identify the type of faucet you have, you can start by examining the handles.
Compression faucets have separate hot and cold handles that require you to twist them to open and close the water flow. Ball faucets have a single handle that moves in all directions. Cartridge faucets have a single handle and a cartridge inside that controls the water flow. Disc faucets also have a single handle and use ceramic discs to control the water flow.
Knowing the type of faucet you have will help you troubleshoot any problems that may arise during the replacement process.
Gathering the Necessary Tools and Materials
Next, you’ll need to gather all the tools and materials you’ll need for the job. When replacing a bathtub faucet, it’s important to choose the right faucet style that suits your preferences and bathroom decor. There are various styles available, including single-handle, double-handle, and freestanding faucets. Consider factors such as functionality, ease of use, and aesthetic appeal when making your selection.
Before getting started, it’s also helpful to be aware of common problems with bathtub faucets. These can include leaks, low water pressure, or difficulty in adjusting the temperature. By understanding these issues, you can better troubleshoot and address any potential problems that may arise during the replacement process.
To assist you in your faucet replacement project, here is a table highlighting the essential tools and materials you’ll need:
| Tools | Materials |
|---|---|
| Adjustable wrench | New faucet |
| Screwdriver | Plumber’s tape |
| Pliers | Silicone caulk |
| Bucket | Teflon tape |
| Towel |
Now that you have gathered all the necessary tools and materials, it’s time to move on to the next step: shutting off the water supply.
Shutting Off the Water Supply
To ensure a smooth and safe replacement process, it’s crucial that you shut off the water supply before proceeding. Turning off the water supply is important because it prevents any accidental leaks or water damage while you work on replacing the bathtub faucet.
Here are the steps to properly shut off the water supply to the bathtub faucet.
First, locate the main water shut-off valve for your house. This valve is usually found in the basement, crawlspace, or utility room. Turn the valve clockwise until it is fully closed. This will stop the water flow to the entire house.
Next, locate the shut-off valves for the bathtub. These valves are usually located beneath the sink or in an access panel. Turn these valves clockwise until they are fully closed. This will stop the water flow specifically to the bathtub.
Once the water supply is shut off, you can proceed with the replacement process, knowing that there will be no water flowing to the bathtub faucet.
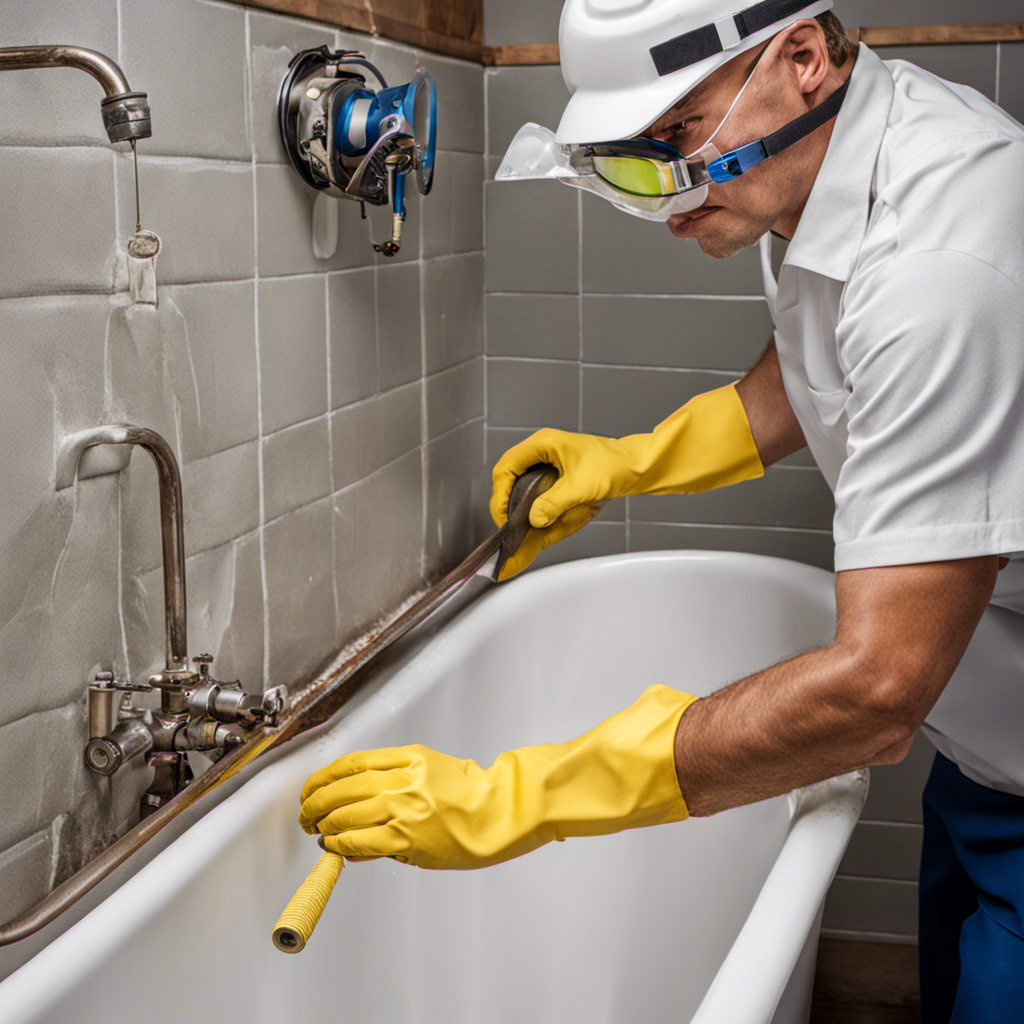
Removing the Old Faucet
After shutting off the water supply, it’s time to remove the old faucet. This step is crucial in the process of replacing a bathtub faucet. To successfully remove the old faucet, follow these steps:
-
Begin by removing the handles. This is typically done by locating a small screw at the base of each handle and using a screwdriver to loosen and remove it.
-
Once the handles are removed, you can access the water lines. Use an adjustable wrench to disconnect the water lines from the faucet. Turn the nuts counterclockwise to loosen them and then remove the lines.
-
Now that the water lines are disconnected, you can proceed to remove the old faucet. Use a wrench to loosen the nuts that secure the faucet to the bathtub. Turn them counterclockwise until they are completely removed.
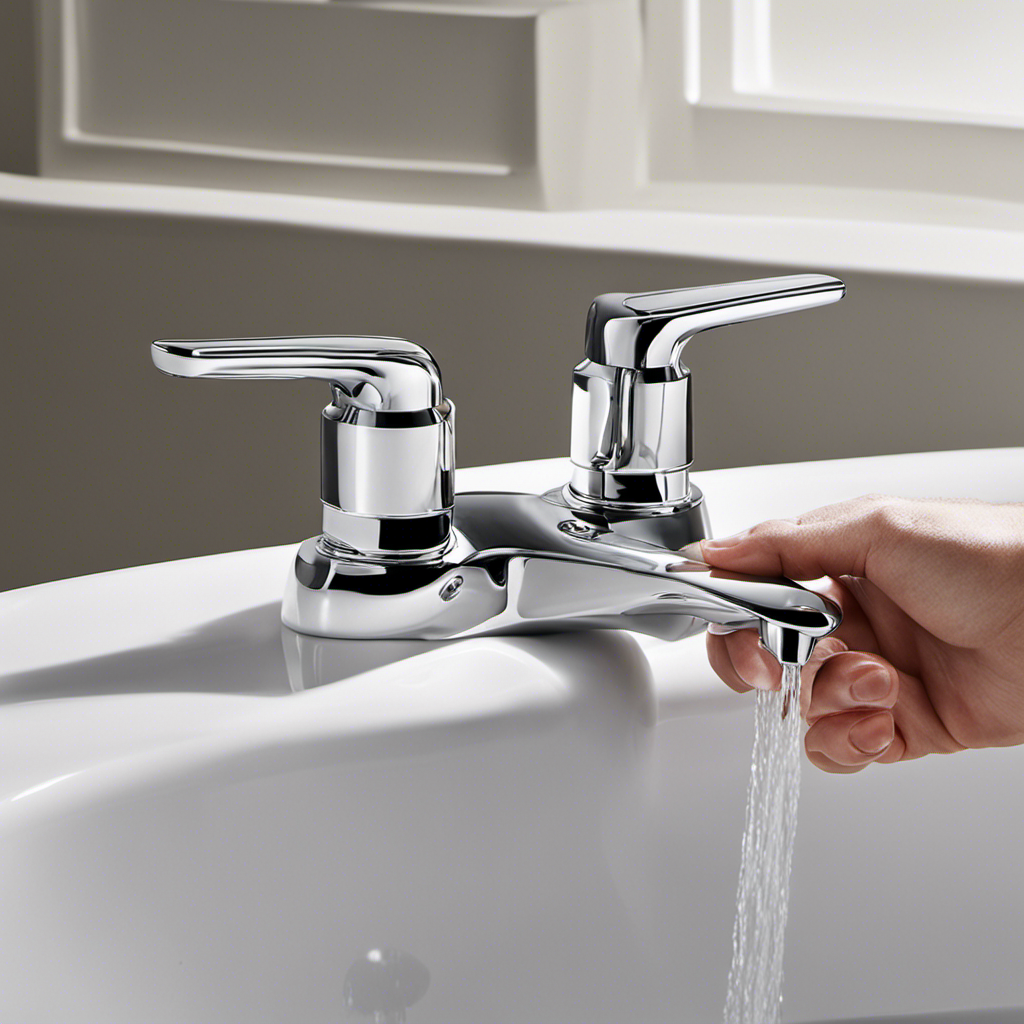
Installing the New Faucet
Once you’ve successfully removed the old faucet, it’s time to start installing the new one.
First, make sure you have all the necessary tools and parts, including a wrench, plumber’s tape, and the new faucet.
Begin by applying plumber’s tape to the threads of the water supply lines to prevent leaks.
Next, carefully insert the water supply lines through the mounting holes in the sink or bathtub. Use a wrench to tighten the nuts and secure the faucet in place.
Once the faucet is securely attached, it’s time to connect the water lines. Attach the hot and cold water lines to their respective valves and tighten the nuts.
Finally, turn on the water supply and test the new faucet for any leaks or drips. Run both the hot and cold water to ensure proper functionality.
If everything looks good, you’ve successfully installed your new bathtub faucet.
Frequently Asked Questions
How Do I Know if I Need to Replace My Bathtub Faucet?
If your bathtub faucet is leaking, making strange noises, or has low water pressure, it might be time for a replacement. You can test it by checking for these signs of a faulty bathtub faucet.
Can I Replace a Bathtub Faucet Without Turning off the Water Supply?
No, it is not advisable to replace a bathtub faucet without turning off the water supply. This could lead to water leakage and potential damage. It is best to hire a professional plumber for installing the faucet.
What Are the Common Mistakes to Avoid When Removing an Old Faucet?
When removing an old faucet, it’s important to be aware of common mistakes and take necessary precautions. By avoiding these errors, such as damaging pipes or not shutting off the water supply, the replacement process can go smoothly.
How Long Does It Take to Replace a Bathtub Faucet?
Replacing a bathtub faucet typically takes about 1-2 hours, depending on your experience and the complexity of the installation. You’ll need a few tools like pliers, an adjustable wrench, and a screwdriver.
Can I Install a New Faucet Without Any Prior Plumbing Experience?
As a plumbing beginner, I was able to successfully install a new faucet without any prior experience. It took some research and careful following of instructions, but with patience, it is definitely doable.
Conclusion
In conclusion, replacing a bathtub faucet may seem like a daunting task, but it can be done easily with the right tools and knowledge. By following the steps outlined in this article, you can update your bathroom and have a functioning faucet in no time.
Just imagine, no more drips or leaks interrupting your relaxing baths! One satisfied homeowner, Sarah, followed these steps and successfully replaced her old faucet with a stylish and efficient one, transforming her bathroom into a spa-like oasis.

Liam’s journey with us started as a consumer. Having faced challenges while setting up his own modern bathroom, he delved deep into research.
Recognizing his knack for simplifying complex information and his authentic writing style, we were thrilled to welcome him aboard. Liam’s articles often merge practicality with style, ensuring readers find the perfect fit for their homes. Liam is an avid hiker off-duty and often jokes about finding the best “natural toilets” Mother Earth has to offer.