As a seasoned DIY enthusiast, I’ve encountered my fair share of household mishaps. One of the most frustrating experiences was a broken toilet flange.
Picture this: water pooling around the base of the toilet, the unmistakable smell of sewage, and a sense of panic setting in. But fear not!
In this article, I will guide you through the step-by-step process of repairing a broken toilet flange, equipping you with the knowledge and confidence to tackle this plumbing challenge head-on.
Key Takeaways
- Determine the cause of the broken toilet flange (age, corrosion, improper installation)
- Assess the extent of the damage to decide on repair options (consider using a flange repair kit or epoxy for minimal damage, but replace the entire flange for severe damage)
- Gather the necessary tools and materials (new toilet flange, wrench or pliers, wax ring, toilet bolts)
- Remove the old toilet flange (shut off water supply, disconnect toilet from flange, inspect for cracks, reinforce or install new flange if necessary)

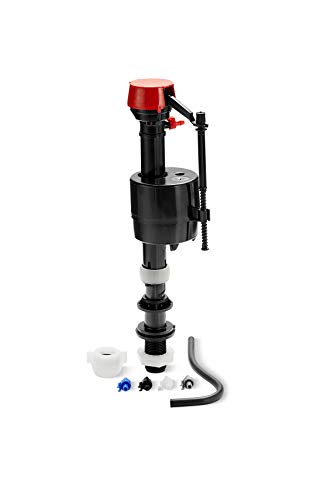
Fluidmaster 400H-002 Performax Universal Toilet Fill Valve High Performance Tank and Bowl Water Control, 1-Pack, Multicolor
Fix noisy, or slow filling fill valves with the quietest, most powerful toilet fill valve available
As an affiliate, we earn on qualifying purchases.
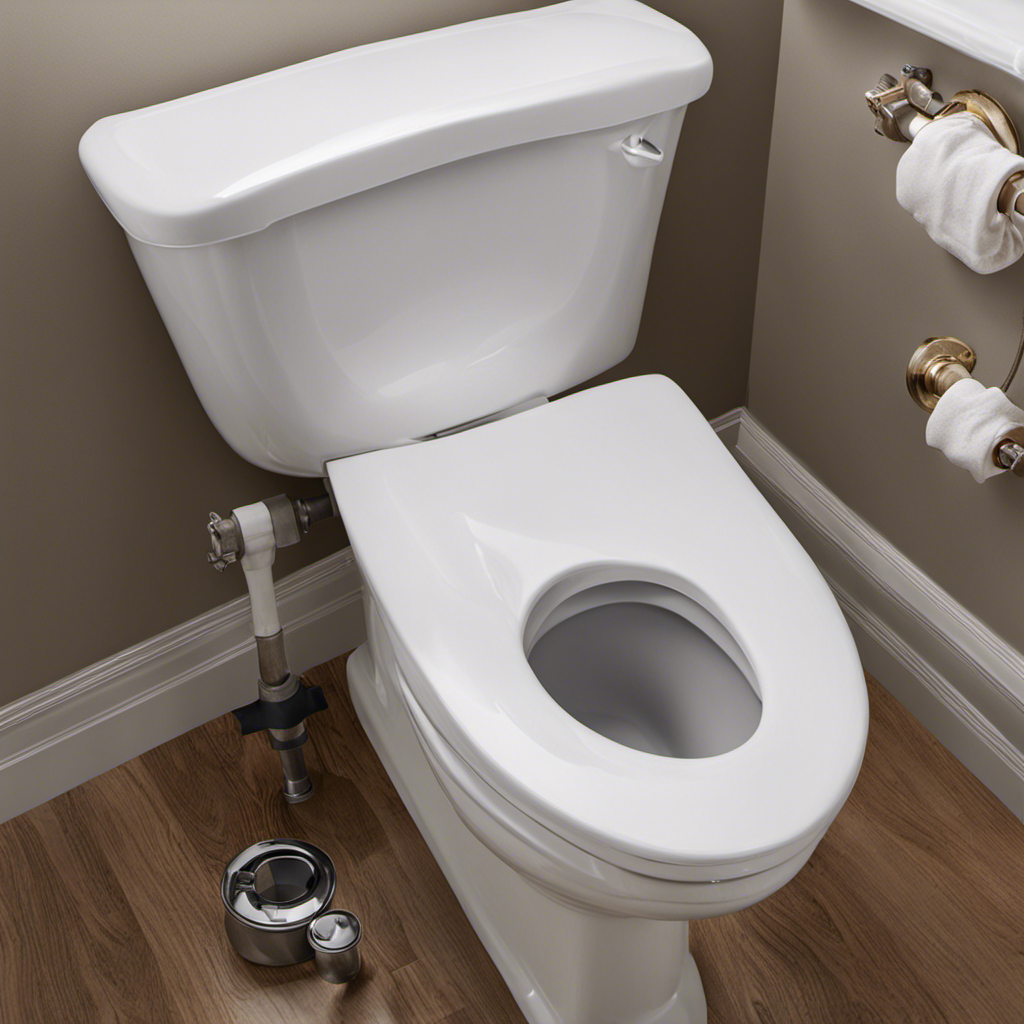
Assessing the Damage
Before you can repair a broken toilet flange, you’ll need to assess the extent of the damage. This step is crucial in determining the appropriate repair options.
There are several potential causes for a broken toilet flange, such as age, corrosion, or improper installation. To assess the damage, start by removing the toilet bowl and inspecting the flange. Look for cracks, breaks, or any signs of damage. It is also important to check if the flange is securely attached to the floor.
If the damage is minimal, you may be able to repair the flange by using a flange repair kit or epoxy. However, if the damage is severe or the flange is completely broken, it may be necessary to replace the entire flange.
Kohler Genuine Part Gp1083167 Silent Fill Valve Kit For All Kohler Class Five Toilets,12.5" x 3.5" x 3"
Protect the warranty on KOHLER products, always look for the KOHLER GENUINE PARTS logo
As an affiliate, we earn on qualifying purchases.
Gathering the Necessary Tools and Materials
To get started on fixing it, you’ll need a few tools and materials.
When it comes to repairing a broken toilet flange, having the right equipment is crucial. First and foremost, you’ll need a new toilet flange, which can be found at your local hardware store.
Additionally, you’ll need a wrench or pliers to remove the old flange and tighten the new one. A wax ring and toilet bolts are also necessary for a proper installation.
It’s important to remember some toilet flange repair tips to ensure a successful fix. One common mistake to avoid is not properly aligning the new flange with the existing pipe. This can lead to leaks and further damage.
Another mistake is not using enough wax ring, which can result in a faulty seal.
3-Inch Dual Flush Valve Replacement Kit for 2-Piece Toilets, Universal Toilet Repair Kit with Push Button, Fill Valve, Gasket & Bolts,Compatible with Glacier Bay, Kohler, American Standard, and Toto
【Wide Compatibility】Designed for most 3-inch two-piece toilets (not for one-piece toilets). Fits flush valve openings 3.2"–3.6" and the...
As an affiliate, we earn on qualifying purchases.
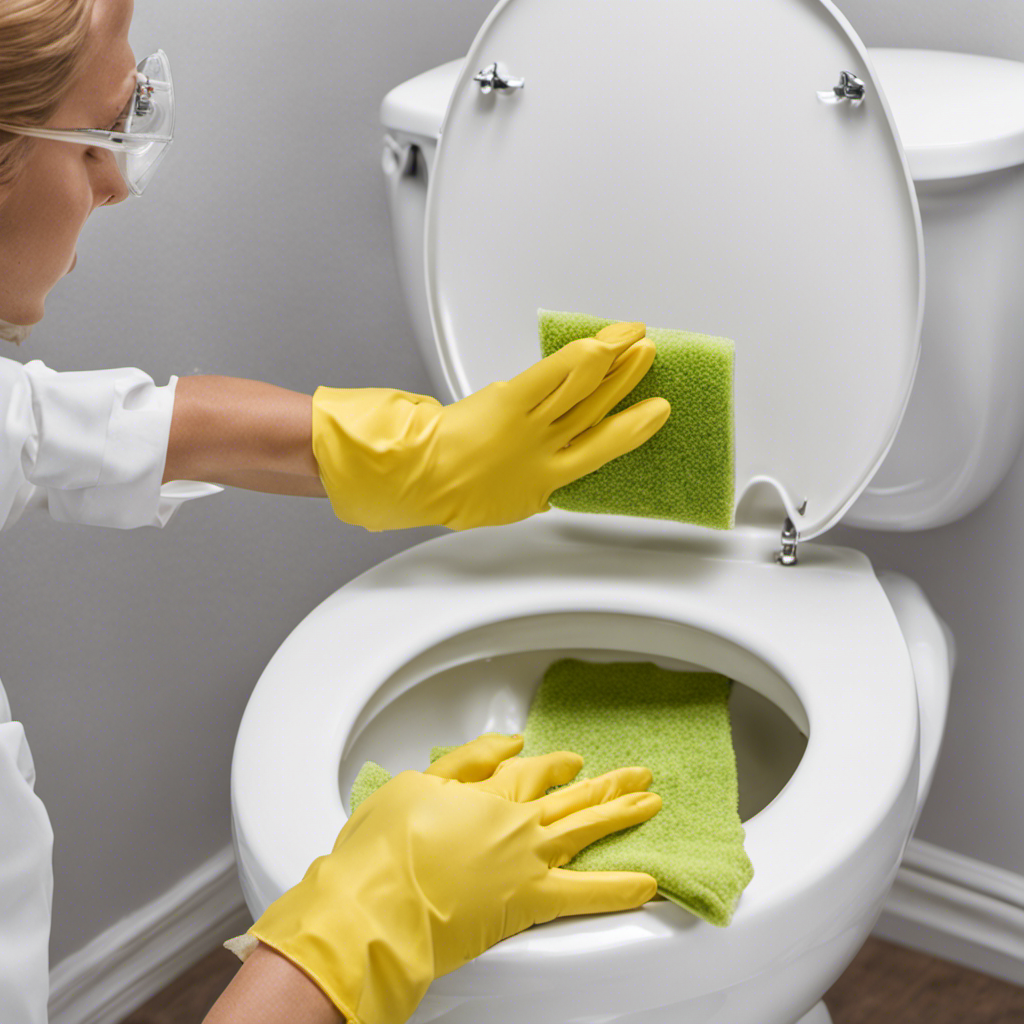
Removing the Old Toilet Flange
You’ll need a wrench or pliers to remove the old flange and tighten the new one.
When repairing cracks or reinforcing the flange, it’s important to start by shutting off the water supply to the toilet. This can usually be done by turning the valve located behind the toilet clockwise.
Next, flush the toilet to drain out any remaining water in the tank and bowl.
With the water drained, remove the nuts connecting the toilet to the flange using your wrench or pliers.
Once the nuts are removed, lift the toilet off the flange and set it aside.
Inspect the flange for any cracks or damage. If there are cracks, you may need to reinforce the flange using a repair kit or by installing a new flange altogether.

Teviora Universal Toilet Flusher Replacement Kit, Water-Saving & Height Adjustable Fill Valve, 2-Inch Flapper, Quiet & Anti-Siphon Toilet Repair Kit Inside Tank, Easy to Install (Red, 1-Pack)
【Universal Compatibility】Compatible with most toilet models and brands, this toilet fill valve replacement kit features a US standard...
As an affiliate, we earn on qualifying purchases.
Installing the New Toilet Flange
Once you have inspected the flange for any cracks or damage, it’s time to install the new one. To ensure proper alignment, start by placing the new flange over the existing drain pipe. Make sure it fits securely and sits flush with the floor. If needed, use shims to level the flange.
Once aligned, mark the screw holes on the floor for drilling. Next, remove the new flange and apply a generous amount of PVC primer and glue to the inside of the flange and outside of the drain pipe. Carefully place the flange back over the pipe and align the screw holes with the marks on the floor.
Secure the new flange in place by driving screws through the holes and into the floor. Double-check for proper alignment before proceeding with the next steps of your toilet installation.
Testing and Finishing Touches
After securing the new flange in place, it’s time to test the toilet for leaks and complete the finishing touches.
Testing techniques are crucial to ensure that the repair has been successful. To begin, I recommend filling the toilet tank with water and observing for any signs of leakage around the flange area. This can be done by flushing the toilet multiple times and checking for any water seepage.
Additionally, it’s important to inspect the area around the base of the toilet for any water accumulation or dampness. Proper sealing is vital for preventing leaks and maintaining a functioning toilet. To achieve this, I suggest applying a generous amount of plumber’s putty or silicone caulk around the base of the toilet to create a watertight seal.
Once the testing and sealing are complete, the finishing touches can be added, such as reattaching the toilet seat and flushing lever.
Conclusion
Well, there you have it folks. Fixing a broken toilet flange is such a breeze, anyone could do it! I mean, who needs a professional plumber when you can just grab some tools and get to work, right?
It’s not like it’s a delicate or essential part of your bathroom or anything. So go ahead, DIY enthusiasts, and tackle this job with confidence. Just remember, if you happen to flood your bathroom or damage your pipes in the process, don’t say I didn’t warn you.
Happy fixing!