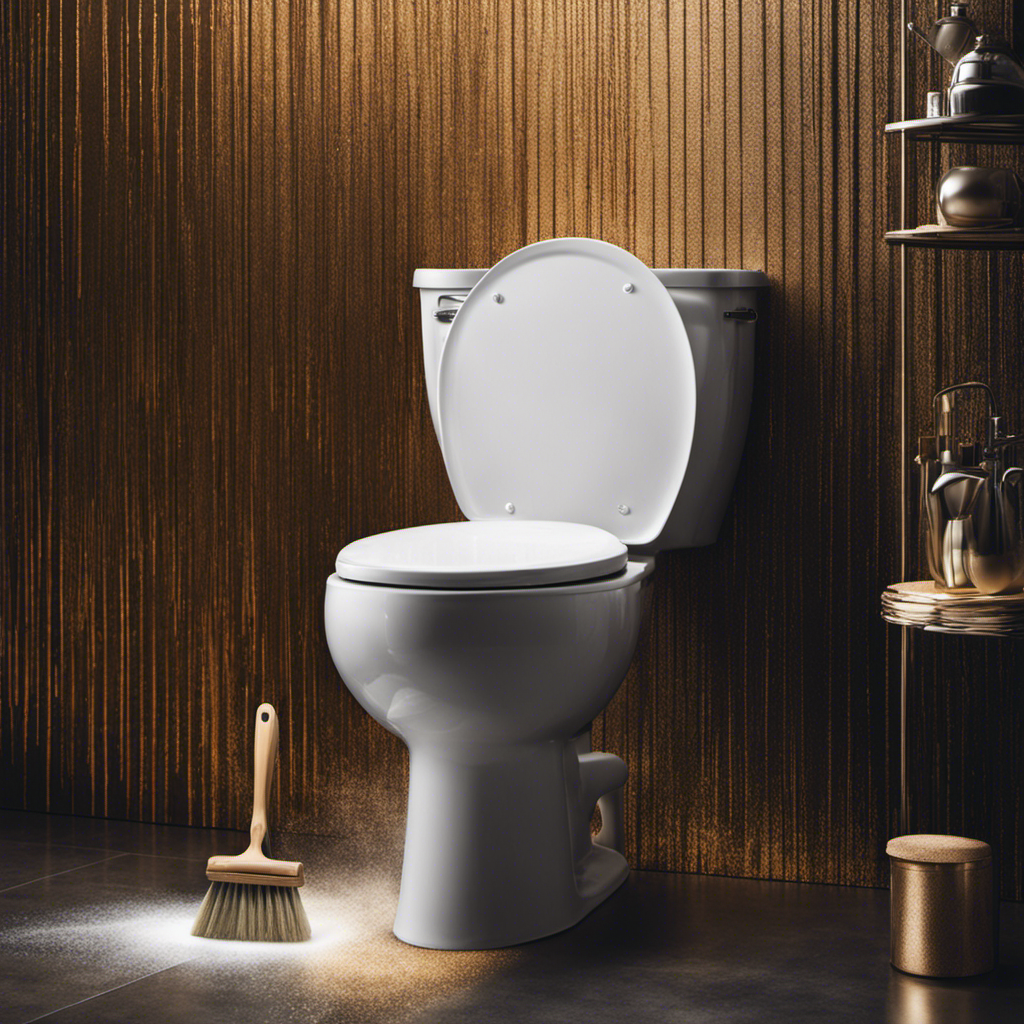

I’ve been there before – standing in the bathroom, facing a broken toilet bowl and feeling completely lost.
But fear not, because I’m here to guide you through the process of replacing that old, malfunctioning fixture.
In this article, I’ll show you step-by-step how to remove the old toilet bowl and install a brand new one.
With a few tools and a little bit of patience, you’ll have a fully functioning toilet in no time.
Let’s get started!
Key Takeaways
- Gather the necessary tools such as a wrench, pliers, and a putty knife.
- Measure the dimensions of the new toilet bowl to ensure a proper fit.
- Shut off the water supply before starting any work on the toilet.
- Use proper tool selection and take safety precautions for a smooth and efficient removal process.

Fluidmaster K-400H-039 High Performance Toilet Fill Valve with 2-Inch Adjustable Toilet Flapper Kit
The PerforMAX fill valve and 2 in. Flapper Kit is the premium solution to make your 2 in….
As an affiliate, we earn on qualifying purchases.
As an affiliate, we earn on qualifying purchases.
Preparing for the Replacement
Before you start replacing the toilet bowl, make sure you’ve gathered all the necessary tools and materials. To prepare for the replacement, you will need a few tools such as a wrench, pliers, and a putty knife.
It is important to measure the dimensions of the new toilet bowl beforehand to ensure a proper fit. Measure the distance between the wall and the center of the bolts on the floor, as well as the distance from the back wall to the center of the drain. These measurements will help you choose the right size and style of toilet bowl.
Once you have prepared the tools and measured the dimensions, you can move on to shutting off the water supply.
DURATECH Shower Valve Socket Wrench Set with Bar Handle for Removing Tub & Shower Valve, SAE, Includes 21/32”x 27/32”, 29/32”x 31/32”, 1-1/32” x1-3/32”, 1-5/32”x1-9/32”, 1-11/32”x 1-7/16”, 5-Piece
Shower Valve Socket Wrench Set: The Set comes with five double end wrenches, bar handle and a bar…
As an affiliate, we earn on qualifying purchases.
As an affiliate, we earn on qualifying purchases.
Shutting off the Water Supply
To shut off the water supply, you’ll need to locate the shut-off valve behind the toilet. This valve is usually located on the wall behind the toilet or on the side of the toilet tank. Once you’ve located the valve, follow these steps to turn it off:
-
Turn the valve clockwise: To shut off the water supply, turn the valve clockwise until it is fully closed. This will prevent any water from flowing into the toilet tank.
-
Test the water flow: After turning off the valve, flush the toilet to ensure that the water supply has been successfully shut off. If no water refills the tank, then the valve has been properly closed.
-
Preventing leaks: It is important to shut off the water supply before replacing a toilet bowl to prevent any leaks or water damage.
-
Turning off valve: Remember to turn off the valve before starting any work on the toilet to ensure a safe and dry environment.

Fluidmaster Universal Install/Uninstall Toilet Repair Tool
Fluidmaster’s universal install and uninstall toilet tool makes any toilet repair job simple
As an affiliate, we earn on qualifying purchases.
As an affiliate, we earn on qualifying purchases.
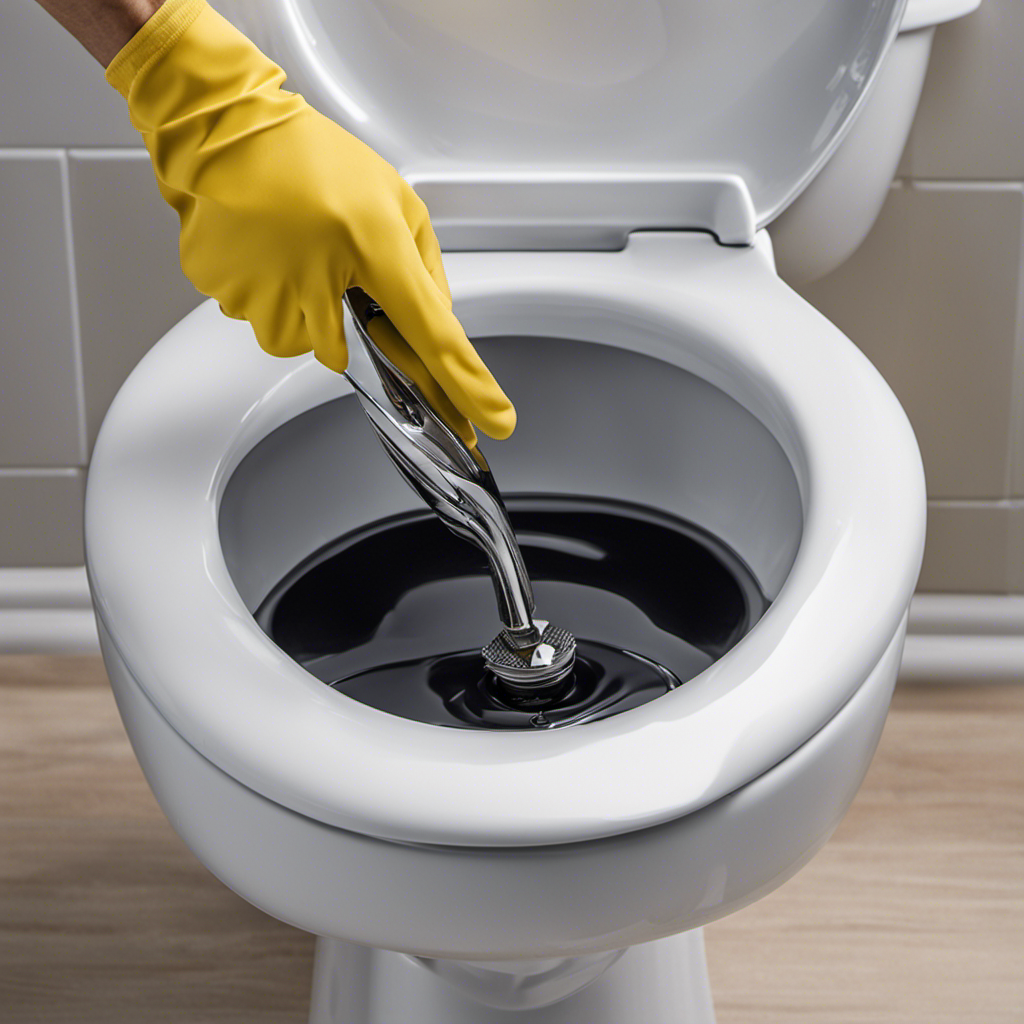
Removing the Old Toilet Bowl
Before removing the old toilet bowl, it’s crucial to ensure proper tool selection for a smooth and efficient process. The right tools, such as a wrench, plunger, and scraper, can make the task easier and prevent damage to the toilet or surrounding area.
Additionally, proper drainage and disposal methods must be followed to avoid any plumbing issues or environmental harm.
Lastly, safety precautions, such as wearing gloves and eye protection, should be taken to protect oneself from potential hazards during the removal process.
Proper Tool Selection
The first step in replacing a toilet bowl is ensuring you have the proper tools. As a plumbing professional, I understand the importance of tool maintenance and having the right tools for the job.
Here are four essential tools you’ll need for this task:
-
Adjustable wrench: This versatile tool will help you loosen and tighten nuts and bolts, allowing you to disconnect the water supply line and remove the old toilet bowl.
-
Putty knife: You’ll need this tool to remove any old wax or caulk residue from the floor and flange before installing the new toilet bowl.
-
Screwdriver: A screwdriver will come in handy for removing the screws or bolts securing the toilet bowl to the floor. Make sure to choose the appropriate type and size for your specific toilet model.
-
Level: To ensure that your new toilet bowl sits perfectly level on the floor, use a level tool. This will prevent any future leaks or stability issues.
If you don’t have these tools, there are DIY alternatives, but it’s always best to invest in quality tools for a professional and long-lasting result.
Drainage and Disposal
Having the proper tools is crucial when it comes to ensuring proper drainage and disposal during a toilet replacement.
When working on the drainage system, it is important to perform regular maintenance to keep it in good condition. This involves inspecting the pipes for any leaks or clogs and clearing them out using a plumber’s snake or a plunger.
Additionally, proper waste disposal is essential to prevent any blockages or damage to the system. It is recommended to dispose of waste in a sanitary manner by using a trash bag or a designated disposal container. Avoid flushing any non-biodegradable items down the toilet, as they can cause serious damage to the drainage system.
Safety Precautions Needed
To ensure your safety during the toilet replacement process, remember to wear protective gloves and eyewear. Installing or replacing a toilet bowl requires careful attention to detail and adherence to safety precautions. Here are four important safety measures to keep in mind:
-
Clear the area: Before starting the installation, ensure the bathroom floor is free from any obstacles or tripping hazards. Remove rugs, mats, or any other items that could obstruct your movement.
-
Shut off the water supply: Locate the shut-off valve near the base of the toilet and turn it clockwise to stop the water flow. Flush the toilet to drain any remaining water in the tank and bowl.
-
Disconnect the plumbing: Use a wrench to loosen the nuts connecting the water supply line and the tank. Carefully remove the tank and disconnect the flange bolts securing the toilet bowl to the floor.
-
Proper lifting techniques: To avoid strain or injury, lift the toilet bowl with your legs, not your back. Keep a firm grip and be cautious of the weight distribution.

One N Done Toilet Flange Repair Kit – Toilet Kit For Low or Broken Flange. Toilet Wax Ring Replacement Kit W/Toilet Flange Extender Kit, Easy Toilet Bolts, & Toilet Caps For Bottom of Toilet. (1 Ea.)
Save Time & Money | No wax ring for toilet required. The One N Done toilet flange repair…
As an affiliate, we earn on qualifying purchases.
As an affiliate, we earn on qualifying purchases.
Installing the New Toilet Bowl
Once you’ve removed the old toilet bowl, you’ll need to align the new one with the flange.
Start by ensuring that the flange is clean and free of any debris.
Place the wax ring onto the flange, making sure it is centered.
Carefully lower the toilet bowl onto the flange, ensuring that the bolts on the flange align with the holes on the base of the toilet.
Apply downward pressure evenly on the bowl to compress the wax ring and create a watertight seal.
Use a level to ensure that the bowl is perfectly level in all directions.
Once the bowl is level, tighten the bolts on each side, alternating between the two, until they are snug.
Avoid overtightening as this can crack the toilet bowl.
Finally, connect the water supply line to the fill valve and check for any leaks.
Troubleshooting common toilet bowl installation issues may include adjusting the wax ring position if there is a rocking motion, or using shims to level the bowl if it is not sitting flat on the floor.
Connecting the Water Supply
Before connecting the water supply to the new toilet bowl, it is crucial to shut off the water to the toilet. This can be achieved by turning off the water valve located behind the toilet or by shutting off the main water supply to the house.
Once the water is shut off, the next step is to connect the water line to the toilet bowl, ensuring a tight and secure connection to prevent any leaks.
After completing the connection, it is essential to test for leaks by turning the water back on and checking for any signs of water seepage or drips around the water line connection.
Shutting off Water
First, make sure you’ve turned off the water supply before attempting to replace the toilet bowl. This step is crucial to prevent any water leakage or accidents during the replacement process. To shut off the water supply, follow these steps:
-
Locate the water valve: The water valve is usually located on the wall behind the toilet. It may be a round handle or a lever.
-
Turn the valve clockwise: To shut off the water supply, turn the valve clockwise until it stops. This will stop the flow of water to the toilet.
-
Flush the toilet: After shutting off the water supply, flush the toilet to drain any remaining water in the tank and bowl.
-
Verify water supply is off: To ensure that the water supply is completely shut off, try to flush the toilet again. If no water refills the tank, then you have successfully shut off the water supply.
With the water supply shut off, you can now proceed to the next step of connecting the water line.
Now, let’s move on to connecting the water line.
Connecting Water Line
Now, you can easily connect the water line to complete the installation process.
Start by locating the water supply valve, usually situated on the wall behind the toilet. Turn it clockwise to shut off the water.
Next, take the flexible water supply line and attach one end to the toilet fill valve, which is located at the bottom of the toilet tank. Hand-tighten the connection, making sure it is secure.
Turn on the water supply valve slowly to allow water to flow into the toilet tank. Keep an eye out for any leaks. If you notice any, tighten the connection further or consider replacing the supply line if necessary.
Once you have confirmed there are no leaks, the water line is successfully connected.
Testing for Leaks
After connecting the water line to the toilet bowl, the next step is to test for leaks. This is an important part of the installation process to ensure that everything is properly sealed and functioning correctly. Here are the steps to follow for leak detection and troubleshooting leaks:
-
Fill the toilet tank with water: Turn on the water supply and let the tank fill up completely.
-
Check the water level: Look inside the toilet bowl and ensure that the water level is at the proper level. It should be approximately 1 inch below the overflow tube.
-
Inspect for visible leaks: Carefully examine the area around the base of the toilet and the water supply line for any signs of water leakage. Check for drips or puddles of water.
-
Conduct a dye test: Add a few drops of food coloring into the toilet tank. Wait for a few minutes and then check the toilet bowl. If the water in the bowl changes color, it indicates a leak.
Testing and Finishing Touches
Once you’ve completed the installation, it’s important to thoroughly test the toilet bowl for any leaks. To ensure accuracy in testing, it is essential to follow specific techniques.
Start by checking the water supply connections and tighten any loose fittings.
Then, fill the tank with water and observe if there are any visible leaks around the base or at the connections.
Next, conduct a dye test by adding a few drops of food coloring into the tank. Allow the toilet to sit for about 15 minutes without flushing. If the water in the bowl changes color, it indicates a leak.
Additionally, you can use a measuring tape to check the water level in the tank and adjust the float valve accordingly.
Conclusion
In conclusion, replacing a toilet bowl may seem daunting, but it can be easily accomplished with the right steps and tools. Just like a puzzle, each step fits together perfectly to create a fully functional and aesthetically pleasing bathroom fixture.
By following the outlined process, you can achieve a seamless replacement. First, shut off the water supply. Then, remove the old toilet bowl. Next, install the new one. After that, connect the water supply. Finally, perform the necessary tests.
So, don’t be afraid to tackle this DIY project and transform your bathroom into a pristine oasis.