Did you know that a leaking toilet can waste up to 200 gallons of water per day? That’s not only bad for the environment, but it can also lead to higher water bills.

Get home appliances delivered free with Prime
- Fast, free delivery on millions of items
- Prime Video, Amazon Music and more included
- Member-only deals all year
In this article, I’ll show you how to replace a fill valve in a toilet, step-by-step. With just a few tools and materials, you can fix the problem and save water in no time.
So let’s get started and tackle this DIY project together.
Key Takeaways
- Replacing a fill valve is important to prevent water wastage and higher water bills.
- Troubleshooting common issues with fill valves can help identify and fix problems like leaks and noise.
- Shutting off the water supply before replacing a fill valve is crucial to prevent leaks and highlight the importance of maintenance.
- Installing and testing the new fill valve involves choosing the right valve, securing it in the refill tube, connecting the water supply line, and adjusting the water level if necessary.
Tools and Materials Needed
You’ll need a pair of pliers to remove the old fill valve. Before replacing it, it’s important to troubleshoot common issues with fill valves.
One common problem is a leaking fill valve, which can cause water wastage and higher water bills. Another issue is a noisy fill valve, which can be annoying and disruptive.
To fix these problems, you can replace the fill valve with a new one. When choosing a new fill valve, it’s essential to compare different types and consider their pros and cons.
Some common types include the ballcock, diaphragm, and float cup fill valves. Each type has its own advantages and disadvantages, so make sure to choose the one that best suits your needs and preferences.
Shutting Off the Water Supply
To stop the water flow, you can simply turn off the shut-off valve located on the wall behind the toilet. This step is crucial in preventing water leaks and it highlights the importance of regular maintenance. Here’s a step-by-step guide on how to shut off the water supply to your toilet.
-
Locate the shut-off valve on the wall behind the toilet.
-
Turn the valve clockwise until it is fully closed.
-
Once closed, the water flow to the toilet will be stopped.
-
It is essential to shut off the water supply before performing any maintenance or repairs on the toilet.
-
Regularly checking and maintaining the shut-off valve will help prevent water leaks and damage.
-
Remember to turn the valve counterclockwise to reopen the water supply when you’re done with the maintenance.
Removing the Old Fill Valve
Once you’ve located the shut-off valve, turn it clockwise to fully close it before proceeding with the removal of the old fill valve.
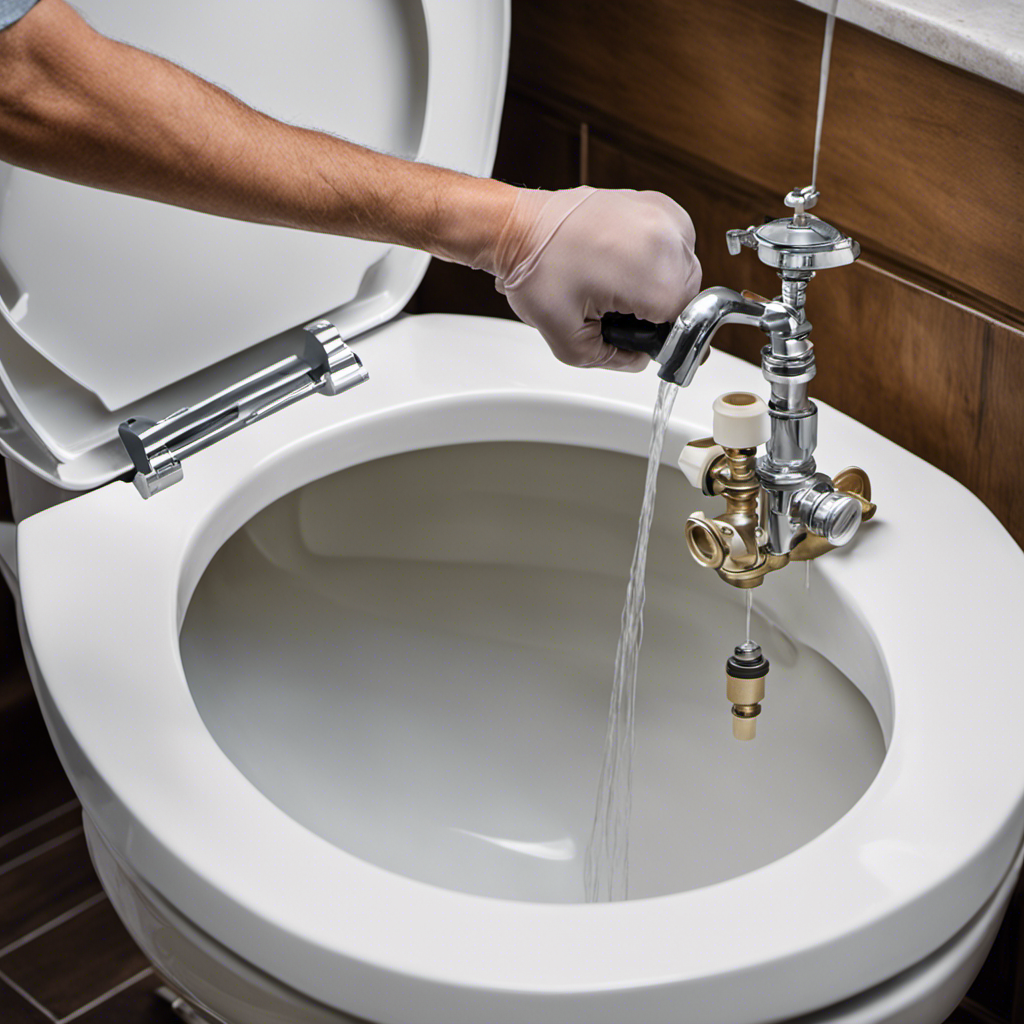
To remove the old fill valve, start by disconnecting the water supply line from the bottom of the valve using an adjustable wrench.
Then, use a pair of pliers to loosen and remove the retaining nut that holds the fill valve in place.
Once the nut is removed, carefully lift the old fill valve out of the toilet tank.
If you encounter any issues during this process, such as a stuck or leaking fill valve, refer to troubleshooting guides for common fill valve problems.
Now that the old fill valve is removed, you can proceed to the next step of installing the new fill valve.
Installing the New Fill Valve
Now that the old fill valve’s been removed, it’s time to install the new one. Before you begin, make sure to choose the right fill valve for your toilet. Consider factors such as height, water pressure, and compatibility with your toilet model.
Start by placing the new fill valve into the refill tube and securing it with the provided clips or screws. Next, connect the water supply line to the fill valve, ensuring it’s tight and leak-free.
Once everything is in place, turn on the water supply and check for any leaks or unusual sounds. Troubleshoot common issues with fill valves, such as water not filling or overflowing, by adjusting the water level using the adjustment screw or float.
In the next section, we will discuss how to test and adjust the fill valve to ensure proper functioning.
Testing and Adjusting the Fill Valve
After installing the new fill valve, it’s important to test and adjust it for proper functioning. Here’s how you can do it step by step.
First, turn on the water supply to the toilet. Check for any leaks around the valve or the connections.
Next, observe the water level in the tank. If it’s too high, adjust the water level by turning the adjustment screw clockwise to lower it, or counterclockwise to raise it.
Flush the toilet and check if the water fills up to the correct level. If not, adjust the water level again.
If you notice any issues such as a constant running sound or the tank not filling properly, troubleshoot by checking for any blockages in the fill valve or the water supply line. Make sure everything is properly connected and clear of debris.
Conclusion
Well, congratulations! You’ve successfully replaced the fill valve in your toilet. Who knew that such a seemingly daunting task could be accomplished by anyone with a little patience and determination?
Now you can bask in the glory of your newfound plumbing skills, all while enjoying a properly functioning toilet. So go ahead, give yourself a pat on the back, because you, my friend, are now a certified toilet fill valve expert.
Halloween Picks
halloween
As an affiliate, we earn on qualifying purchases.