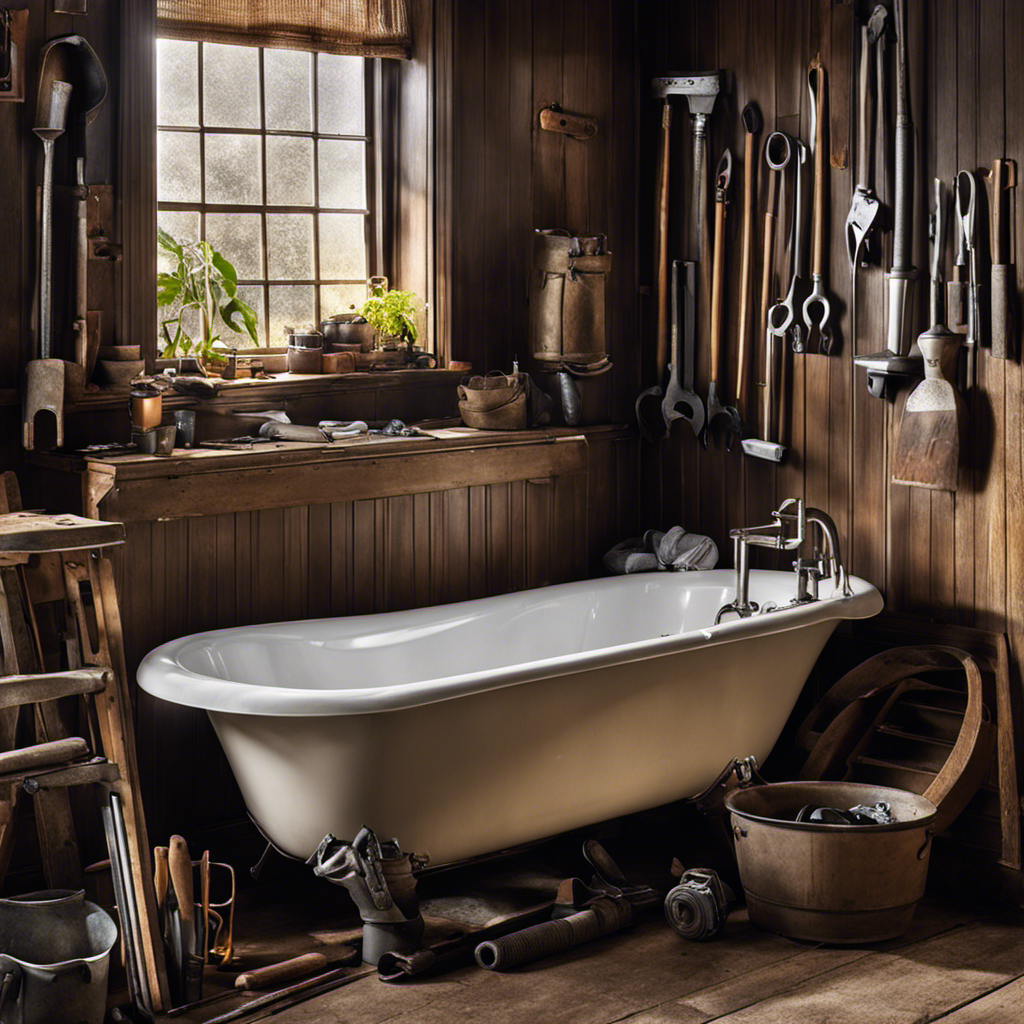

I gotta tell you, installing a bathtub faucet may seem like a daunting task, but trust me, it’s totally doable. In this article, I’m gonna show you step by step how to get it done.
We’ll start by preparing for the installation and shutting off that water supply.
Then, we’ll roll up our sleeves and remove that old faucet like a pro.
Finally, we’ll install the new one, connect the water lines, and add those finishing touches.
So let’s dive in and make your bathtub shine!
Key Takeaways
- Gather the necessary tools and measure the dimensions of the faucet and existing holes before starting the installation to ensure a proper fit and prevent misalignment or leaks.
- Shut off the water supply using the appropriate tools and safety precautions to prevent accidents and water damage during the installation process.
- Locate the water shut-off valve near the main water line, water meter, basement, water heater, or under the sink, and turn the valve clockwise to shut off the water supply.
- Remove the old faucet by disconnecting the water supply, using proper tools like an adjustable wrench or pliers, and ensuring effective tool maintenance for longevity.
Preparing for Installation
Before you start installing the bathtub faucet, make sure you’ve gathered all the necessary tools and materials. Preparing the tools is crucial for a smooth installation process.
First, gather a wrench, screwdriver, plumber’s tape, and a level. These tools will help you tighten connections, remove old fixtures, and ensure a straight and level installation.
Next, measure the dimensions of the faucet and the existing holes in the bathtub to ensure a proper fit. Use a tape measure to measure the distance between the holes and the faucet’s dimensions. This will prevent any issues during the installation, such as misalignment or leaks.
Taking the time to prepare the tools and measure the dimensions will save you time and frustration later on.
Shutting Off the Water Supply
Before attempting to shut off the water supply, it’s important to gather the necessary tools for the task. This typically includes a pair of pliers or an adjustable wrench, as well as a flashlight for dark or hard-to-reach areas.
Once the tools are ready, the next step is to locate the water shut-off valve. This valve is usually found near the main water line or in the basement.
Turning off the water involves twisting the valve clockwise until it is fully closed. This ensures that no water flows through the pipes.
Necessary Tools for Shutdown
To properly shut down the water supply, you’ll need a few necessary tools. Here are the tools needed for this task:
- Adjustable wrench: This tool is essential for loosening and tightening the nuts and bolts that secure the water pipes.
- Pipe wrench: This tool provides a stronger grip and is specifically designed for working with pipes.
- Plumber’s tape: This tape helps create a watertight seal when connecting pipes and fittings.
When working with water shut-off valves, it’s important to take safety precautions. Turn off the main water supply to avoid any accidents or water damage. Additionally, wear protective gloves to protect your hands from any sharp edges or hot water.
Now that you have the necessary tools and safety precautions in mind, let’s move on to the next step – locating the water shut-off.
Locating Water Shut-Off
Once you have the necessary tools and safety precautions in mind, it’s time to locate the water shut-off. Finding the shut-off valve is crucial before starting any plumbing work.
The shut-off valve is usually located near the water meter or in the basement. It can also be found near the water heater or under the sink for individual fixtures. Look for a round or lever-shaped valve that controls the water flow to your house or specific area.
Once you’ve located the shut-off valve, it’s time to shut off the water. Turning the valve clockwise will shut off the water supply.
Now that the water is shut off, you can proceed with confidence to the next steps of installing your bathtub faucet.
Steps to Turn off
Make sure you’ve located the shut-off valve near the water meter or in the basement. This valve is crucial when it comes to shutting off the main water line. Once you’ve found the valve, follow these steps to drain the water and safely shut off the main water line:
- Turn off any faucets or fixtures connected to the water line.
- Locate the main shut-off valve and turn it clockwise to shut off the water flow.
- Open a few faucets to release any remaining water pressure.
By following these steps, you can effectively drain the water from the pipes and shut off the main water line.
This is an important step before installing a new bathtub faucet or performing any plumbing work. Taking the time to properly shut off the water can prevent leaks, water damage, and ensure a successful installation process.
Removing the Old Faucet
When it comes to removing an old faucet, proper tool selection is crucial to ensure a smooth and efficient process. The right tools, such as an adjustable wrench and pliers, will allow you to tackle any stubborn nuts or bolts that need to be loosened.
Once you have the necessary tools, the next step is to disconnect the water supply. This involves shutting off the valves and draining any remaining water.
Proper Tool Selection
To properly install a bathtub faucet, it’s important to select the right tools for the job. Tool maintenance plays a crucial role in ensuring their effectiveness and longevity.
Here are some alternative tool options that can be used for installing a bathtub faucet:
- Adjustable wrench: Ideal for securing the faucet to the water supply lines.
- Basin wrench: Specifically designed for reaching tight spaces, making it easier to tighten or loosen nuts and bolts.
- Plumber’s tape: Used to prevent leaks by creating a watertight seal around threaded connections.
By properly maintaining these tools, such as cleaning and lubricating them regularly, they will continue to perform optimally and provide accurate results.
Now that we have covered the importance of tool selection and maintenance, let’s move on to the next step – disconnecting the water supply.
Disconnecting Water Supply
You should first locate the shut-off valve for the water supply before disconnecting it. This valve is typically located under the sink or near the bathtub. Once you have located the shut-off valve, turn it clockwise to shut off the water supply. This step is crucial to prevent any water from flowing while you disconnect the faucet.
To help you understand the process better, here’s a table outlining the steps for disconnecting the water supply:
| Step | Instructions |
|---|---|
| 1 | Locate the shut-off valve. |
| 2 | Turn the valve clockwise to shut off the water supply. |
| 3 | Verify that the water supply is completely shut off. |
| 4 | Use adjustable pliers to disconnect the water supply lines from the faucet. |
| 5 | Check for any remaining water in the lines and drain it before proceeding. |
Now that you have successfully shut off the water supply, you can move on to the next step of removing the faucet components.
Removing Faucet Components
Once you’ve shut off the water supply, it’s time to start removing the various components of the faucet. To ensure a smooth removal process, here are some faucet removal techniques to keep in mind:
-
Begin by unscrewing the handle or handles of the faucet. This is usually done by removing a small screw or cap located at the base of the handle.
-
Next, use an adjustable wrench to loosen and remove the valve stem nut. This will allow you to access the cartridge or valve assembly.
-
Finally, carefully pull out the cartridge or valve assembly. Be cautious not to damage any surrounding plumbing or fixtures.
If you encounter any issues during the removal process, troubleshooting faucet removal issues can be helpful. Some common problems include stuck handles, stripped screws, or corroded components. In these cases, using penetrating oil, a screw extractor, or a pipe wrench can assist in loosening stubborn parts.
Remember to take your time and be patient when removing faucet components to avoid causing further damage.
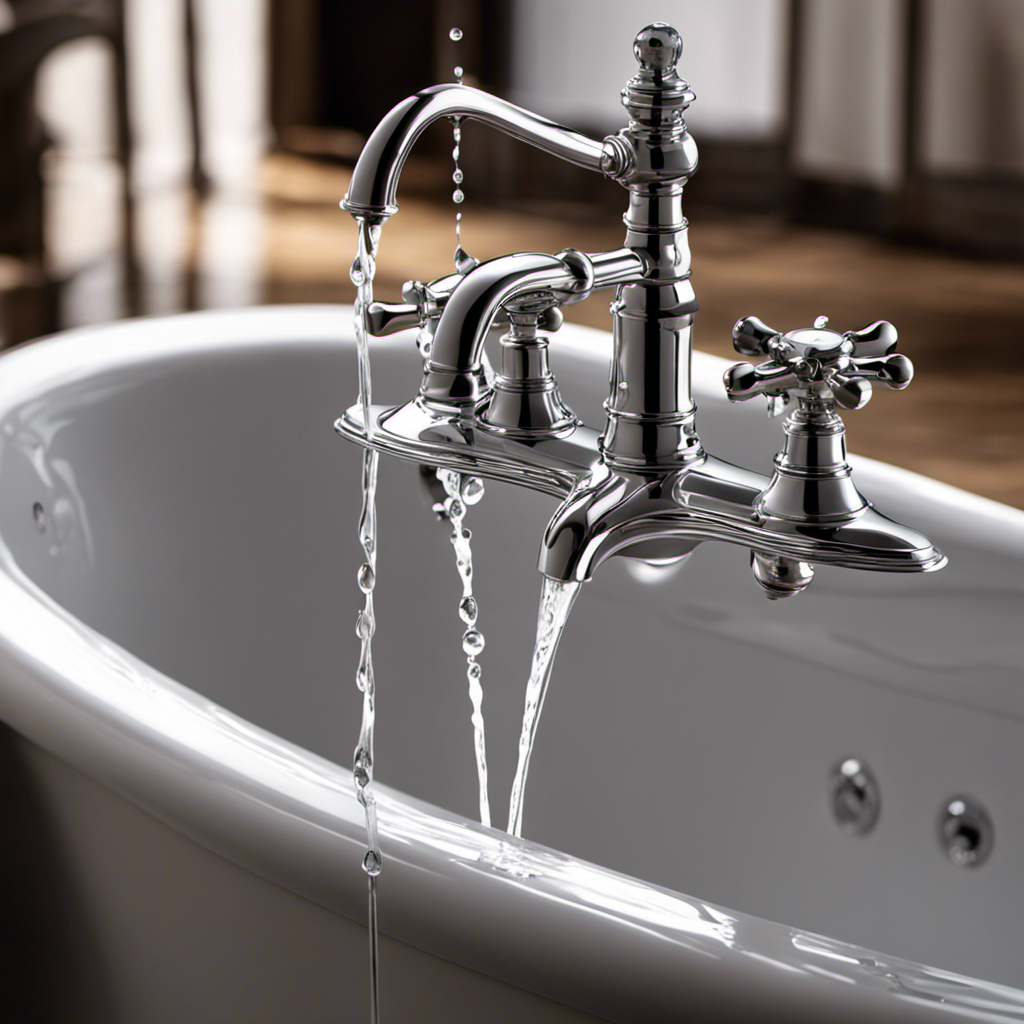
Installing the New Faucet
First, make sure to gather all the necessary tools and materials for installing the new faucet.
Installing bathtub fixtures requires careful consideration when choosing a new faucet. It is important to select a faucet that matches the existing plumbing and complements the overall design of the bathroom. Look for faucets that are specifically designed for bathtubs, ensuring they have the correct spout length and style.
Measure the existing faucet’s holes to ensure the new faucet will fit properly. Additionally, consider the type of finish you prefer, such as chrome or brushed nickel, and whether you want a single-handle or two-handle faucet.
Take your time in choosing the right faucet, as it will not only enhance the functionality of your bathtub but also add a touch of elegance to your bathroom decor.
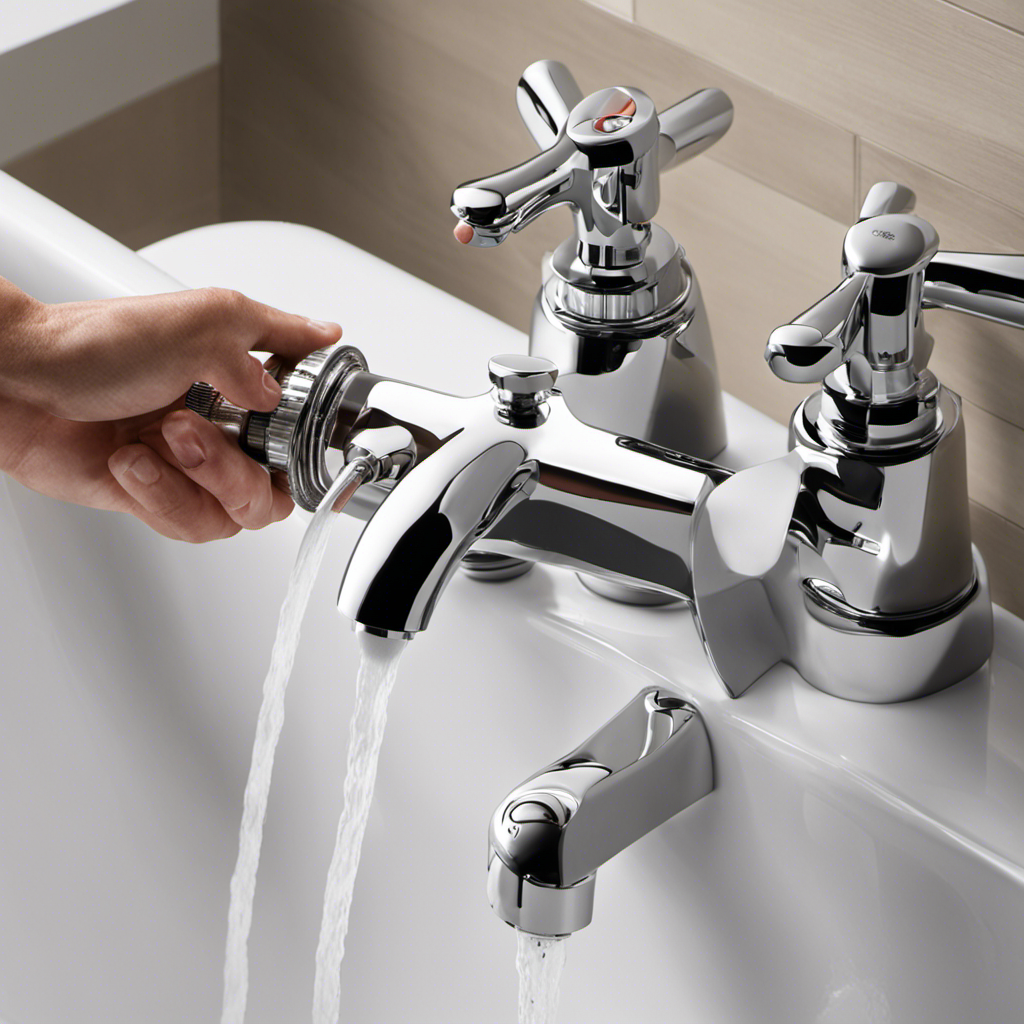
Connecting the Water Lines
To connect the water lines, simply attach the provided hoses to the corresponding hot and cold valves. Make sure to tighten the connections securely to prevent any leaks.
Here are some important points to keep in mind during the water line installation:
- Use Teflon tape or pipe joint compound on the threads of the valve to ensure a watertight seal.
- Double-check that the hot and cold hoses are connected to the correct valves, as reversing them can result in improper water temperature.
- After attaching the hoses, turn on the water supply slowly to check for any leaks. If you notice any leaks, tighten the connections further or consider using plumber’s tape for additional sealing.
Once the water lines are successfully connected, you can move on to testing the faucet and applying the finishing touches to complete the installation process.
Testing and Finishing Touches
When you’re ready, don’t forget to turn on the water supply slowly to test for any leaks before adding the finishing touches to complete the installation.
Testing the bathtub faucet is crucial to ensure a proper and leak-free installation. To do this, turn on the water supply slowly and observe the connections for any signs of leakage. Check the joints, connections, and valves for any water drips or seepage. If you notice any leaks, tighten the connections or replace faulty parts as necessary.
Once you are confident that there are no leaks, you can proceed with adding the finishing touches. This includes selecting the desired finishes, such as the faucet handles, spout, and trim, to match your bathroom decor. Take your time to choose finishes that complement the overall aesthetic of the bathroom and complete the installation with finesse.
Frequently Asked Questions
How Do I Choose the Right Bathtub Faucet for My Bathroom?
To choose the right bathtub faucet for my bathroom, I need to measure for it and remove the old one. It’s important to be knowledgeable, precise, and detailed when making this decision.
What Tools Will I Need to Install a Bathtub Faucet?
To install a bathtub faucet, you’ll need a few essential tools. It’s important to have a wrench, pliers, pipe tape, and a screwdriver. By avoiding common mistakes, you can ensure a successful bathtub faucet installation.
Can I Install a Bathtub Faucet on My Own, or Do I Need to Hire a Professional Plumber?
Can I install a bathtub faucet on my own or do I need to hire a professional plumber? Hiring professionals can make the process smoother and ensure proper installation, but with the right tools and knowledge, DIY bathtub faucet installation is possible.
How Long Does It Typically Take to Install a Bathtub Faucet?
Typically, installing a bathtub faucet takes about 1-2 hours. However, it can vary based on factors like the complexity of the faucet, your experience level, and any troubleshooting needed.
Are There Any Special Considerations or Safety Precautions I Should Be Aware of When Installing a Bathtub Faucet?
Special considerations and safety precautions are crucial when installing a bathtub faucet. It’s important to follow manufacturer’s instructions, turn off water supply, use proper tools, and ensure proper sealing to prevent leaks and potential water damage.
Conclusion
In conclusion, installing a bathtub faucet can be a straightforward process if you follow the right steps.
By shutting off the water supply, removing the old faucet, and installing the new one, you can upgrade your bathroom with ease.
Remember to connect the water lines correctly and test for any leaks before finishing up.
Just like a conductor leading a symphony, you can orchestrate a harmonious bathroom renovation by mastering the art of faucet installation.

Mateo’s flair for writing is matched only by his keen eye for design. As an interior designer turned writer, Mateo brings a unique perspective. He blends aesthetics with functionality in every piece he pens, providing readers with beautifully crafted content that’s also supremely useful.
Mateo loves exploring the latest bathroom tech trends and is our expert on smart toilets. When he’s not writing or designing, Mateo can be found sketching ideas for his next big project at local coffee shops.